

Whether you are looking to make a photo grid, a table for a printable, a calendar, or even a grid-inspired design (like a checkerboard), it’s all possible in Canva. This guide will teach you how to create a custom photo grid for easy collages, make and customize tables, along with more grid-related design awesomeness.
Let’s dive in!
How To Create A Photo Grid In Canva
Out of all the graphic design software, Canva may be the easiest software to use when creating photo grids. Once you know where to find these grids, you can throw these designs together in a snap.
Step 1: Create A New Design
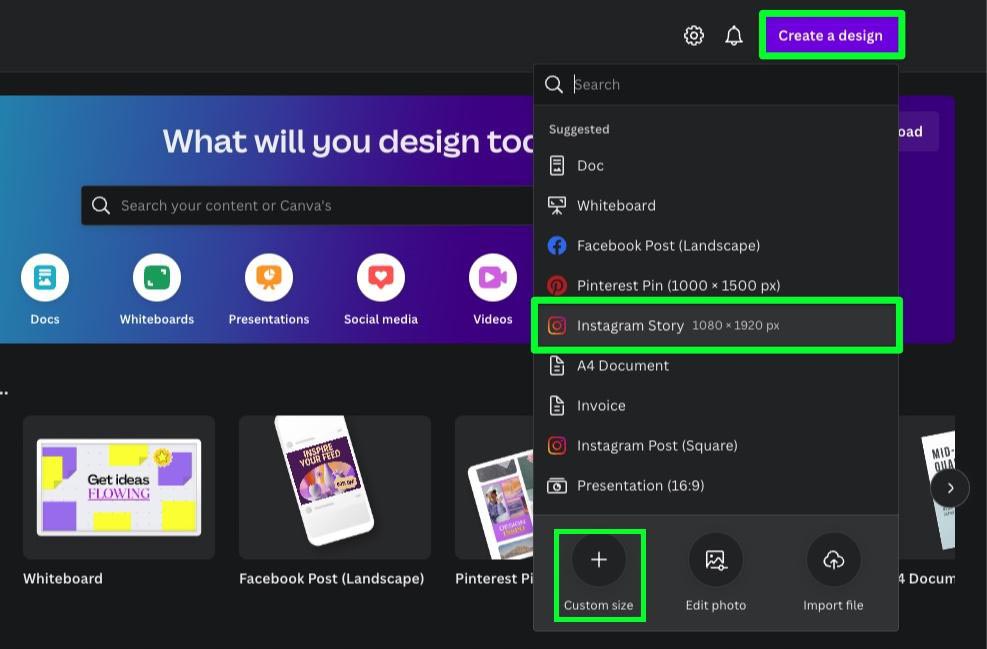
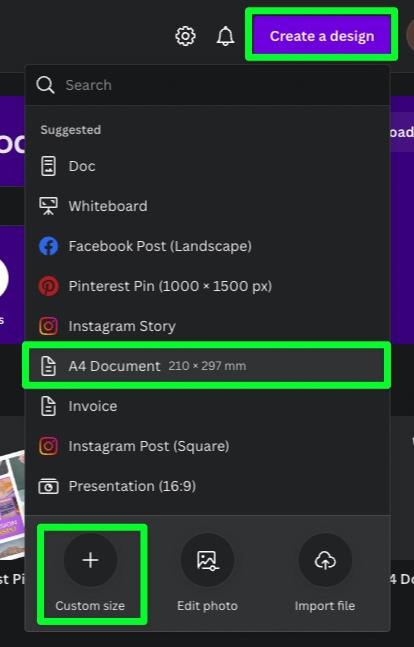
If you haven’t already, create a new design by navigating to the Canva home page, then click the Create a Design button at the top right corner. You can create a new canvas by clicking the Custom Size button or choose one of the many pre-made sizes from the list presented.
Your canvas will open up in a new tab.

Step 2: Find The Best Photo Grid For Your Project
Canva has a ton of different photo grids to choose from. You just need to know where to look to find them.
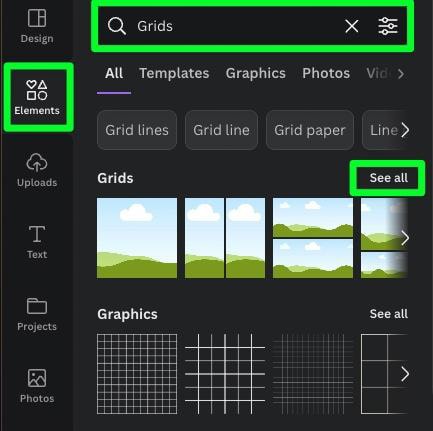
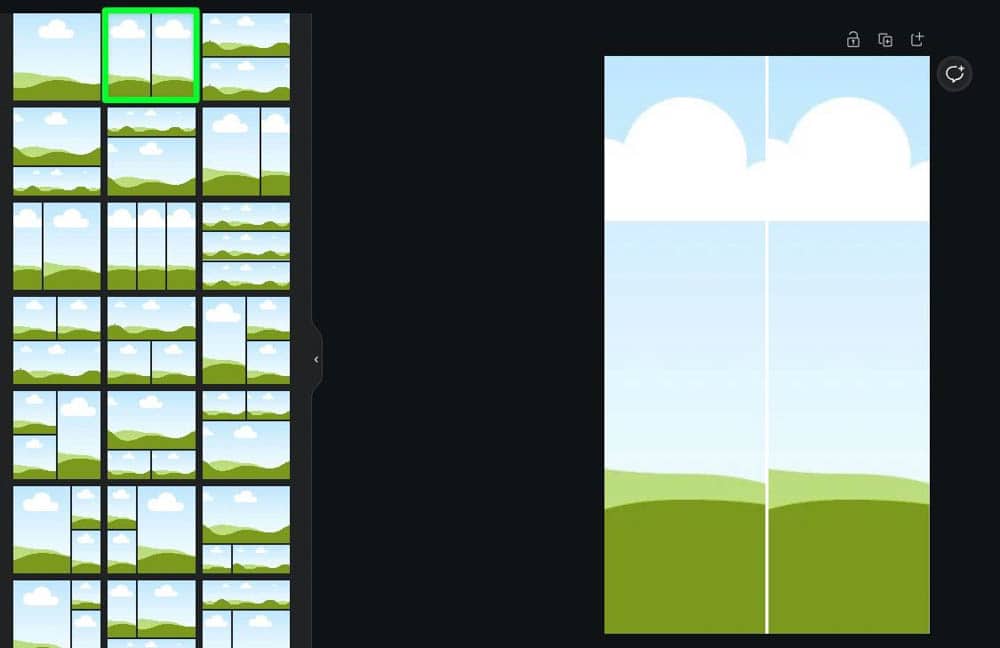
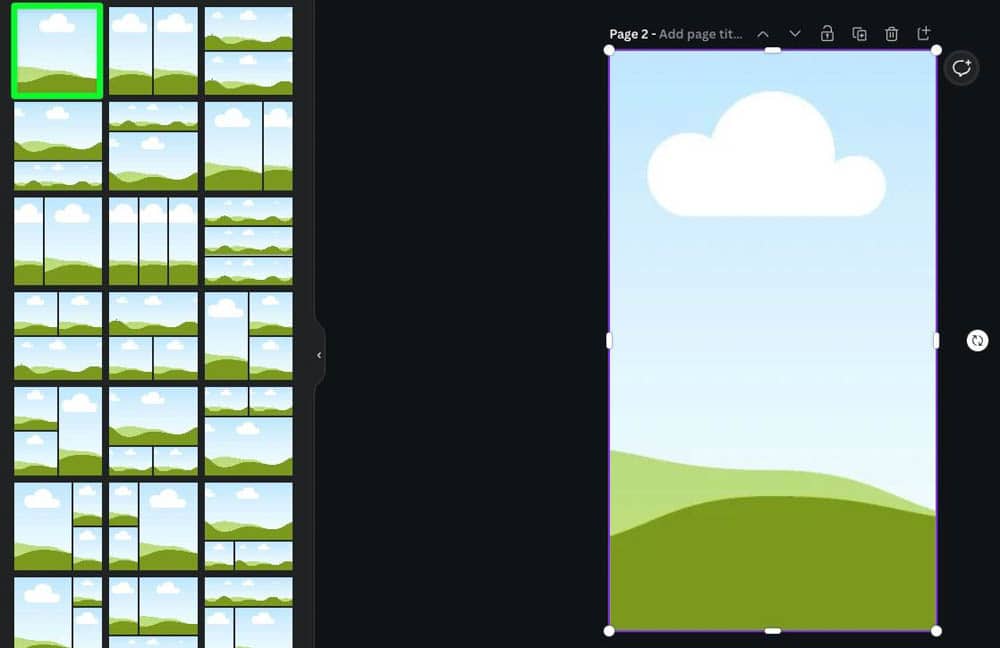
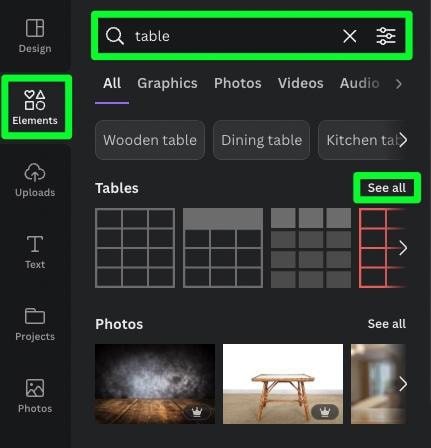
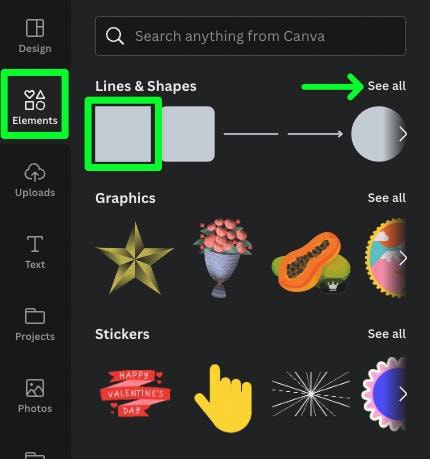
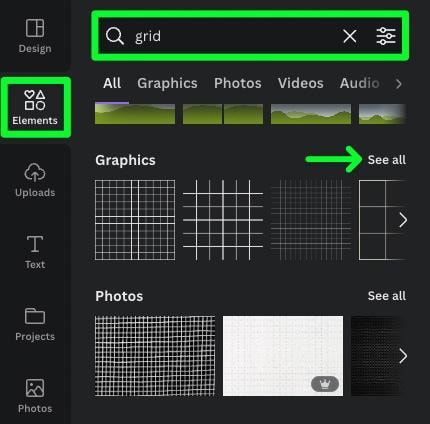
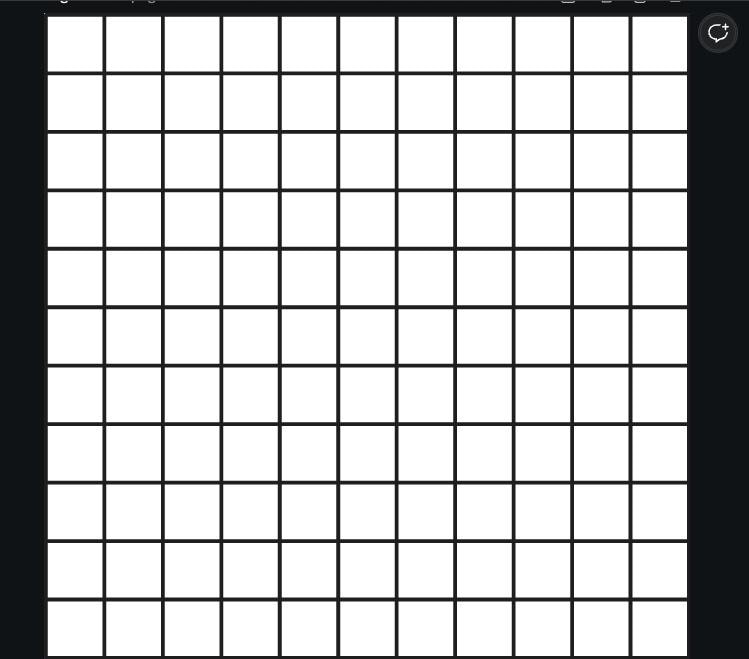
First, click Elements on the left side of the screen, then type Grids in the search bar. Scroll down until you get to the Grids section and click See All.
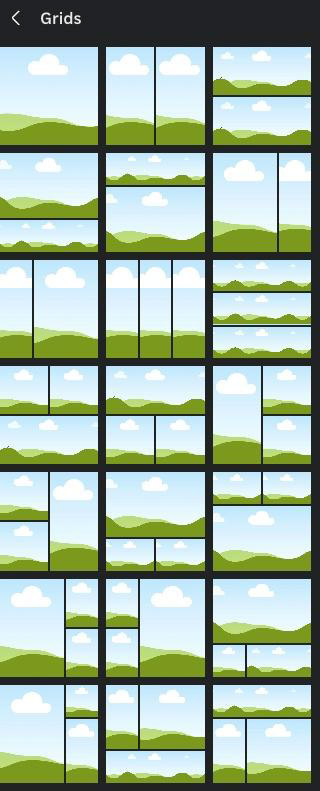
You will now find all the photo grids available on Canva.
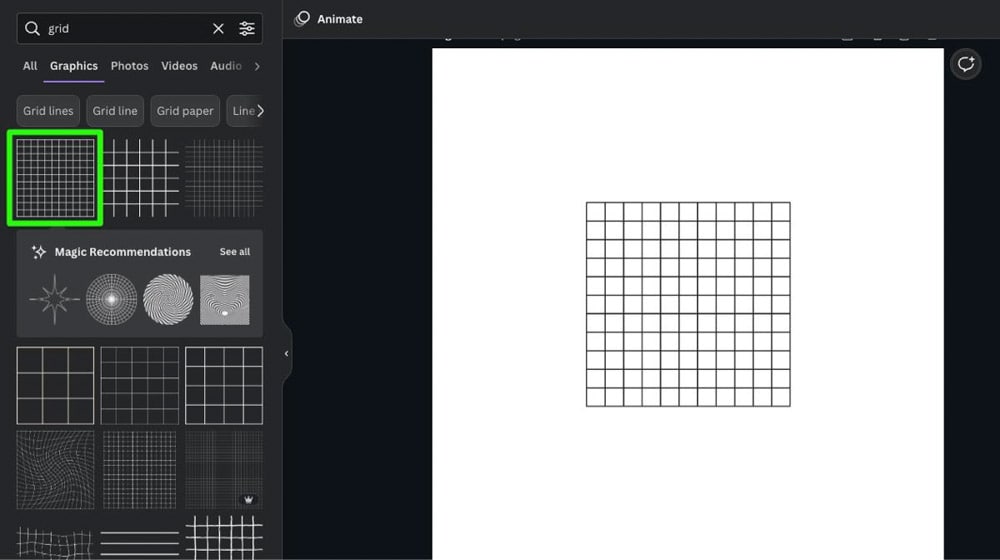
Step 3: Select And Resize Your Photo Grid
Once you’ve found the perfect grid, click it to add it to your canvas. Doing so will fill the entire canvas with the grid.
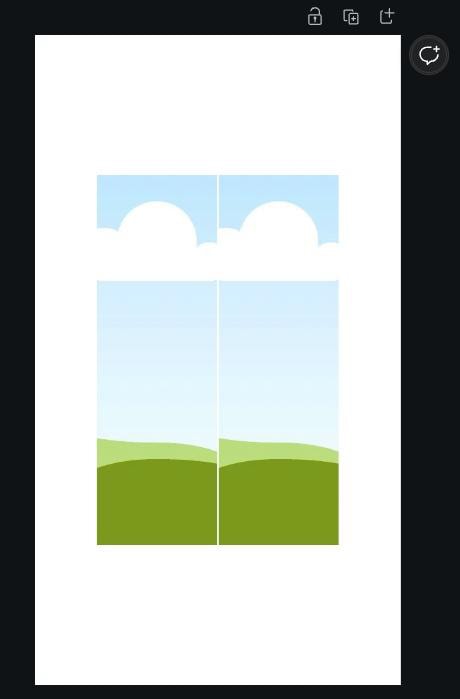
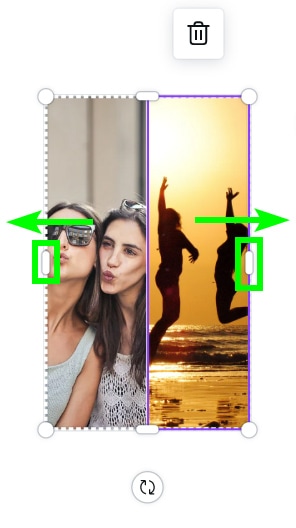
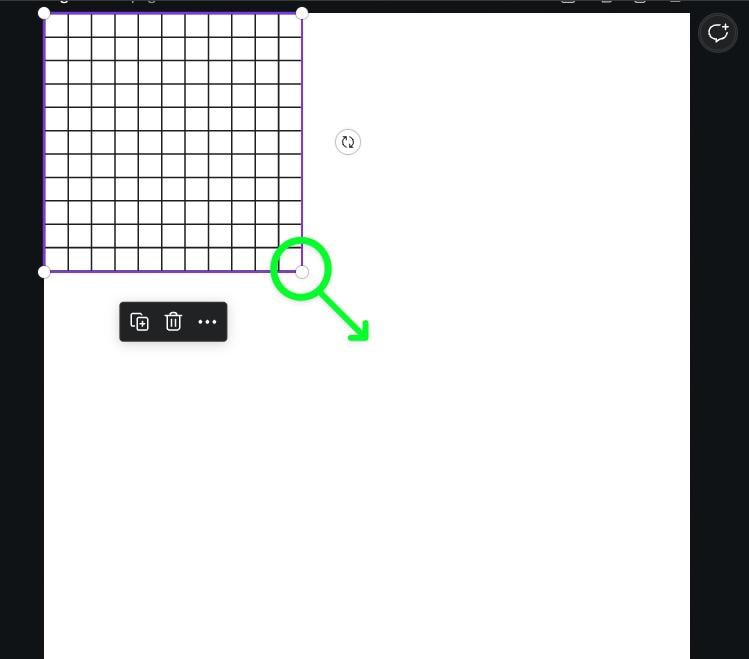
If you don’t want your grid to fill the entire canvas, first select it, then drag one of the corner handles down to resize it.
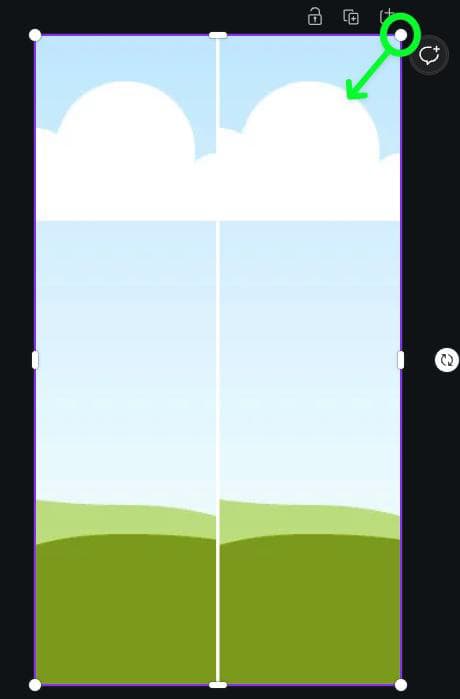
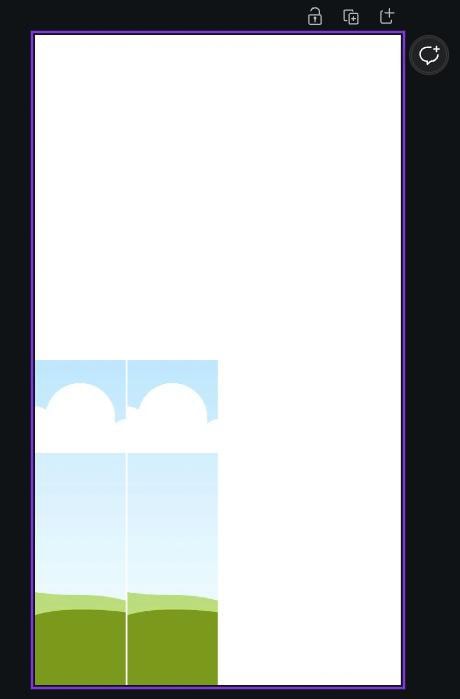
You can then move the resized photo grid anywhere on the canvas.
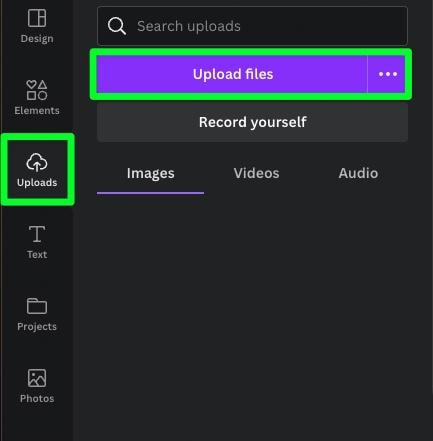
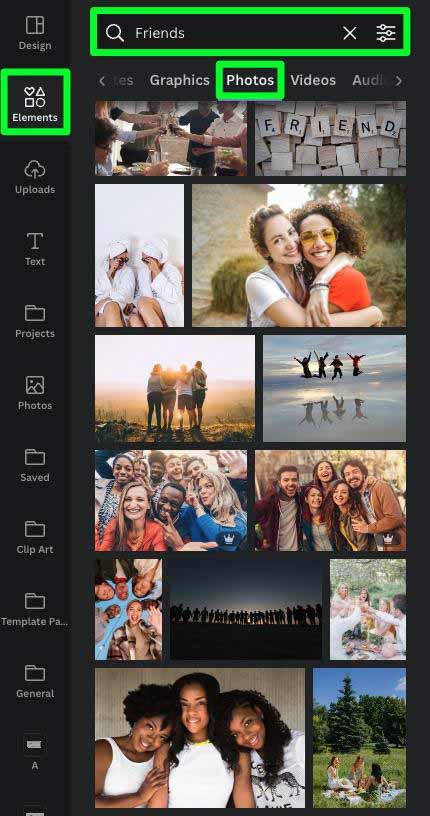
Step 4: Upload Or Find Photos For Your Project
Now that your photo grid is chosen and put in place, you need to select the photos you want to use in your project.
To upload your own photos, click on Uploads, then click on Upload Files. You’ll be prompted to search through your hard drive and find the images you want to add.
You can also add photos from Canva itself. To do this, click on Elements, then type in the theme of your project in the search bar. Then, click the Photos tab to see all the images that Canva has to offer for your theme.
Step 5: Drag Your Image Onto The Photo Grid
Once you’ve picked your images, simply drag the image from the side panel onto the photo grid. If your photo grid has multiple panes, drag the image to the panel you want your image to be.
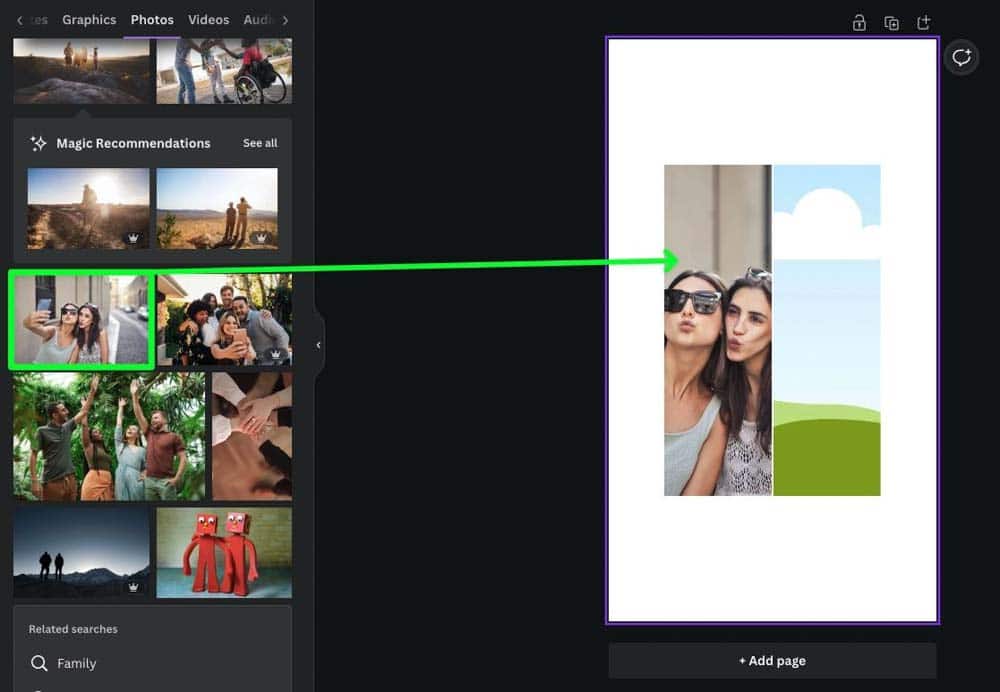
Then, fill out the rest of the photo grid with the rest of your images.
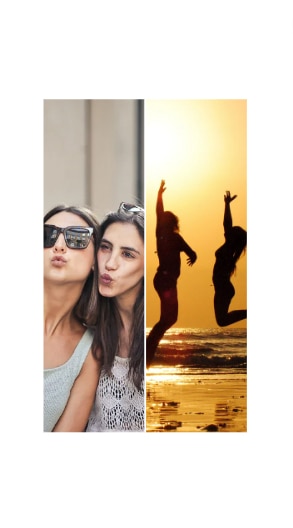
You can also resize the grid at any time by clicking on the handles and dragging them out to the side you want to resize.
To finish your project off, you can add a border around the photo grid, a background, and any other elements you want to add.

How To Create A Custom Photo Grid
Now premade photo grids are great, but you might not find what you’re looking for. In that case, you can create a custom photo grid in canva by doing the following.
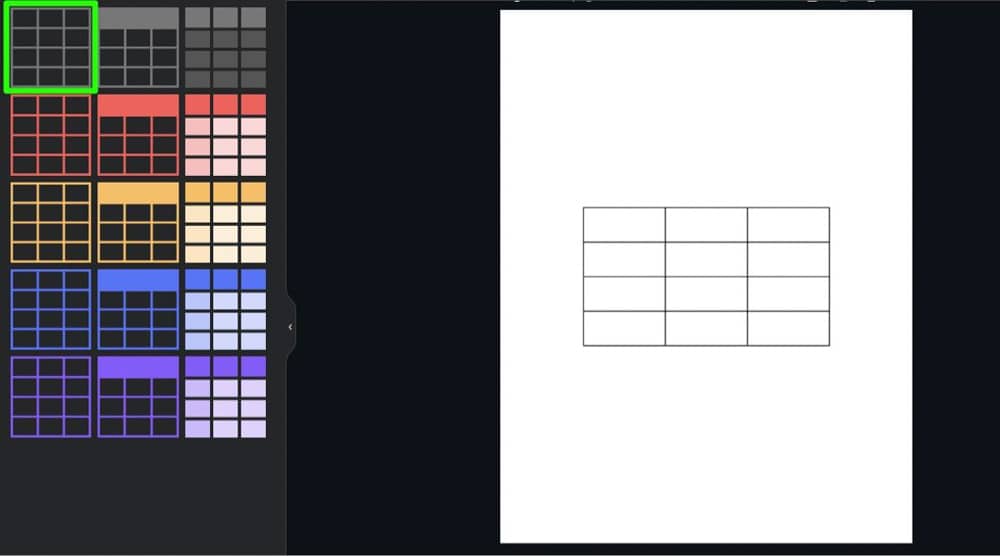
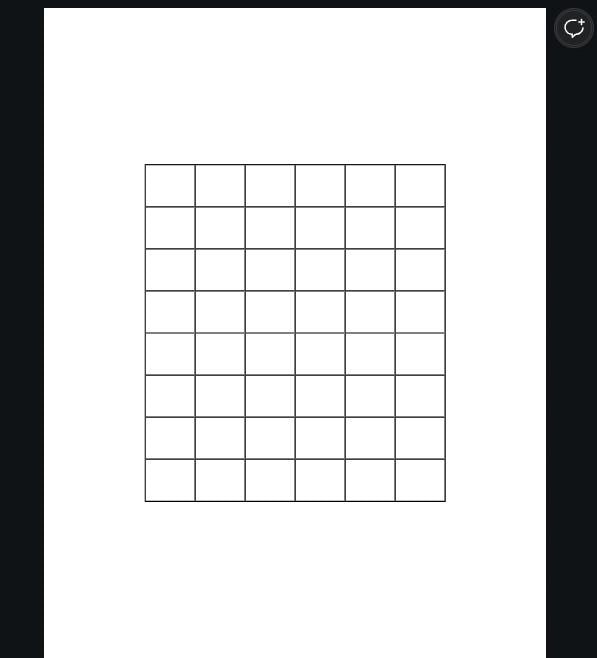
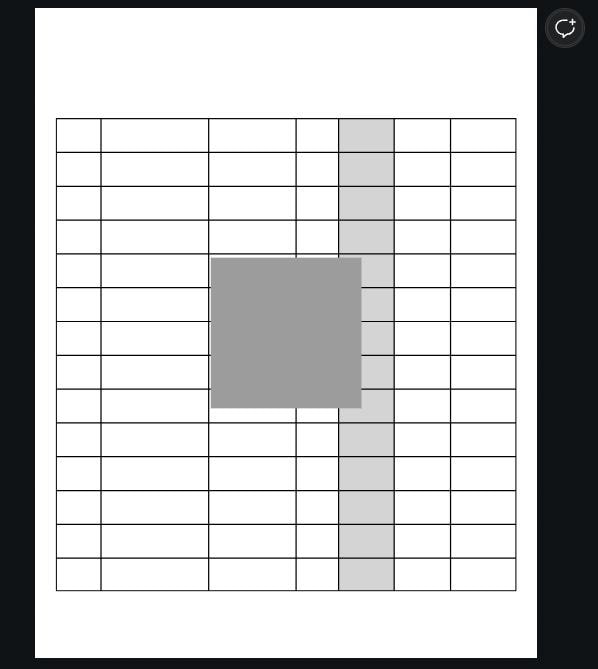
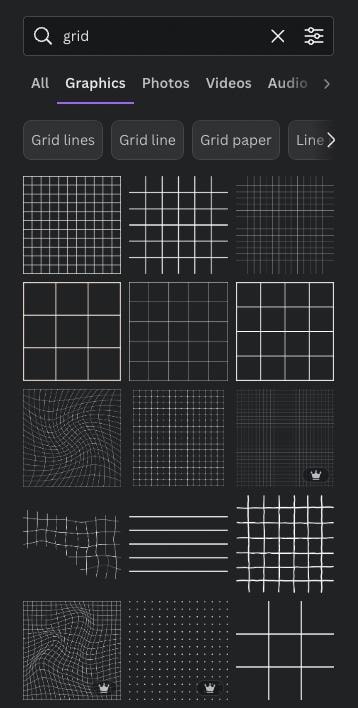
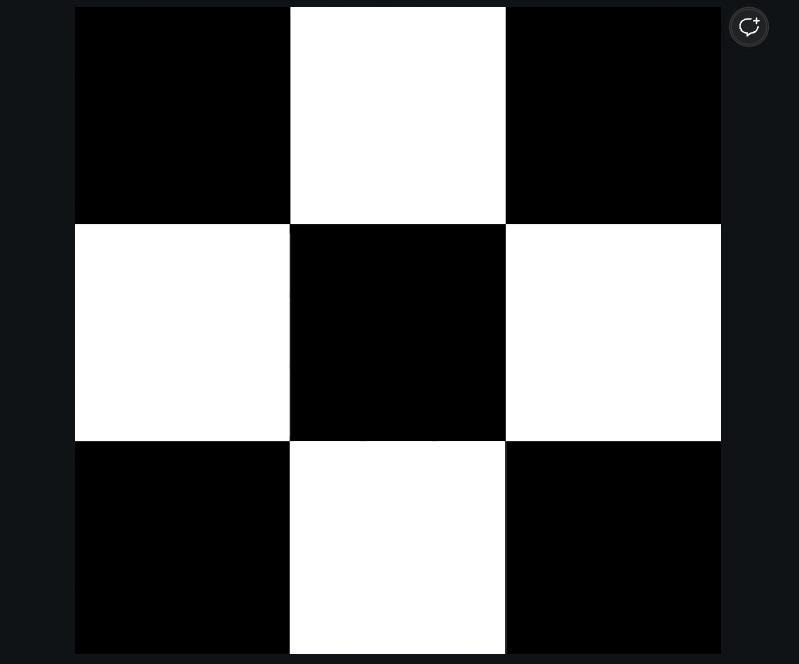
The single photo grid is one of the most important pieces to this process. You can find this grid by clicking on Elements, searching for Grids, scrolling down to the Grids section, then selecting See All.
The single photo grid will be the first one available in the list. Click it to add it to your project.
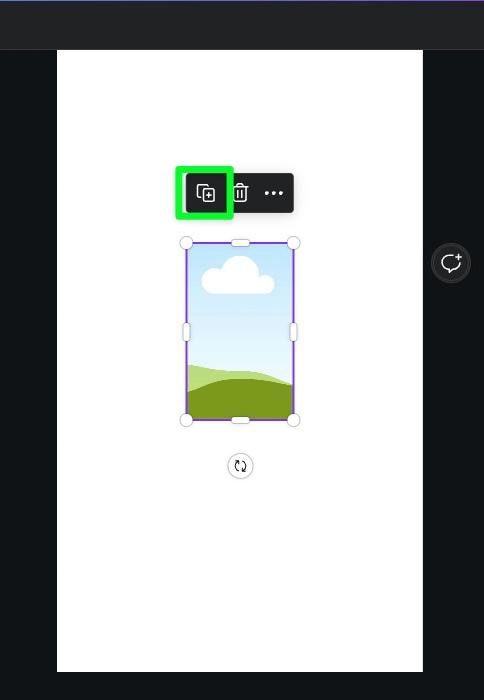
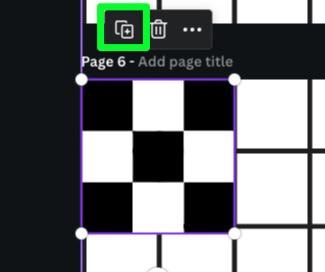
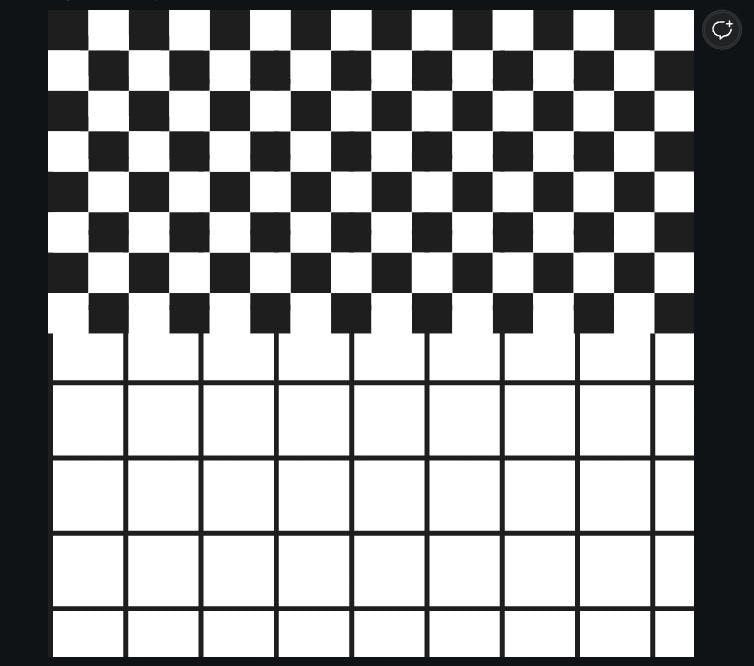
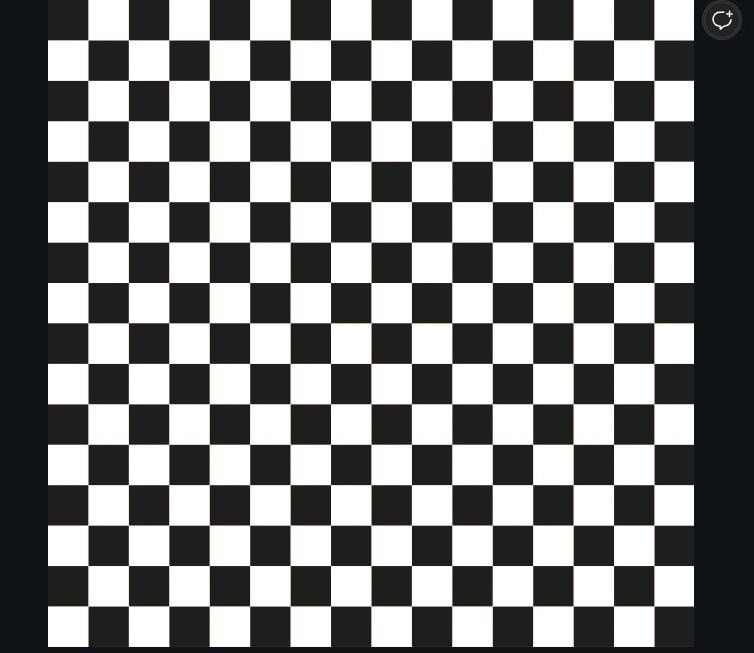
With the single photo grid, you can resize it to whatever size you need it to be. You can also duplicate it by selecting it, then clicking the Duplicate button in the mini options bar that pops up.
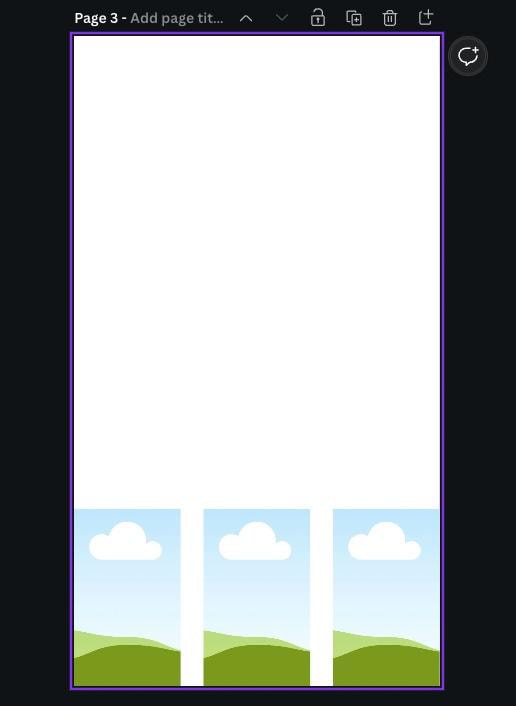

Once you’re done adding your photo grids to your project, you can now add some photo frames to add some flair.
To do this, go to Elements, then search for Frames. Scroll down to the Frames section, then click See All.

You will find all of the photo frames available in Canva. Click on the best frames that work with your project.
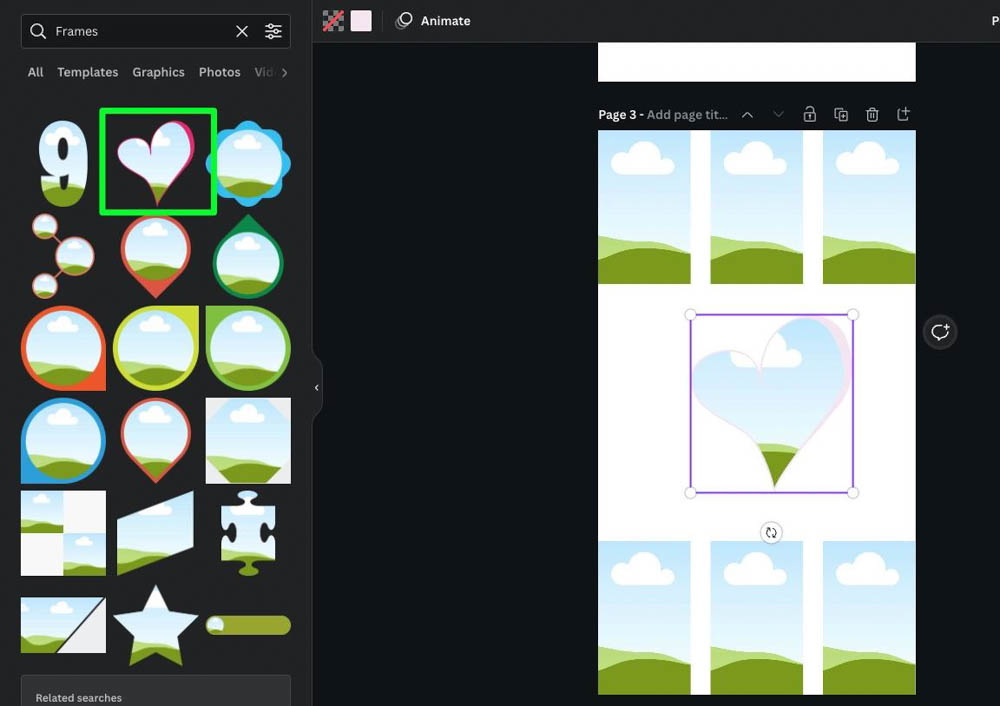

From here, you can drag your photos into each grid and frame.

If you need to adjust one of the images in a grid or frame, double-click the image, then move the image where you need it to be.


With all your images in place, you can now add in your background.

Finally, you can help your images stand out by adding make-shift borders to each image. To do this, click on Elements, then open up Lines & Shapes. Choose the basic line. You can change the thickness of the line by clicking the Line Weight button, then using the Line Weight Slider.
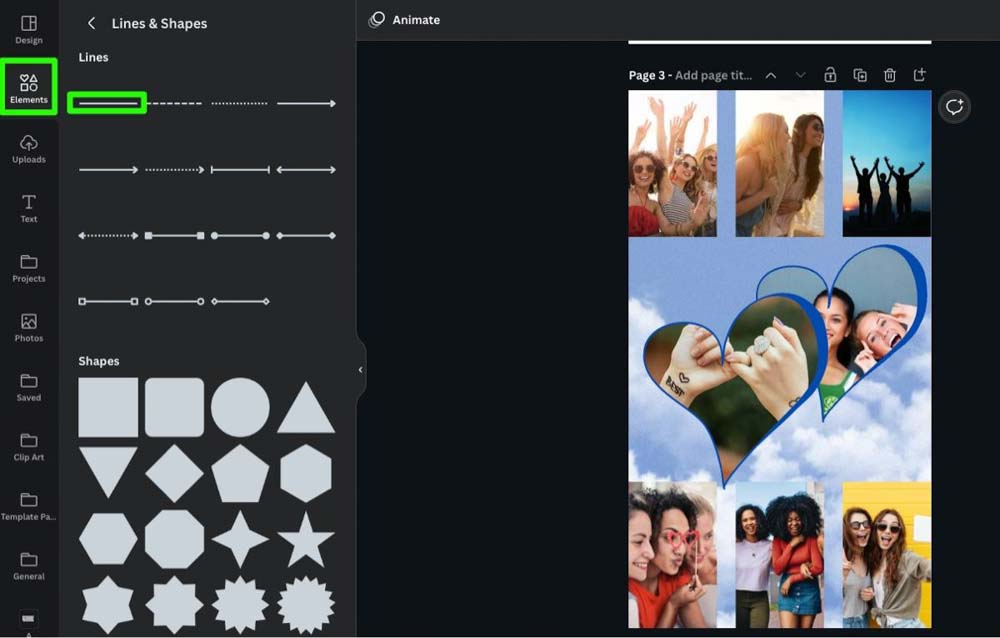
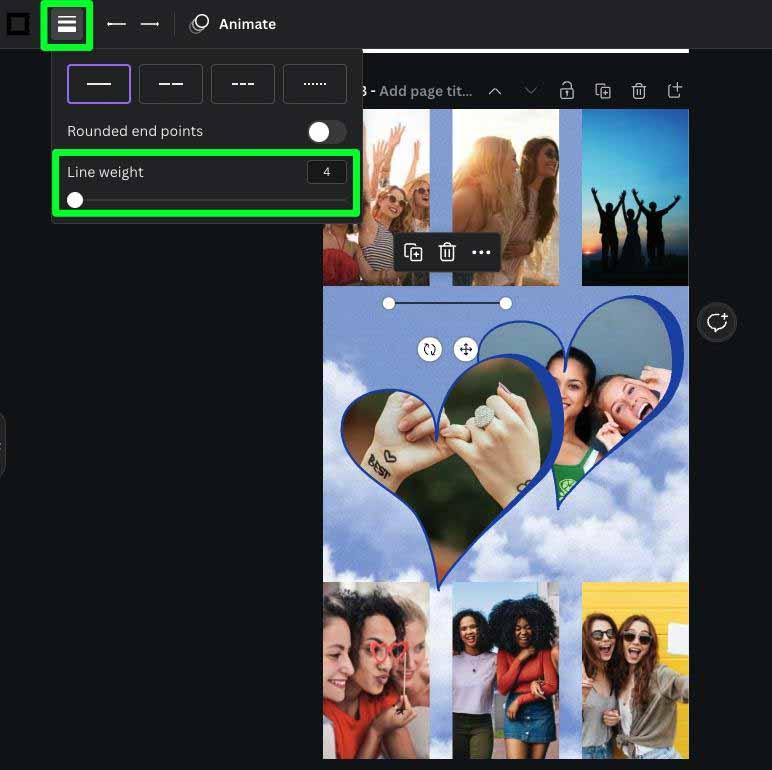
With your line weight set, you can add lines on each image’s perimeter to form a border effect.

How To Create A Grid For A Table In Canva
Canva offers everything you need to create tables and grids of any size. From small data sets to detailed infographics. Plus, with just a few clicks, you can customize your grid by changing each cell’s size, shape, and color. You can even use a grid to make a calendar in Canva.
Step 1: Create A New Document
If you haven’t already, click the Create A Design button, then click Custom Size to create a canvas to your exact dimensions, or choose from the list of pre-made sizes. Your canvas will open in a new tab.
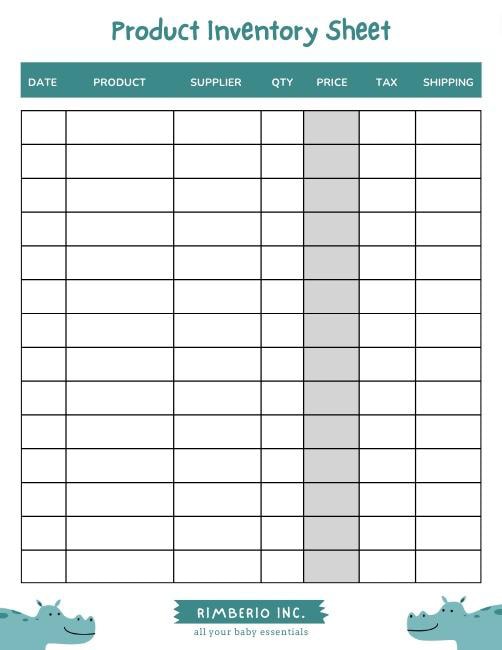
Step 2: Add A Table To The Canvas
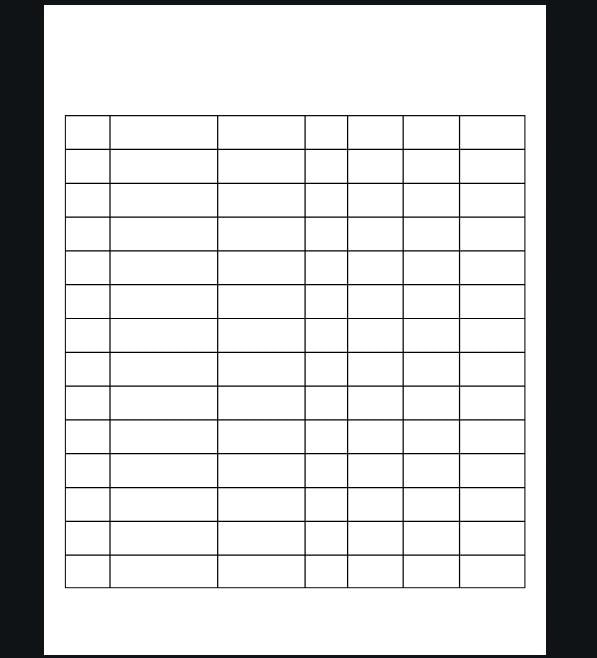
You could create your own table from scratch using lines and squares, but using one of the premade tables that Canva provides is much easier.
To find the perfect table, click on Elements, then search for Table in the search bar. Scroll down to the Tables section and click See All.
Click on the table that works best for you.
Step 3: Add Columns & Rows To Your Table
One of the first things you’ll have to do when creating your table is add more columns and rows.
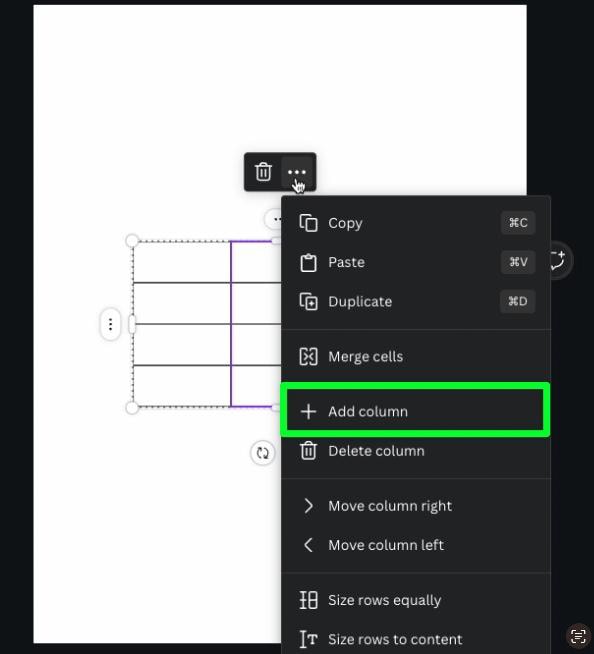
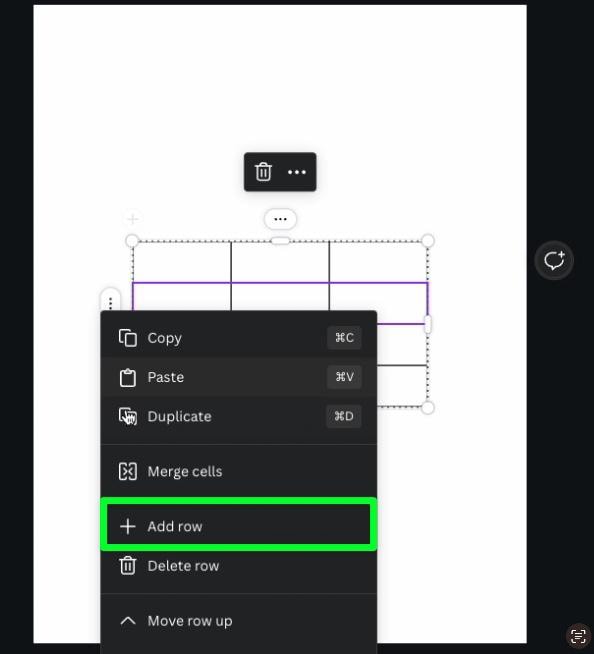
First, select the table itself to reveal the three dots above and to the left of the table.

If you want to add a column to the table, click on the three dots at the top of the table, then select Add Column. To add a new row to the table, click on the three dots on the side of the table, and select Add Row.
Once you have the number of rows and columns you need with your table, you can click and hold onto each line and move it where you need it.
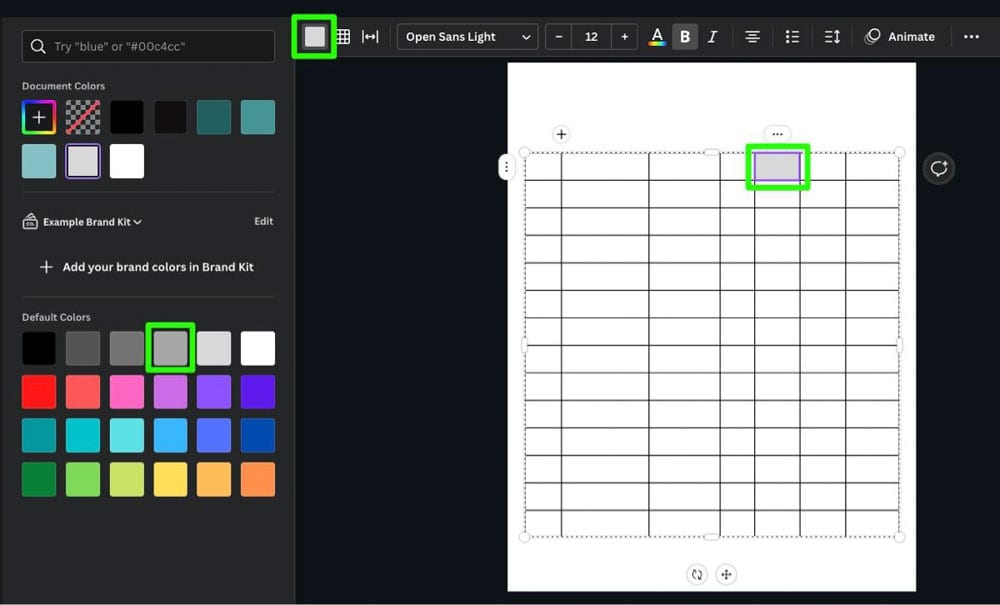
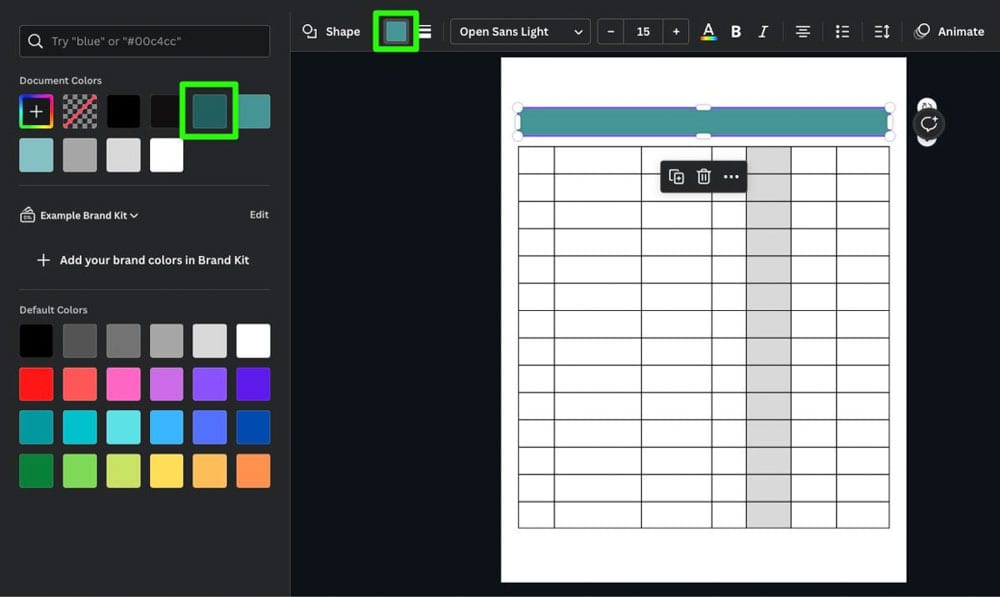
Step 4: Change The Cell Colors Of Your Table
To add a little bit of contrast to your table, you can change the colors of certain cells. To do so, select a cell and click the Color Picker in the Options Bar. Select the color of your choice from the left side panel.
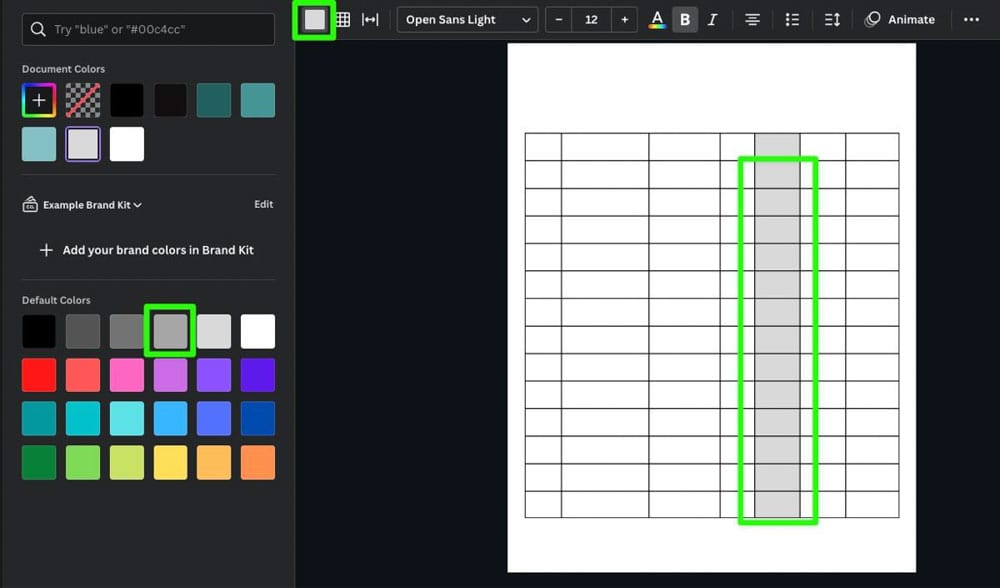
If you need to change the color of multiple cells, hold down the Shift while selecting the cells you wish to change.
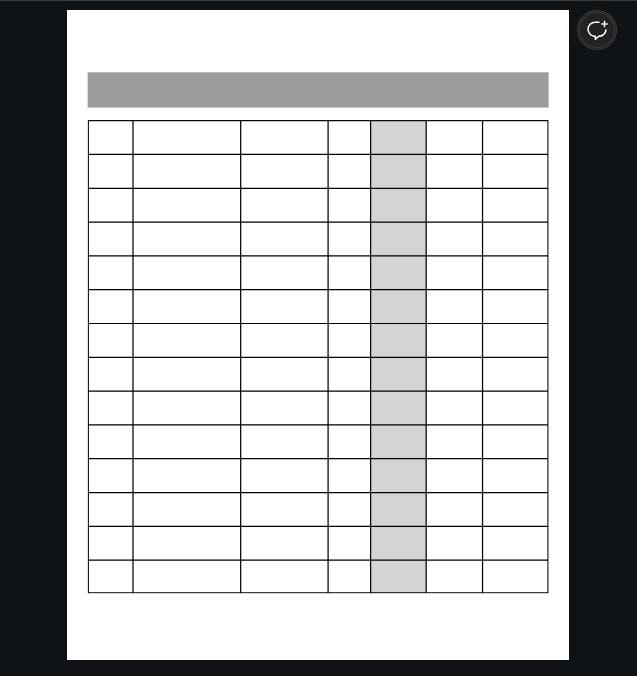
Step 5: Add Some Basic Shapes
Once your table is laid out, you can add a basic shape or two to help spruce it up. To find these basic shapes, go to Elements, scroll down to Lines & Shapes, then click on one of the shapes presented, or click on See All to browse through all the available shapes.
Clicking a shape will drop it on the canvas. You can then reshape it and recolor it with the Color Picker.
Step 6: Add Text To Your Table
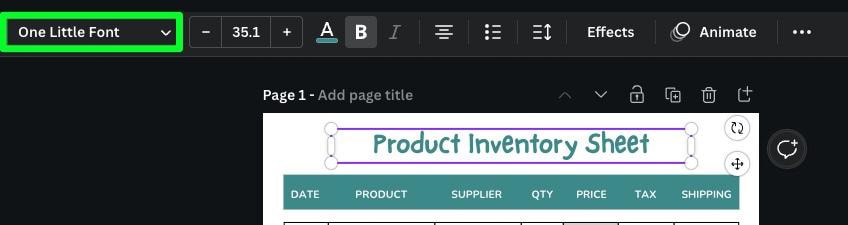
To add text to your table, click the Text (T) button and choose the size you want to use.
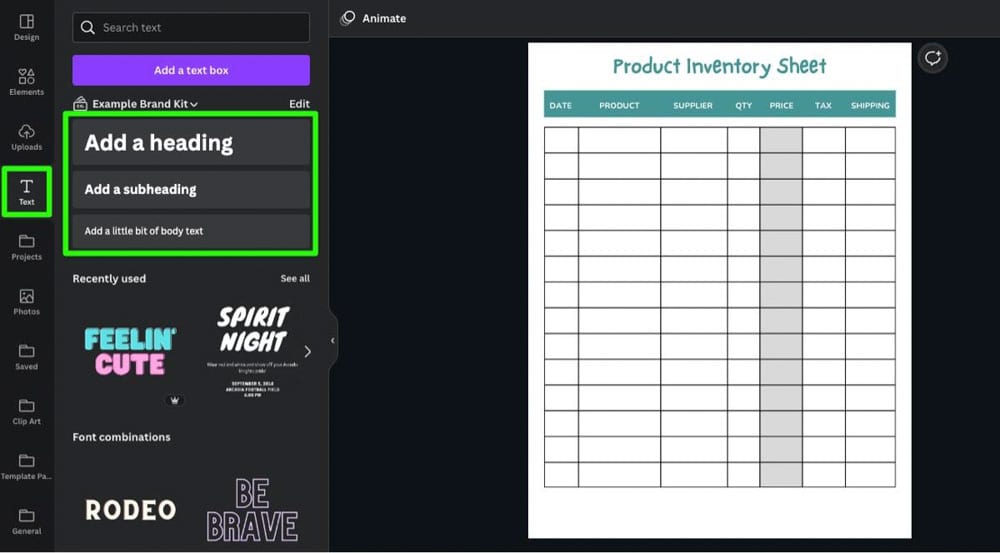
You can change the font of all your text by selecting a text block, then choosing a font from the Font drop-down menu.
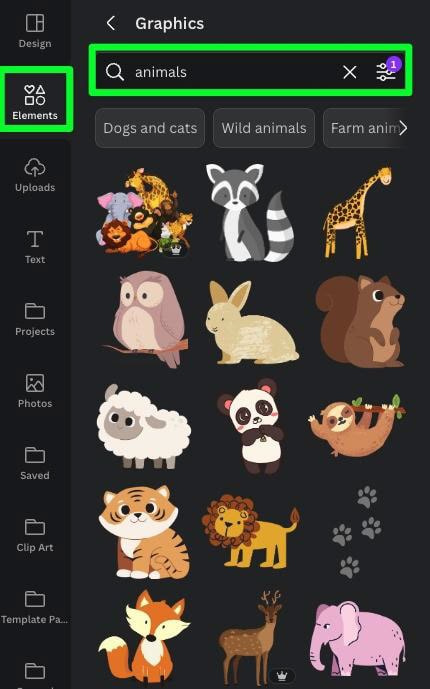
Step 7: Add Extra Elements For Flair
To add a little flair to your table, click on Elements, then search for the theme of your choice.
Also, add any logos or slogans you may have.
How To Make Gridlines For Design Alignment In Canva
Unfortunately, Canva doesn’t allow you to adjust gridlines officially. So you will have to use a workaround. Thankfully, the workaround is easy to do.
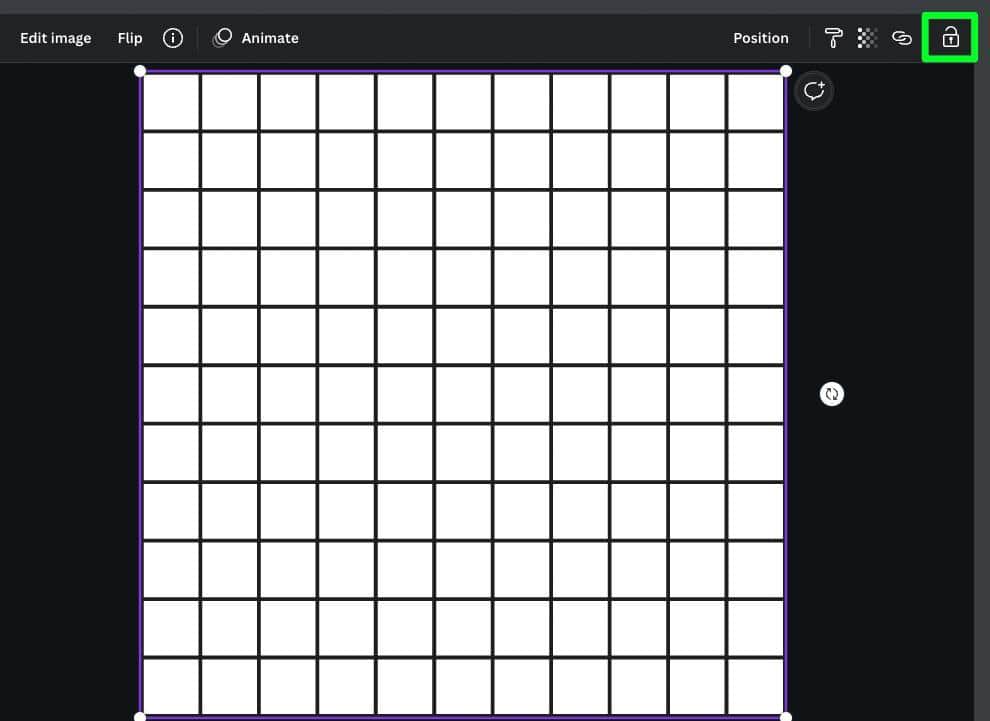
First, click on Elements, then search for Grid. Scroll down to the Graphics section and click See All. Click one of the many grids available to add it to your canvas.
Next, move your grid to one of the corners of the canvas, then stretch it out to fill the entire canvas.
The grid you just stretched out will be used as makeshift gridlines. To make sure that you don’t end up selecting this grid by mistake later, click on the Lock button in the top right corner.
From here, you can line up basic shapes to the makeshift grid lines to keep things perfectly leveled.
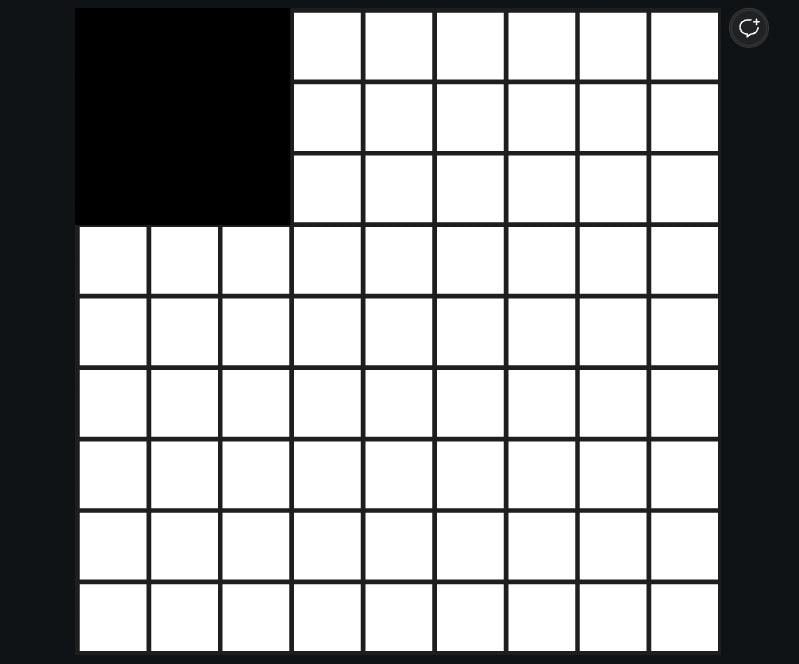
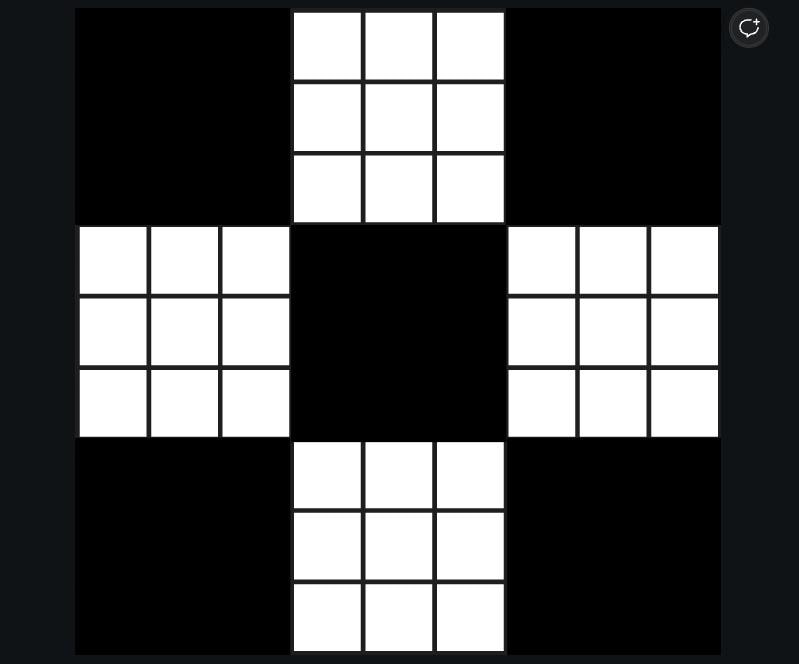
Once you line up enough elements, you can select them all, shrink the selection down with one of the corner handles, and then use the gridlines to help line up your new design.

From here, all it takes is some creative duplication to create some cool-looking designs.
So whether you are looking to make a photo grid, a table for a printable, or even a calendar, there are many different ways to make an awesome-looking grid in Canva.
Happy Editing!


Great tutorial! Just what I needed to create a custom grid for a photo collage.
Thanks!
Jim
You are welcome!