


Many designs you create in Canva end up being to promote a download, drive traffic to a website, or even link to your social media. To make it easy for people to get from your promotion to your web page, adding a hyperlink to your design will do just the trick. Thankfully, it’s easy to make a clickable link in any of your Canva designs.
If you’re worried about needing to know how to code or some other complicated computer processes, don’t worry! I’ll show you how to make text, photos, and graphics clickable without using technical jargon. You don’t need to be a tech wizard to create a clickable link.
How To Add A Hyperlink To A Canva Design
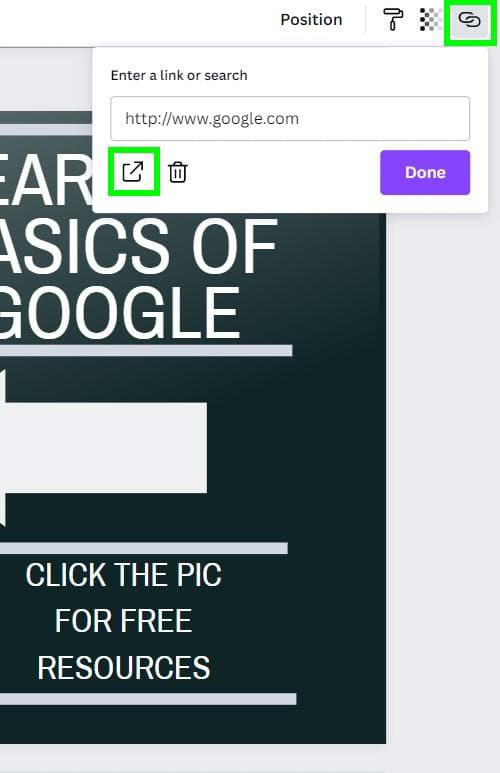
To add a clickable link in Canva, click on your desired image, graphic, or text to select it. Then click on the chainlink icon in the upper right corner and paste your desired link address in the panel that appears or choose another page within your design to link to. Once complete, export to PDF.
Let’s walk through an example of this together.
The technical term for a clickable link is called a hyperlink. A link that’s designed to send the end user to a page or website.
Before you add a hyperlink to your Canva design, you first need to decide if you want your hyperlink to be linked to text, a photo, or a graphic. All three ways work great. It just comes down to personal preference.

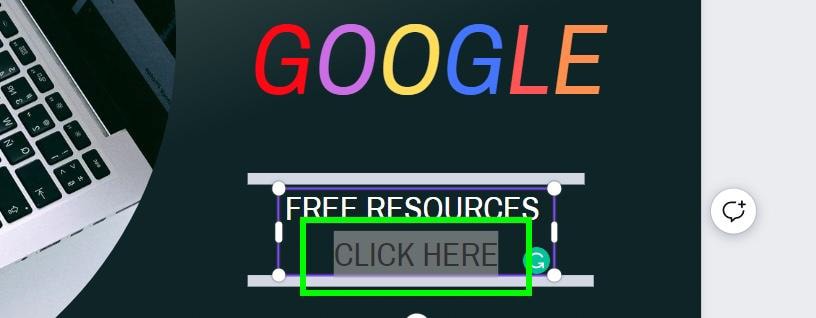
– Adding A Hyperlink To Text
First, decide what text you’d like to add your hyperlink to. Then highlight the text you want to hyperlink with your mouse.
Then, click the Link button and add the website you want to link to.
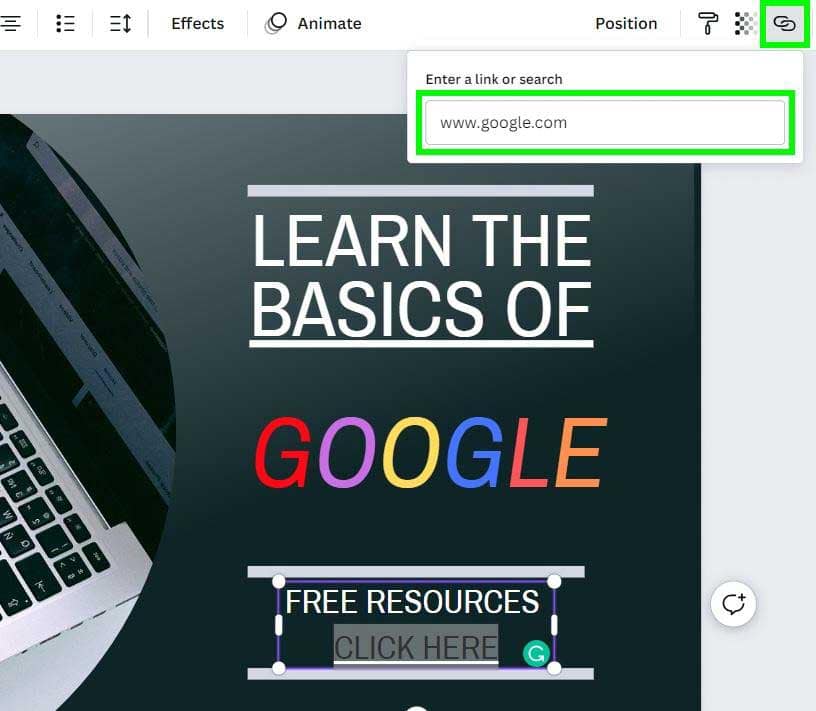
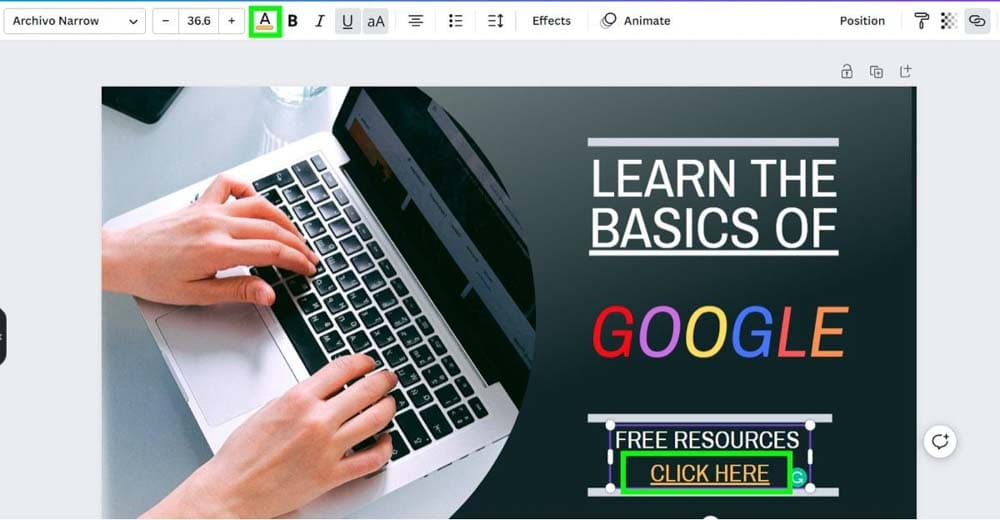
You will know that adding your hyperlink works if your text becomes underlined.

The underline is to help you know that the text is hyperlinked. To make it more evident that the text is hyperlinked, you can highlight it again and change the color of the text with the Text Color button.
A brighter color is usually better than a darker one, but it depends on the background of your design.
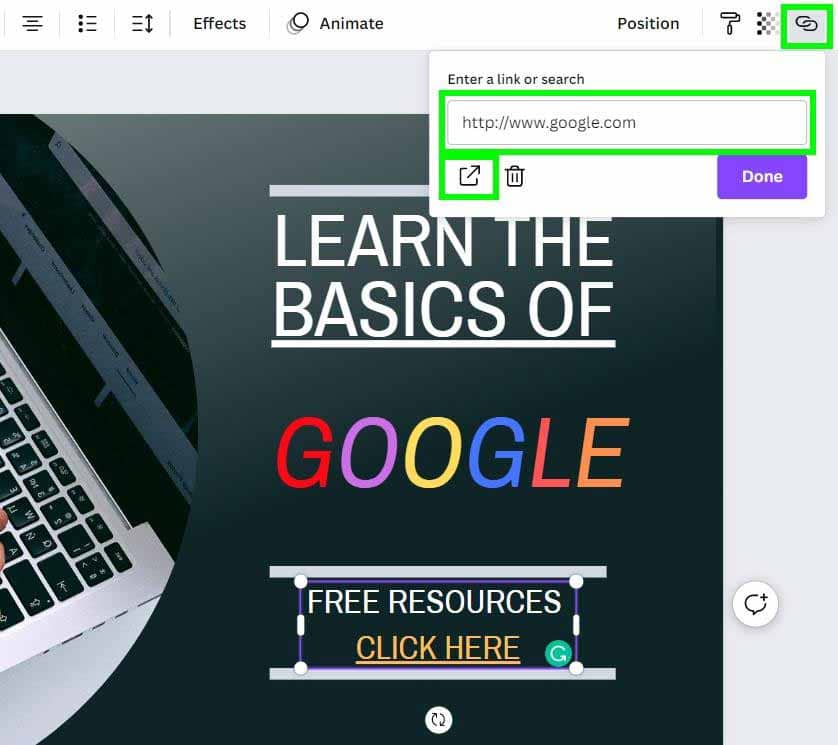
After you add your hyperlink, you can ensure your link works by selecting the text and clicking on the Hyperlink button. This way, you can check that the correct website is still there.
You can also click the Go To Link icon to check if the link works. Clicking it will open up the link in another tab.
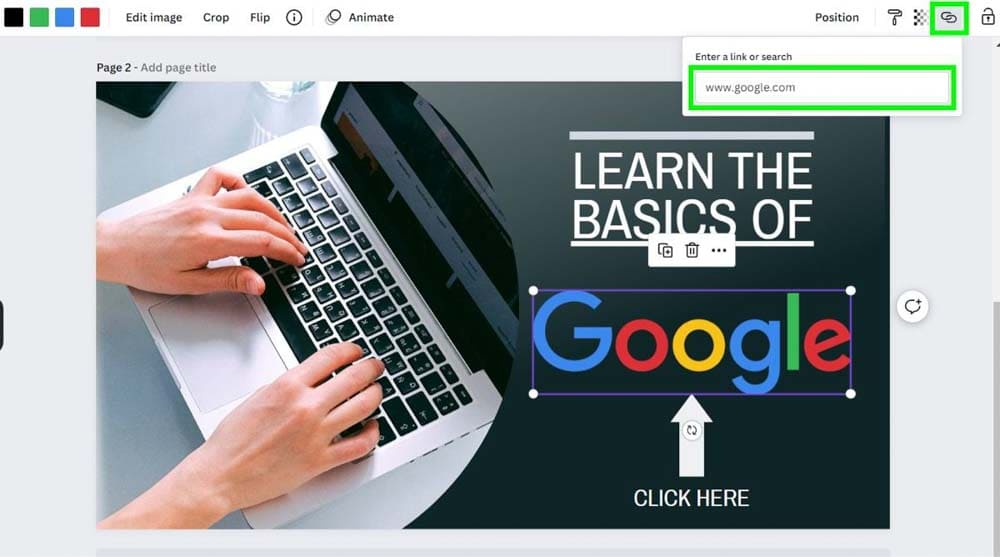
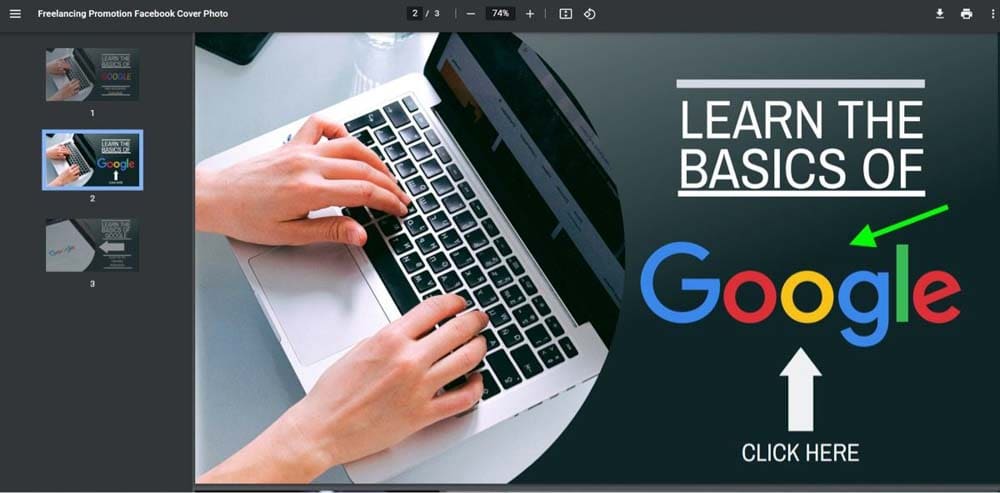
– Adding A Hyperlink To A Graphic
To find a graphic for you to hyperlink, click on the Elements Tab and either browse the graphics available or enter a specific theme in the search bar to find the perfect illustration for your design.
Click on the graphic to add it to your canvas.

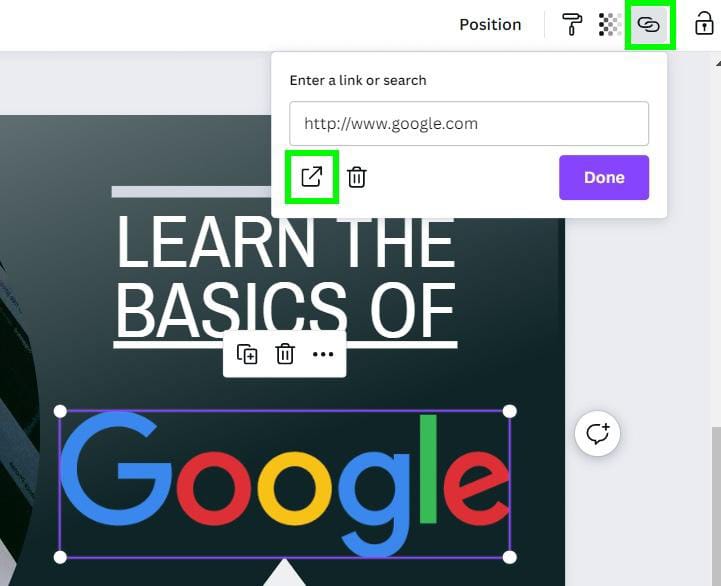
To add your hyperlink to your graphic, click on it and then click on the Link button. You can now type in the website you want to link to.

After typing in the link, there is no indicator that you successfully linked your website. To check whether it worked, click on the graphic and then the Link button again. You can check and see if your website is there and test to see if the link works by clicking the Go To Link icon.
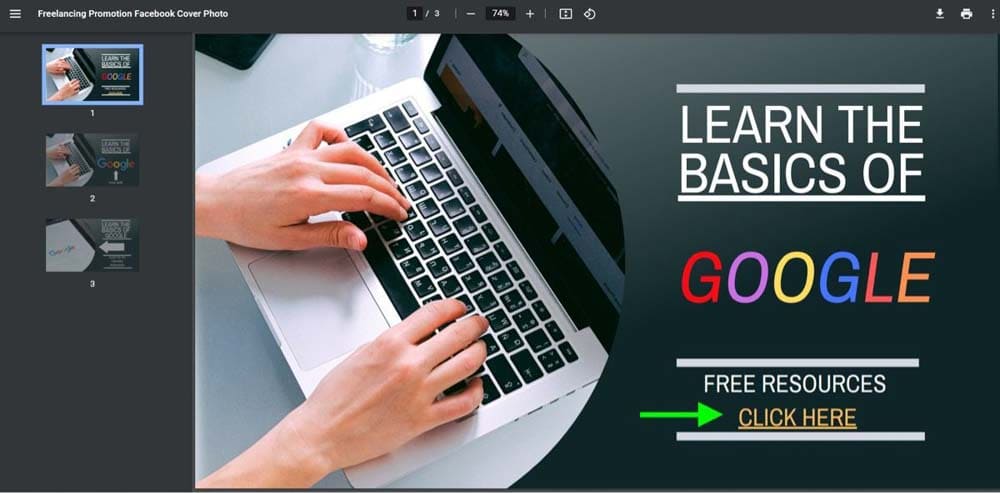
– Adding A Hyperlink To A Photo
The final element you can hyperlink in your design is a photo. To do this, click on the picture and the Link button. From here, you can add the website that you would like to link to.
Much like adding a hyperlink to a graphic, adding a hyperlink to a photo will not change the picture to show the change. To check this, click on the image and then the Link button. You can check if the link worked by clicking the Go To Link button.
How To Export Your Canva Design With Clickable Links
The entire point of creating a design with a hyperlink is to make it easier to get your end user to a link. If you export your design incorrectly, the hyperlink won’t work, so ensure you follow the directions below.
Step 1: Export Your Design As A PDF
To start the process, click on Share and then click on Download.
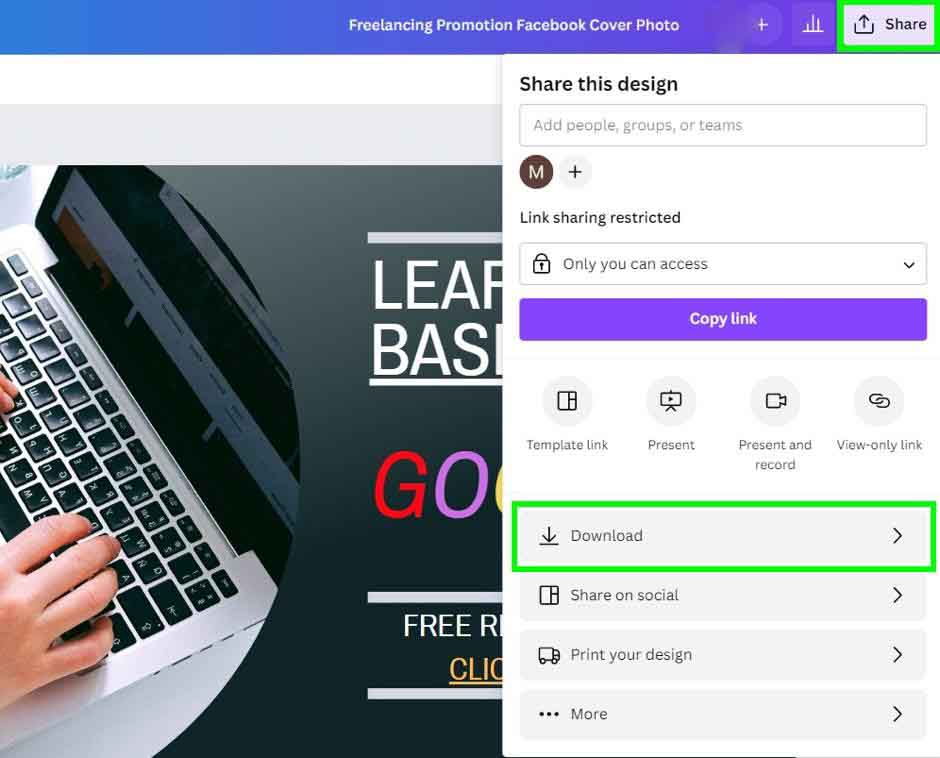
You will now be presented with your options for exporting your design. By default, Canva will have PNG selected for File Type.
A PNG will flatten your hyperlinks, making them un-clickable. Canva gives you a warning message about this in the Share Menu.
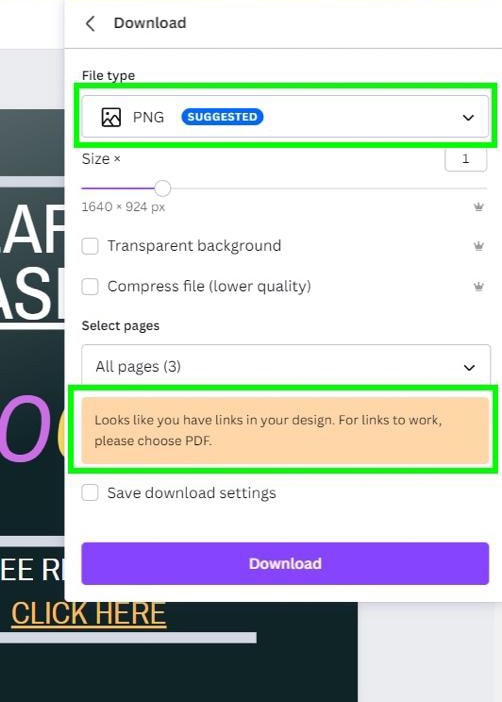
To ensure your hyperlinks remain clickable, export your design as a PDF. A PDF doesn’t compress your design, keeping the click-ability of your links.
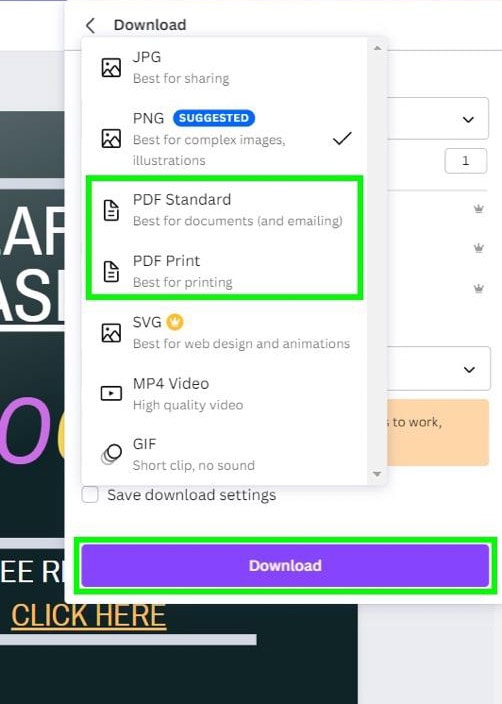
You have two choices when exporting as a PDF. If you plan to email your final design, the best option to pick would be PDF Standard, as the file itself is smaller. If you don’t care how big your end file is, click on PDF Print, which will keep your file the original size and have the best presentation.
After you’ve made your choice between the two PDFs, click Download.
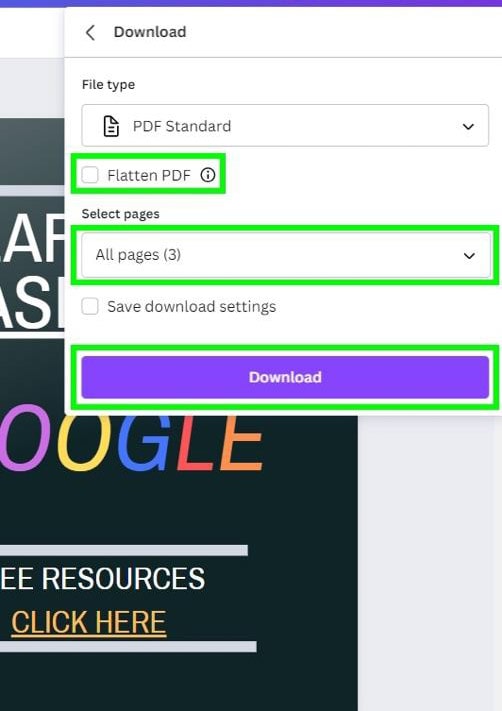
Step 2: Download Your Pages
The next step is to pick the pages you want to download. Under the Select Pages section, open the Drop-Down Menu to choose the page(s) you wish to download. If you want to download all your pages, then select All Pages.
Before you download, double-check and make sure Flatten PDF is unchecked. If Flatten PDF is checked on, your links will not be clickable, defeating the point of doing any of this.
After you’ve done these two things, click on Download to download your design to your computer.
Step 3: Check Your PDF
After downloading the design, open the PDF and click on the hyperlinks to see if they work. You’ll know if your hyperlink works if the website opens.
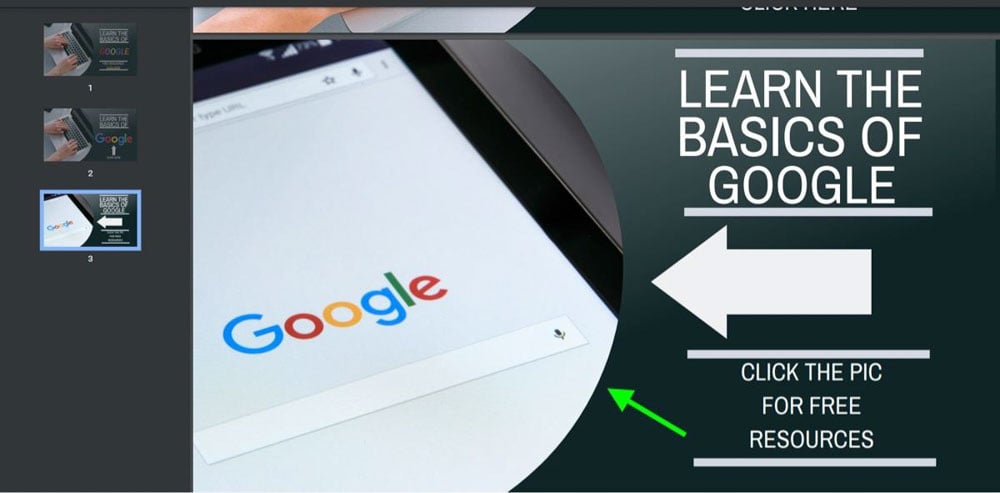

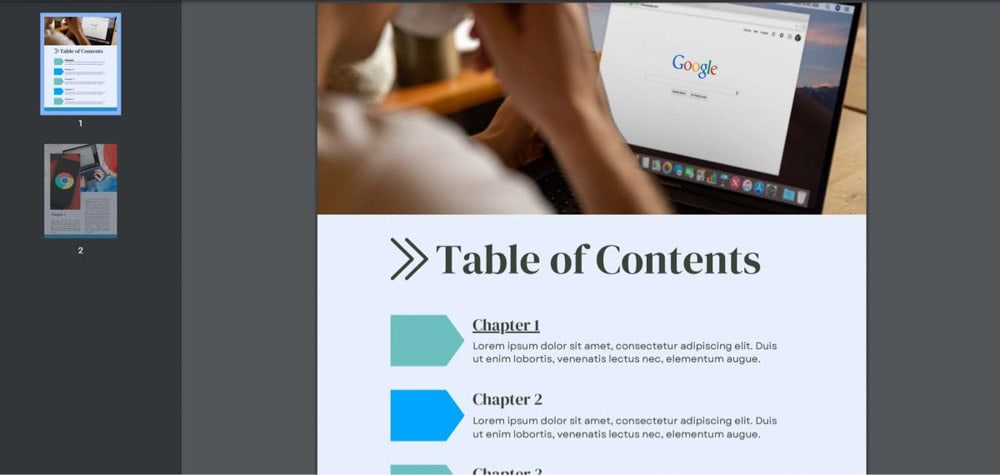
How To Add A Link To Another Page In Your PDF Document
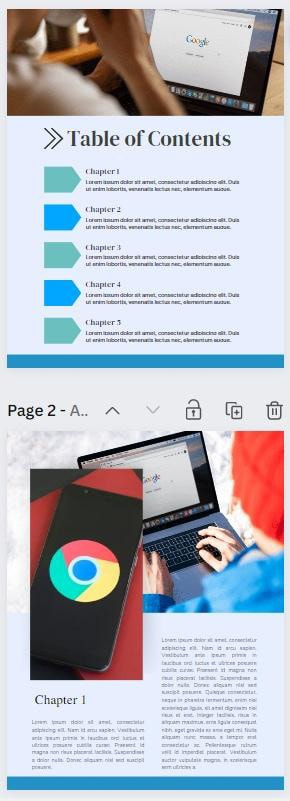
One of the coolest things about creating a PDF with Canva is how quick and easy it is to link to other pages within the PDF. It’s perfect for making a Table of Contents within an ebook, for example. Instead of your reader having to scroll to the right page to find the content they are looking for, they can just click on a link and snap right to it.
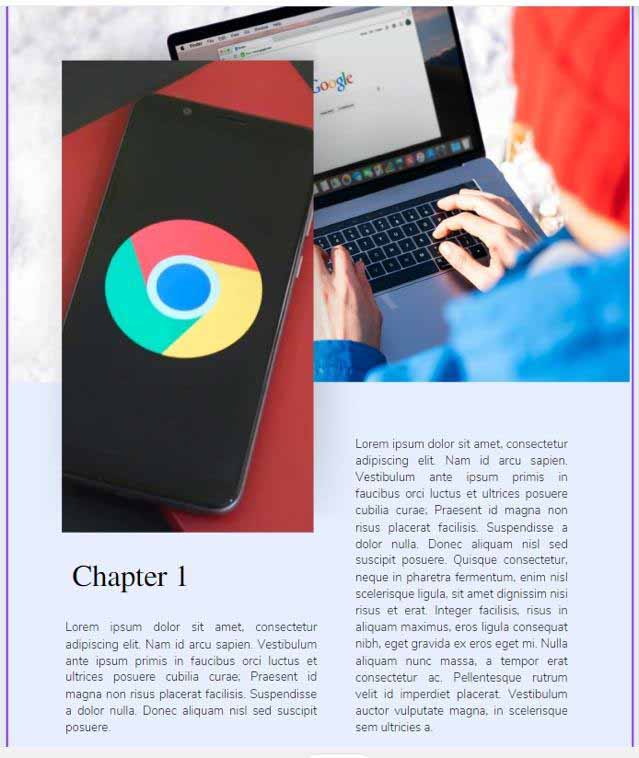
Let me show you how to do this by linking the first chapter of this PDF to a Table Of Contents.
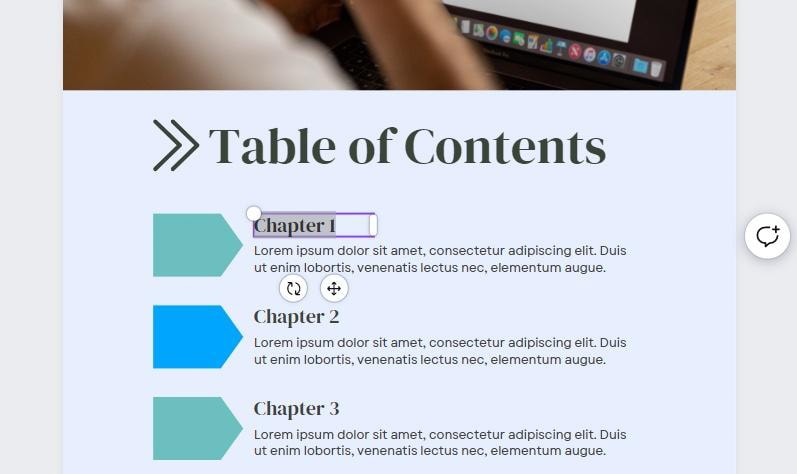
First, select the text that you wish to be clicked on by your reader. This can be a single word or an entire phrase.
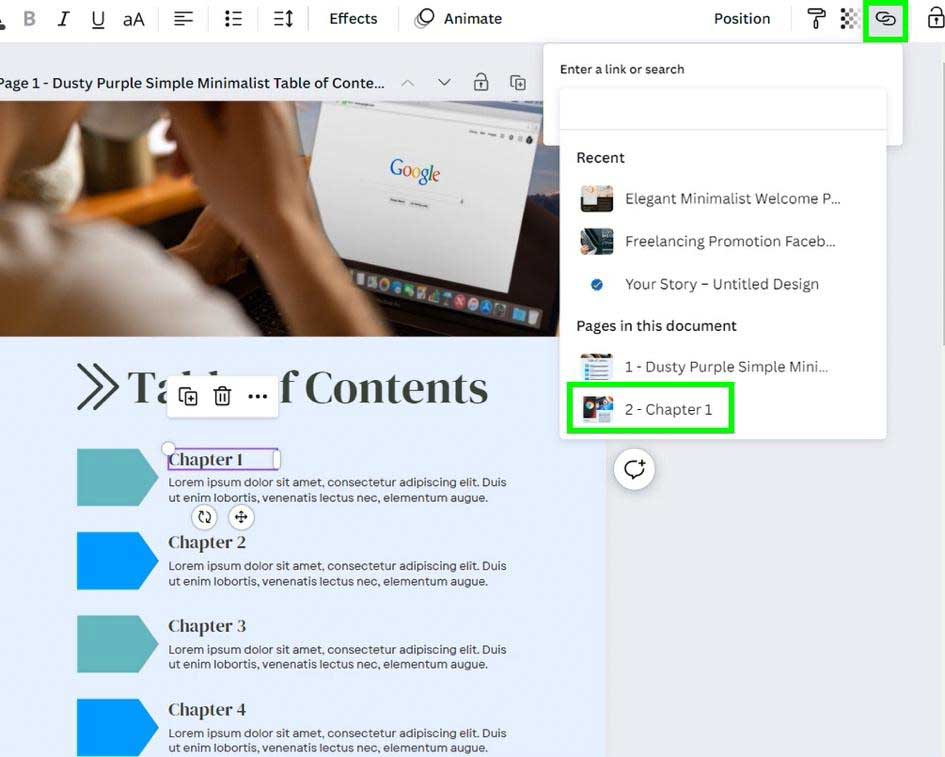
Then, click the Link button. Under Pages Of This Document, select the page you want the hyperlink to link to.
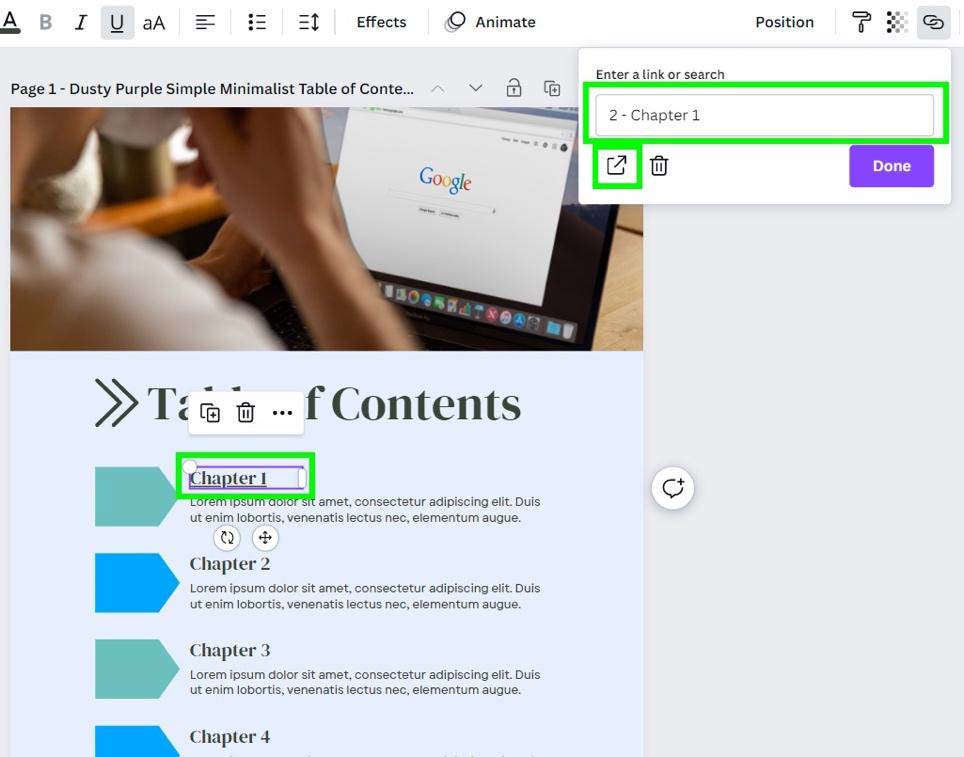
Your text will be underlined, but if you want to double-check that the hyperlink worked, select your text and then click the Link button again. You should see the page you chose in the search bar, and you can click the Go To Link button to test the link. Clicking it will send you straight to the page.
If you want to ensure your hyperlink works after exporting the PDF, click on the link to test it.
It’s important to note that adding a hyperlink to your project may not work in all places. For example, even if the hyperlink works on your computer, it wouldn’t work when uploaded to Instagram. That’s why clickable links are best used within documents you share via email or PDF download freebies you offer to your audience.
- 100+ million premium stock photos, videos, audio, and graphics
- 610,000+ premium and free templates with new designs added daily
- Up to 100 Brand Kits to establish your brand's identity online
- Remove image backgrounds instantly with Background Remover
- Resize designs without quality loss with Magic Resize
- Schedule social media content to 8 platforms
- 1TB of cloud storage
- 24/7 customer support
