

Photoshop offers a helpful feature that allows you to create clickable images for the web by adding hyperlinks. Using the slice tool you can add a hyperlink to any area of a project such as over certain text or an image. Once the hyperlink is added, you need to then use HTML to make sure the hyperlink remains on the image. Luckily, this doesn’t mean you need to learn code, because Photoshop does the hard work for you.
Links created with HyperText Markup Language (HTML) are called hyperlinks. Once you add a hyperlink to your files, anyone can click on the image to open up a predetermined web address.
You can add hyperlinks to virtually any part of your files, no matter if it’s a text, an illustration, or an image. Plus, you can add as many links to your files as needed. Here’s how it’s done.
How To Add A Hyperlink To Words Or Images In Photoshop
To add a hyperlink in Photoshop, select the Slice Tool and drag around the element you wish to link. Right-click inside the box you made and choose Edit Slice Options. Add your link in the URL box, and “_blank” in the target box. Now export your file to PNG, with the Format set to HTML and Images.
Let’s break that down more in-depth.
To add hyperlinks to your files in Photoshop, you need to use the slice tool to select the area you want to add a hyperlink to, then follow the correct exporting steps.
First, open the file you want to add a hyperlink to in Photoshop.
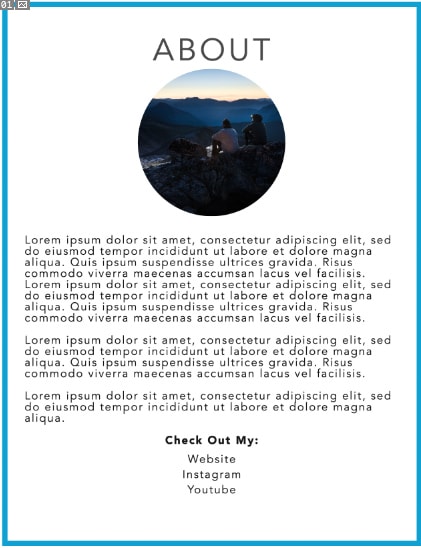
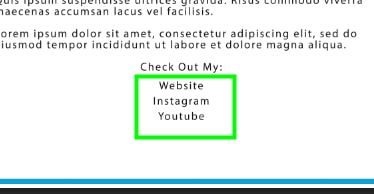
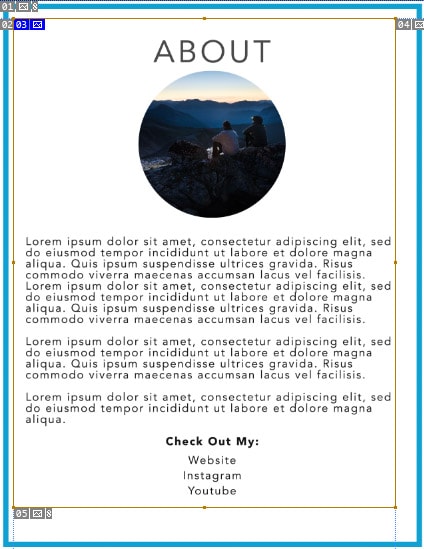
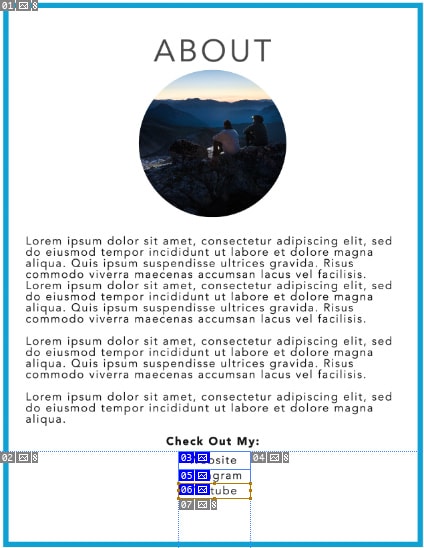
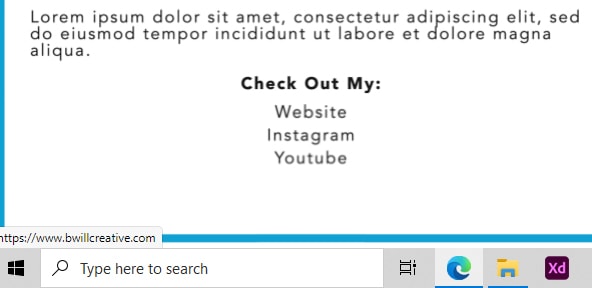
Then, decide where you want to place your hyperlink. In my case, I’ll add hyperlinks to where it reads Website, Instagram, and YouTube at the bottom of my document.
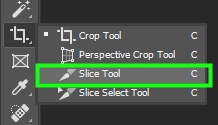
After choosing the area of your document where you want a hyperlink to appear, select the slice tool from the toolbar. It’s the third option under the crop tool.
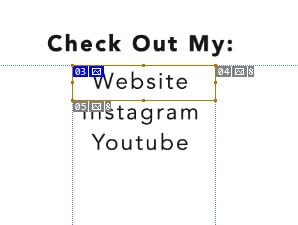
Then, click and drag around the desired area you want to make clickable. You can select the entire image by clicking and dragging around it. If you select the entire image and place a link, the entire image will be clickable.
On the other hand, when you use the slice tool to select a portion of your image, people will only be redirected to your link if they click within the area you selected with the slice tool.
In this case, I’ll only select the Website text because I want to direct people to my website only when they click on that area.
Once you have the area you would like selected, right-click the area and choose Edit Slice Options.
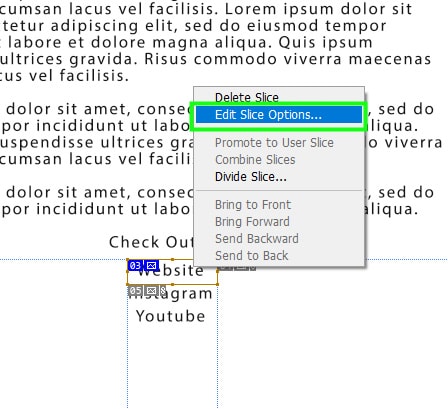
This will open up the Slice Options panel where you’ll have to fill in some information.
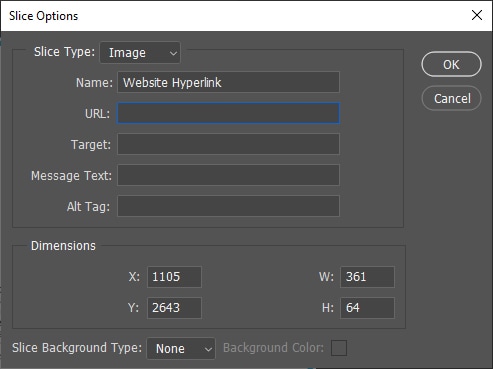
Start by entering a name for the slice you are making. This will make your work area more organized when adding multiple slices to one image.

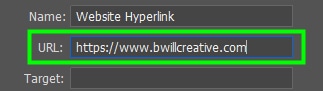
Then, in the URL box enter the domain you will redirect people to when they click on the text link. Don’t forget to add the “http” or “https” because it’s important information for both Photoshop and browsers that will read and open your file.
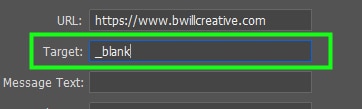
In target, enter _blank (underscore blank) if you want the link to open a new tab. Adding this step will mean that anyone clicking on the link will be directed to the link in a new tab, so they will still remain on the webpage where the image is situated as well.
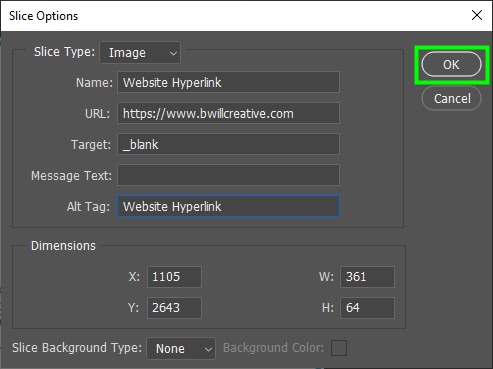
Lastly, in the Alt Tag box enter an alternative text to your link. This is not mandatory, but it’s a useful HTML5 meta tag that helps people identify what your link is about in case it doesn’t load for some reason.

When you’re finished entering the necessary data in the forms, click OK to exit the Slice Options panel.
Repeat the steps above until you have added all the desired hyperlinks to your image. At the end of the process, your image will be split into several parts, and the parts where you inserted the links will have a blue border around them.
How To Export With A Hyperlink In Photoshop
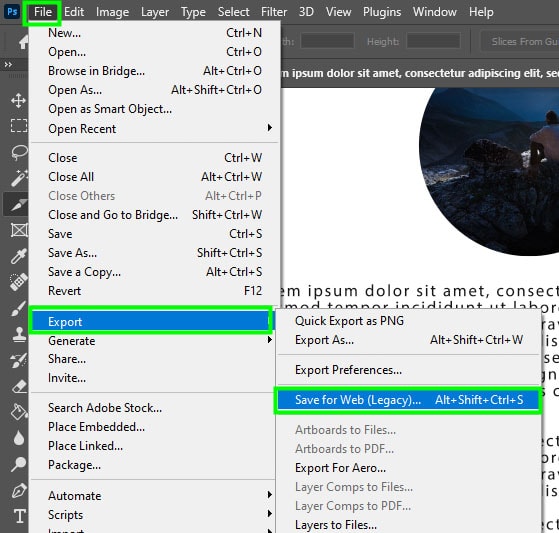
To export your file while keeping the hyperlink included, go up to File > Export > Save For Web or use the shortcut Alt + Shift + Control + S (Win) or Option + Shift + Command + S (Mac).
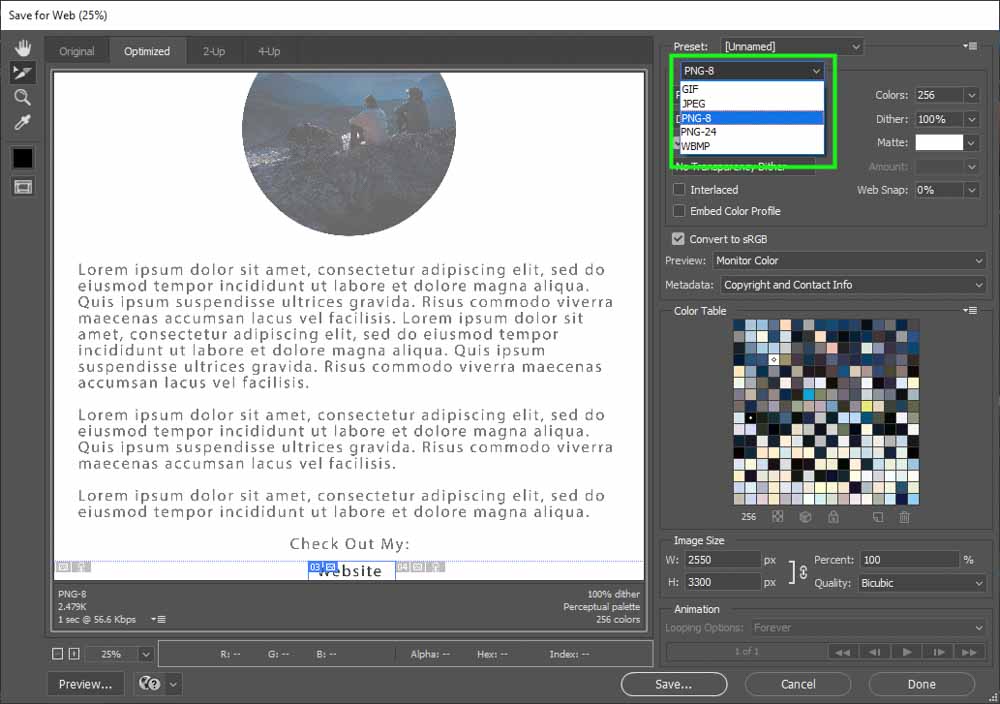
In the Save For Web panel, change the file format to either PNG or JPEG.
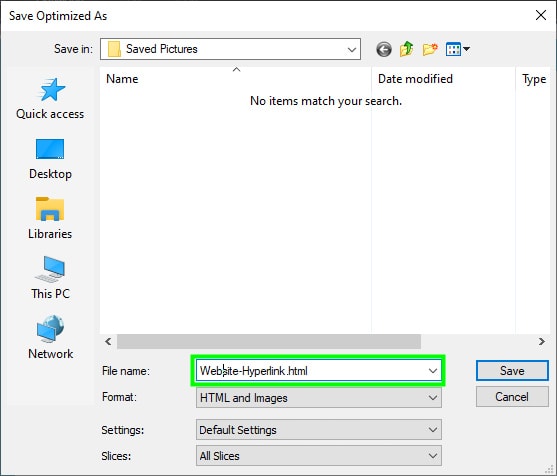
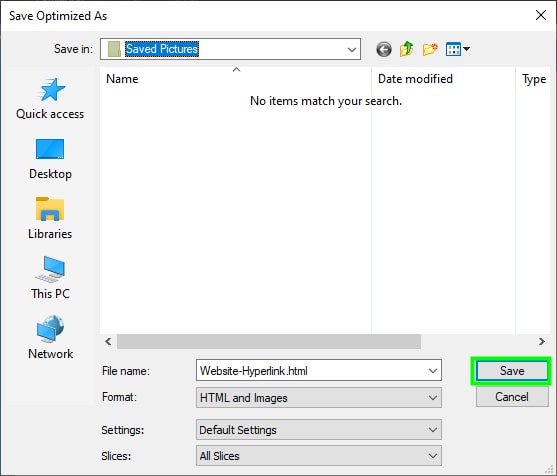
Once the right file format is selected, click on Save to save the file. Then, choose a location on your computer to store the image. Make sure you save the file with an HTML extension. To do this just type .html at the end of the file name.
Under the Format dropdown menu, choose HTML and Images.
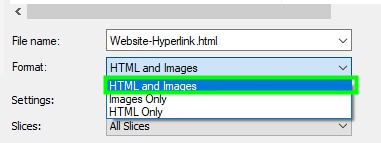
If you save your file as HTML Only, browsers will not display any images, just a blank page. However, if you save your file as Images Only, the image won’t contain a hyperlink, because it will be nothing but a static image. Lastly, click on the Save button to save the files.
Both the image folder and the HTML file will be saved in the same location. Make sure you keep them together, or else the hyperlink won’t work.
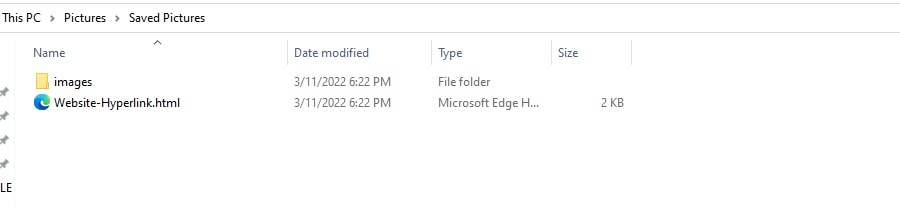
You won’t likely use the image folder because Photoshop cuts your image into several parts so that it can work on the web. However, you need to store it so browsers can read and display them on the web.
As for the HTML file, you can open it with a text editor like Notepad, copy the code, and paste it into the HTML file of the web page where you will publish your clickable image.
Once you publish your clickable image, browsers will read your file as an HTML code and display it as an image to viewers.
Test Your Hyperlink
To test your hyperlink, go to your saved HTML file and double-click it.
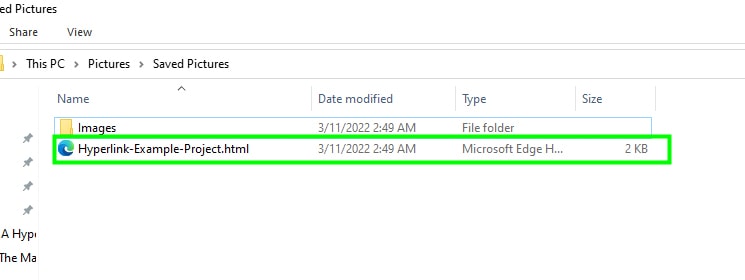
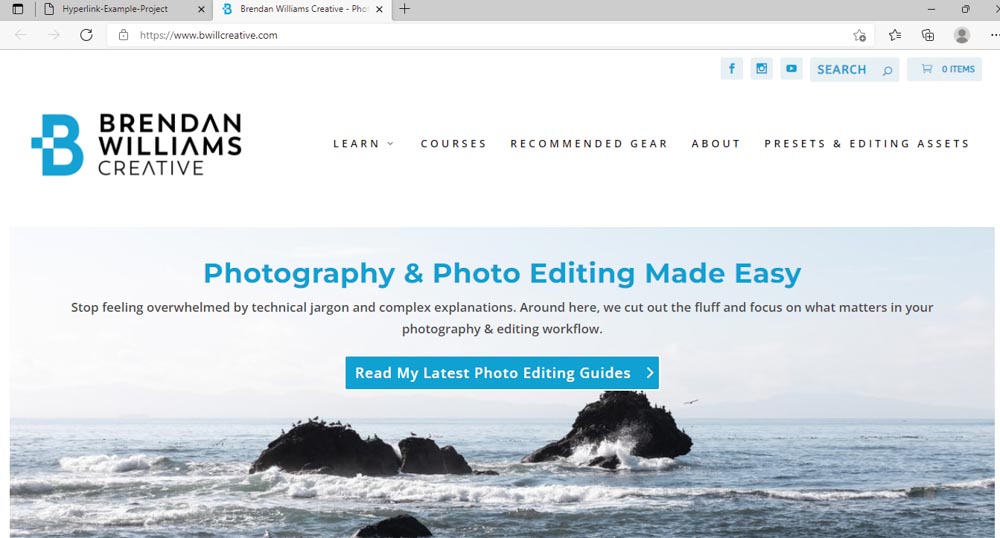
This will open up your image in your default web browser.
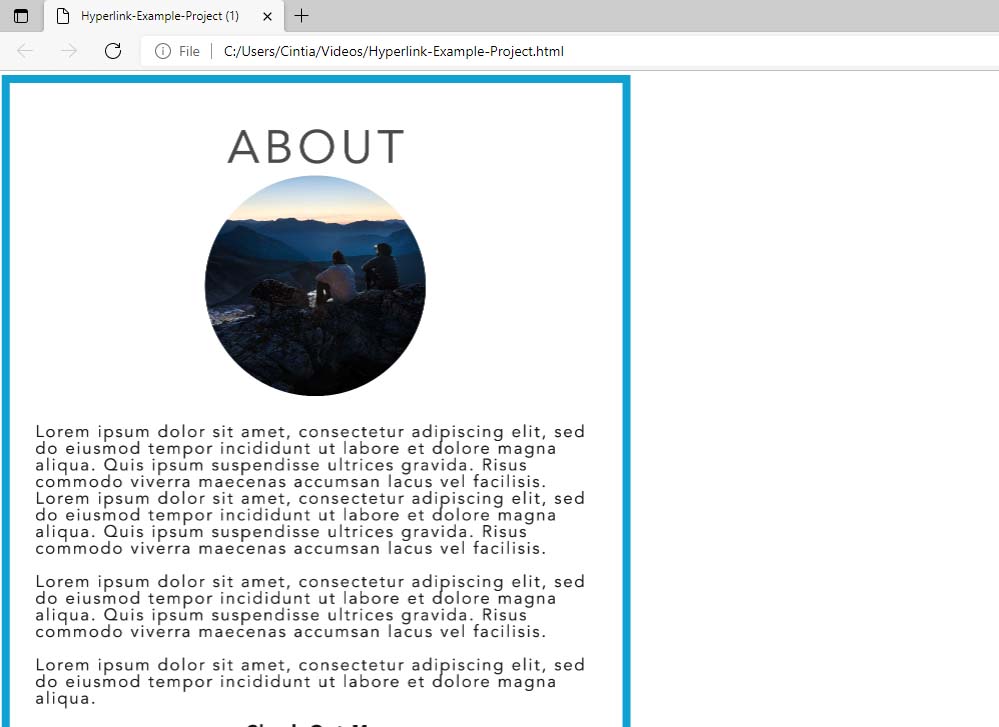
Once the image opens in your web browser, click where you placed the hyperlink. In my case, I placed the hyperlink on “Website”.
Notice that as soon as I hovered over the text with the cursor, my website link popped up at the bottom of the browser screen.
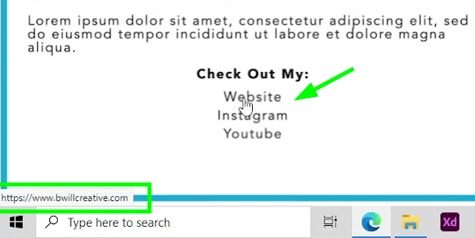
This means that when I click on the text, it will redirect me to my website in a new tab.
Now the only downside to this whole process is that Photoshop cannot add clickable links to regular image files such as JPEG or PNG. Instead, the file can only be viewed as HTML for the elements to be clickable. If you want to add clickable elements to your images, without having them as an HTML, I would recommend exporting to PDF and adding a hyperlink in Adobe Acrobat.
Happy Editing!
