
There are many reasons you may need to know how to draw a circle in Photoshop, such as when creating logos or cropping and framing a photo. Today, I’ll explain how to make a perfect circle in multiple ways.
I will show you how to create a circle with the Ellipse Tool, but this is only the tip of the iceberg. You will also learn how to use the Elliptical Marquee Tool, which creates a circular selection.
Method 1: Draw A Circle Using The Ellipse Tool
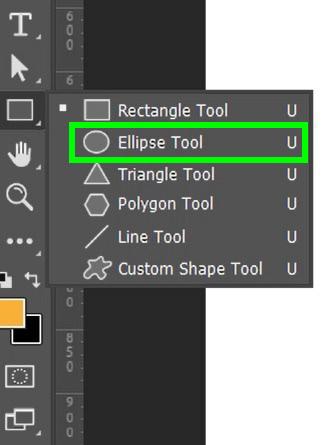
Step 1: Activate The Ellipse Tool (U)
To start your perfect circle, click on the Ellipse Tool (U). If you don’t see the tool, click and hold on any Shape Tool to reveal it.
Step 2: Click And Drag To Create The Ellipse On The Canvas
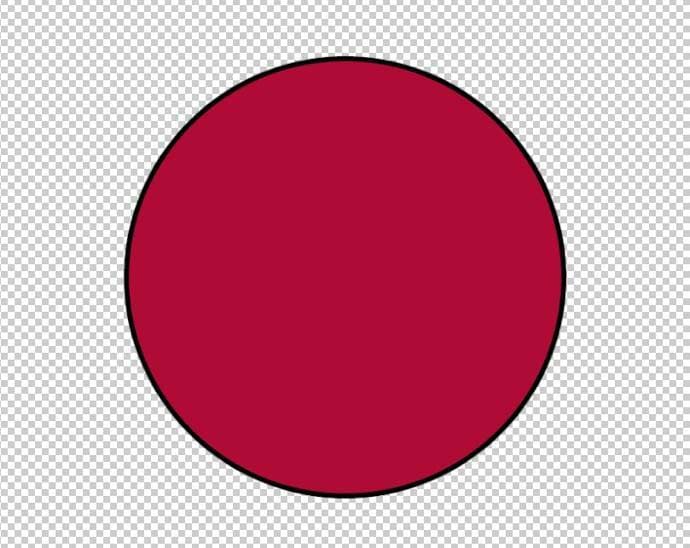
While clicking and dragging on the canvas to create the shape using the Ellipse Tool, you may notice that the shape you create is oblong and not a perfect circle. Holding down the Shift Key will lock the aspect ratio to a perfect circle shape as you drag the mouse on the canvas.


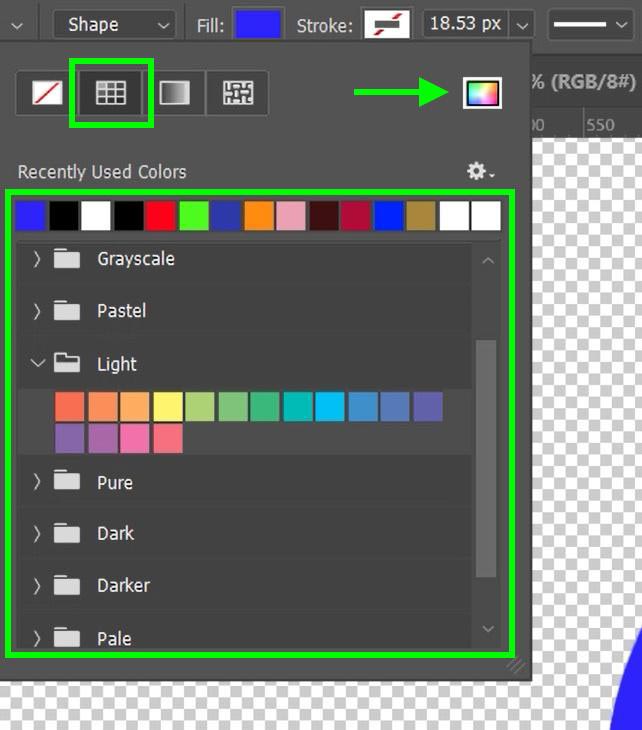
Step 3: Change The Fill Of Your Circle Using The Fill Swatch (Optional)
Once you have your perfect circle on your canvas, you can change its color any time in the Options Bar by clicking on Fill. This will give you a list of folders of different themed palettes for you to choose from.
You can also click on the Color Picker in the corner and choose a color that you might have in mind. If you don’t want a solid color, you can choose between the transparent, gradient, or pattern options.

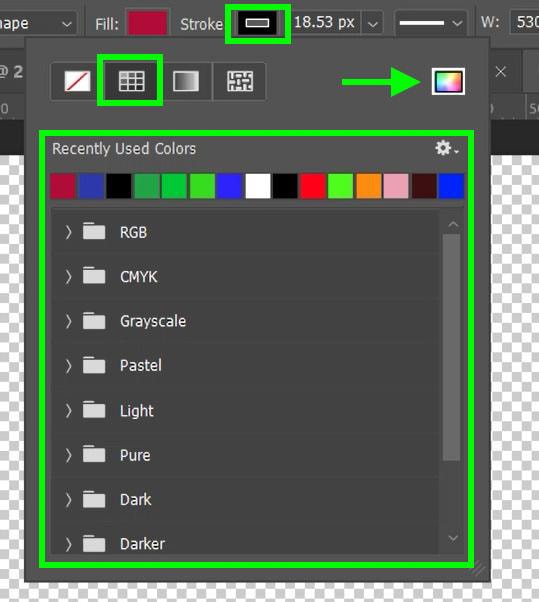
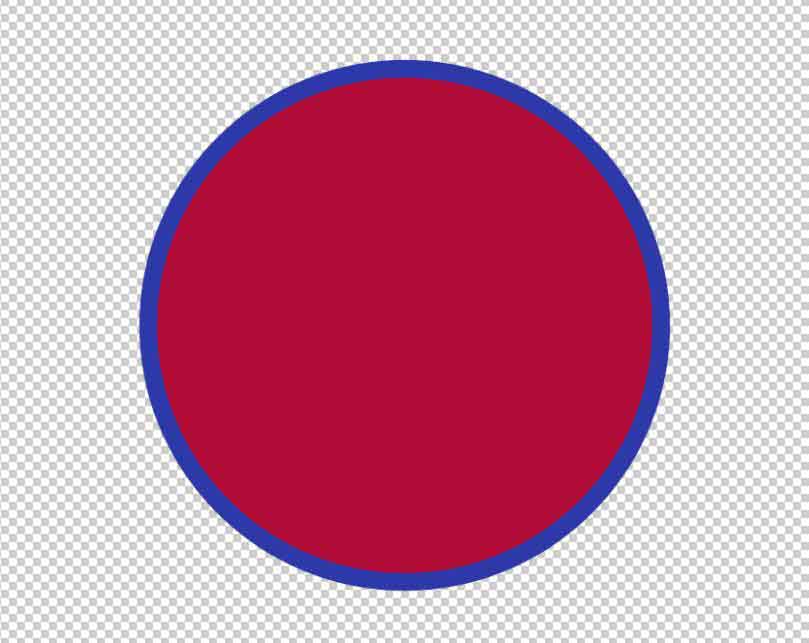
Step 4: Change The Circle’s Stroke Color Using The Stroke Swatch (Optional)
You can change the look of your stroke with the Stroke Option in the Options Bar. Clicking the Color Selection Icon will open a list of themed folders for you to choose colors from.
You can also click on the Color Picker in the top right corner to choose whatever color you may need. You also have the option to make the stroke transparent, a gradient, or a pattern using the icons at the top of the panel.
Step 5: Change The Size And Shape Of Your Stroke (Optional)
You can change the size of your stroke with the Set Shape Stroke Width option. Adjust the slider to the right or left to enlarge or shrink the stroke size.


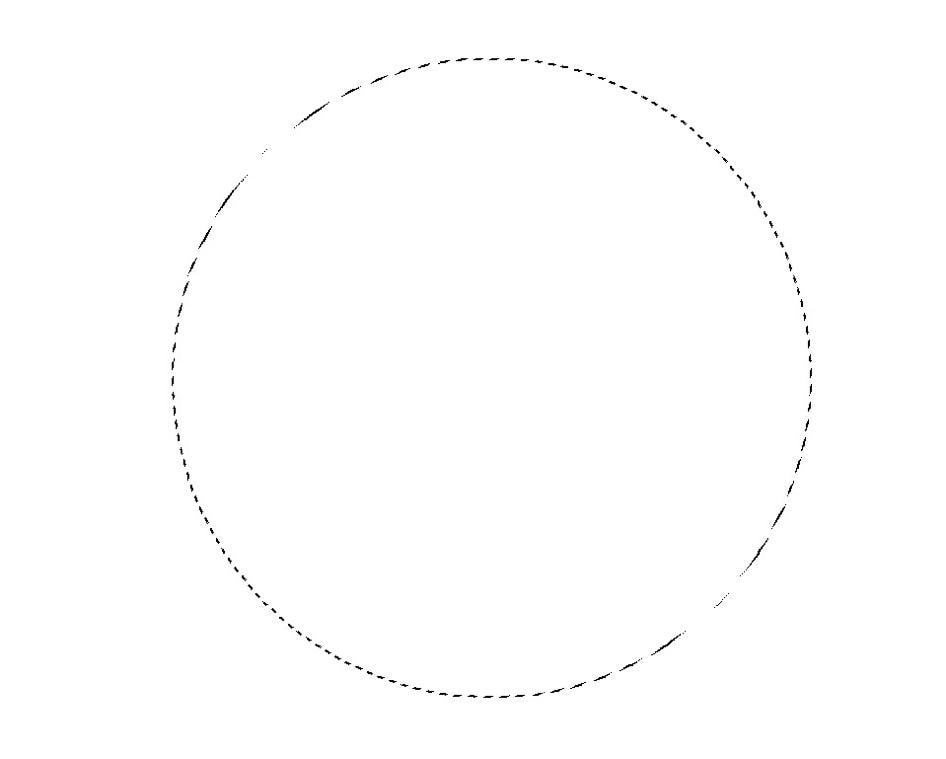
You can also change the actual shape of your stroke with the Set Shape Stroke Type option. You can change your stroke from a solid line to a dashed or dotted line.
You don’t have to settle with the standard dotted or dashed line either. There are plenty of settings to alter your line shape by clicking the More Options button.


Method 2: Draw A Circle Using The Elliptical Marquee Tool
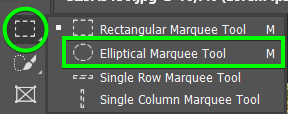
Step 1: Activate The Elliptical Marquee Tool (M) And Set The Feather To 0px
The second option to make a perfect circle is using the Elliptical Marquee Tool. You can find this tool by clicking and holding on to the Rectangular Marquee Tool.
Make sure that you set the Feather to 0 in the Options Bar.

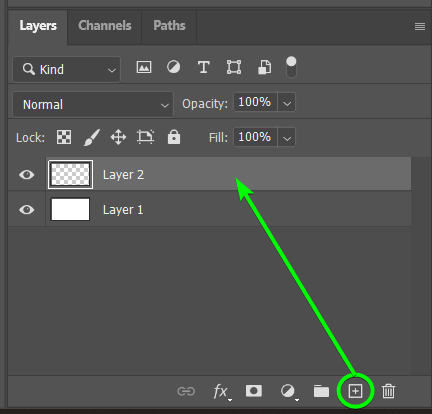
Step 2: Create A New Layer And Drag To Create An Elliptical Selection
You then need to create a new layer by clicking the Add new layer button and making sure the new layer is selected.
Hold down the Shift Key as you drag your mouse across your canvas to make a perfect circle.
Step 3: Right/Control + Click And Select Fill To Add Color To The Circle
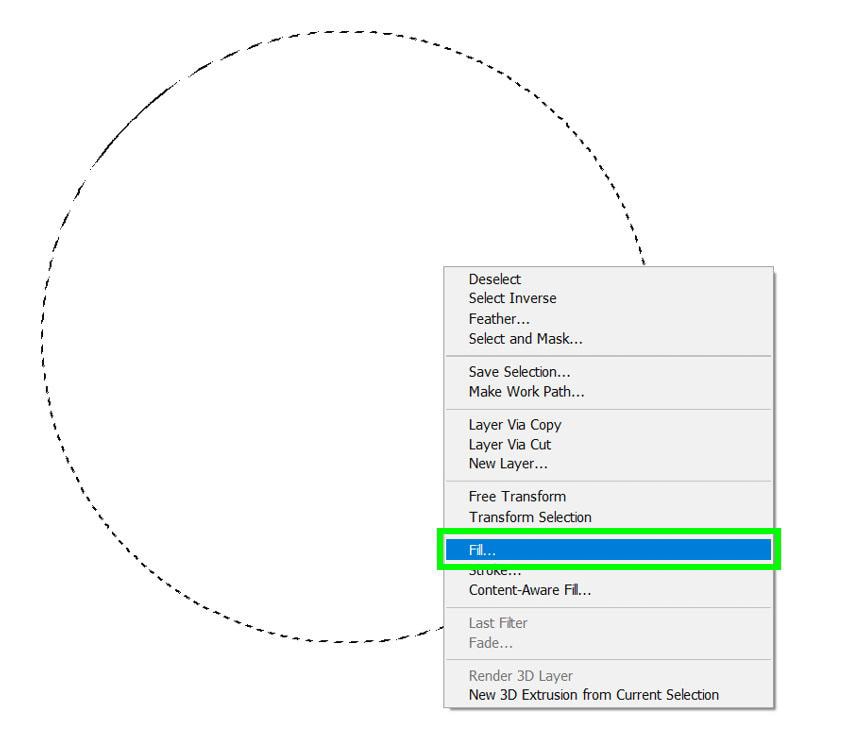
Now that you have your circle selection down, you need to fill it in with a color. Right-click (Win) or Control + click (Mac) on the circle and choose Fill in the list of options.
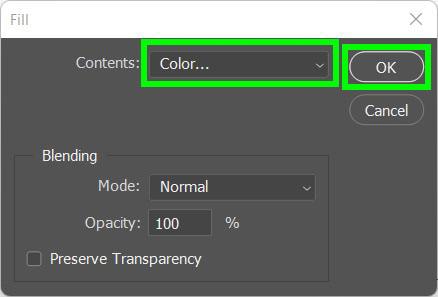
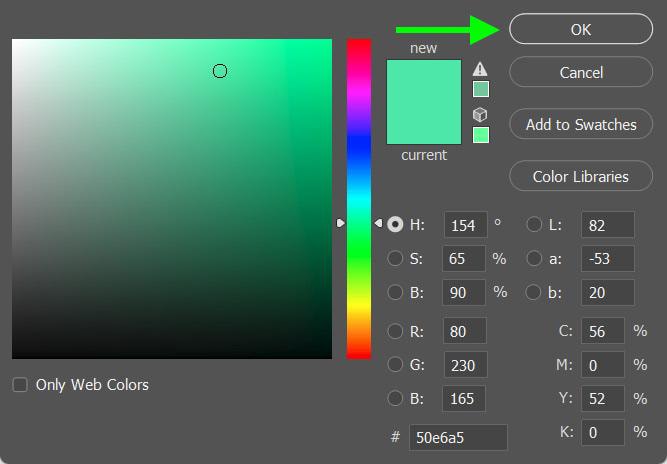
A window will pop up asking what you want to fill your circle selection with. Choose Color to quickly fill your selection with the color of your choice. Click OK to confirm your color.
To finalize your circle, deselect your selection by pressing Control + D (Win) or Command + D (Mac).

This is a fast way to make a perfect circle in Photoshop. However, you won’t be able to edit the fill or the stroke as you would using the Ellipse Shape Tool.


