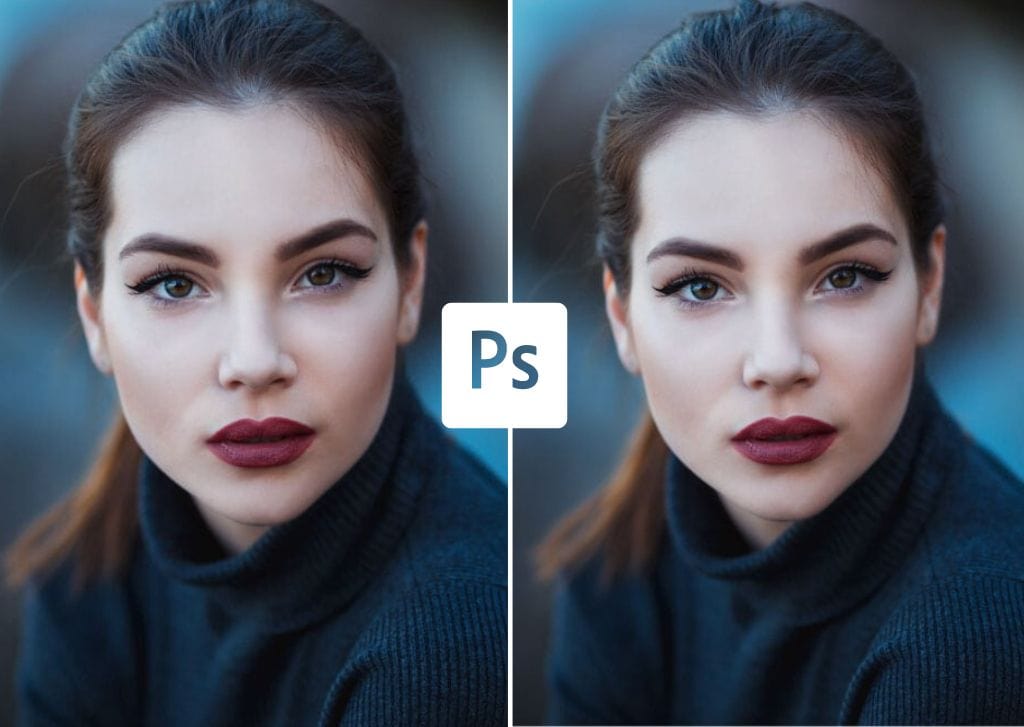

Making a face look thinner is a common retouching request by clients. Thankfully, you can make a face thinner in Photoshop with a few sliders within the Liquify tool. The big advantage to this is that it’s super beginner-friendly, gives a natural result, and only takes a minute or two!
Here’s how to do it.
How To Make A Face Look Thinner In Photoshop
Step 1: Turn Your Photo Into a Smart Object
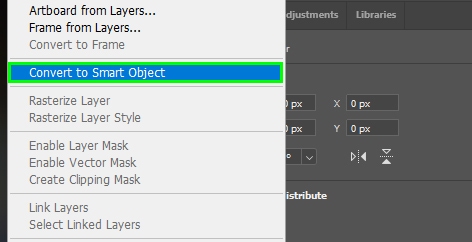
Changes are not permanent on a photo when you turn it into a smart object. This way, you can edit or remove a filter at any time.
Right-click the image layer and select Convert To Smart Object to turn your image layer into a smart object.
Step 2: Enable The Face Tool
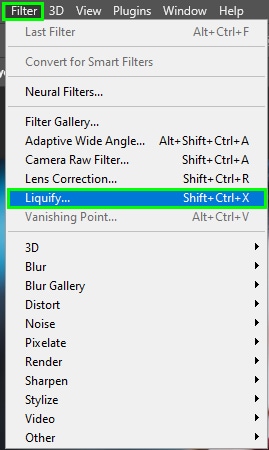
The Face Tool is inside the Liquify filter. To open the Liquify filter, go to Filter > Liquify. Alternatively, press Shift + Control + X (Win) or Shift + Command + X (Mac).
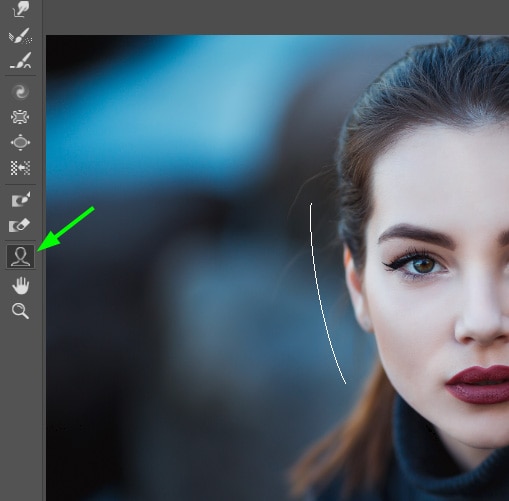
The Face Tool (A) is located on the left side of the panel. Click the tool to enable it.
Step 3: Learn How To Use The Face Tool Options
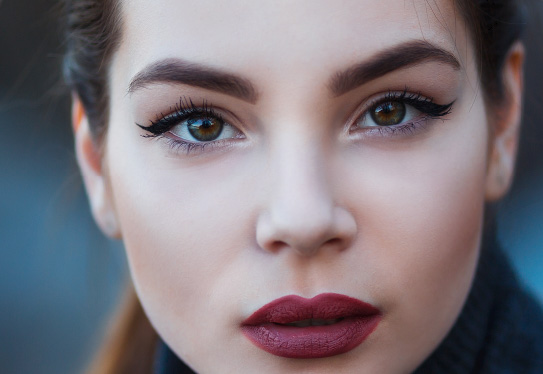
With the Face Tool (A) enabled, you will notice that as you hover over different parts of the face in your photo, there will be control points around the facial features.


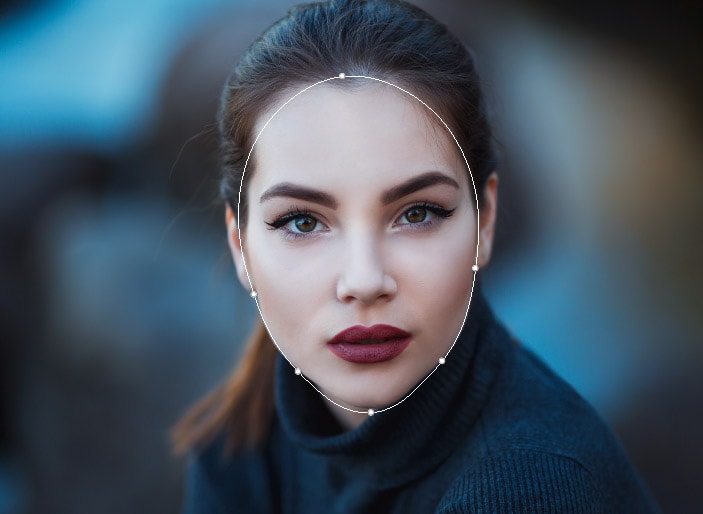
The Face Tool immediately detects anyone’s facial features. As you can see from the images above, it accurately delimits each feature’s area.
You can adjust the Face Tool control points to modify facial features manually, or you can do it with the help of the Face-Aware Liquify sliders.
Here is how to use both methods.
How To Adjust Facial Features Manually
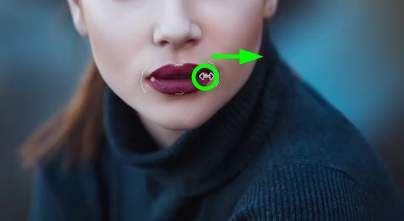
To adjust your subject’s features manually, click one of the control points around the feature you want to distort and drag it in the direction you want.
For example, as I wanted to make my subject’s lip look wider, I clicked on one of the control points at the corner of her mouth and pushed it to the right.


Besides playing around with control points, you can click and drag an area within the face in any direction to modify the target area. For example, I clicked the cheek in the image below and dragged it up to lift it.
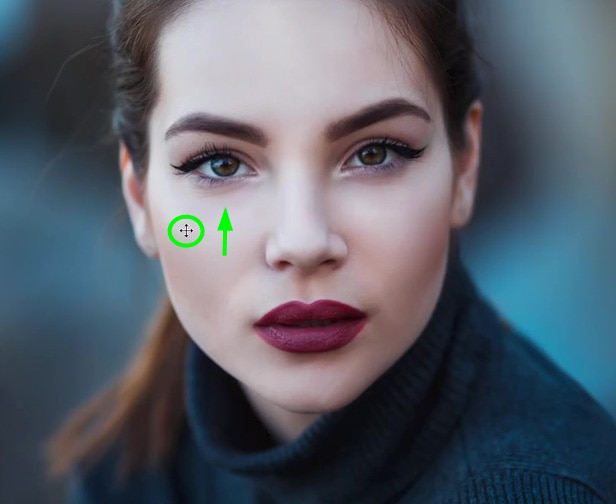
Be careful when clicking areas that do not contain control points because it might affect the surrounding areas.
How To Adjust Face Features Using Sliders
Using sliders, you can adjust face features precisely and efficiently. The Face-Aware Liquify sliders are on the right side of the Liquify dialog.
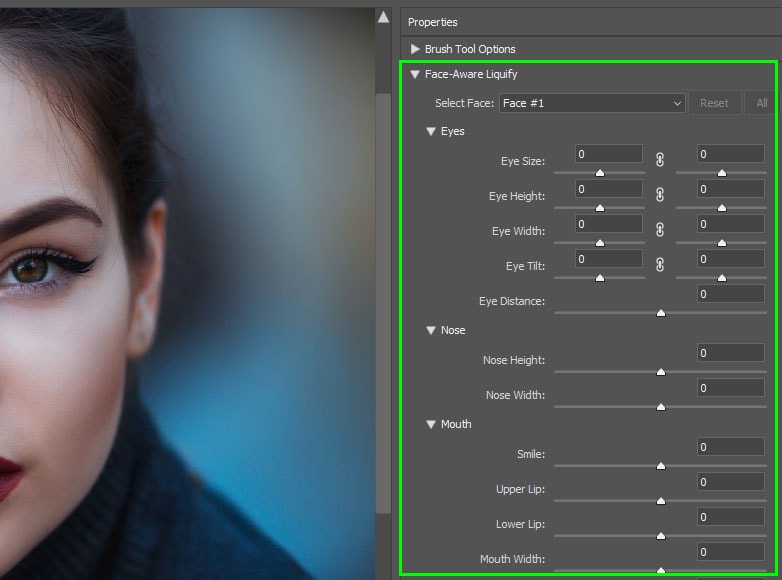
The Face-Aware Liquify options allow you to adjust every facial feature. The sections are sorted out by feature with different adjustment sliders within the tabs.
For example, in the Nose section, you can adjust the Nose Width or Nose Height by moving the sliders to the left or the right.

Step 4: Adjust Face Features To Make A Face Look Thinner
Some features make a face look rounder, such as a broad cheek, a jawline the same width as the cheek, and a small chin. The opposite features make a face appear thinner. Pay close attention to your subject’s characteristics to identify their face shape.
In some cases, however, lighting and angles make a face appear rounder than it is. For example, if there isn’t much shadow hitting a subject’s face, there won’t be much light and shadow contrast, making a face look rounder.
Keeping these things in mind helps prevent mistakes that make someone’s face look rounder when shooting. If you’ve done everything right and your subject’s face still looks too round, there’s no need to worry since you can quickly fix that in Photoshop.
While you can manipulate some facial features to make a face look thinner, you should be careful since it can make your subject look like someone else if done incorrectly.
But I’ll show you how to make a face look thinner naturally.
For this purpose, you should use the Liquify panel sliders, as this is the fastest and most accurate option available.
You only need to adjust the Face Shape sliders to achieve your goal.
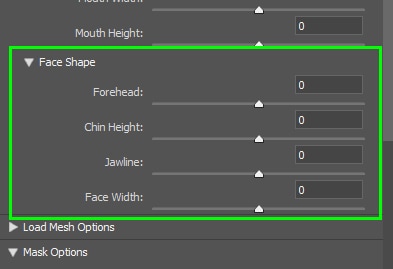
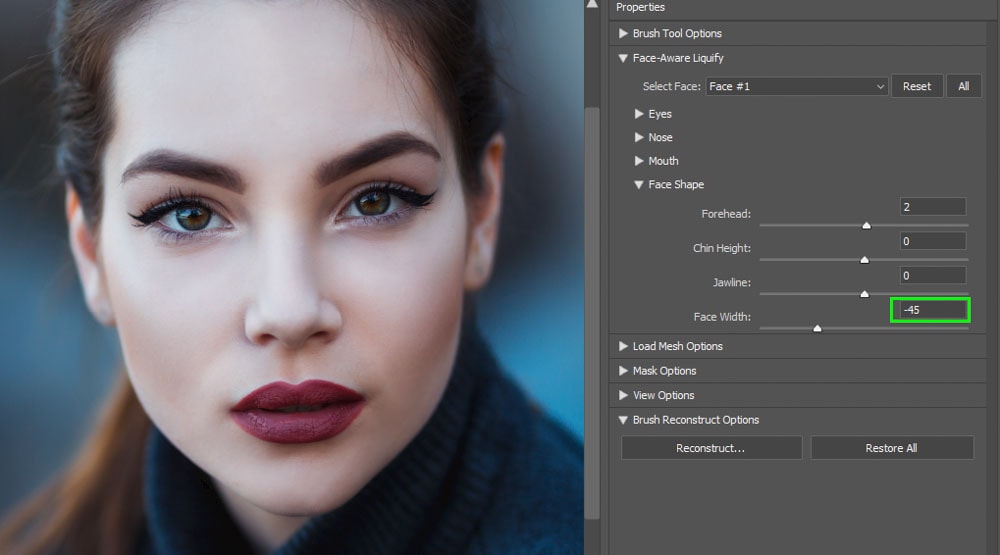
First, reduce the Face Width. This option minimizes the face’s size, immediately making it look thinner. However, don’t reduce the face width too much to avoid unnatural results.
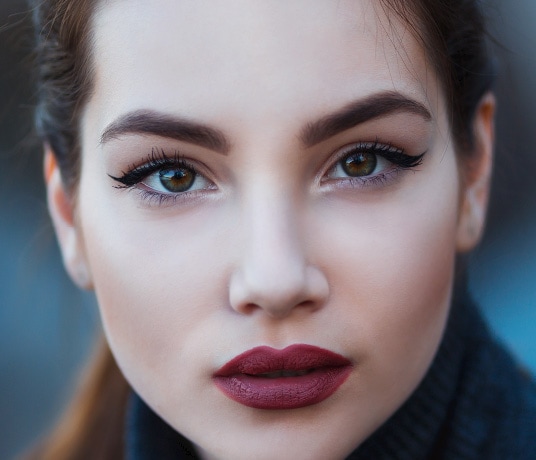
In my case, I moved the Face Width slider to the left to -45.
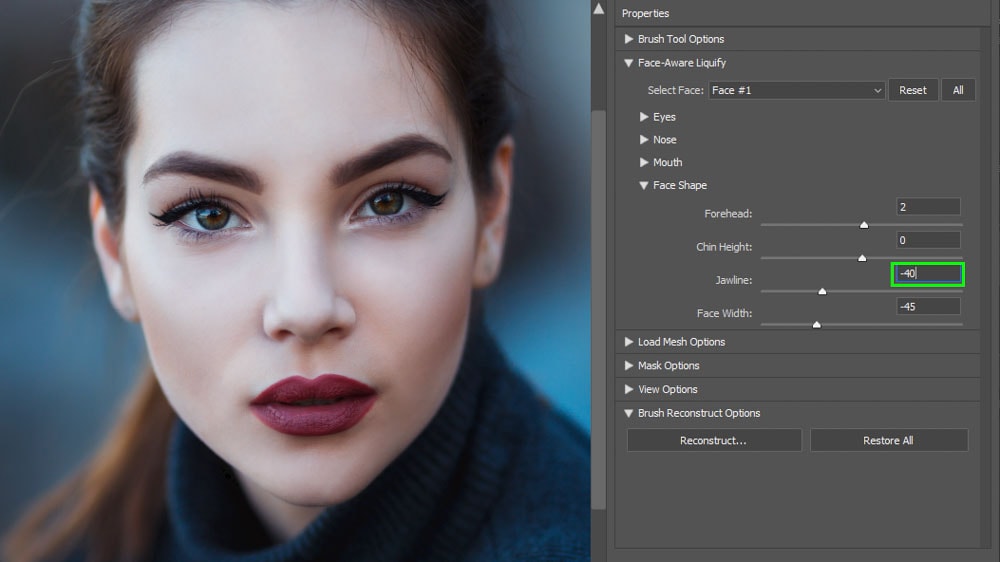
Next, reduce the Jawline to make the face even thinner. I set the Jawline slider to –40.
Finally, I set Chin Height to –35.
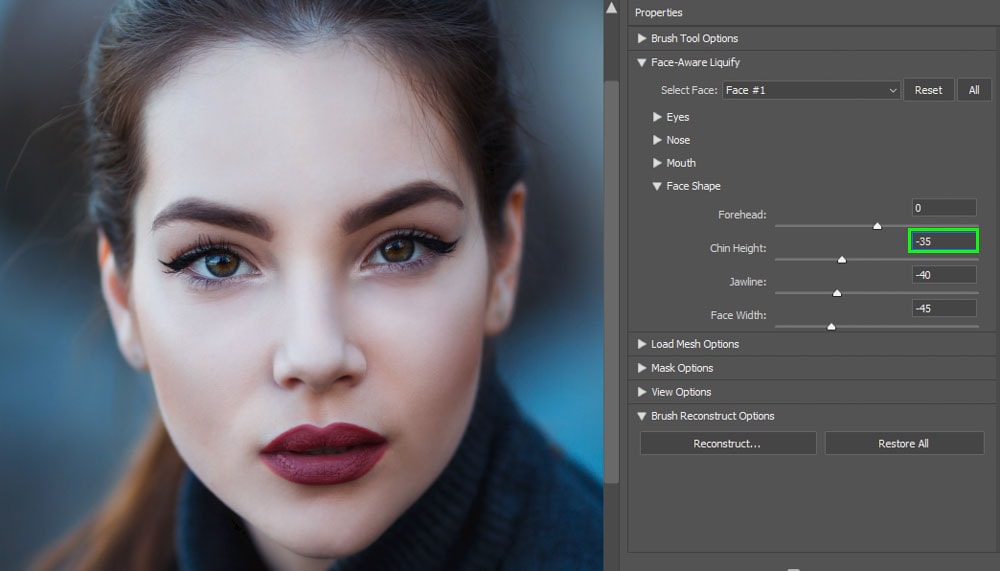
And that was enough to make the model’s face thinner while still making her look like herself.
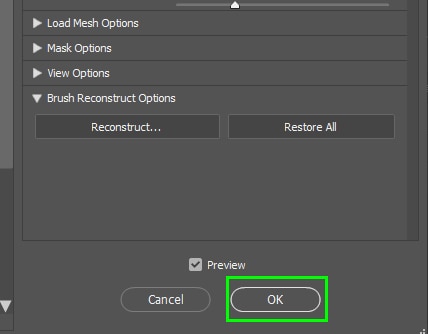
After adjusting the sliders above, click OK at the bottom of the Liquify dialog to confirm the changes.
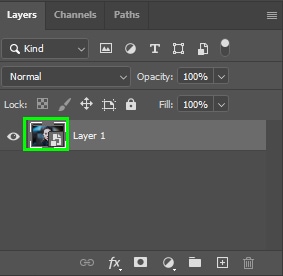
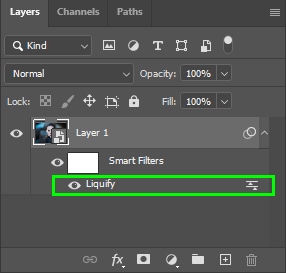
You can go back to the Liquify dialog at any time and resume editing your subject’s face by double-clicking the Liquify sublayer in the Layers panel.


The Face Tool can help you make people look great without too much effort when editing their portraits. This is a must-know tool when it comes to photo retouching.


