
Gradients are a great way to fill different elements in Photoshop. There are a variety of gradients to choose from, but Photoshop does not come with its own rainbow gradient. For this reason, you’ll need to make your own rainbow gradient to apply to your projects. The process is simple, so let’s explore how to create and use rainbow gradients in Photoshop.
How To Make A Rainbow Gradient In Photoshop
Step 1: Open The Gradient Editor
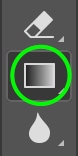
With a project open, head to the Toolbar along the left side and click the Gradient Tool (G).
The Options bar changes to reflect the available gradient options.

From the Options bar, click the Gradient Swatch to bring up the Gradient Editor window.

The Gradient Editor window opens.
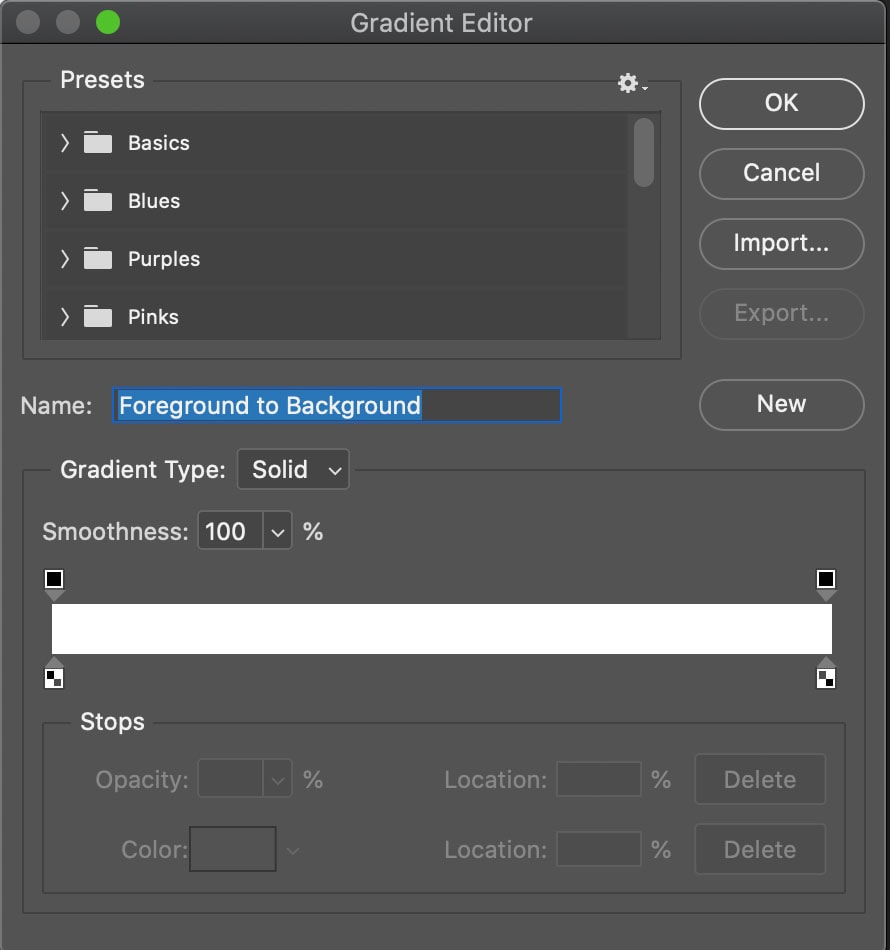
This is where you can see the available gradients and, in the next step, start to adjust the settings to create a rainbow gradient.
Step 2: Select The Gradient Style
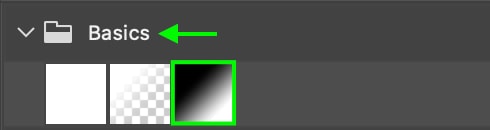
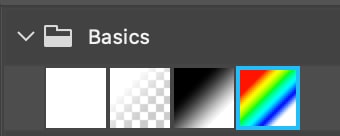
In the Gradient Editor window, click to open the Basics tab and select the black and white gradient.
Don’t worry about the colors for now; we will add them and change the gradient colors to reflect the rainbow colors in the following steps.
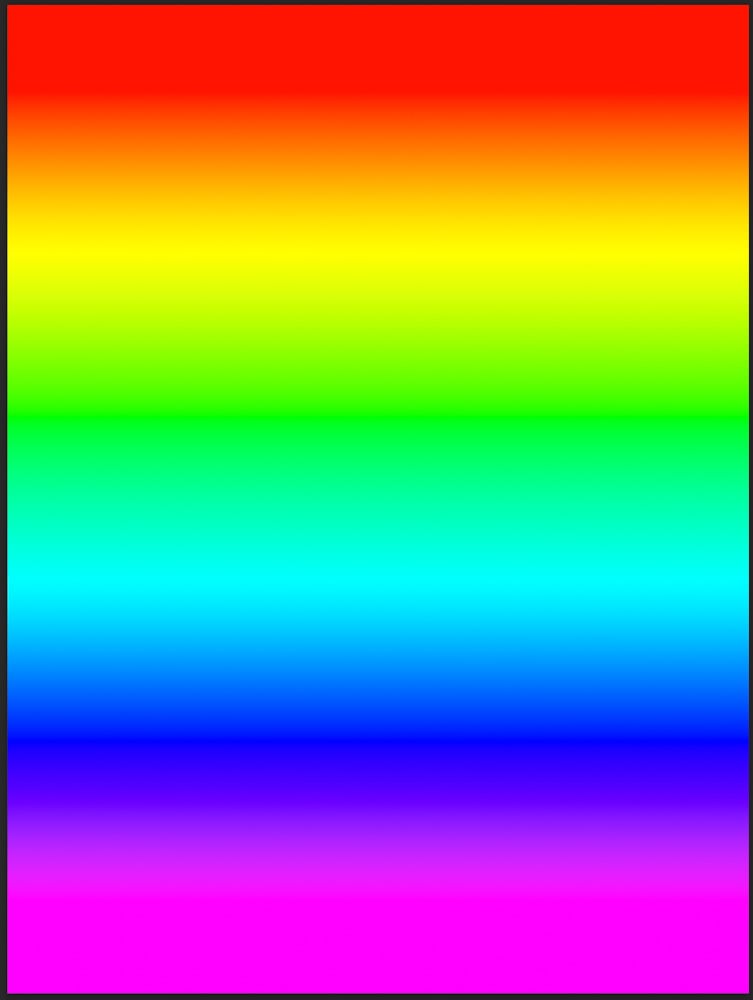
Step 3: Set The First Color Stop To Red
Click the Color Stop on the left, below the gradient bar.
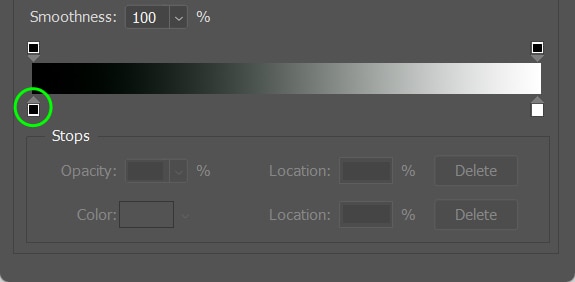
Then click the Color Swatch at the bottom of the panel.
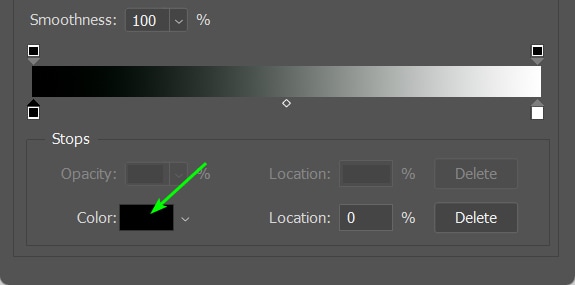
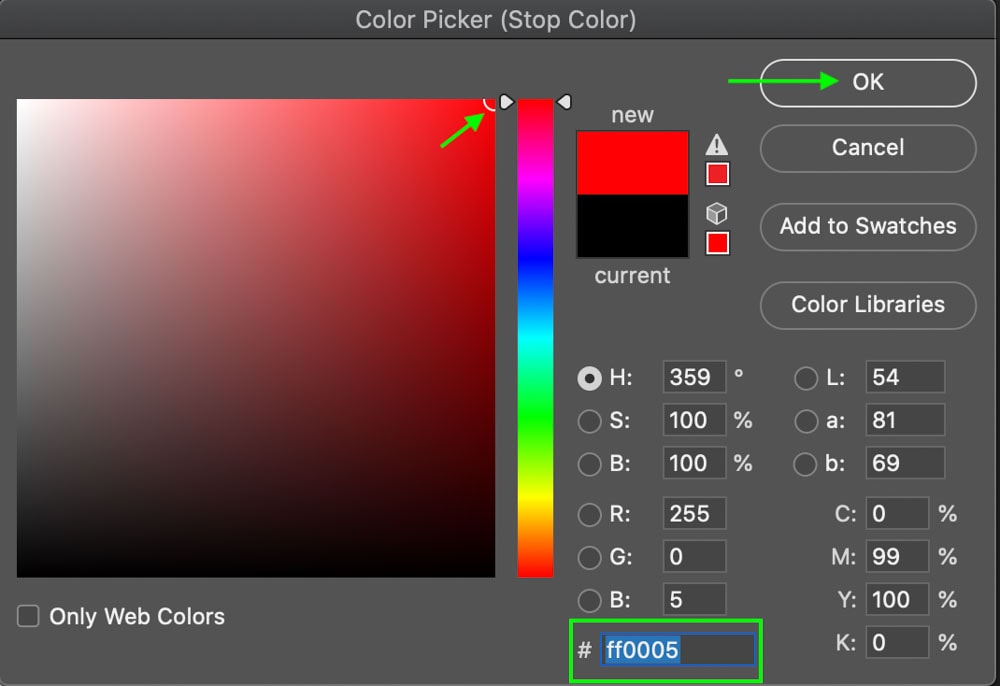
When the Color Picker window opens, drag the toggle to red. You can also type the HEX code into the box; the code is #FF0005. Click OK when you’re finished.
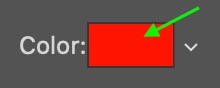
The gradient will change to reflect the red on one side, with white on the other side (we will change this in a moment).

Step 4: Add A New Yellow Color Stop
Click the area just below the gradient to add a new color stop.

Click the bottom toggle of the new color stop and then click the color swatch again.

In the window that appears, add the hex code for yellow in the box: #FFFF00.
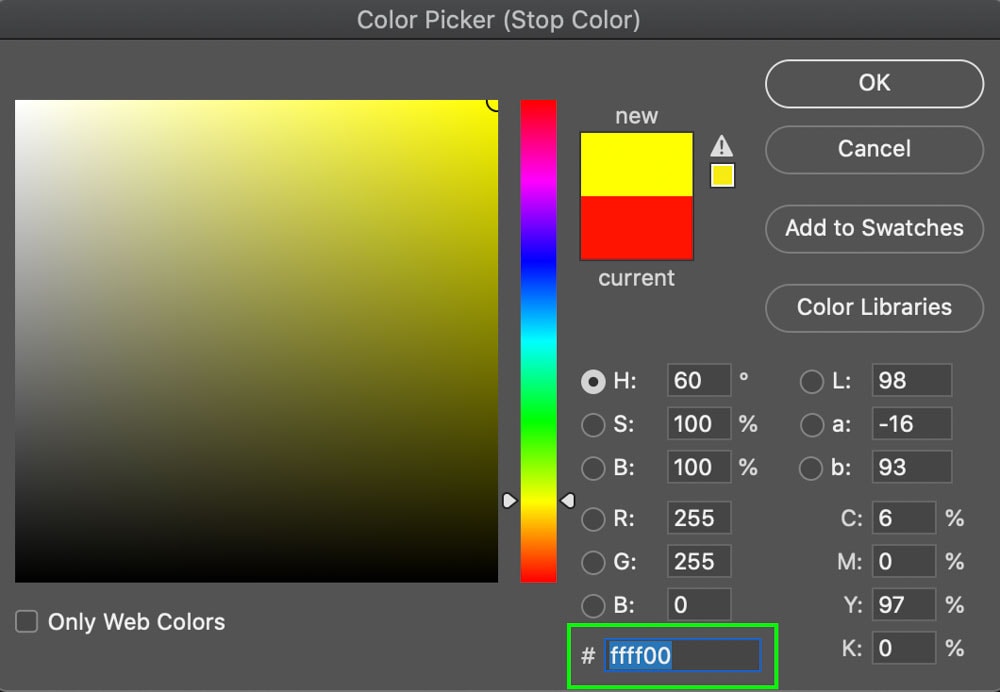
Click OK, and the gradient changes to reflect the yellow color added. Now we need to set the percentage of yellow the gradient will feature. We’ll do this for each color so that the colors present evenly along the rainbow.
In the Location area of the Gradient Editor, type 20%.
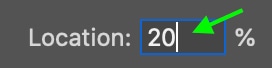
The color stop will move to reflect the change.

Step 5: Add A New Green Color Stop
Now it’s time to add the green. Follow the same steps above: click below the gradient to add a new stop, then click the color swatch below the gradient to open the Color Picker window. This time, type in the HEX code for green, which is #00FF00.
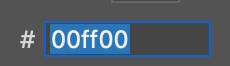
Click OK, and the gradient now has a green color beside the yellow.

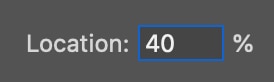
Now we can change the location of the green color stop to 40%. The green stop will move to reflect the change.

Step 6: Add A New Cyan Color Stop
Click below the gradient to add a new stop, and click the color swatch to open the Color Picker window. In the window, type in the cyan hex code: #00FFFF.
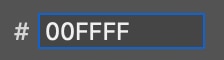

Now, set the location of the cyan color stop to 60%. The stop will move to the location.


You will start to see the rainbow effect coming together nicely.
Step 7: Add A New Blue Color Stop
Follow the same steps to add a blue color stop — I think it should come naturally at this point. Click below the gradient to add a color, click the color swatch, and type in the hex code. The hex code for blue is #0000FF.
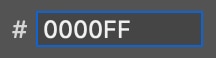

Set blue’s location to 80% and watch it move into place.


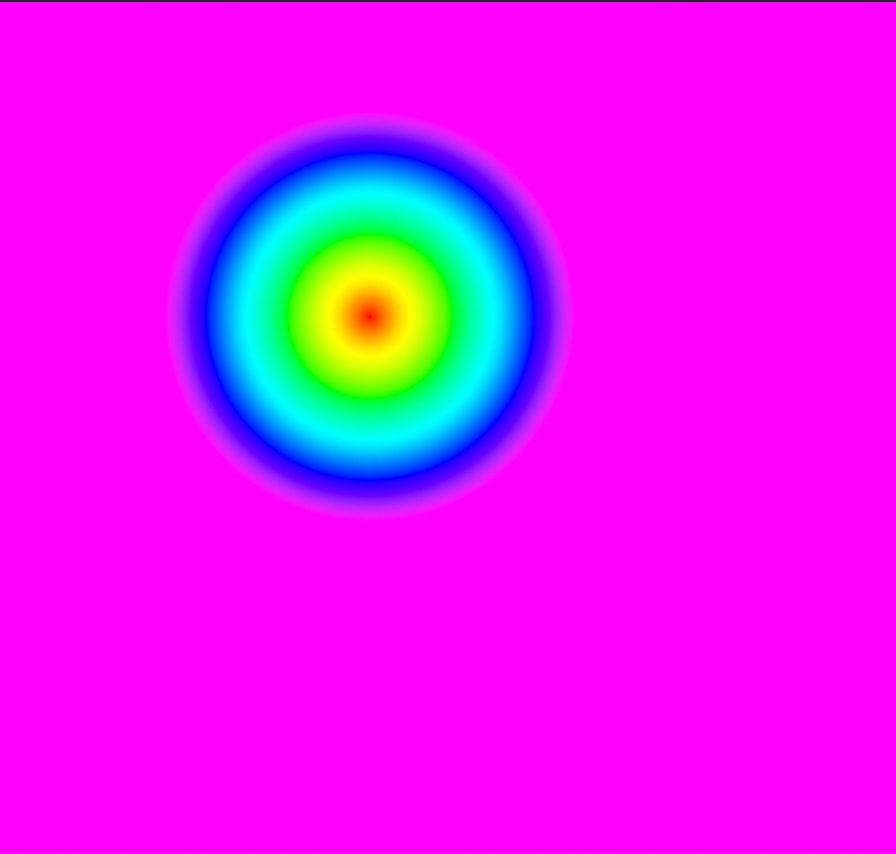
Step 8: Change The White To Magenta
Finally, we can change the last color, which is currently white, to magenta. Click the white toggle at the bottom, then click the color swatch to open the Color Picker.

Enter the hex code for magenta, which is #FF00FF.
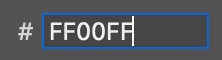
The color will appear in place of the white, and our rainbow is complete!

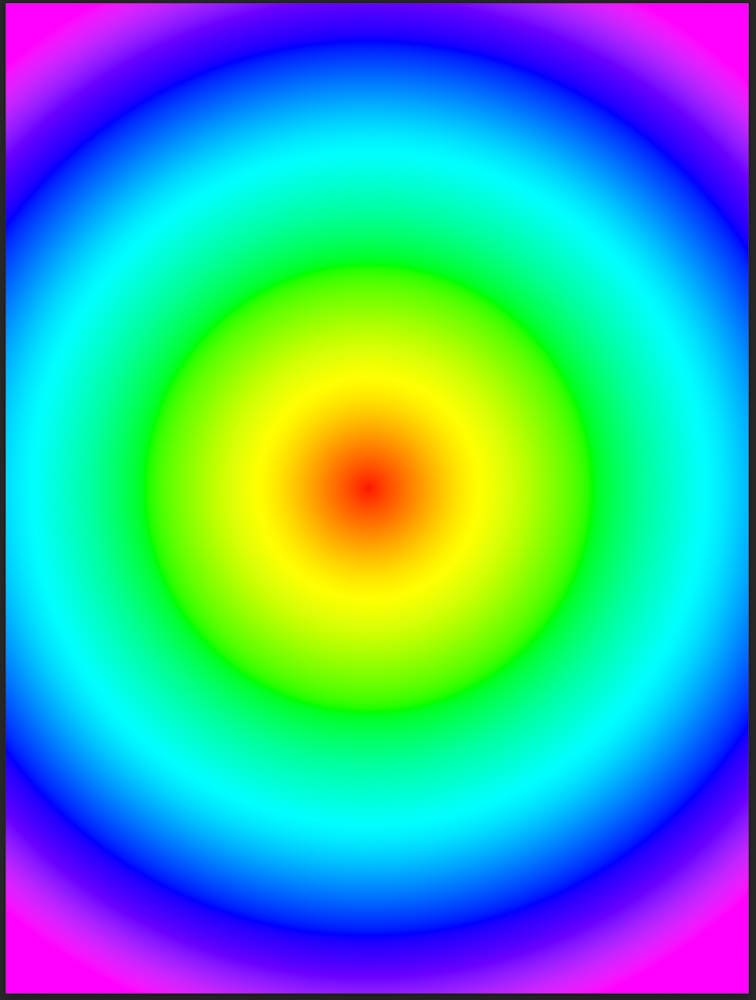
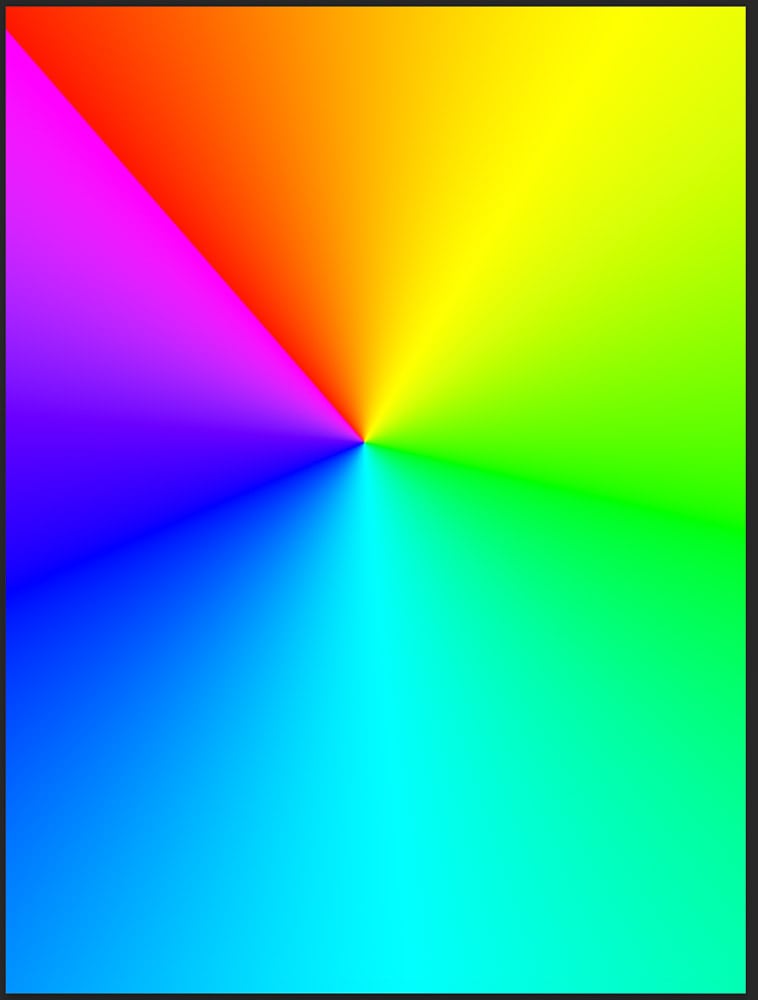
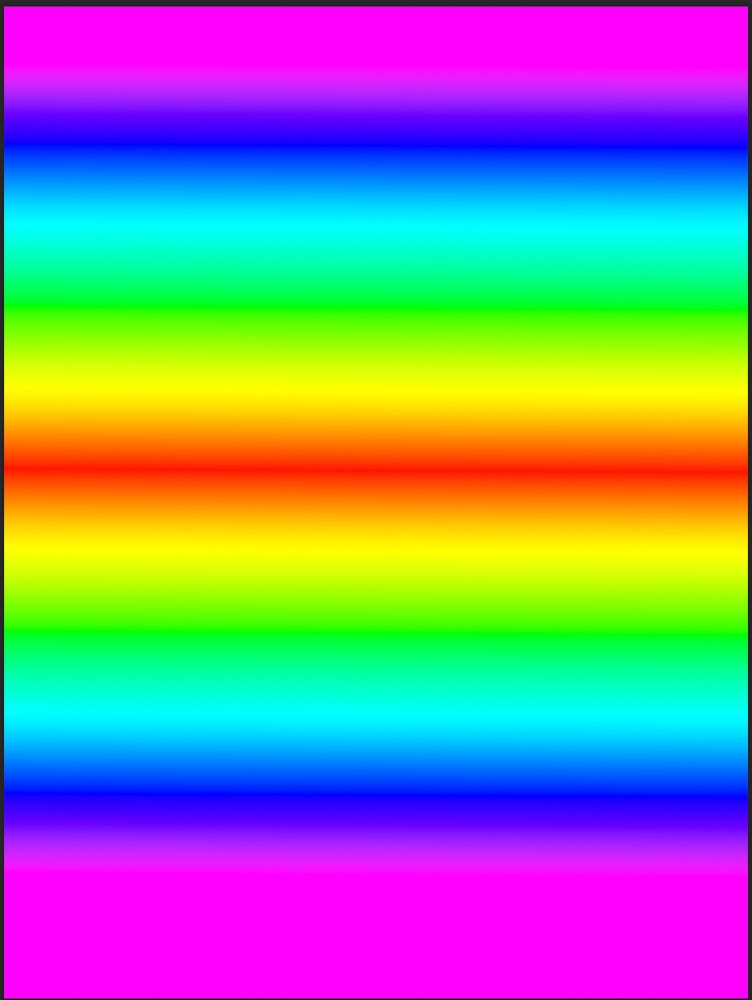
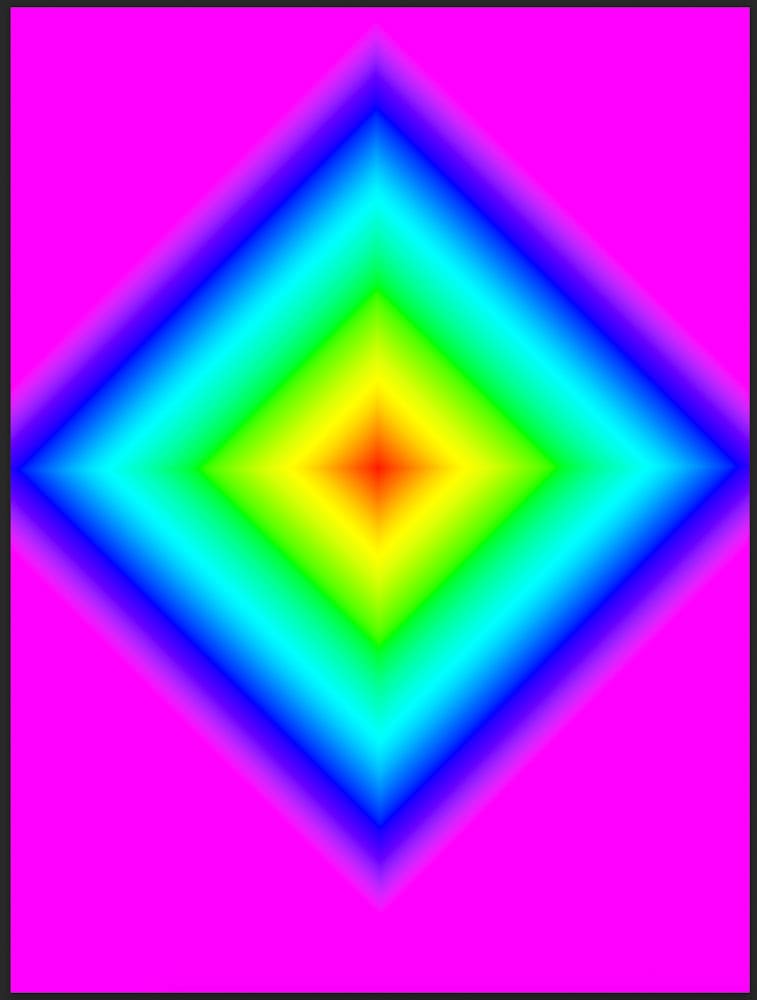
Step 9: Change The Style Of Your Gradient
Once you’ve created the gradient, you can use it with the other available gradient shapes and styles in the Options bar. You can choose from Linear, Radial, Angle, Reflected, and Diamond Gradient styles.
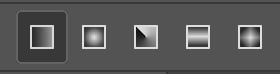
Below is an example of each style in action applied to the background layer.
How To Save A Rainbow Gradient Preset For Later Use
You can enter a name for your new gradient if you’d like, then save the rainbow gradient you’ve just made as a gradient preset by clicking New.
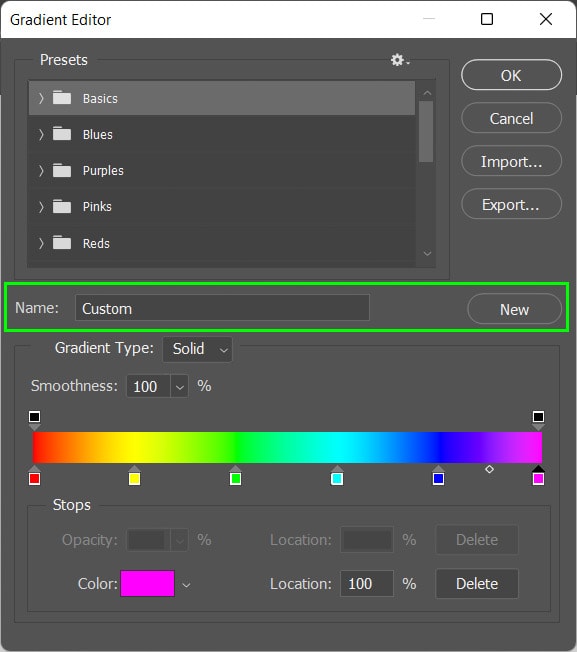

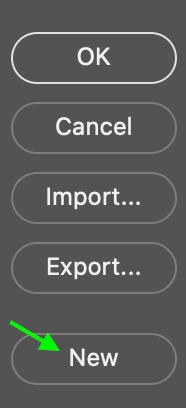
The rainbow gradient appears in the Basics tab as a new gradient for you to use whenever necessary.
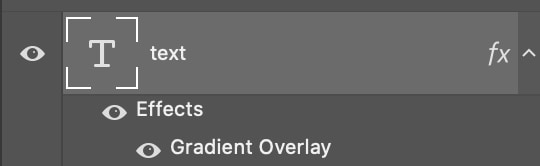
Applying A Rainbow Gradient To Text
To apply a rainbow gradient to text, you can head to the Type Tool (T) by clicking the icon on the Toolbar.
Select the font, size, and style you’d like using the settings in the Options bar. It’s best to select a bold font so you’ll be able to see the gradient in action.

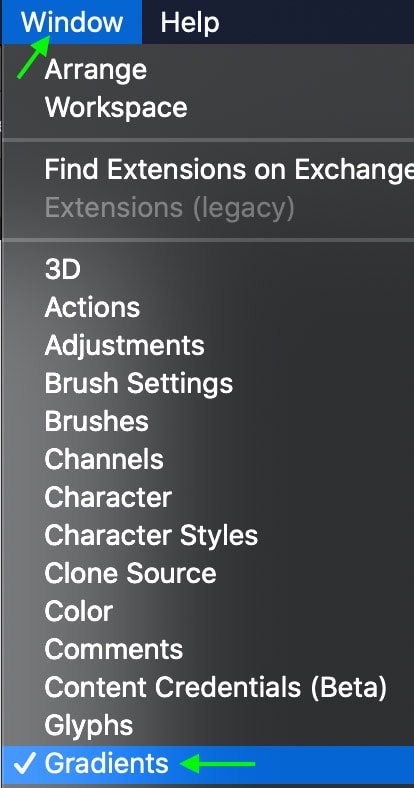
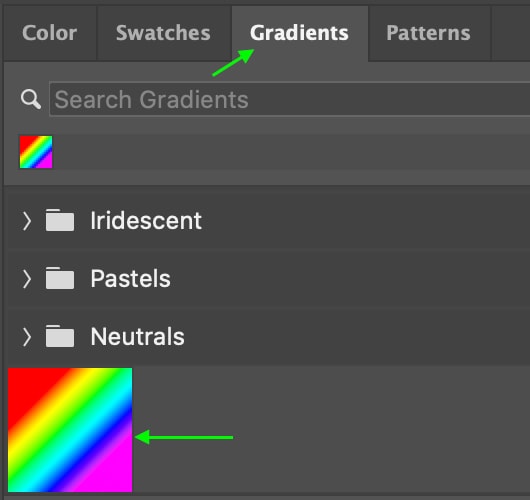
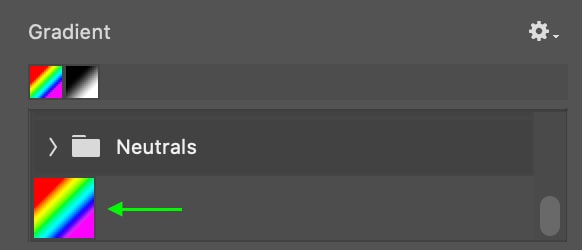
Once you’ve made your text, head to Windows > Gradients to open the Gradient Panel in your workstation. Scroll to the bottom and find your custom gradients, including the Rainbow Gradient.
Click the gradient and drag it to the text in your document. The text will appear with the gradient applied.

In the Layers Panel, you’ll see the Text Layer with Effects and Gradient Overlay below it.
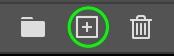
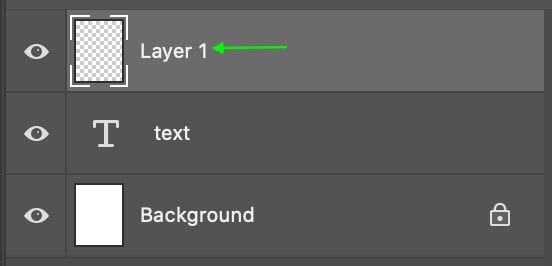
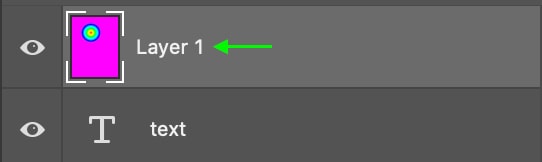
Another way to add a gradient fill to text is to add the gradient to a new layer and use a clipping mask to clip it to the text. Once you’ve made your text, create a new layer by clicking the icon at the bottom of the Layers panel.
The new Layer will appear above the text layer.
Now, click the Gradient Tool (G) from the Toolbar.
Click the swatch in the Options bar and find your rainbow gradient.
Select the orientation of the gradient from the options provided in the Options bar.
Then, click and drag horizontally from the center of your text to just outside of it. The gradient will appear covering the text, so you won’t see the text.
Now, apply a clipping mask in the Layers panel by right-clicking or Control + clicking the gradient layer and selecting Create Clipping Mask.
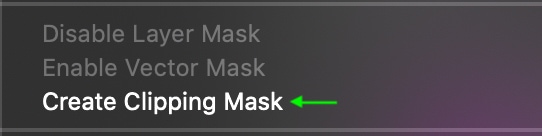
The text will appear with the gradient applied.

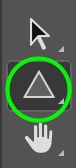
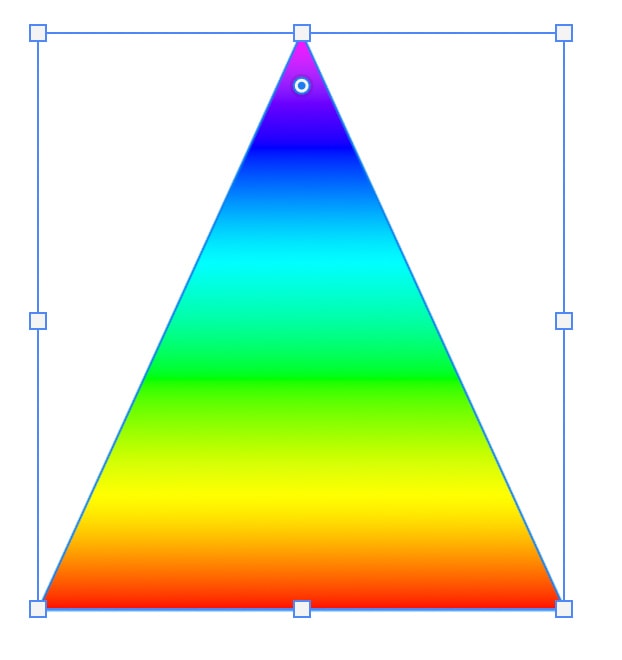
Creating Rainbow Gradient Shapes
First, select a Shape Tool (U) and the shape you’d like to use. Drag to make your shape on the canvas.
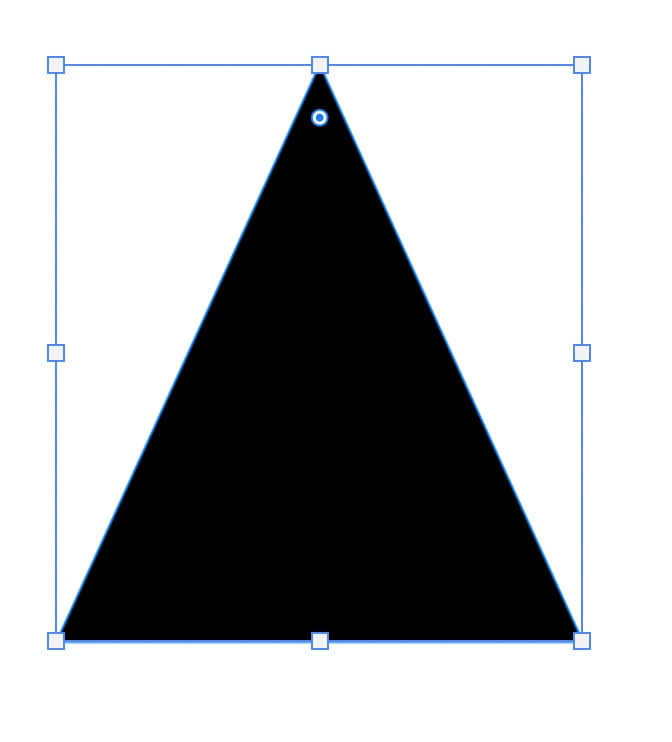
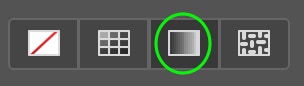
Then click the Fill icon in the Options bar.

Click Gradient from the Fill options and find your rainbow gradient.
Click, and the gradient will be applied to your shape.
To learn more about working with gradients in Photoshop, check out my guide to the Gradient Tool here!


