

If you notice your computer has been running slow or you find yourself low on disk space, you may want to think about deleting a Lightroom catalog. Many photographers may not think to do this or may even think they shouldn’t do it. After all, deleting an entire set of Lightroom info sure sounds like a massive risk.
However, when you delete your Lightroom catalog, it doesn’t mean you’re deleting the sources of those files, just the copies made to Lightroom and their related image data.
So, let’s learn more about when it’s time to delete a Lightroom catalog and the best ways to do so to free up space on your computer.
When To Delete A Lightroom Catalog
Deleting a Lightroom catalog can be a good idea in a couple of instances. The first is that you have too many old catalogs that are no longer in use, while the second is that certain catalogs are taking up significant space on your computer.
Although a Lightroom Catalog doesn’t directly store your photos, it does hold a lot of file info and metadata of your imported files. Over thousands of images, this information can cause your catalog to become bloated and put unwanted strain on your computer. In that case, it’s worthwhile to start fresh with a new catalog or even delete your bloated catalog completely if no longer in use.
Now going off of catalogs that are no longer in use, over time this is guaranteed to happen. As new projects come along and new catalogs are created, many will be forgotten about or become unused. To help keep yourself organized going forward, deleting those unused catalogs will help reduce clutter.
Just remember that deleting the catalog won’t delete the original files themselves, just the edits and adjustments you’ve made to them in the program.
However, some editing information will be saved if you have it set to write changes to XMP within your Lightroom Catalog settings.
How To Delete A Catalog In Lightroom
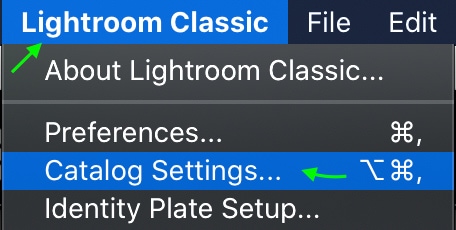
To delete a Lightroom catalog, open the catalog and go to Edit > Catalog Settings (Win) or Lightroom Classic > Catalog Settings (Mac). In the General Tab, click the Show Button to reveal the catalog on your computer. Now right-click on the LRCAT File and choose Move To Trash to delete the catalog.
Here’s an example of this in action.
Like I just mentioned, to delete a Catalog in Lightroom, you’ll need to find the catalog settings. Head to Edit > Catalog Settings (Win) or Lightroom Classic > Catalog Settings (Mac).
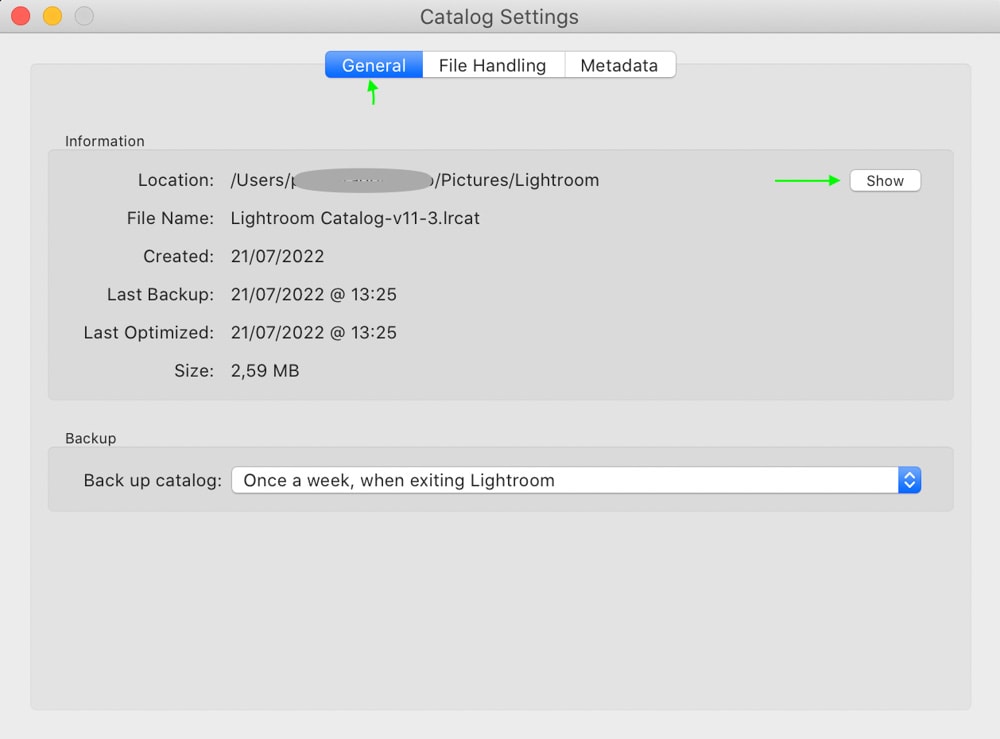
You’ll see the Catalog Settings window, with three tabs you can work in. Make sure you’re in the first tab, the General tab, and click the Show button to see the information about your Lightroom catalog’s location in your files.
Clicking Show opens the file window on your computer, where you’ll automatically be in the right place to see your Lightroom Catalog. Your catalog will either display as a file or a folder. The file will look something like this:

Now you can delete the catalog itself, if you no longer need it, by right-clicking (Win) or Command + clicking (Mac) the file or folder and selecting Delete or Move to Bin (depending on your OS).

Or, you can double-click the catalog icon to launch that catalog in Lightroom.
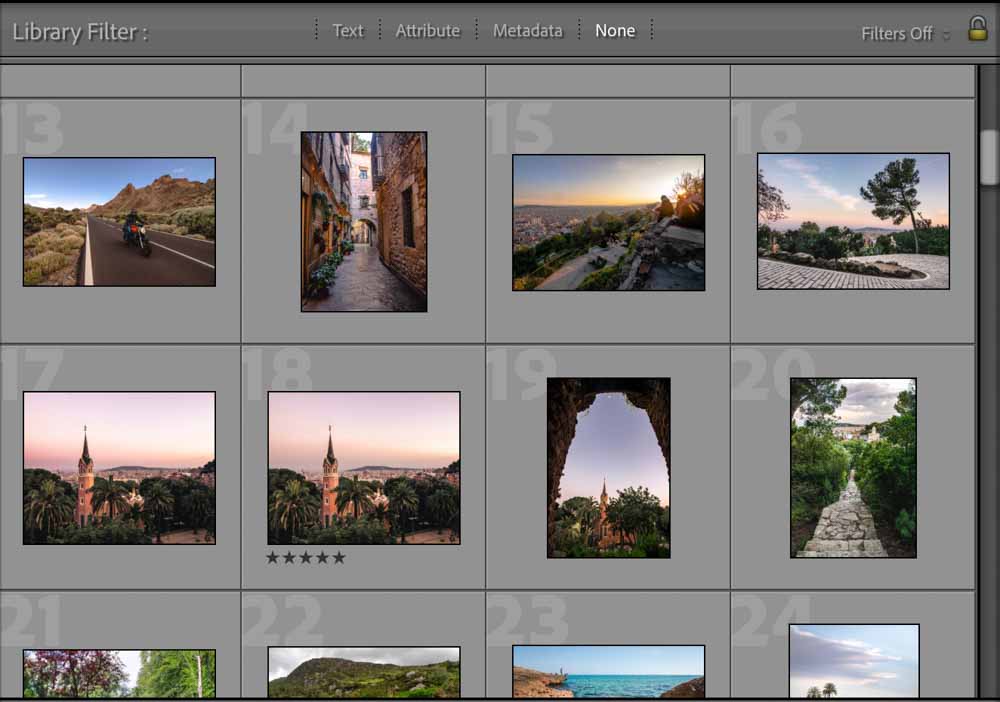
From there, you can delete the images using the same method as above and select Remove Photo.
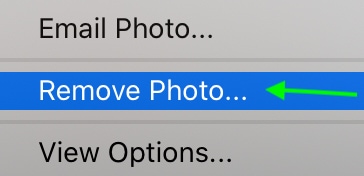
In the dialogue box that appears, choose whether you’d like to remove the image from Lightroom’s Catalog or the disk entirely.
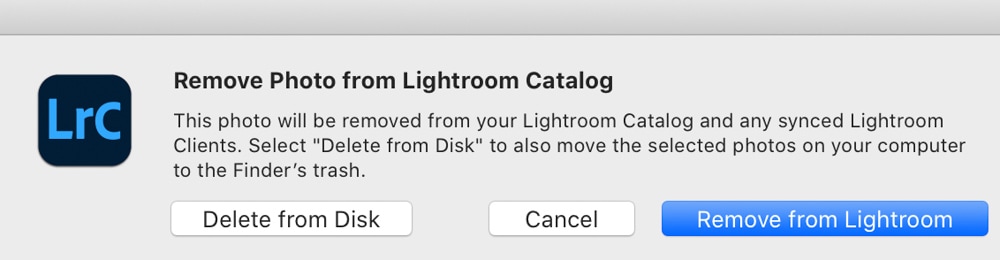
Either will free up space in your files, but only delete the image from the disk if you’re sure you no longer need the photo. Otherwise, you can delete any copies Lightroom has made by clicking Remove from Lightroom. This will still free up a significant amount of space.
How To Delete Catalog Backups
Catalog Backups make up many of the files in Lightroom’s storage and on your computer. This is because a backup version of a photo is created as you edit (if your settings are set to create backups automatically). You can go through and delete these, but I suggest keeping around any super important image backups. Once you delete the backup, you won’t have any other option to recover an accidentally deleted file.
So, because Lightroom creates a copy automatically when you start to edit an image, you can quickly fill up a drive with the amounts of backups. This could be a large contributor to a lack of storage space and speed.
Delete these by heading to the Lightroom Catalog and finding the backup folder or files — it will show up differently depending on the type of computer you have. For instance, some Mac operating systems display the Lightroom Catalog as a file, not a folder. When selecting the catalog, it will take you to your Library in Lightroom, but the backup files should be in the same location in your files as your Catalog.

You can go through and delete any backups you’d like — some may be old and unnecessary, incorrect, or outdated. You can even delete the whole folder if you have one and if you aren’t worried about needing image backups in the future.
Delete files by right-clicking (Win) or Command + clicking (Mac) the file or folder and selecting Delete or Move to Bin (or your OS equivalent).
This will create more room without deleting actual images or catalogs you may still want to use or edit.
How To Delete Catalog Previews In Lightroom
You’ll notice another file type in your Lightroom Catalog: Lightroom Catalog Previews.lrdata This file is created to hold the previews of each image in Lightroom. As a result, when viewing the image in the Library, you’ll see the version of the image with the edits you’ve made up until that point. Previews also help to improve the speed at which images load while viewing.
You can delete previews without deleting the file itself or any of the editing you’ve made in Lightroom, but you won’t be able to see your edited image previews in the Library.
However, Lightroom automatically creates standard previews of files as you edit as they are necessary to display edited images correctly, so you’ll still want to set the type of previews it makes.
To start this process, you’ll first want to close Lightroom. Once you’ve done this, head into your Catalog folder and delete the .lrdata folder or files (do not delete any .lrcat files) The files will look something like this:

Now, you can set Lightroom to recreate standard previews for your images or a single image by launching Lightroom Classic and heading to Library > Previews > Build Standard-Sized Previews.

Select whether you’d like to build previews for all the images in the catalog or just the one you’ve selected. This is up to you, but if you’re looking to save space, you can always build just one preview for the image you need by clicking Build Selected.

Again, this will save loads of space as previews for all the images in your catalog are likely unnecessary. Still, it may be time-consuming to create a preview for each image you need individually.
After deleting your old catalog, it’s time to create a new one. In this next tutorial on properly setting up a new Lightroom Catalog, you’ll get things started on the right foot.
Finally, if you find yourself in a pickle and need to move an existing catalog to a new disk without deleting it, I share how to do that here.


