

Photoshop has tons of tools you can use to edit your images, so naturally, there are lots of different tools, bars, and panels you could encounter while working. Sometimes, though, you may notice the toolbar or a panel isn’t showing up when you need it. This can be frustrating if you don’t know how to locate a missing toolbar or panel in Photoshop.
There are a few reasons a toolbar or panel may be missing, but don’t worry; the fixes for these issues are easy.
To locate a missing toolbar or panel in Photoshop, simply go to “Window” in the upper menu. The drop-down menu will reveal a list of different panels available. Click the panel you wish to reveal from the drop-down list and it will appear. For example, going Window > Tools will reveal the toolbar.
How To Fix A Missing Toolbar In Photoshop
If you’re not seeing the Toolbar in Photoshop, you may have accidentally closed or hidden it.
You can access the Toolbar again by heading to Window. Here you’ll see all the different panels you can access. Scroll to the very bottom, and you’ll see Tools. Make sure it is checked.
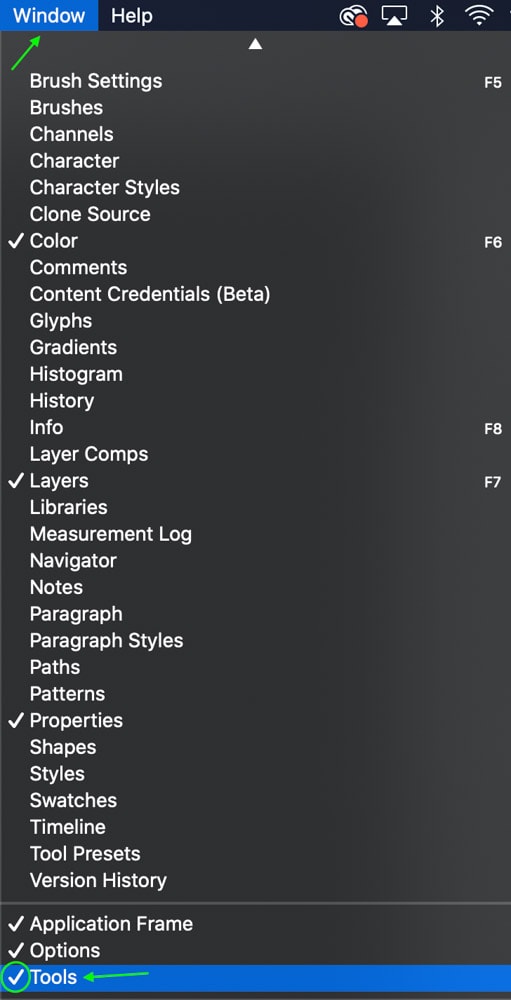
This will ensure you can see the toolbar on the left-hand side of your workspace.

Another reason your toolbar might be hidden is that you may have changed the screen mode without realizing it. Adjusting the screen mode or even the screen size can result in disappearing toolbars and panels.
The fix for these issues is easy. First, you can cycle through the different screen modes until you find the default by pressing the F key. The screen will move from full screen with the toolbar to full screen with the toolbar hidden, to whatever size you had the window before, allowing you to access the toolbar once again.
How To Locate A Missing Panel In Photoshop
Panels can go missing for similar reasons as the Toolbar — perhaps you’ve moved the panel to a place you cannot find or closed it entirely. This is a fairly common occurrence as sometimes when you open up a tool, its settings will show up as a floating panel that sits over your document rather than attached to the sidebars where the panels are normally found.
This often happens when the sidebars are full of panels already or when you open up a tool you don’t use as often. Because the floating panels can sometimes get in the way of your work, you may have closed one of them without realizing it.
To find a missing panel, you can do the same thing as in the above section: head to Window, and from there, you’ll see which panels are visible and which aren’t.
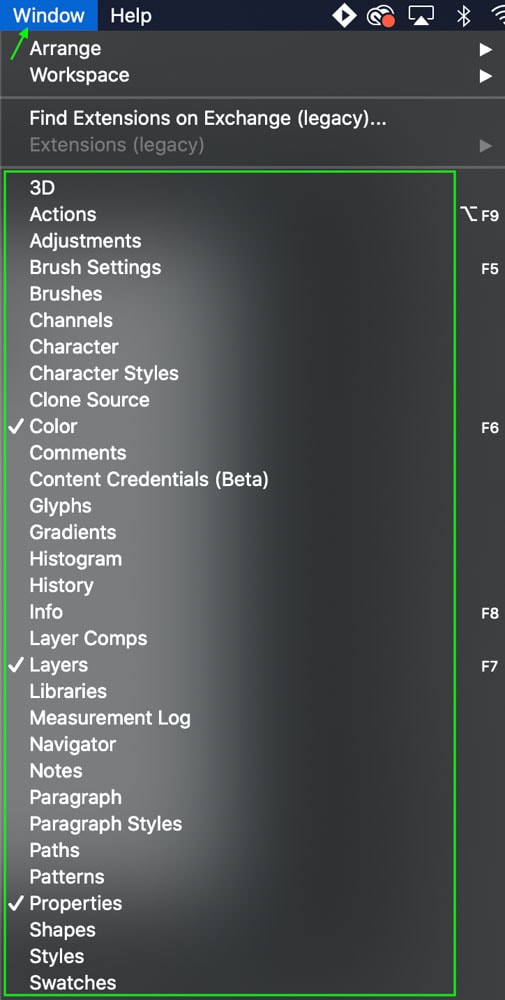
There will be checkmarks beside the ones that are currently visible in your workspace. Click any of the panels you need to see so that there is a checkmark to the left.
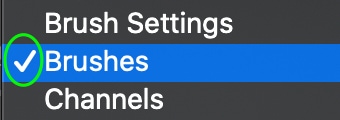
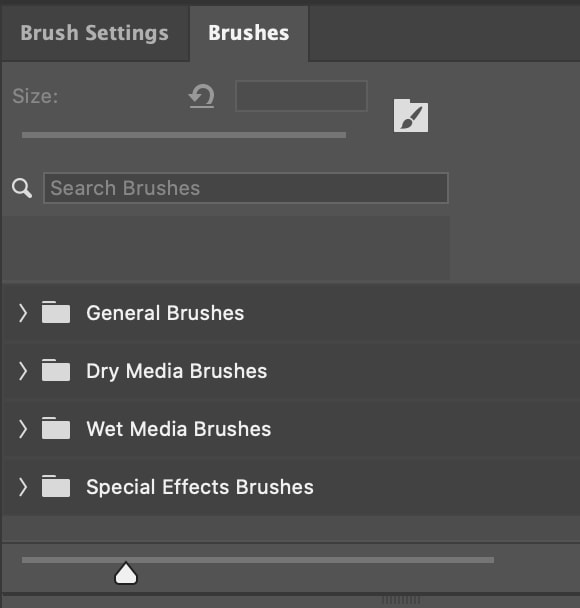
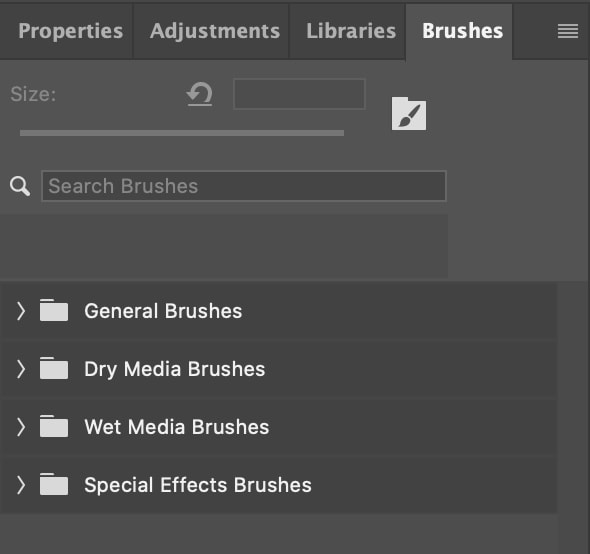
The panel will then appear in your workspace, either floating, anchored to the sidebar, or stacked in the Panels tab.
You can show as many panels as you need to use, but I suggest only opening up a few panels at a time because too many at once can crowd and overwhelm your document. You can move panels by clicking and dragging the top of the panel back to the workspace on the right. You’ll see a blue bar appear, and the panel will snap in with the other panels in the workspace.
How To Save A Custom Workspace In Photoshop
If you have a workspace with particular panels and toolbars visible that you’d like to access later on, you can save it as a custom workspace. This will be helpful in keeping the same panels and toolbars you’ll need so that you don’t lose them when you change to a new workspace.
To save your current workspace as a custom workspace, you can access whenever you’d like, head to Window > Workspace.

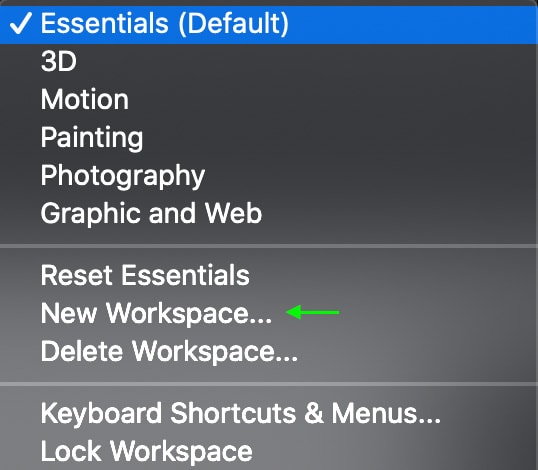
At the top, you’ll see the various default workspaces that come with Photoshop, which are set for specific types of work such as Painting or Photography. You can create a new workspace by clicking the New Workspace option.
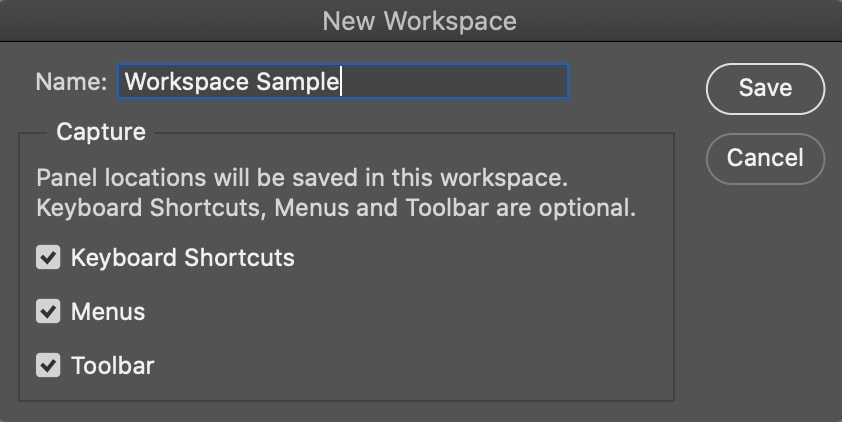
This will bring up the New Workspace window. Here, you can name your workspace and then select the items you’d like the workspace to feature. Any panels and their locations will automatically be saved, but you can also choose to keep or remove Keyboard Shortcuts, Menus, and/or the Toolbar by checking the boxes. Click Save to save the workspace.
You can access the saved workspaces at any time by heading back to Window > Workspace.
You’ll see the workspace you saved at the top of the workspace options. Click, and your workspace will appear as you saved it. This makes it easy to toggle between different workspaces or to quickly solve the issue of a missing toolbar and panel(s).


