

It is important to understand how, when, and why to lock layers in Photoshop, as locking layers can protect their contents, but at the wrong times, a locked layer can also get in the way of your workflow.
Many Photoshop users may have noticed a lock icon sitting next to some of the layers in the Layers Panel, but you might need to learn exactly what it means to lock or unlock a layer.
How To Lock A Layer In Photoshop
Locking a layer in Photoshop will block any adjustments from being made to that layer. This means you won’t be able to change, delete, move, or draw on any layer elements.
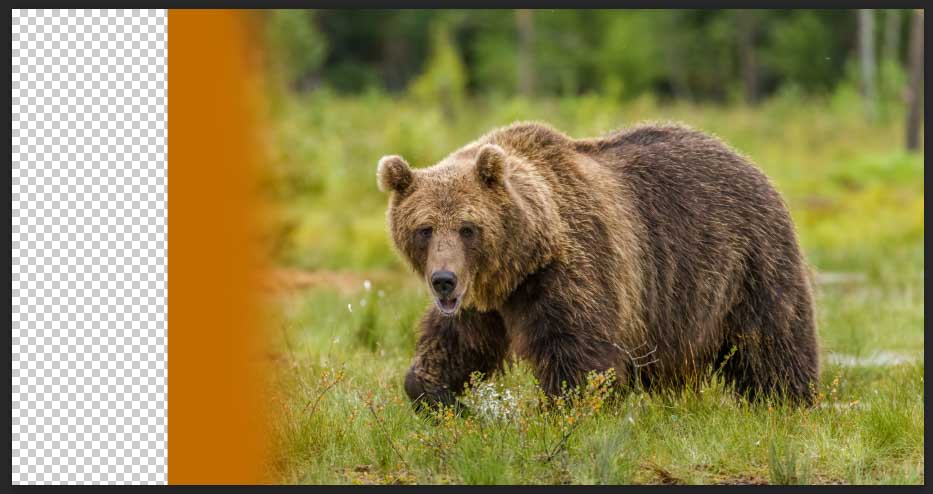
You will, however, still be able to re-order the layer in the Layers Panel by dragging it up or down the layer stack, except when working with a locked Background Layer. Background Layers, as well as Image Layers, are locked by default when starting a new project or opening an image into a project.
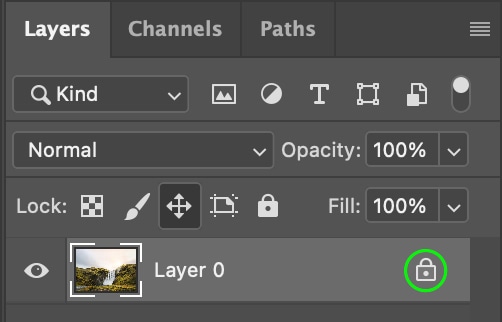
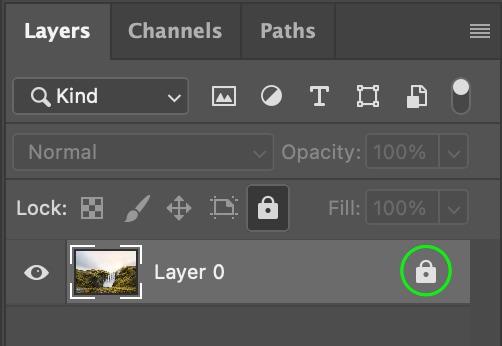
To lock a layer, head to the Layers Panel and select the layer or layer group you’d like to lock. You can select multiple layers at once by holding Control / Command while clicking on each layer. Then, click the Lock All button.
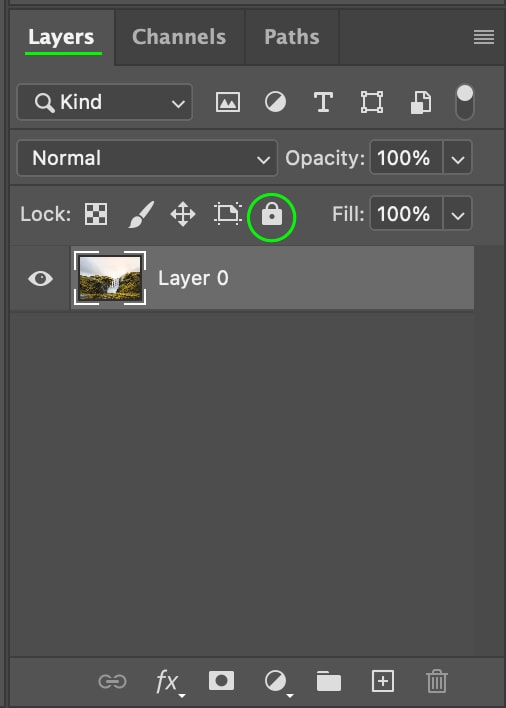
The locked layer(s) will now appear with a gray lock icon to the right of the layer’s name.
How To Partially Lock A Layer In Photoshop
You’ll notice a Lock section at the top of the Layers Panel with a few different icons beside it.
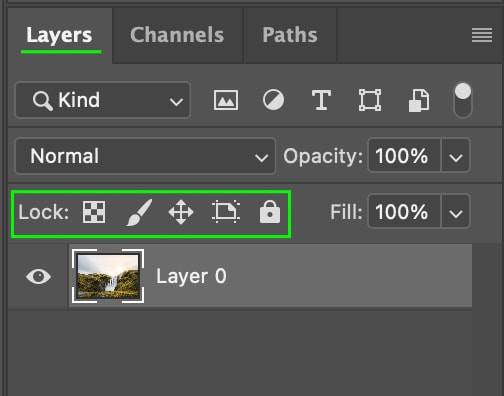
These settings allow you to lock your layer partially, which means only some aspects of the layer will be locked, while others will still be available to edit.
The first icon will lock only the transparent pixels in your layer, which is useful if you want to maintain any transparent areas of a project while working. For instance, you can paint a brush stroke onto a layer that contains a transparent background, and the stroke will only affect the opaque pixels, staying inside the visible layer areas rather than bleeding over onto the transparent area.
The paintbrush icon will lock any image pixels, so you can use this if you’re locking a layer with an image. This lock is the opposite of the transparent pixels lock, protecting only the opaque pixels from being edited.
The arrow icon will lock the layer’s position on the document, making this the best option if you still want to edit a layer, but don’t want to move or adjust its position accidentally.
The next icon, to the left of the lock icon, will prevent auto-nesting when working with artboards and frames. This prevents items from other artboards from being grouped with items on the active artboard.
While a fully locked layer displays a filled-in gray lock icon beside the layer name, a partially locked layer will display a hollow lock icon.
When To Lock A Layer
You should lock a layer when you need to protect it from accidental changes while working with other layers. This could be because you’re either finished with making edits to the layer or want to work on another layer for now and return to the locked layer later.
When a layer is locked, you won’t be able to accidentally move, delete, or paint brush strokes on it, which can help you maintain its appearance when working on other layers or parts of a project. You can always unlock a layer later on by following the steps outlined below.
How To Unlock A Layer In Photoshop
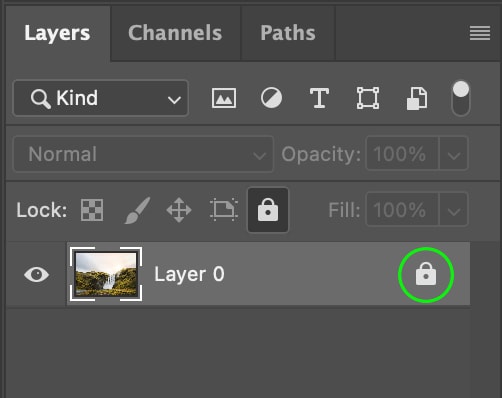
You may want to go back and edit a locked or partially locked layer. You can easily unlock a layer by clicking the lock icon to the right of the layer’s name. You can also unlock any selected layer using the shortcut Control + / (Win) or Command + / (Mac) .
This will fully unlock the layer rather than simply converting it to a partial lock so that you can edit it as you wish.
Now that you understand the ins and outs of locking and partially locking layers, you can use the Lock function to protect the contents of your work when needed.
