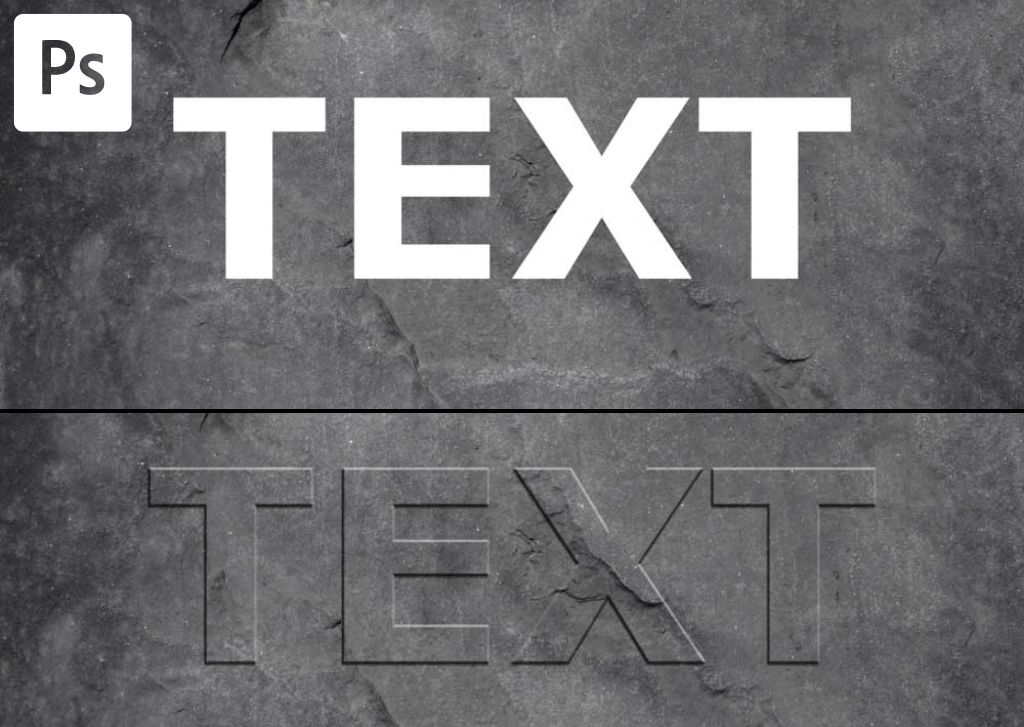

The bevel and emboss effect creates contrast between highlights and shadows, making elements appear as if they have come straight out of a 3D printer. In this tutorial you’ll see how to easily bevel and emboss text in Photoshop to create a unique text effect for any of your projects!
What Does Bevel & Emboss Mean In Photoshop?
In Photoshop, bevel and emboss are both ways to stylize elements. Despite being applied together in the software, they are different effects.
The bevel effect simulates the effect of raised or depressed edges similar to the borders of a coin after being cut out.
On the other hand, the embossing process is similar to what factories use to produce stamps, plaques, and text in metal, wood, and other materials. The effect results in a design that appears printed on a surface and protrudes or recesses it depending on its application.
Both effects are digitally created in Photoshop by using light and shadow effects, giving elements where these effects are applied a 3D look.
How To Bevel & Emboss Text In Photoshop
Applying bevel and emboss to text in Photoshop is very simple. However, because many adjustments are involved in the process, you must know how to use the proper settings to achieve the desired effect. Luckily it can be done in just 5 steps.
Step 1: Create A New Document
First, you need to create a new document. You can use an image as a background, preferably a texture or a solid background.
Then you need to create some text.
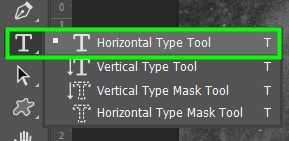
Enable the Type Tool (T) from the Toolbar to create text.
Then go to the Options Bar and customize your text. In my case, I chose Basic Gothic Pro. The text color is irrelevant because it will be removed in the process.

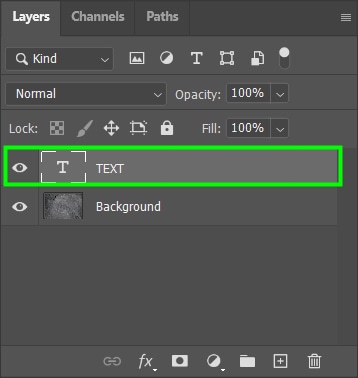
Finally, add any text to the canvas.

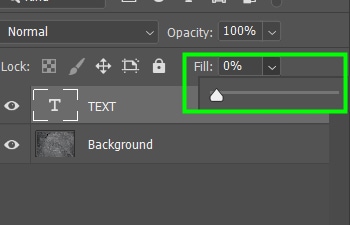
Step 2: Reduce The Text Layer Fill To Zero Percent
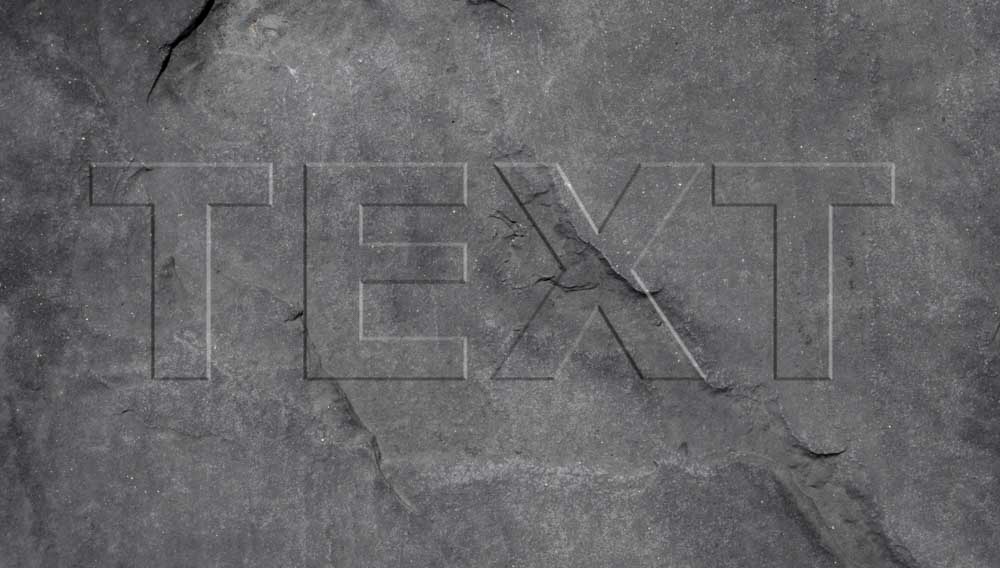
Now, go to the Layers Panel, select the text layer, and turn the Fill down to 0%. You need to do this because your text will have shadows and highlights at the end of the process, so it will no longer have a solid color.
You can also create the bevel and emboss effect while keeping a solid color. However, when you put text against a background or image, the effect works best if the text doesn’t have color since transparent text blends more nicely with a background.
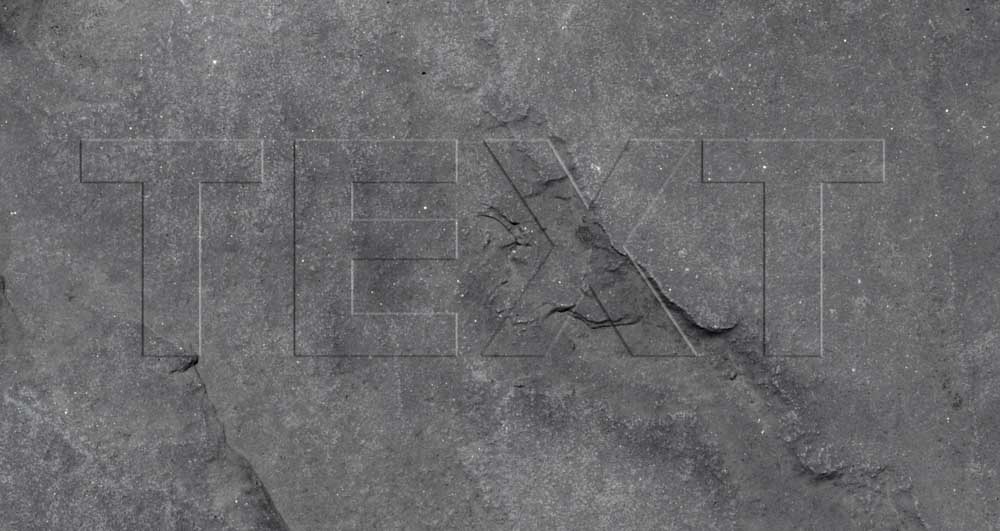
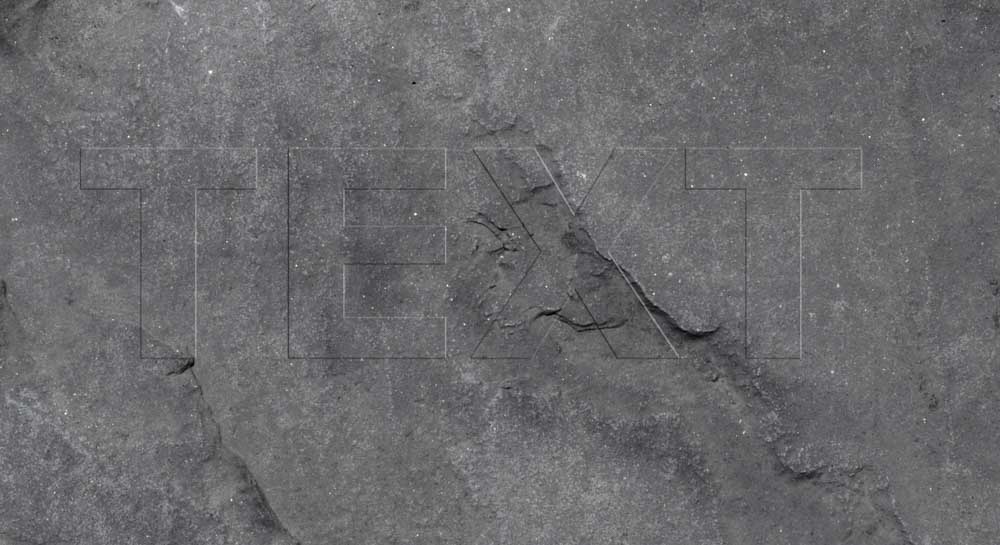
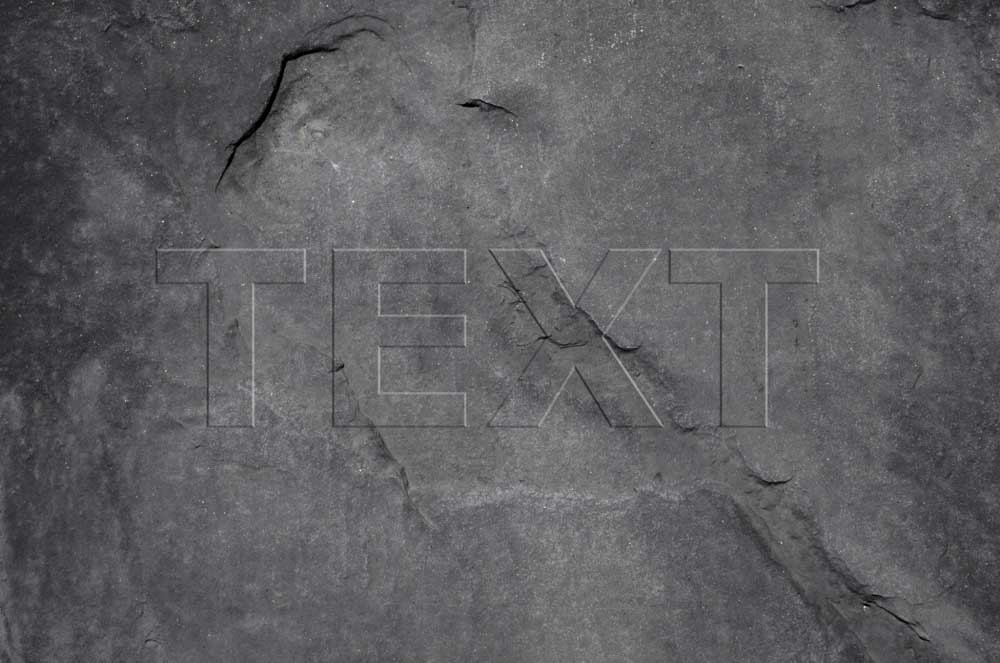
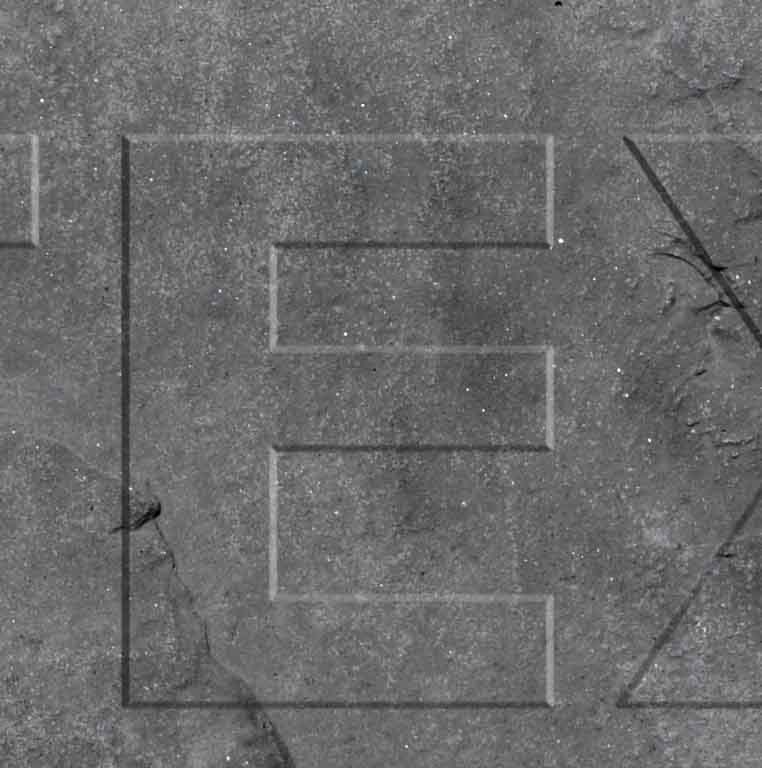
Your text will then vanish from the canvas. But don’t worry because the shape of the text reappears as you adjust settings.
Step 3: Open The Bevel And Emboss Menu
To open the Layer Style panel, double-click the text layer.
From the layer style panel, enable the Bevel And Emboss option.
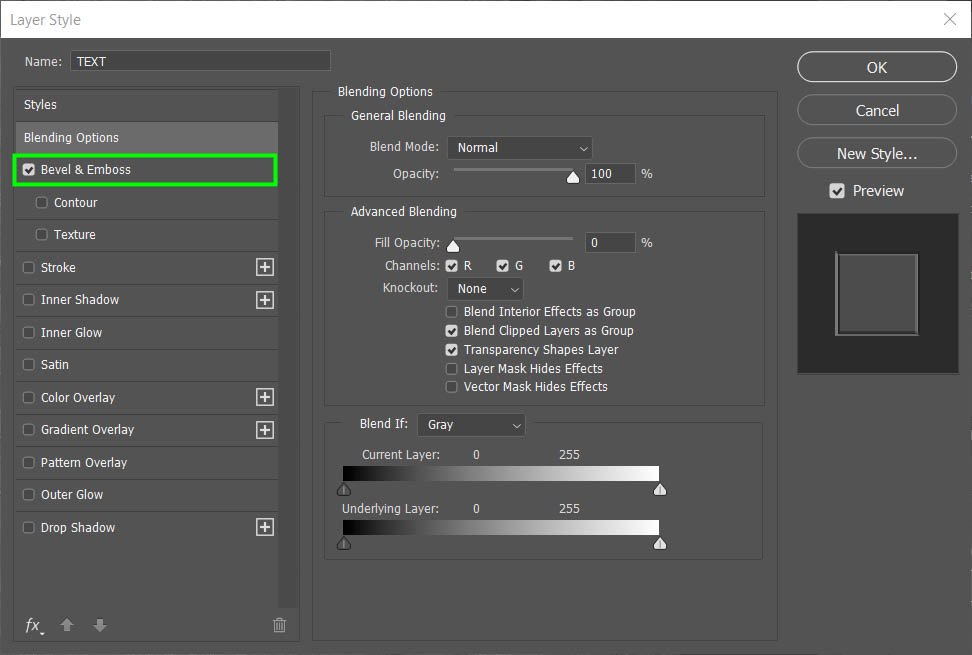
Once you activate this option, several settings will appear for you to adjust and customize your Bevel And Emboss effect.
The settings for the Bevel and Emboss effect are divided into two categories: Structure and Shading.
Basically, Structure is how the effect is formed.
Shading has settings that control how light is used to create the bevel and emboss effect.
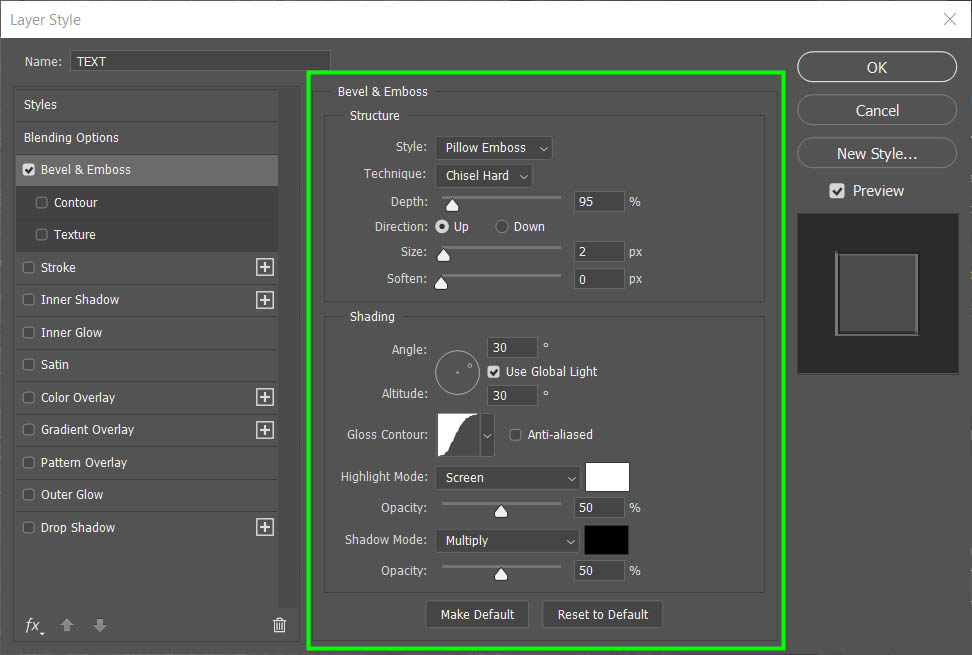
Step 4: Adjust The Structure Settings
The first option available in the Structure section is Style.
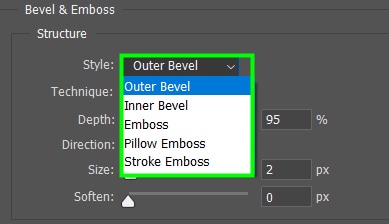
There are six options available, and each of these options changes the formation of the bevel.
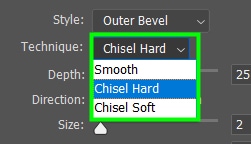
The Technique option lets you control how harsh or soft the bevel is perceived.
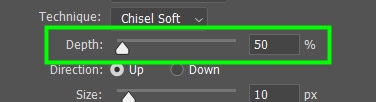
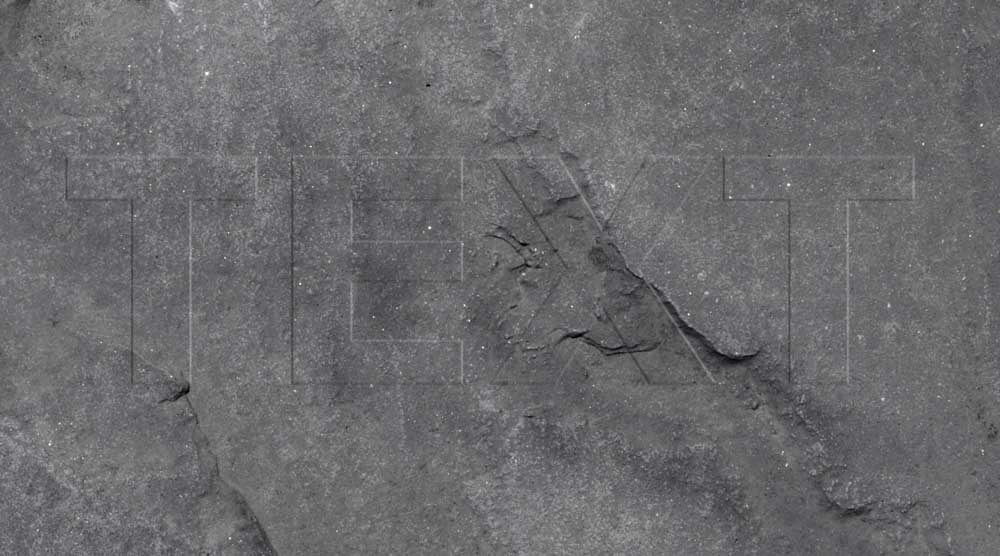
Now it’s time to determine the Depth of the effect. That is, how detached the text looks from the background.

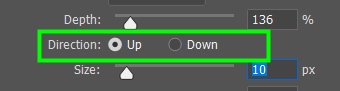
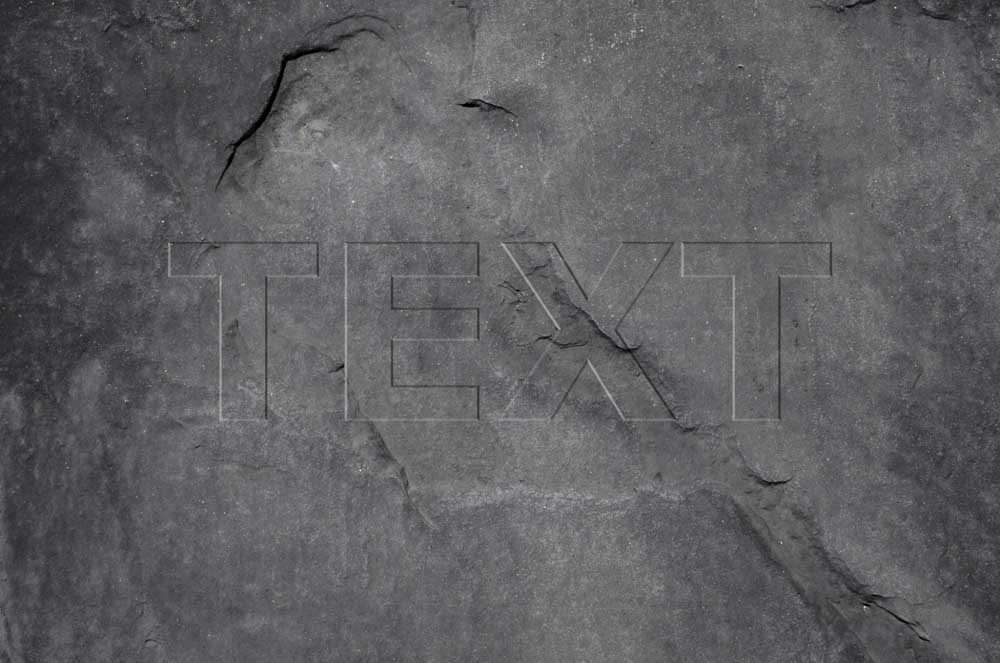
Direction controls whether your text extrudes a surface or recedes it. Up makes the text extrude from the surface, and Down causes it to recede into the surface.
Size determines the size of the Bevel or how thick the edges appear.
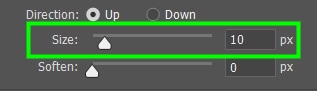
I advise you against increasing this setting too much because the letters will look too thick and the effect too harsh. However, if that is your intention, go ahead.
The Soften setting applies a slight blur to the edges of the text.


Step 5: Adjust The Shading Options
Now, move on to the Shading category settings.
When you enable the Bevel and Emboss effect, Photoshop automatically adjusts shading and light to create such an effect. Luckily, you can always adjust these parameters manually in the Shading section.
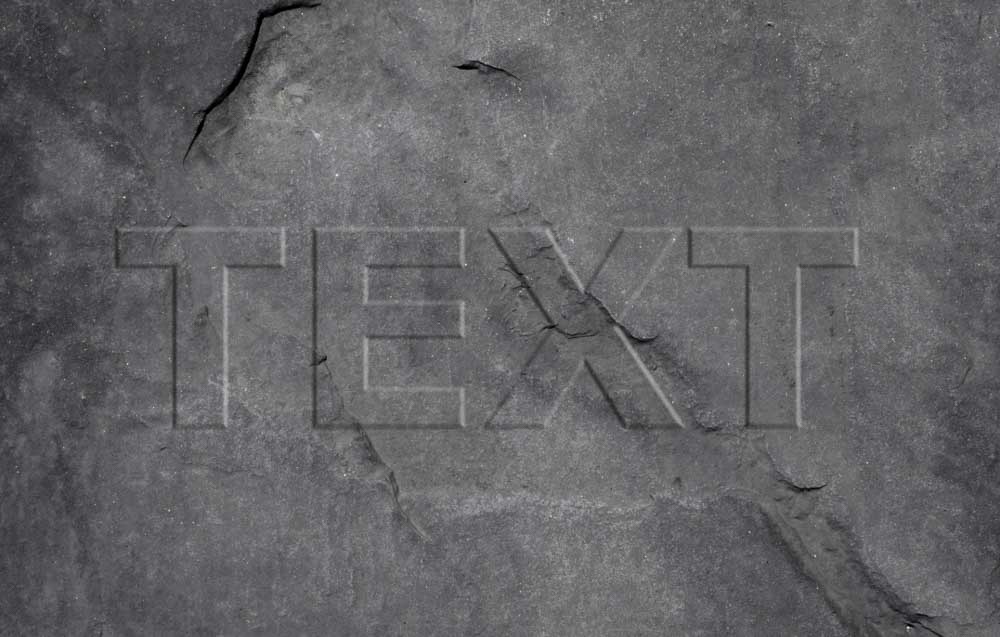
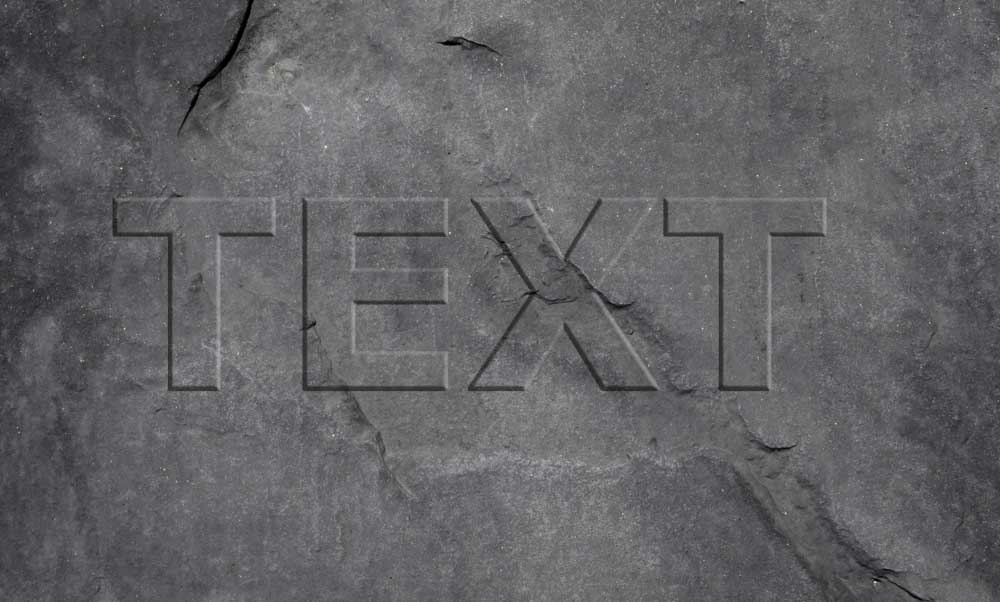
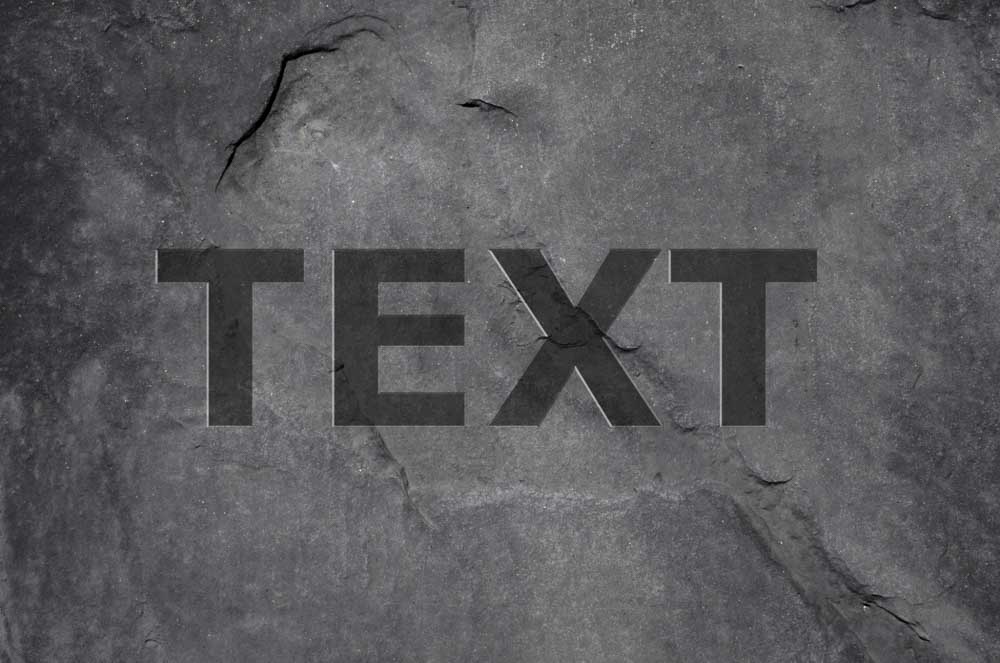
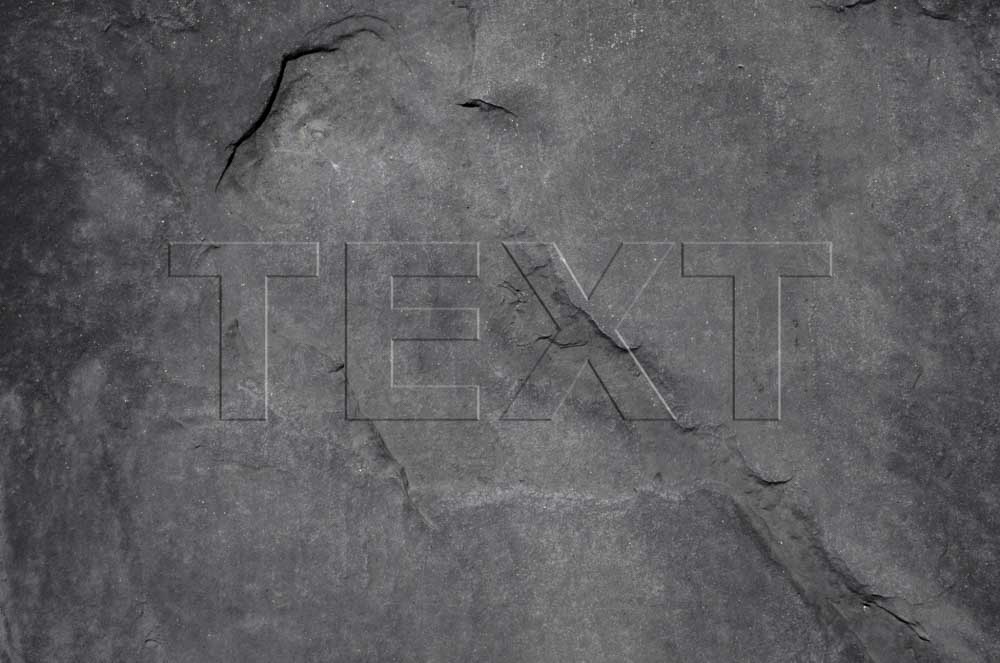
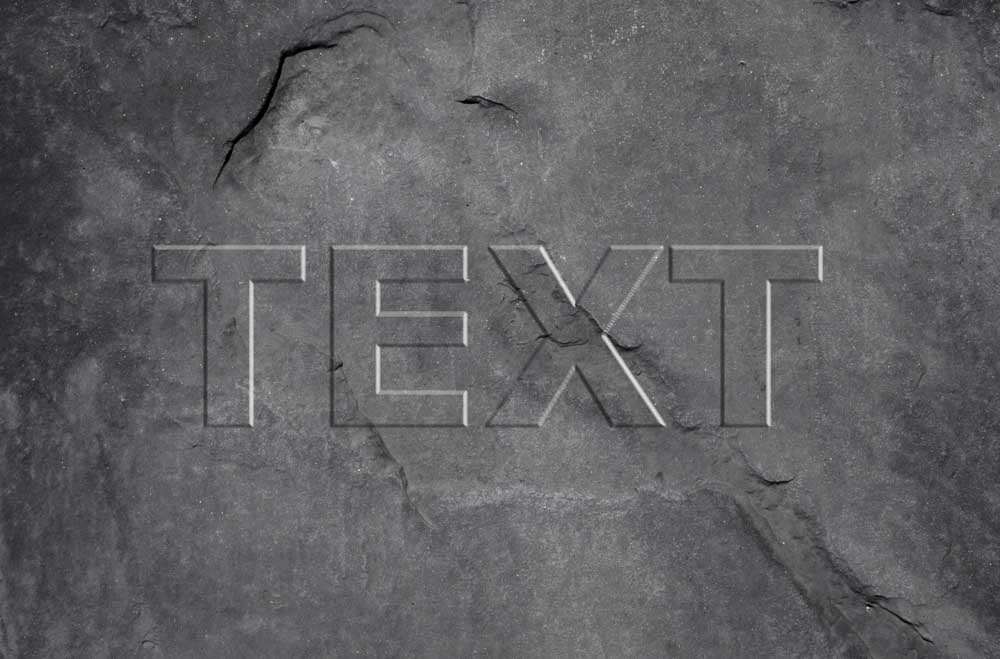
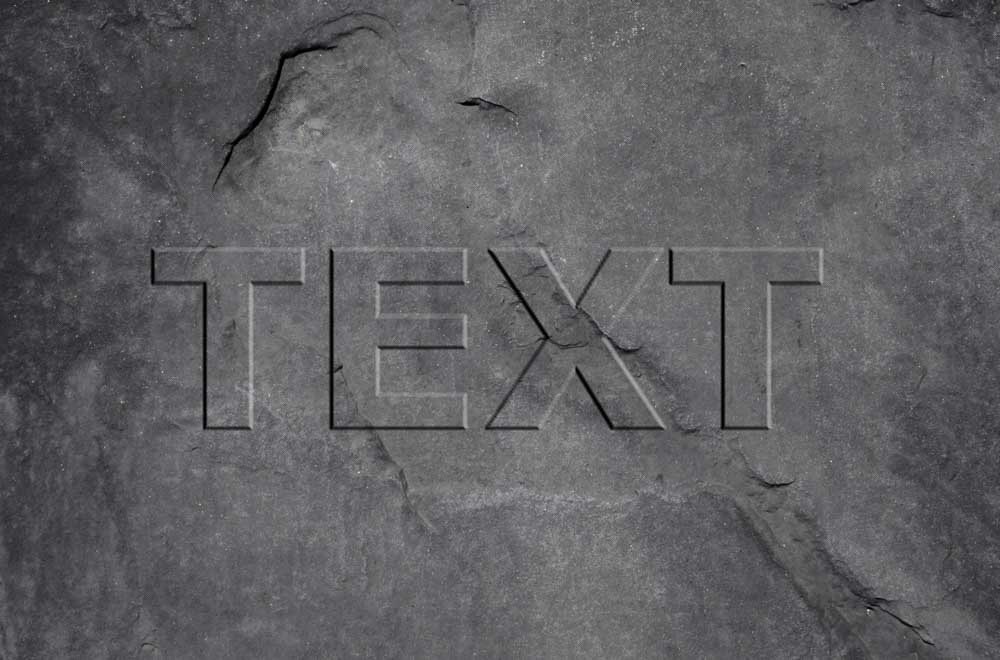
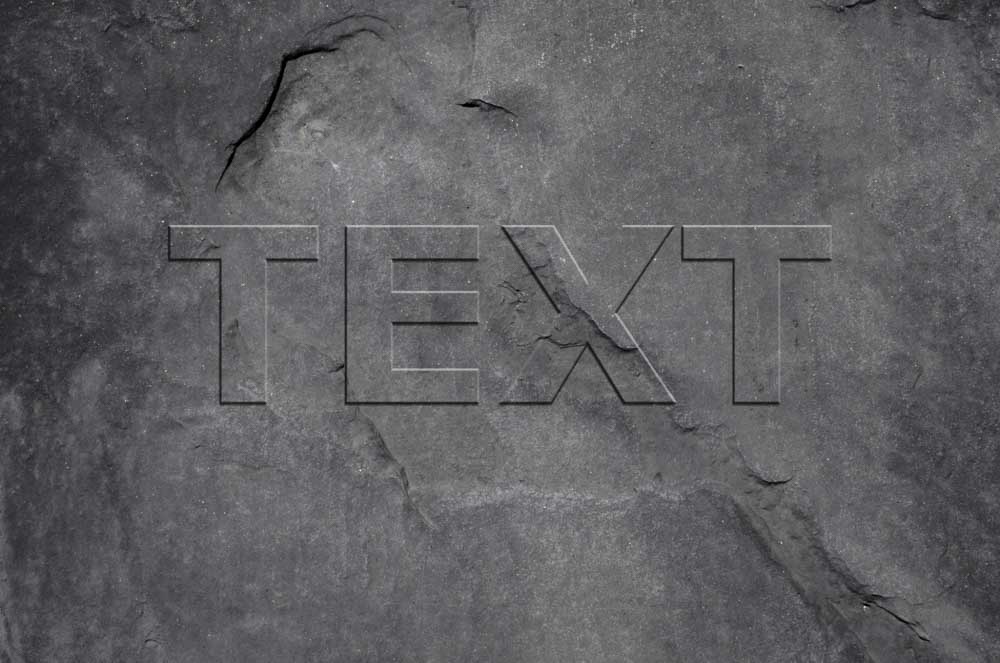
In Angle, you change the direction light comes from to hit your text.
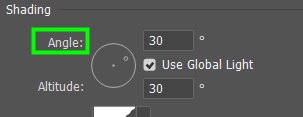
To change the angle, drag the little slider inside the angle circle to the direction you want or type in the desired value in the angle box.
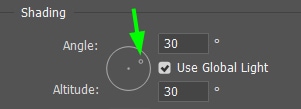

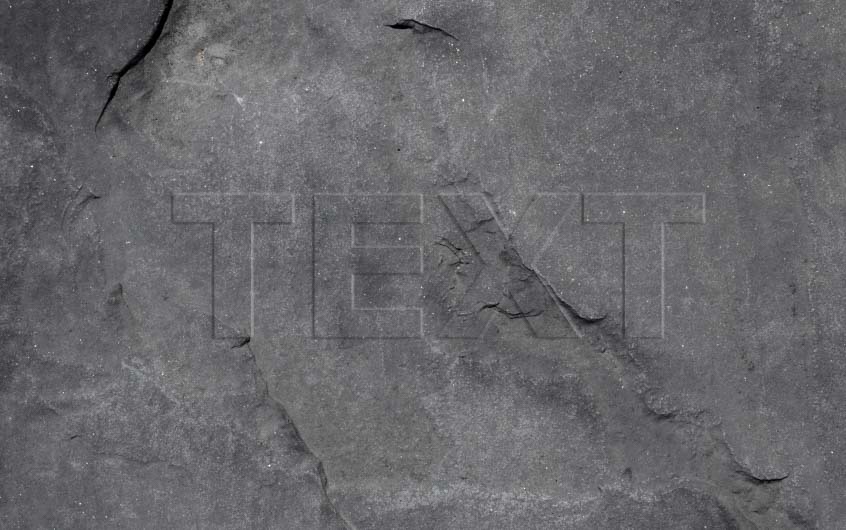
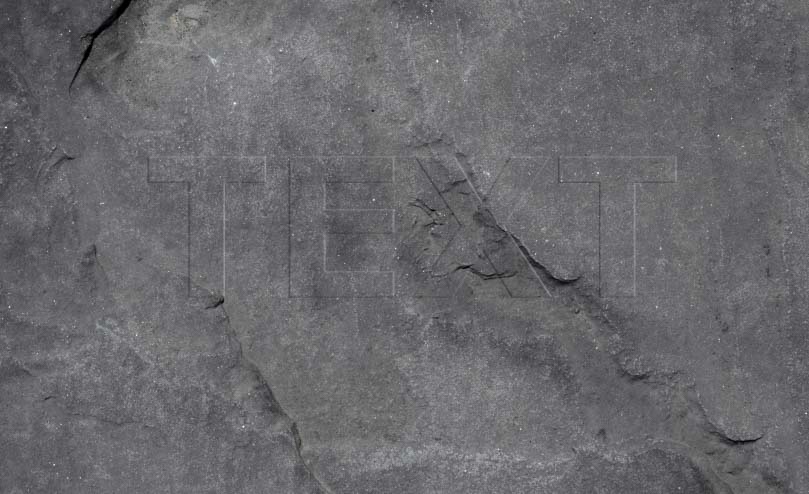
This is especially handy when you want to match the light direction in a background image to the text.
See the difference the change of angle made in my image.

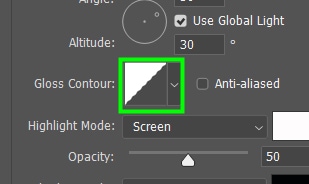
When you activate Use Global Light, all light effects in your layer and all the other layers in the Layers Panel come from the same source. That way, highlights and shadows in a project work out harmoniously.

Altitude is how close the light is to your object. Use lower angle values for more present light and higher values for distant light.


Gloss Contour allows you to experiment with different highlight and shadow curves for your Bevel and Emboss effect. This can affect how dark or illuminated the effect appears.
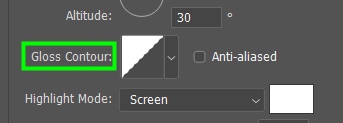
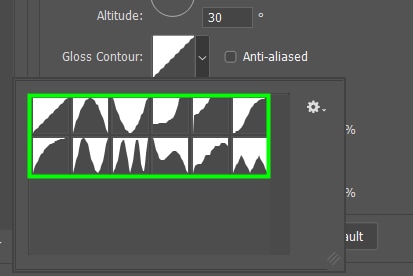
You can even create a custom curve for your gloss contour. To do this, double-click the active Gloss Contour box.
The Contour Editor will then pop up with a curve for you to adjust.
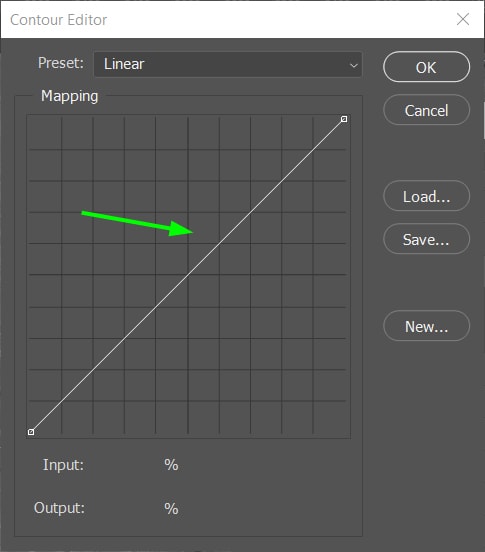
Move this curve in the desired direction to change highlights and shadows. Moving the curve downwards increases shadows, and moving it upwards increases highlights.
Moving down the panel, you can find options to change highlight and shadow colors and adjust these parameters’ opacity.
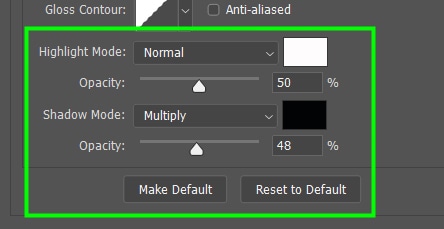
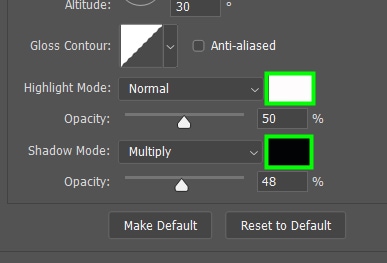
By default, the highlight color is white, and the shadow color is black. However, you can set any color for highlights and shadows. This comes in handy when your text and background aren’t made of neutral colors.
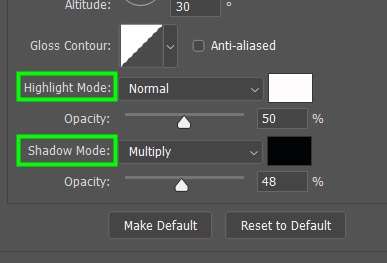
In Highlight Mode or Shadow Mode, you can change the blend mode of the effect. Depending on the choice, the focus will be on the shadows or the highlights.
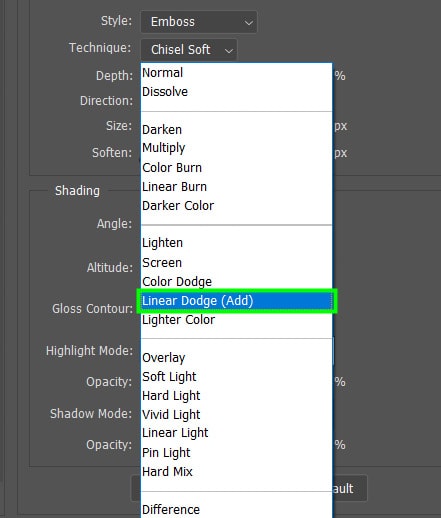
Adjusting the Opacity sliders can make highlights or shadows bolder or softer.


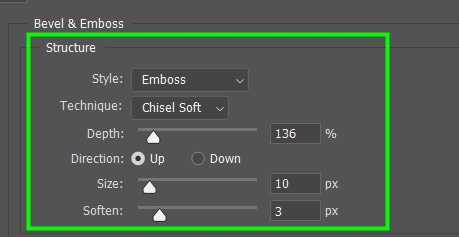
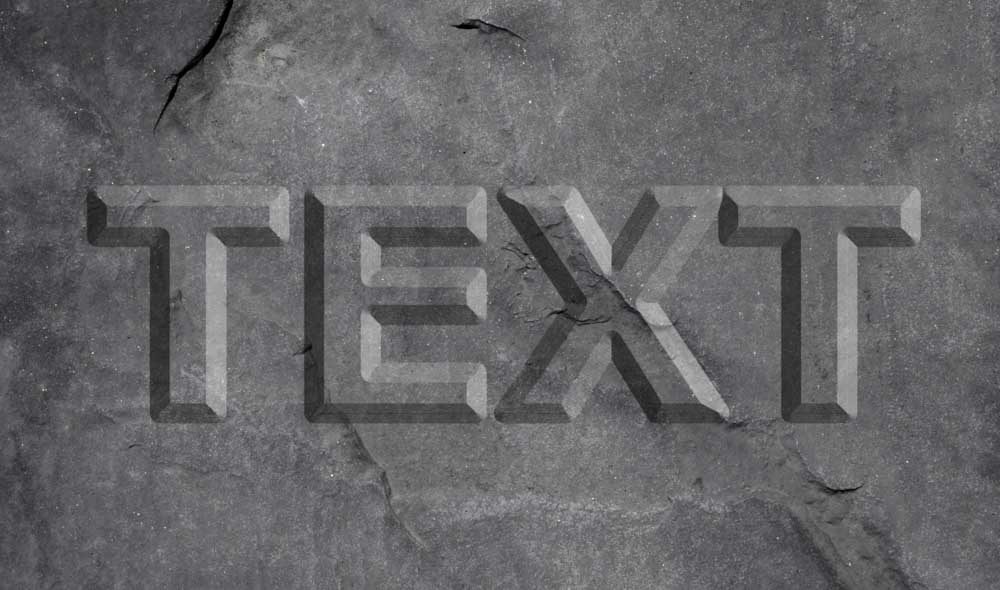
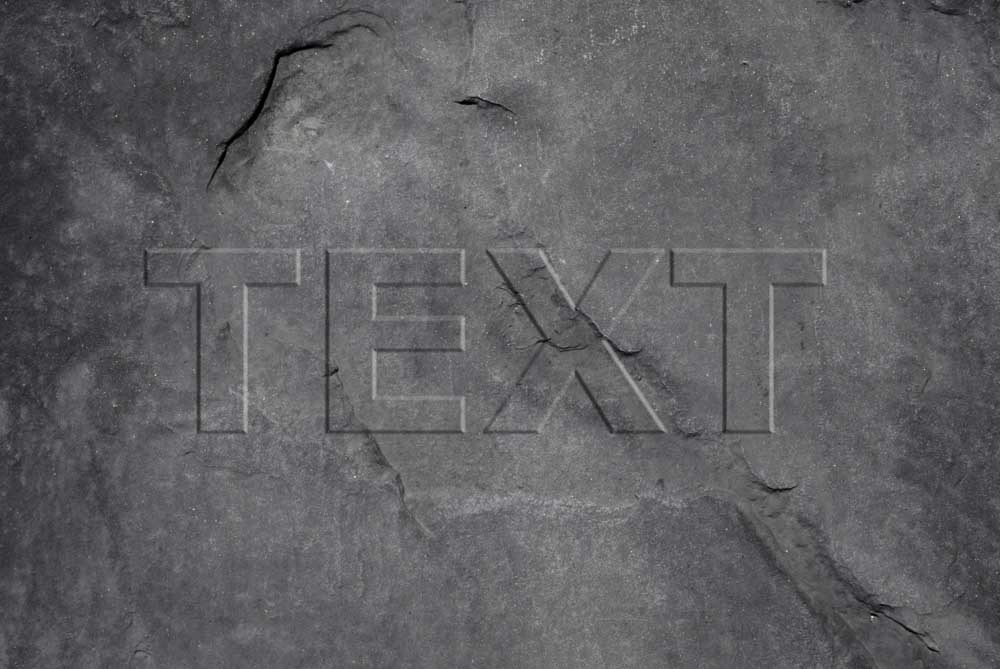
By adjusting the above settings, you can create tons of different Bevel and emboss effects. For example, I created the effect below using the following settings. You can use the same values to recreate the same style if you want:
- Chisel: Hard
- Depth: 150
- Direction: Up
- Size: 10
- Soften: 2
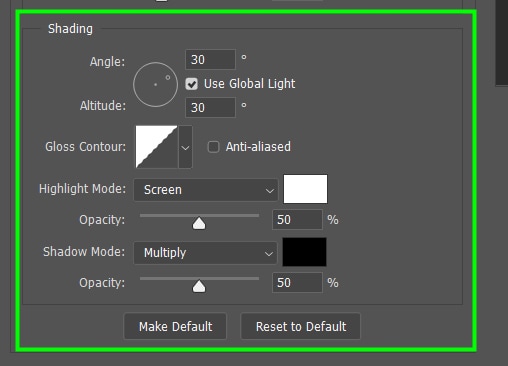
- Angle: 70º
- Altitude: 21º
- Gloss Contour: Gaussian
- Highlight Mode: Normal
- Opacity of Highlight: 50%
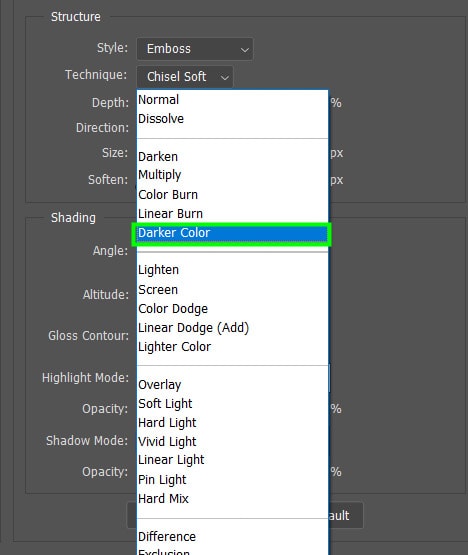
- Shadow Mode: Darker Color
- Opacity of Shadow: 50%
Don’t hesitate to experiment with different settings to create unique results. You can also combine other Layer Style effects, such as Drop Shadow and Outer Glow, to make your final project even more interesting.
By following the instructions here, you can apply eye-catching bevel and emboss effects to text, shapes, and any other element you can think of in Photoshop. It’s a useful effect I often use to create various design pieces such as posters, flyers, and website elements.


