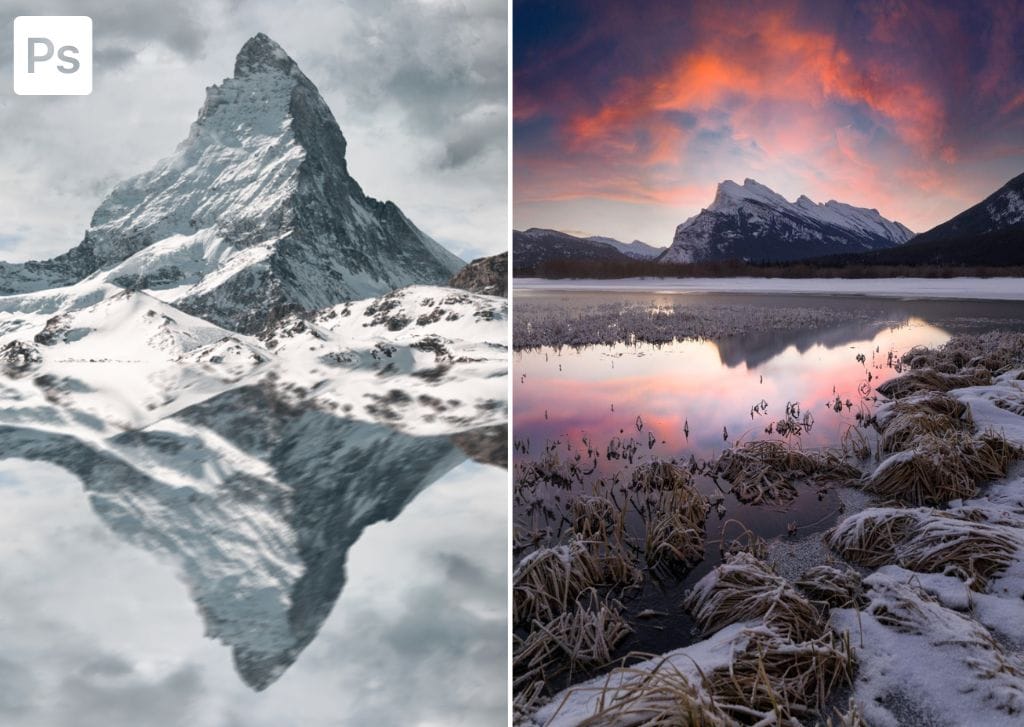

Whether you want to add a creative effect or enhance an existing reflection in a photo, Photoshop offers several ways to do it. The first option for creating a reflection in Photoshop is to do it from scratch, meaning there doesn’t need to be any water or reflective surface in the original photo!
As for the second method, you’ll see how you can enhance existing water reflections alongside sky replacements for some captivating editing effects. Let’s get started!
How To Make A Reflection From Scratch In Photoshop
First, let’s learn how to make a reflection in Photoshop from scratch — this means we’ll create both a reflective surface and a reflection on the surface.
Step 1: Open The Image in Photoshop
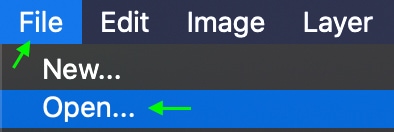
First, you’ll need to open up the image you’d like to work with in Photoshop. You can do this by clicking the Open button on the start page or by heading to File > Open.
Select the file you want to edit and double-click to open it in a new Photoshop document.
Step 2: Double The Canvas Size
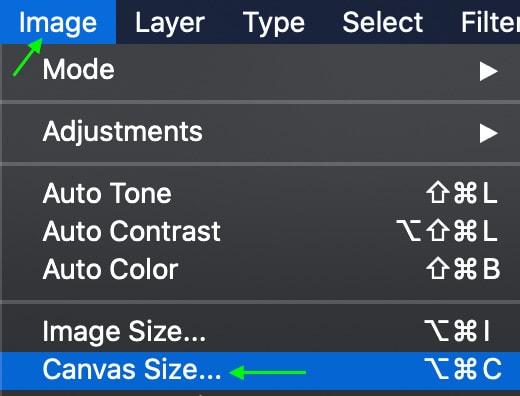
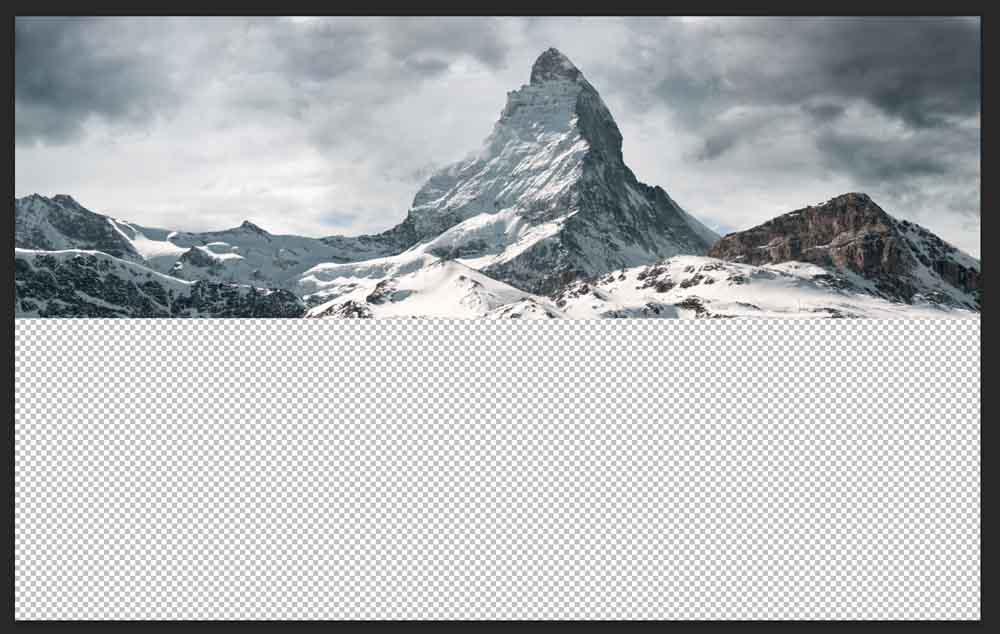
Because we’re flipping the image and adding it to the bottom, we’ll need the canvas to be twice the size it is now. To double the size, head to Image > Canvas Size.
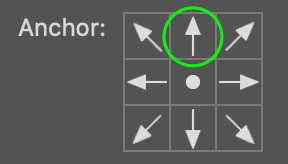
In the window that appears, you can double only the height of the canvas by setting the unit of measurement to Percent and the number to 200.

Ensure the image remains at the top by setting the top center as the anchor point. To do this, click on the top middle arrow.
Click OK when you’re done, and you’ll see the canvas has doubled in height.
Step 3: Duplicate The Image Layer
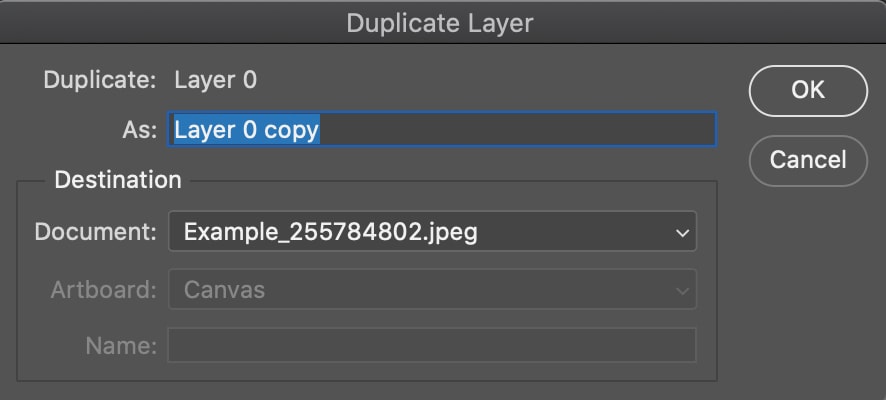
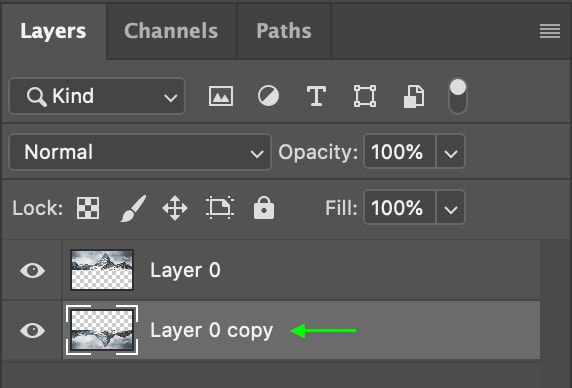
Now, duplicate the image layer by right-clicking or Control + clicking the image layer in the Layers Panel and selecting Duplicate Layer. You can also press Control + J (Win) or Command + J (Mac).
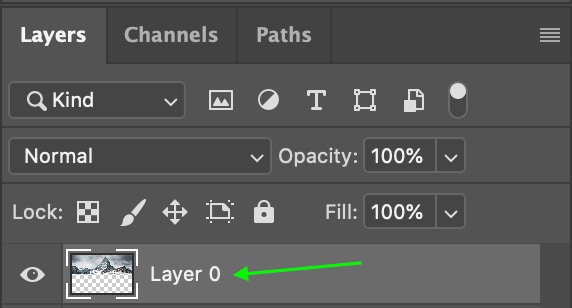

Name the duplicate layer if you’d like, and click OK.
Step 4: Flip The Image Layer Vertically
Now that your image is duplicated, you need to flip the image layer to create the area of the image that will act as the reflection. To do this, press Control + T (Win) or Command + T (Mac) to select the image.
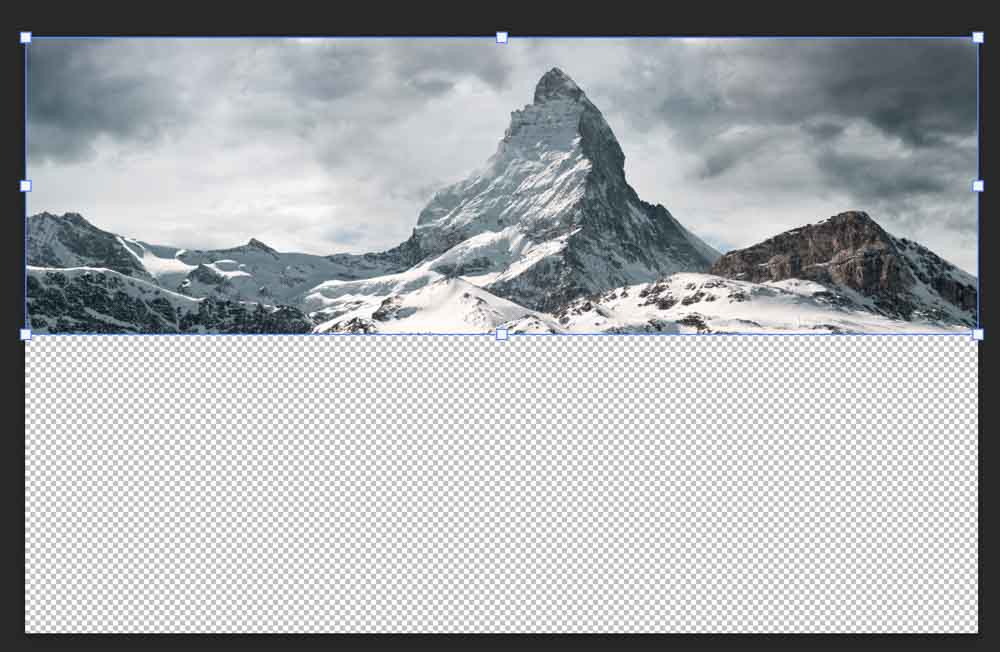
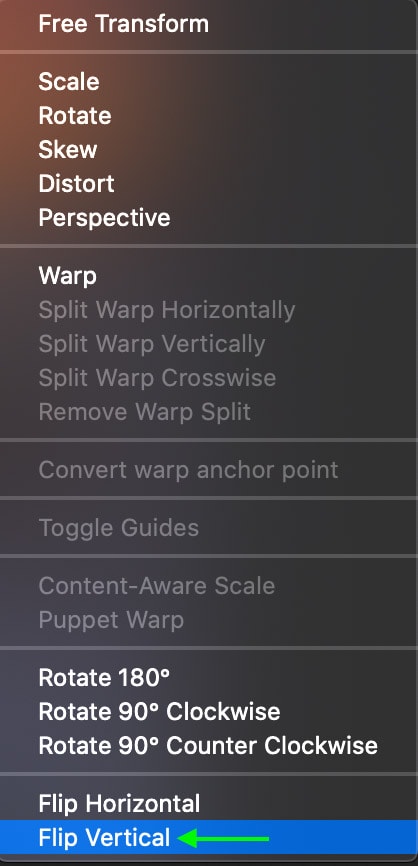
Then, head to Edit > Flip Vertical or right-click or Control + click the image and select Flip Vertical.
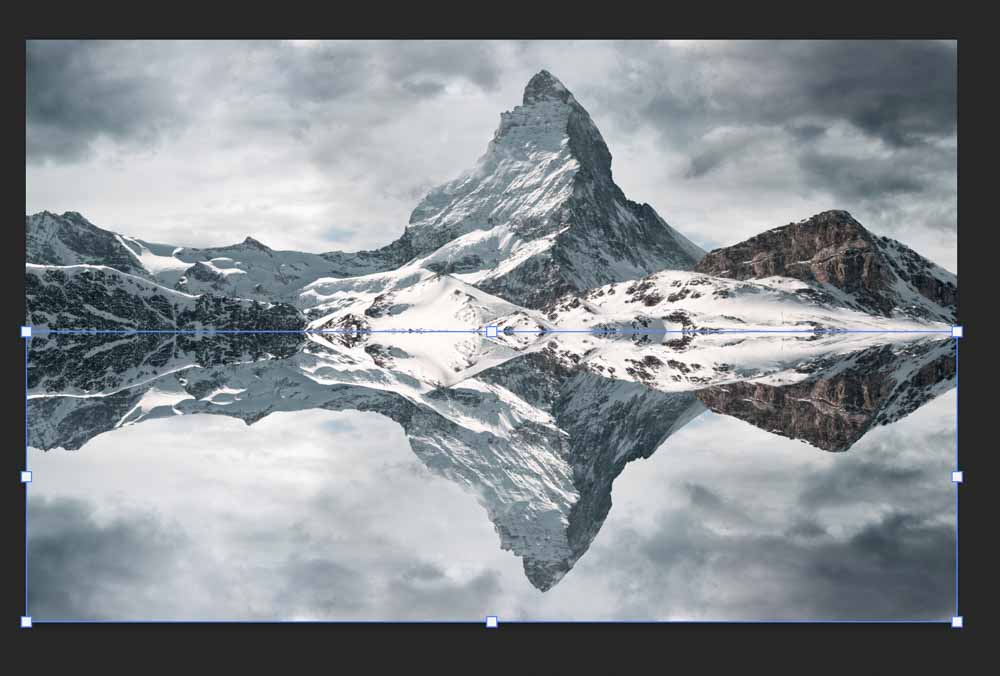
This flips the selection, and you can click and drag it so that it now appears below the original image, flipped upside-down like a reflection.
Step 5: Add A Motion Blur To The Reflection
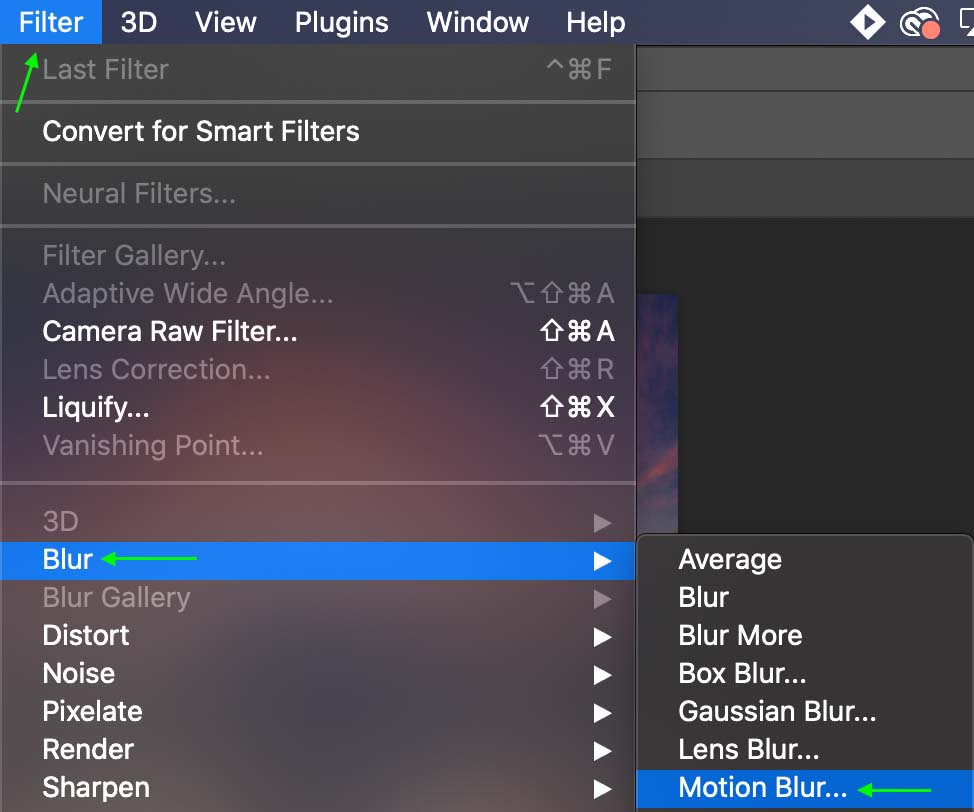
Now you can give the reflected area a blur to create a more realistic look. First, ensure the image copy is selected in the Layers Panel, as this will act as our reflection, and head to Filter > Blur > Motion Blur.

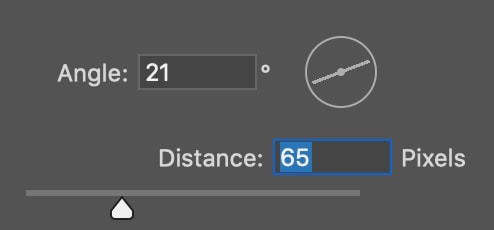
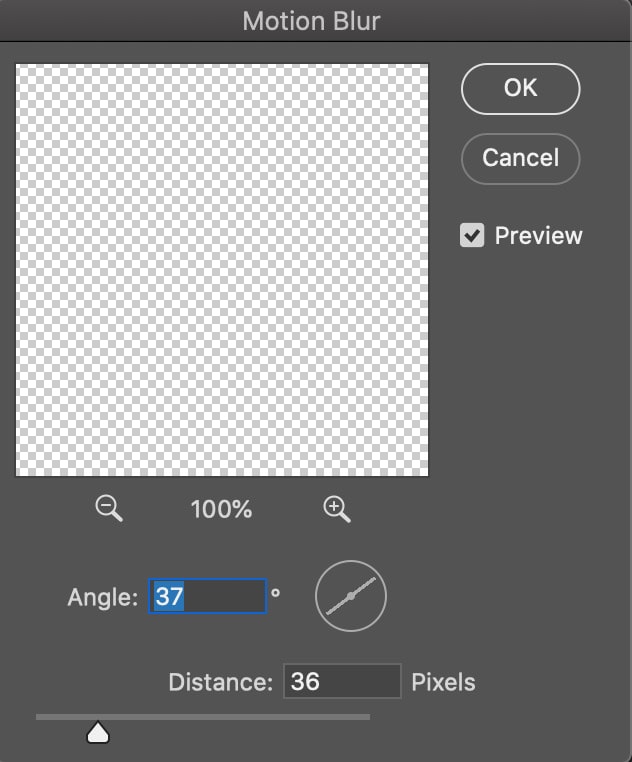
In the Motion Blur window, set the angle and distance (amount of blur shown). You’ll see the changes reflected in the image, so you can play around with the angle and distance until it looks right.
Our reflection is starting to look a bit more like water.
Step 6: Add A Gaussian Blur To The Reflection
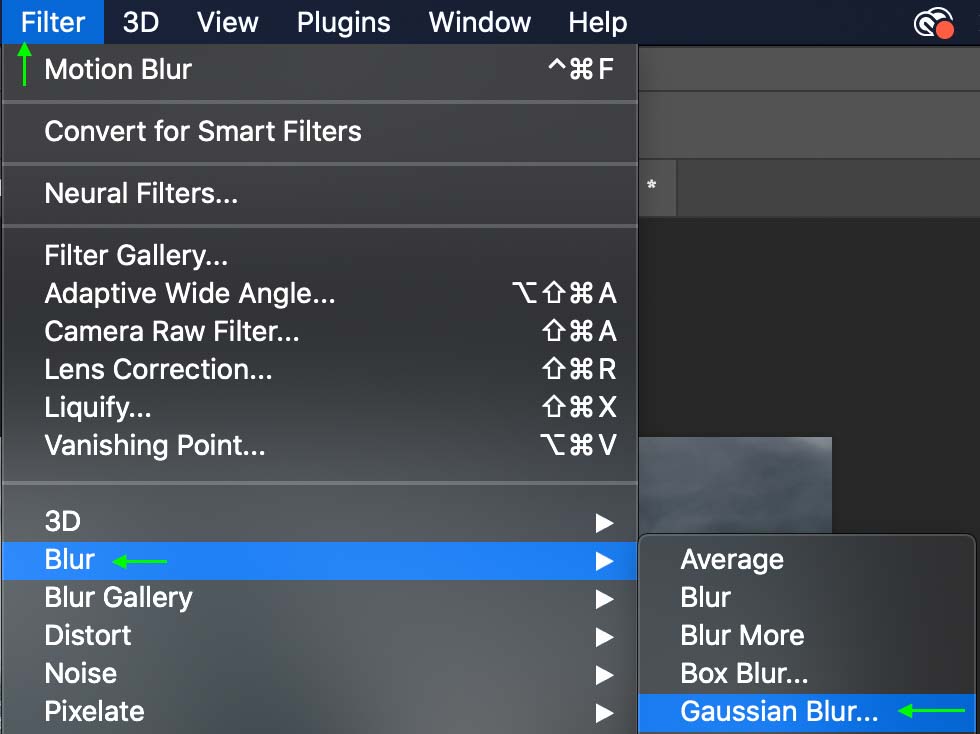
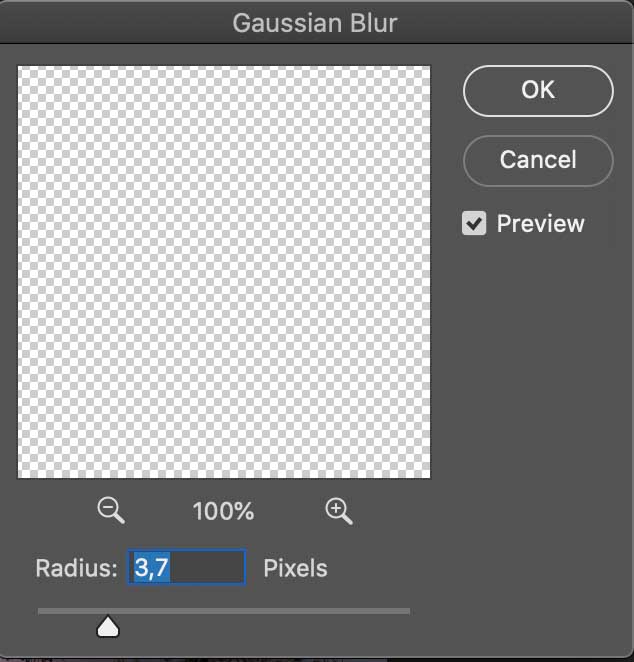
You can also add a Gaussian Blur to the selection to further imitate the blurred appearance of moving water. With the same layer copy selected in the Layers Panel, head to Filter > Blur > Gaussian Blur.
In the window that appears, you can increase or decrease the blur effect by setting the radius of the blur.
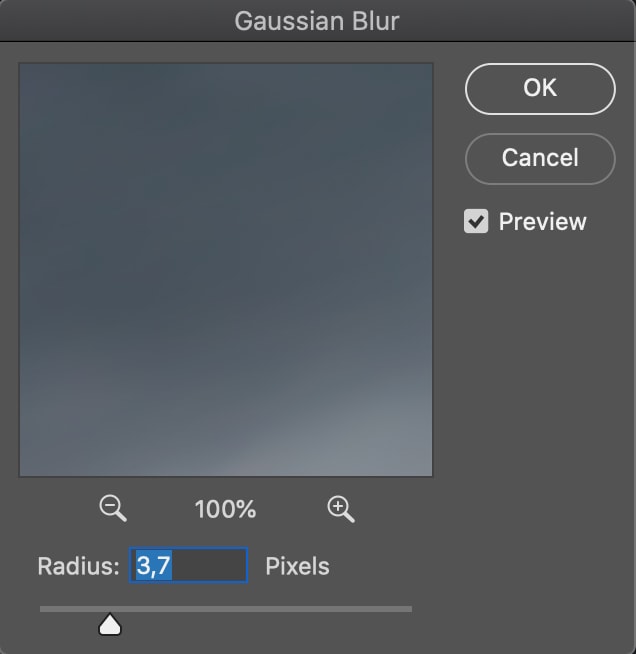
This will further add a blur to the image reflection.
Step 7: Add Water Ripples To The Reflection
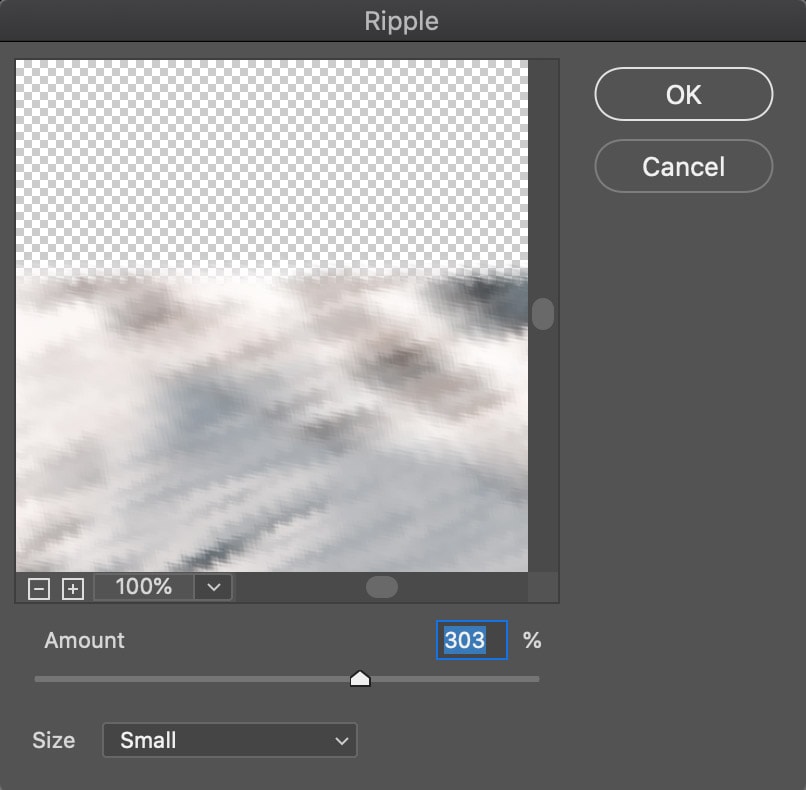
The final effect we can use to make the reflection appear like water is to add a ripple effect. Ensure you select the duplicated layer in the Layers Panel and head to Filter > Distort > Ripple.
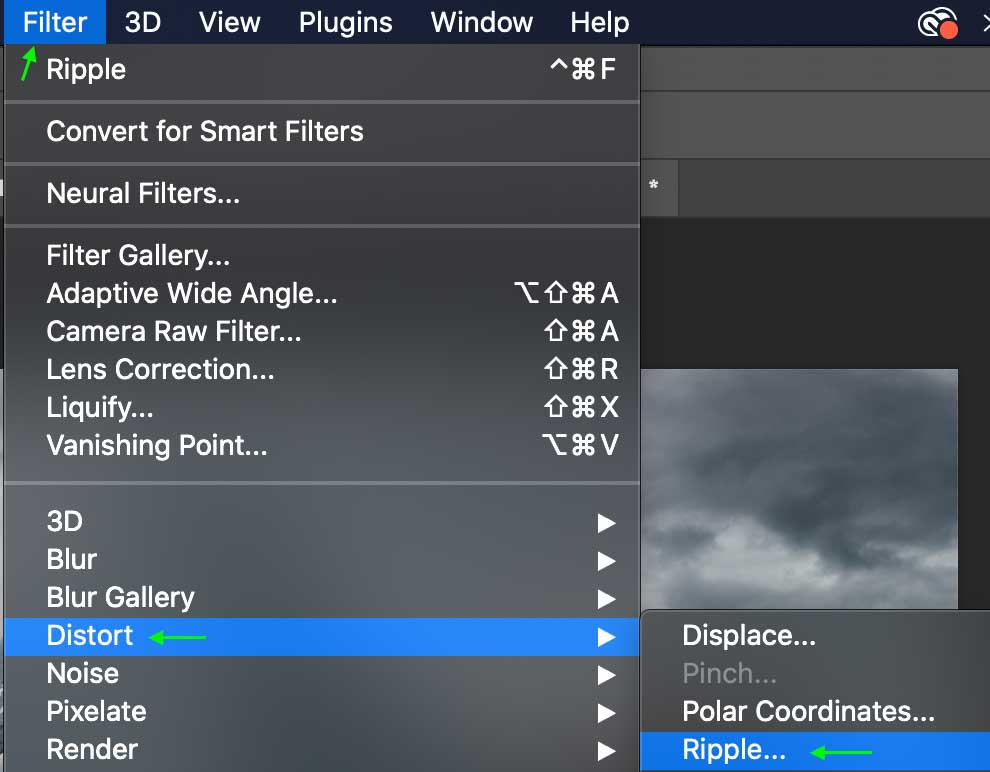
Here you can set the amount of ripple and view the effect in the preview as you edit the settings. It is best to keep the Size set to Small for the most subtle effect.
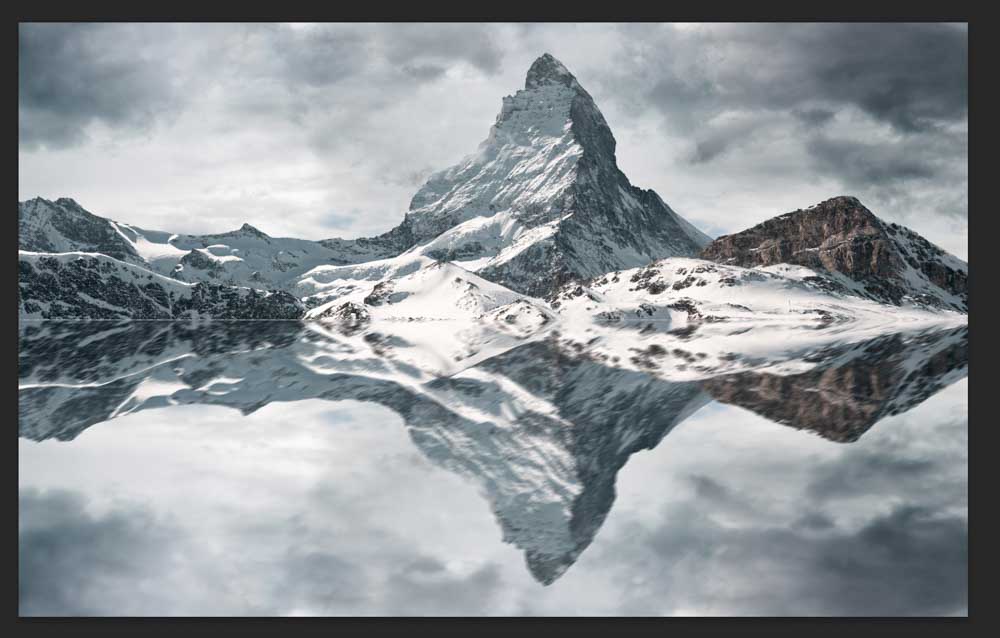
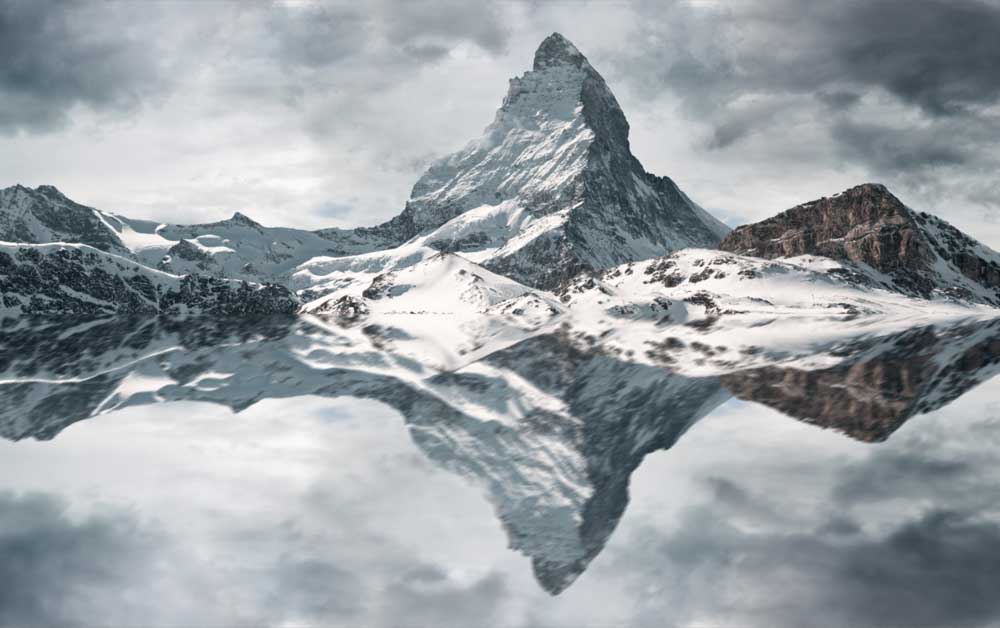
The resulting image looks like a scene reflected in moving water.
How To Add To An Existing Reflection In Photoshop
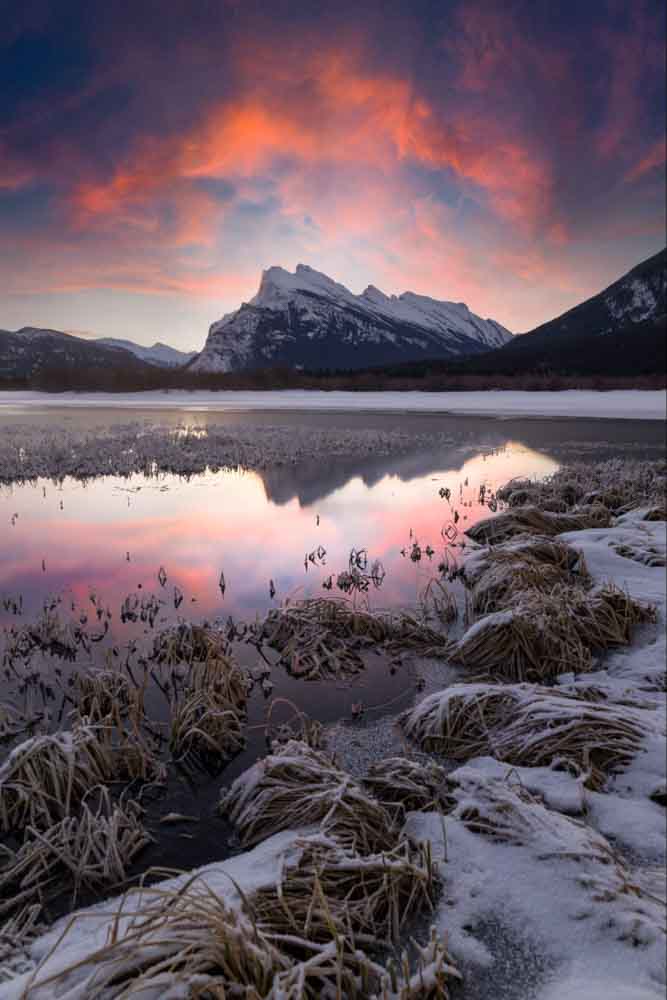
In some creative instances where you add a sky replacement to an image, any reflective surfaces (like water) must reflect the new sky. Unfortunately, most sky replacement tools don’t take this into consideration, so you have to add a reflection manually. Luckily it’s quite easy to make a reflection in Photoshop with the following steps.
Step 1: Flip The Image Vertically
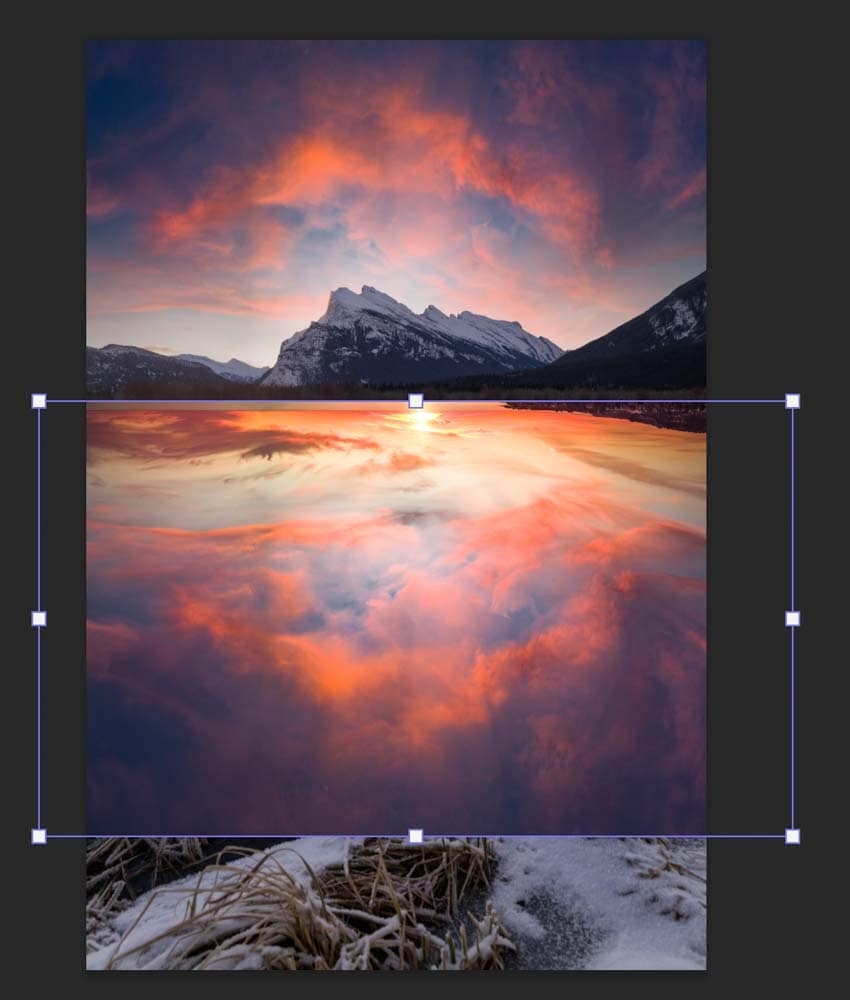
Once you have replaced the sky in Photoshop, keep a copy of the image you used for the new sky (or another object you added) above the original image layer. Then flip the sky (or object) image. To do this, press Control + T (Win) or Command + T (Mac) to select the image layer.
Now, right-click or Control + click the area and select Flip Vertical, like in the above method.
You’ll see the sky flip upside down. Now you can click and drag the selection down to the waterline. If it doesn’t cover the entire image, that’s fine. We will fix it later.
Step 2: Adjust The Perspective
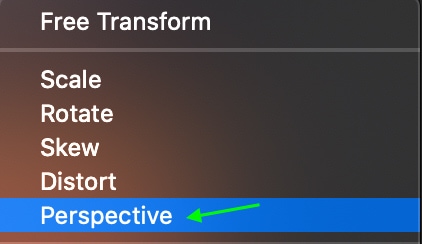
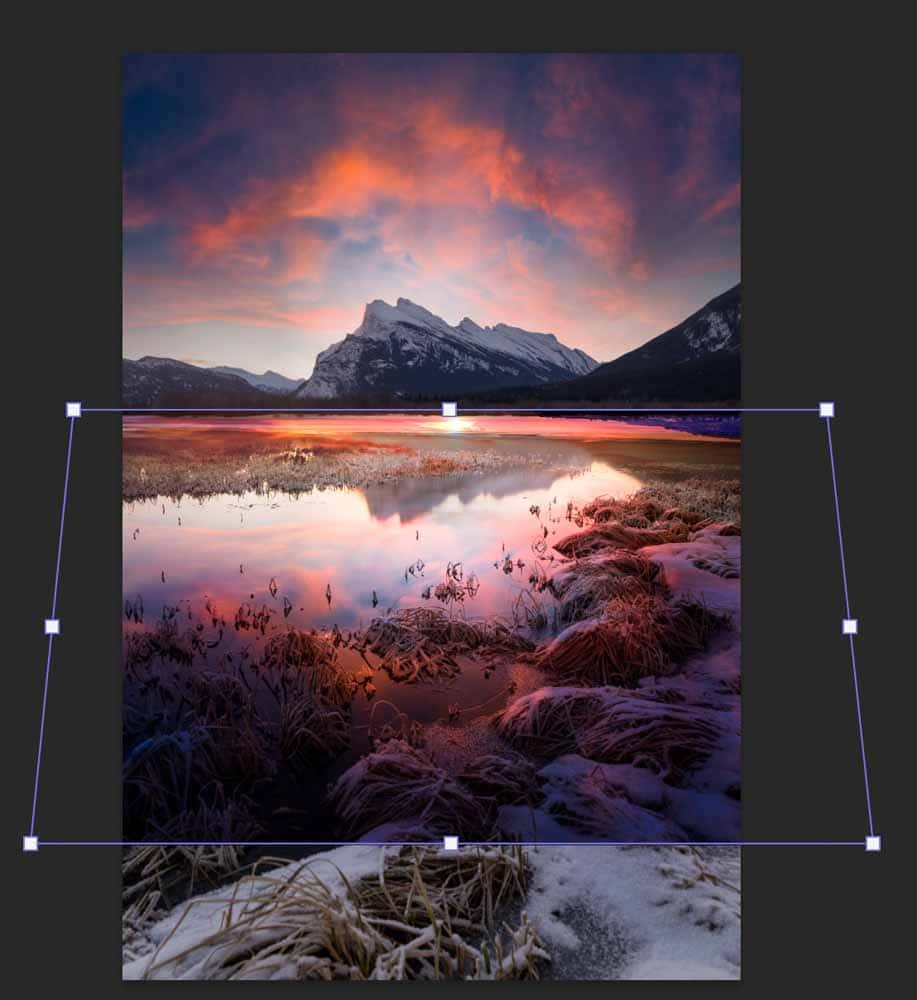
Now, right-click or Control + click the selected part of the image again and select Perspective.
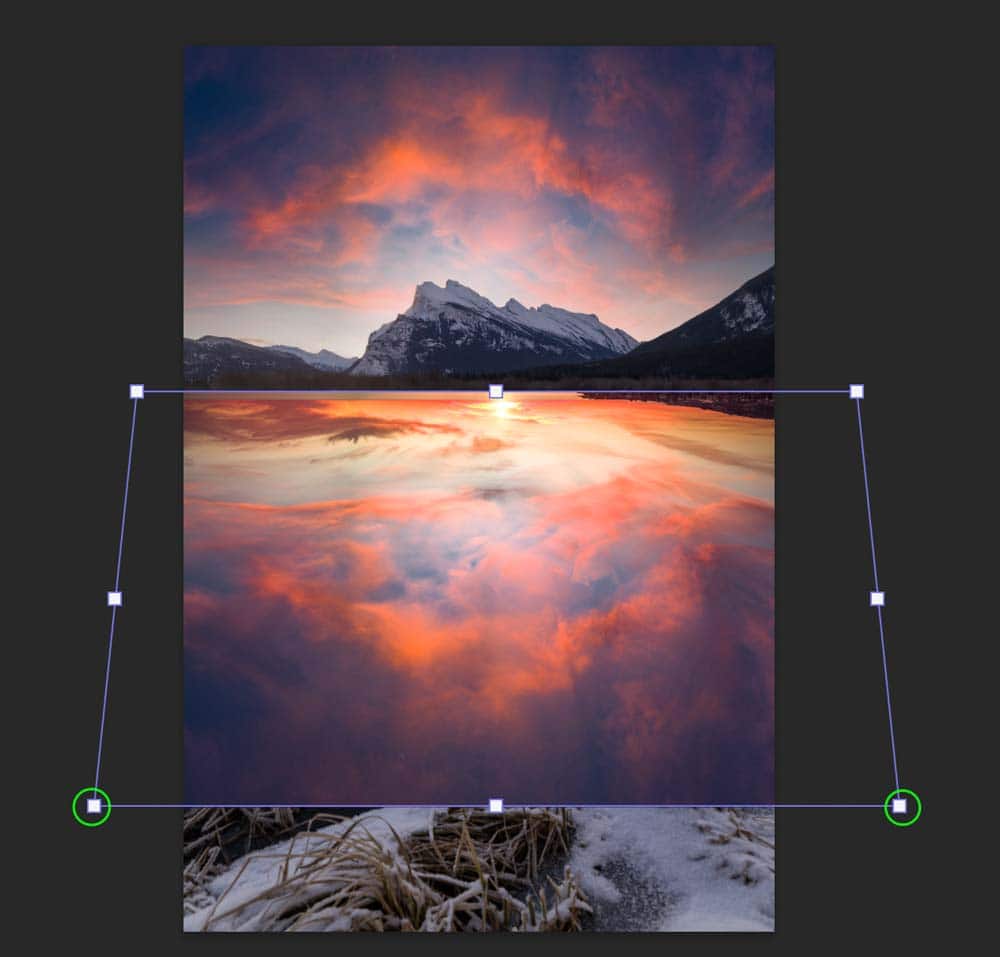
You can drag the toggles to edit the perspective to match the reflected area. For instance, you may want to make the area closest to you wider and the farthest area narrower to account for the distance in the water.
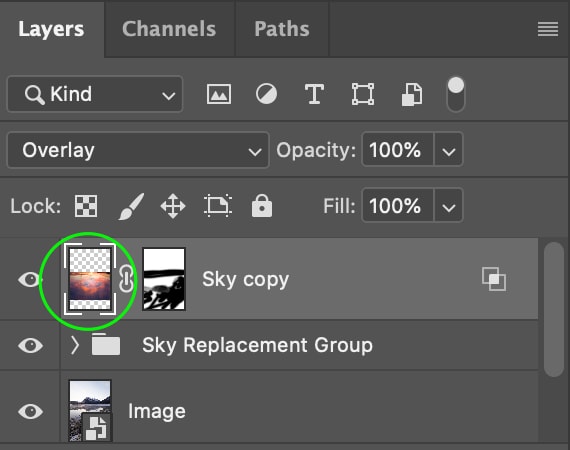
Step 3: Change The Blending Mode
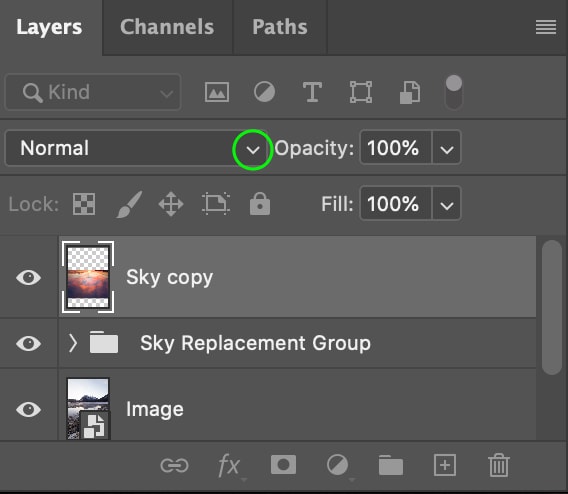
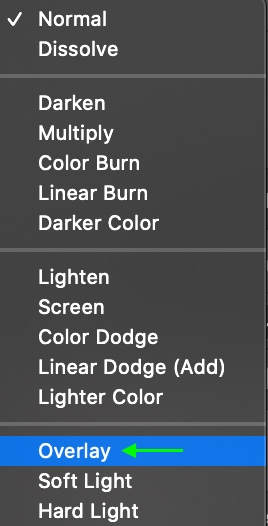
Now, head to the Layers Panel. Don’t mind all the layers you see in this example; I have already changed the sky from the original image, so you may not see the same layers in your example. Click the arrow next to the blending mode drop-down menu and select Overlay. This will be the best option to work from when blending the reflection.
You’ll see the overlay blend appear on the image.
Click the Checkmark in the Options bar when you’re done.
Step 4: Fine-Tune The Blending Mode
If the reflection you’ve added covers too much of the foreground, you can further edit the blending mode by double-clicking on the layer in the Layers Panel to open the Layer Styles window. Head to the Underlying Layer bar at the bottom.
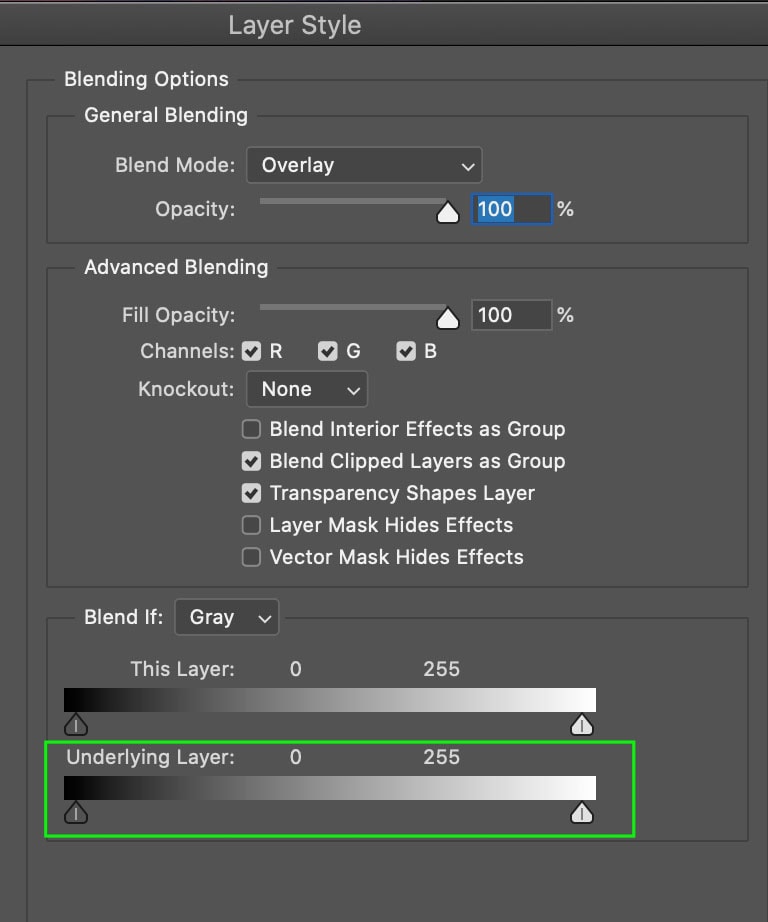
Drag the toggle up a bit to bring up the shadows of the underlying layer.

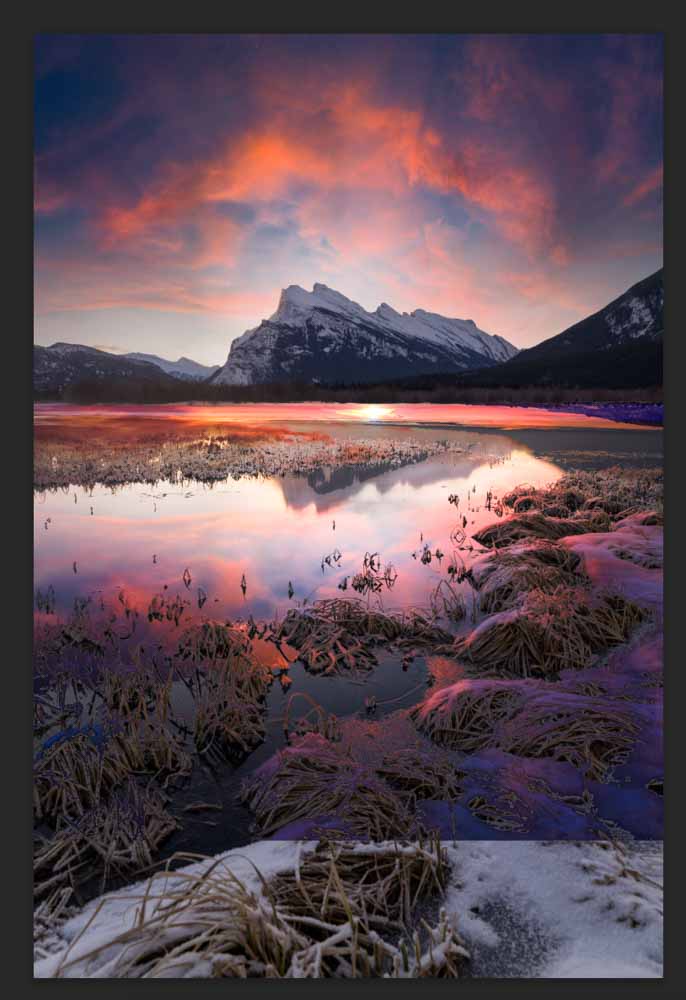
You can watch the image change until most of the excess detail is removed. The detail remains in the water, but much of the foreground is no longer covered by the reflected area.
Step 5: Remove The Reflection From The Foreground
Now head to the Layers Panel and make sure the layer you’ve been working on is selected. Click the Layer Mask icon at the bottom of the panel.

Click the Brush Tool (B) from the Toolbar.

Select a soft brush and set your brush’s size to erase the foreground from the reflected area by clicking the drop-down menu at the top.
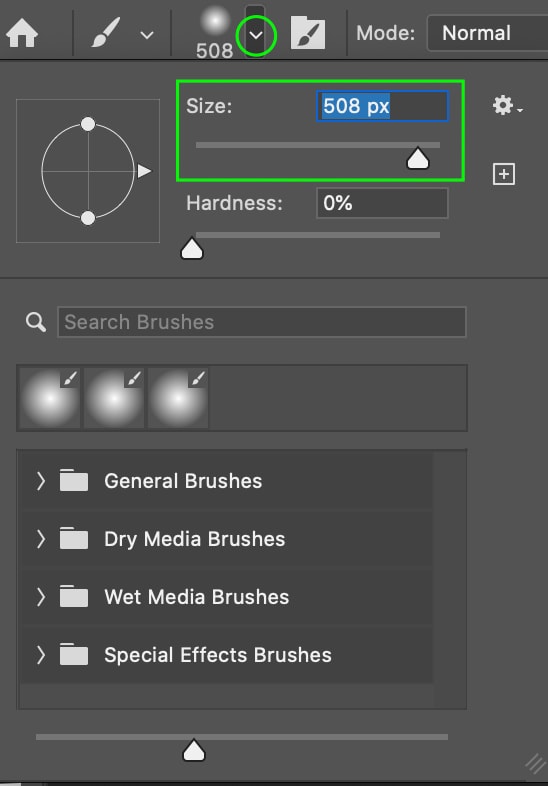
For now, keep the Opacity and Flow at 100%.

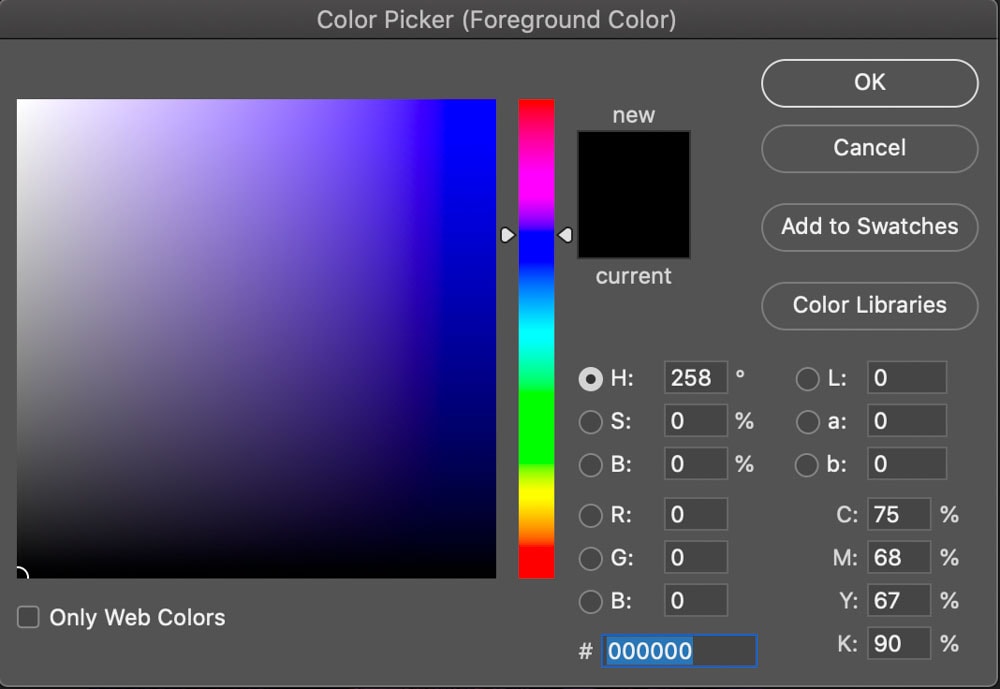
Click the foreground color selector in the Toolbar and select Black if it isn’t already set. This allows you to hide the areas you brush over using the layer mask.

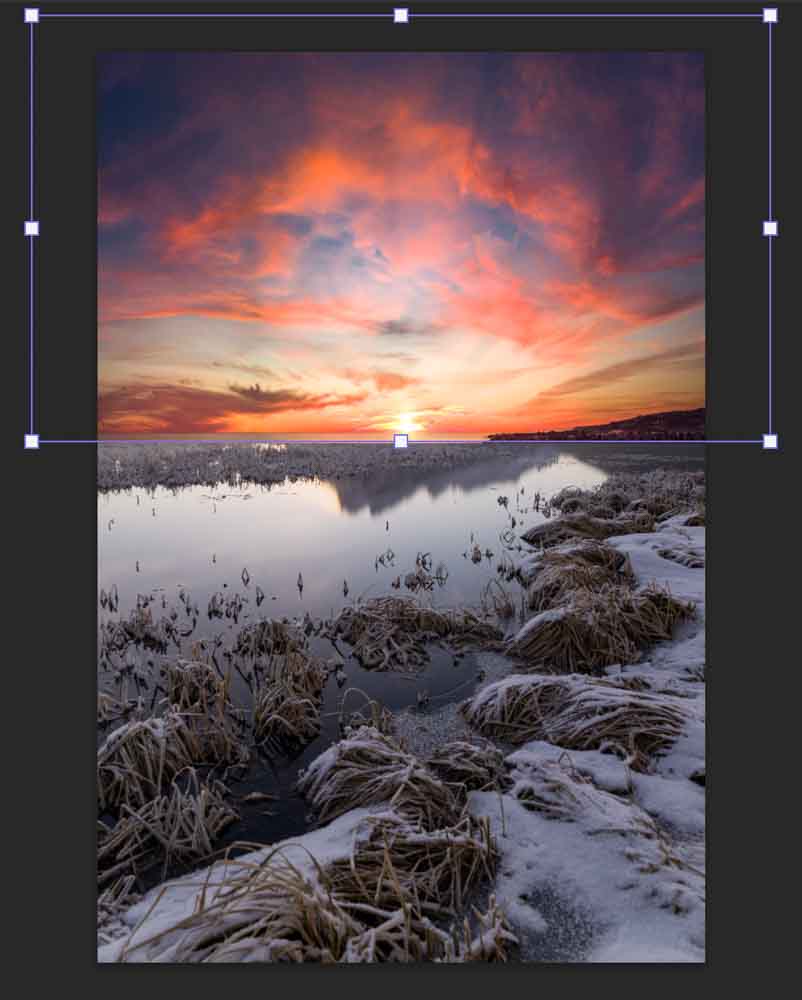
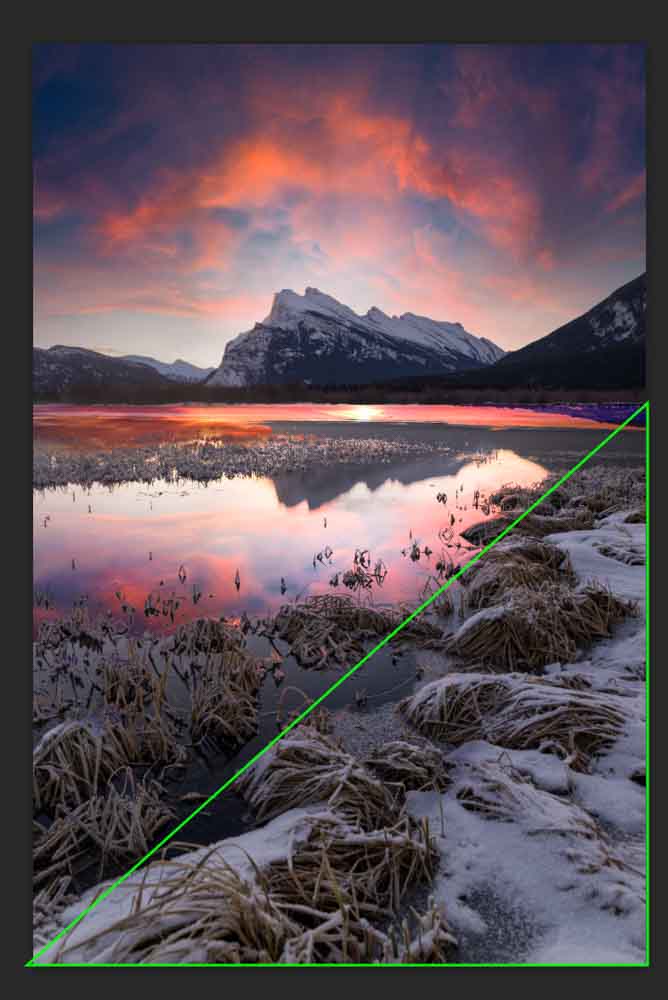
Now, paint over any areas where the reflection wouldn’t naturally appear, like any ground, trees, or rocks in the foreground. In the below example, I’ve painted out the area represented by the triangle.
Once most of the foreground is masked out, you can lower the opacity a bit by clicking the Opacity drop-down menu at the top and dragging it down.

This allows you to paint over the areas closest to the reflection so that you can keep some of the colors to make it realistic, but the reflection isn’t fully covering anything in a way that looks unrealistic.
You can lower the opacity even more for smaller details and paint over the areas. To add back the mask, if you accidentally removed parts of the reflection in the water, change the foreground color to white. Then paint over areas where you want to add the reflection back in.

Step 6: Add Motion Blur To The Reflection
To make the reflection appear more realistic, we can add blur effects, which would naturally be present in an image of water. In the Layers Panel, click the image layer thumbnail.
Now, head to Filter > Blur > Motion Blur.
In the window that appears, match the angle to whatever angle the background moves in and increase the distance slightly.
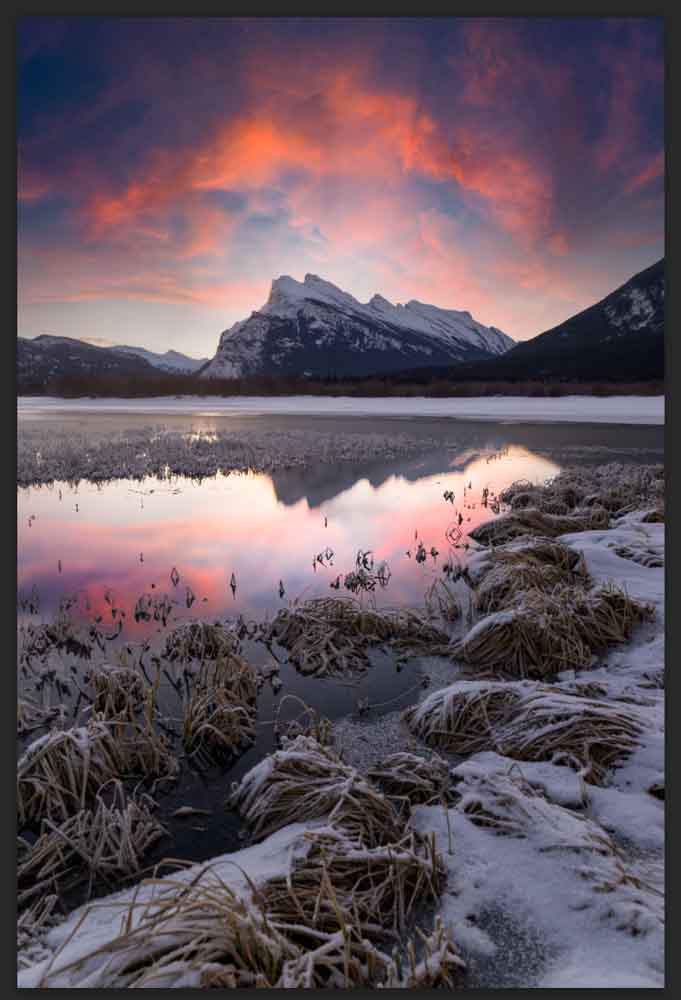
The resulting blur adds a bit of realism to the reflection.
Step 7: Add A Gaussian Blur To The Reflection
Finally, we’ll add a Gaussian Blur, which adds an even more realistic appearance to the water. With the same layer selected, head to Filter > Blur > Gaussian Blur.

In the window, increase the radius to increase the blur effect.
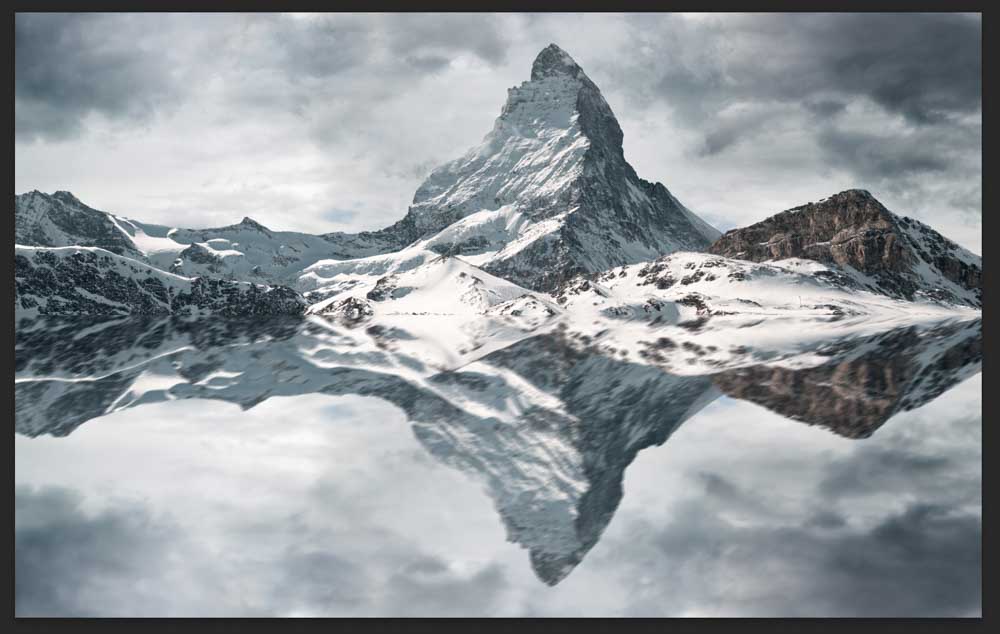
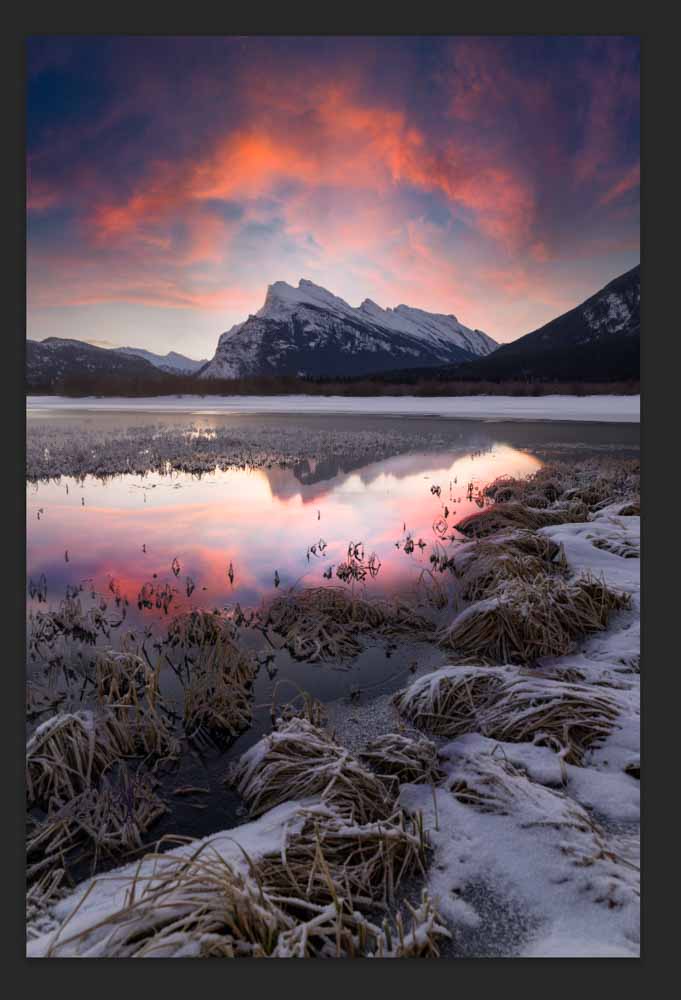
Click OK, and you’ll see the blur added to the reflection.
So whether you need to make a reflection in Photoshop from scratch or add one for creative edits like sky replacements, now you know how to do both!
Happy Editing!


