
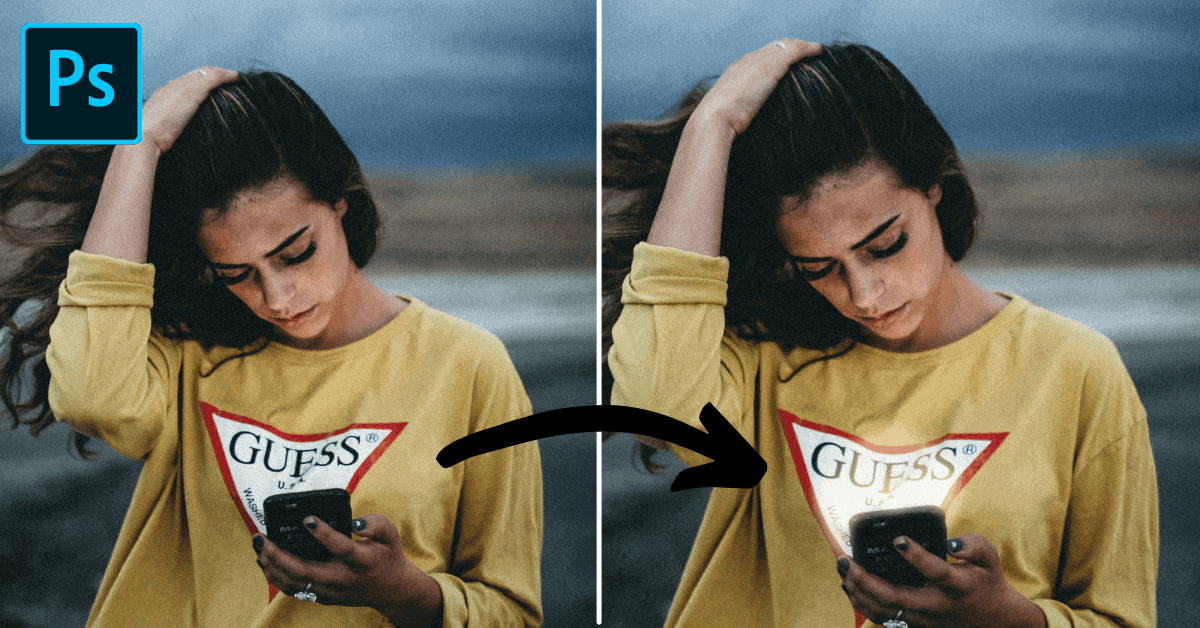

If you’re looking for an easy way to make a digital screen look more interesting in your photos, adding a screen glow in Photoshop is the perfect solution. You can quickly add screen glows to a phone, computer, or TV screen, with the help of the brush tool and a different blending mode. Here’s how to do it.
To make a screen glow in Photoshop, select a light-blue color and paint around the screen’s edges with a soft brush on a new layer. Once the brush adjustments are made, change the layer blending mode from “Normal” to “Screen” to blend the brush strokes. Now your screen looks like it’s glowing in your photo!
Depending on the type of image you’re working with, there are a few different techniques for creating glowing screens in Photoshop. In this tutorial, you’ll learn two effective methods using the brush tool and the curves adjustment layer. Both options are extremely easy to create but offer slightly different looks depending on your screen’s orientation.
Let’s kick things off with the most basic way of creating screen glows with the Brush Tool!
How To Make Colored Screen Glows In Photoshop (Brush Tool Method)
This technique works best for glows that you want to control the color of. If you’re working on a sci-fi photo manipulation or are going for a neon look, this option works amazing. Since you can pick the exact color you want to use for the glow, it’s a lot easier to get creative.
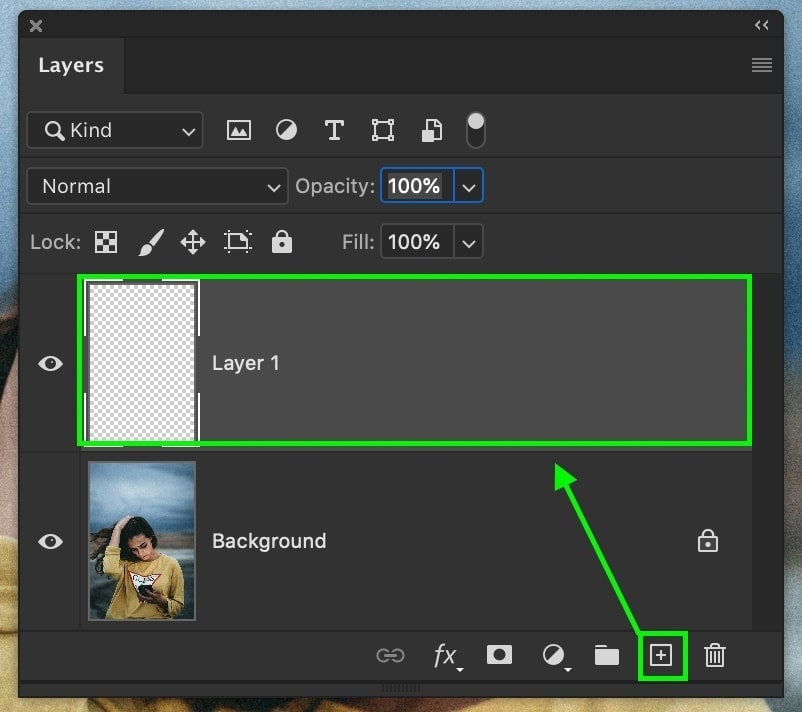
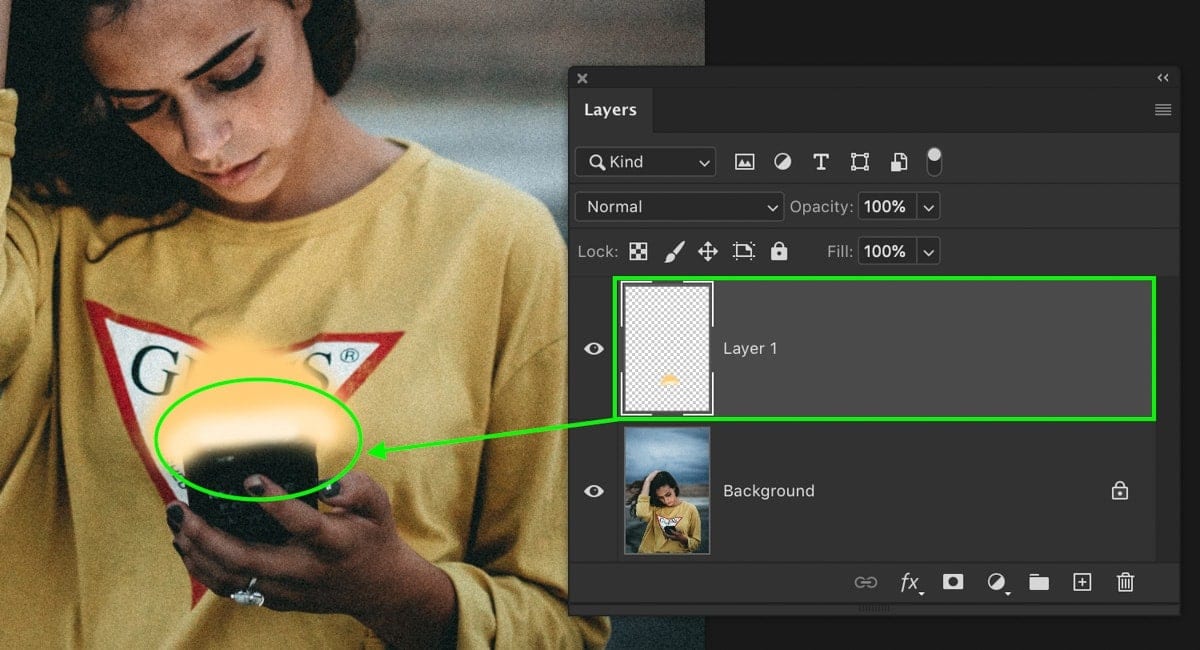
Step 1: Create A New Layer
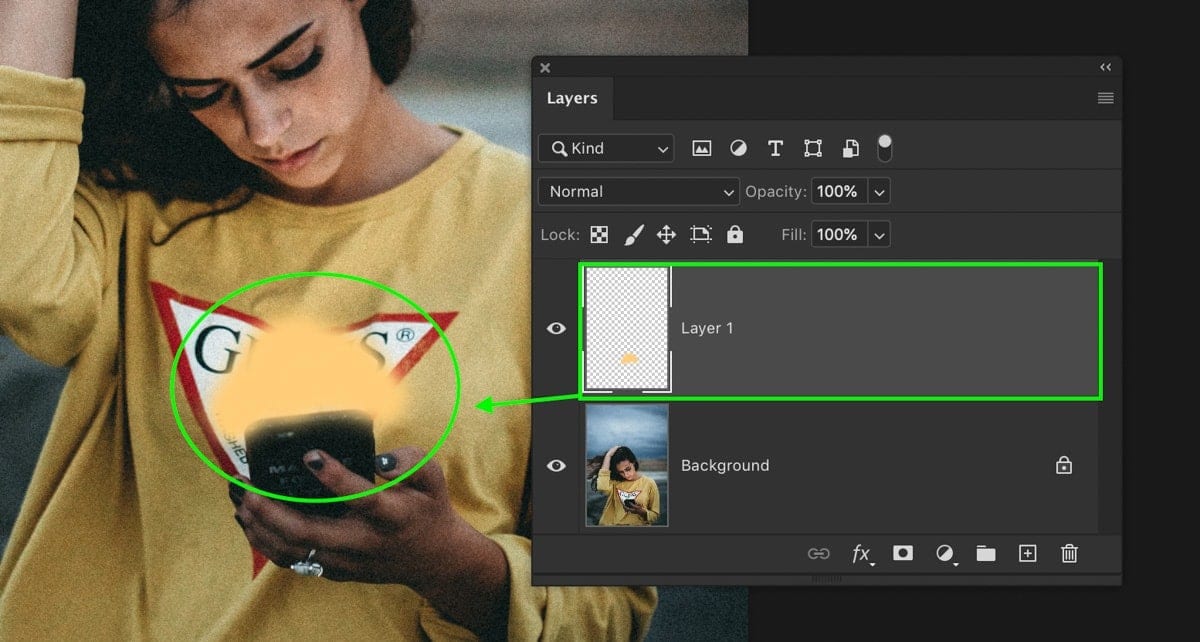
Before you do anything, start things off by creating a new layer above the image layer. This will allow you to edit non-destructively going forward with the brush adjustments!
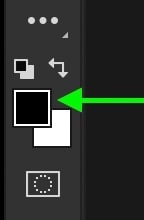
Step 2: Select The Brush Tool & Pick A Color
Now it’s time to pick a color for your glow effect. Start by selecting the Brush Tool (B) and then click on the foreground color in your toolbar.
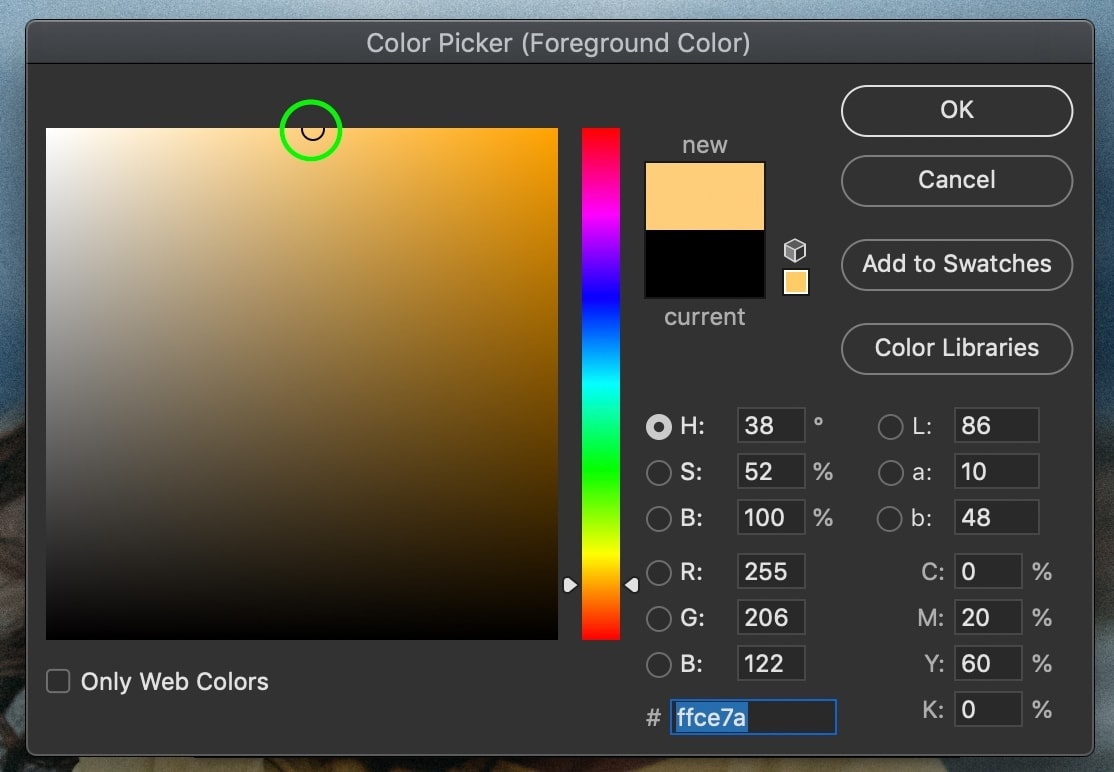
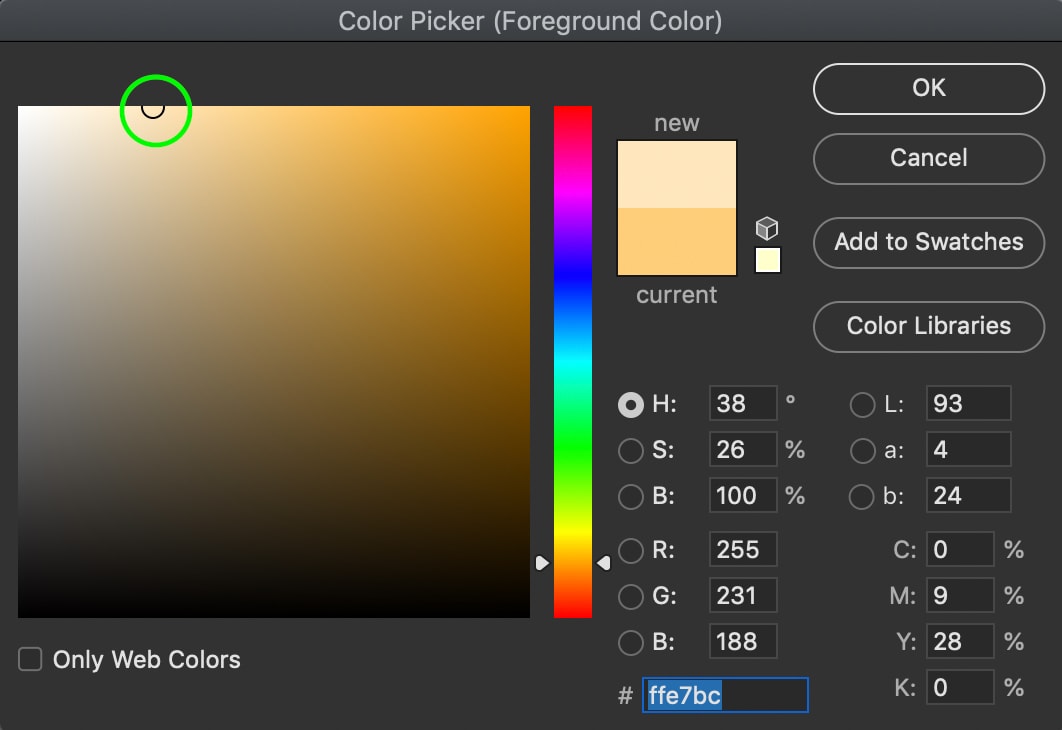
From the color palette that appears, choose a color for your glow. If you aren’t sure which to use, try a light blue or light yellow color. For this image, I’ll choose a yellow color.
Step 3: Paint Around The Edges Of Your Screen
With a soft round brush, paint around the edges of your screen to apply the color. The goal here is to add the color in the places you want to glow to appear. In most cases, that means painting upwards in the direction the screen is facing. As you can see in this example, the brush strokes are painted upwards to match the phone’s angle.
Remember that the size of your glow should depend on the size of your screen. For example, a phone screen glow will be much smaller than a TV screen glow.
Step 4: Repeat These Steps With A Lighter Color
With the first round of color added onto the image, let’s add a lighter color closer to the screen. This helps a lot to make the screen look brighter and give the glow more depth.
Clicking on the foreground color once again, adjust your brush color to a slightly higher version of the one you just painted. In this example, I’ll select a lighter yellow.
Downsizing the brush using the [ key, paint along the edge of your screen on the same layer as before. Now you’re left with a two-tone brush stroke extending from your screen. The problem is, it doesn’t look very convincing yet, so let’s change the layer blending mode!
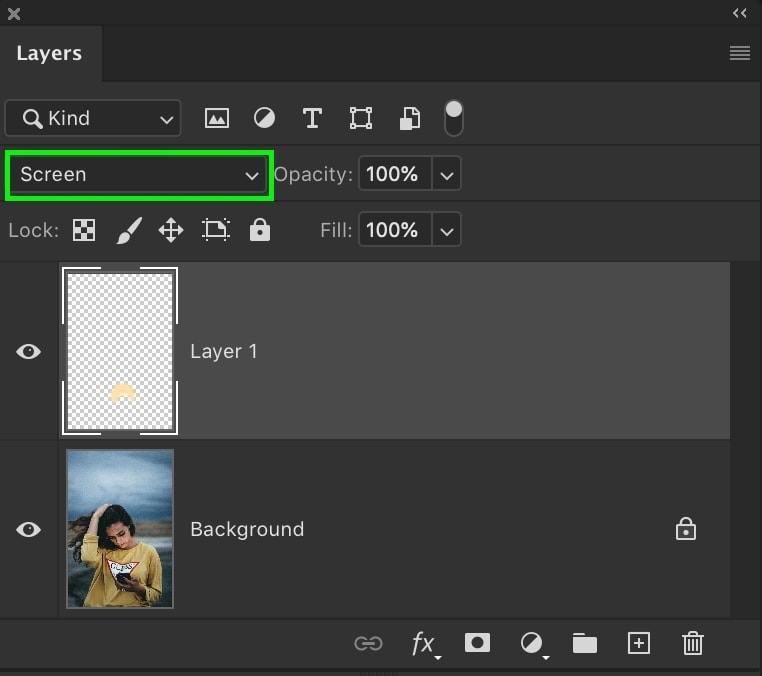
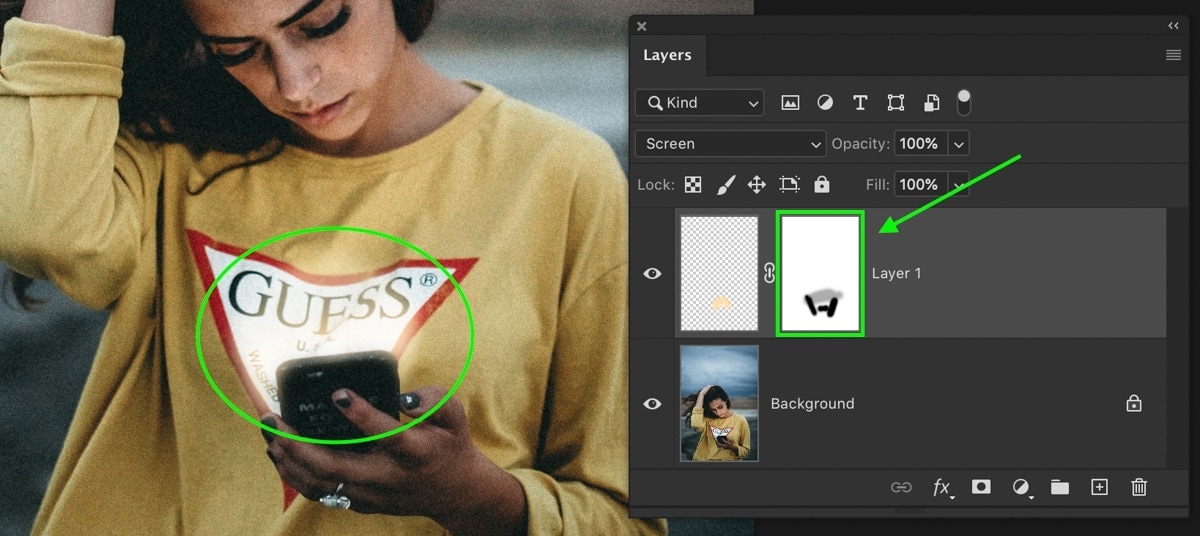
Step 5: Change The Glow Layer Blend Mode To “Screen”
Ensure that your glow layer is selected (aka the one with the brush strokes) and change the layer blending mode from Normal to Screen. This will change how the brush adjustments are blended in your photo and turn them into a convincing glow.
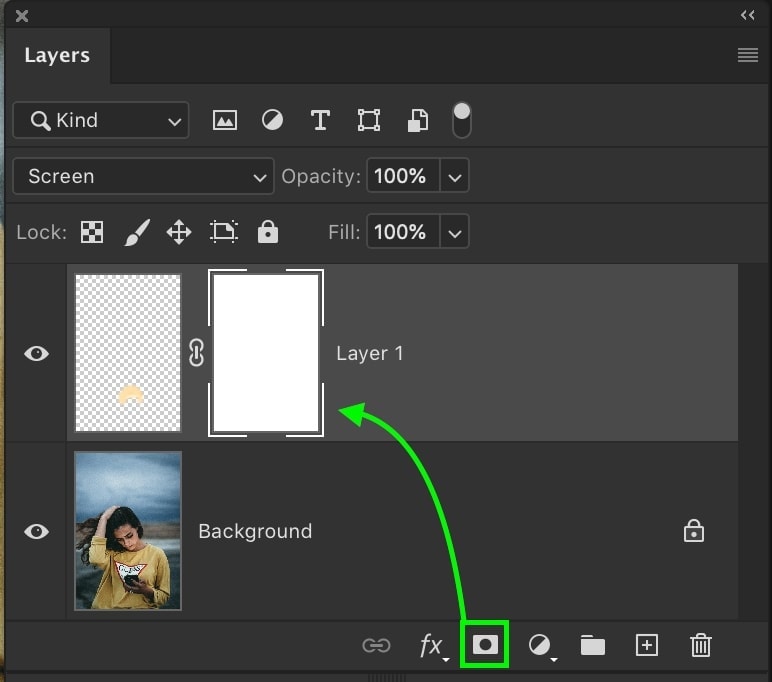
Step 6: Adjust The Glow With A Layer Mask (Optional)
If you realize that there are parts of your glow that you don’t want anymore, you can quickly get rid of them with a layer mask. First, add a layer mask to the glow layer, then set your foreground color to black by pressing D.
With a soft brush, paint around the parts of the screen glow that you want to get rid of. Since this just masks out the glow, you still have the option to add it back if need be.
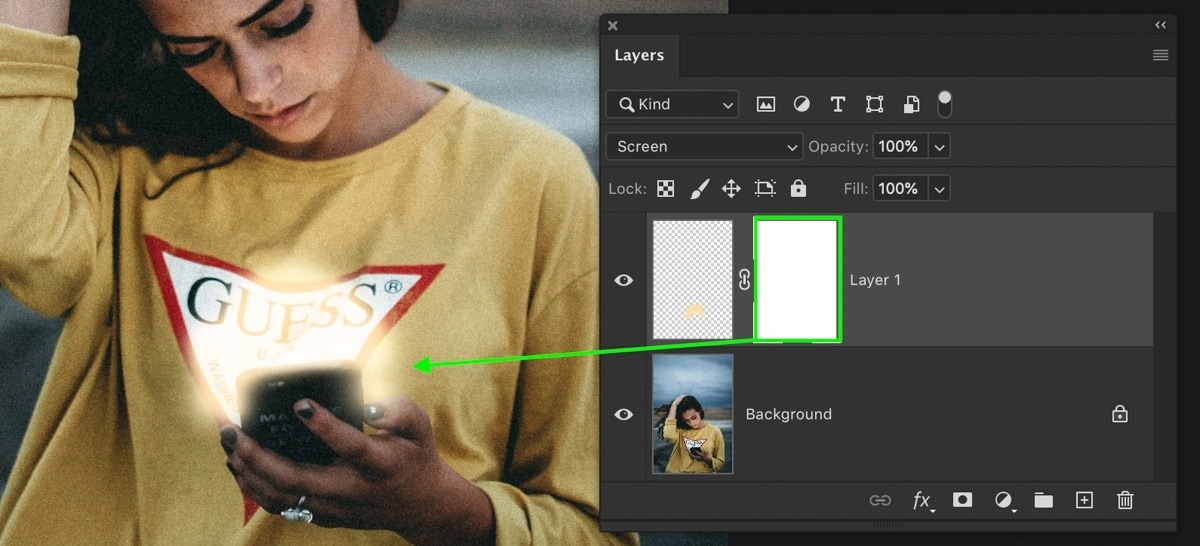
The Result
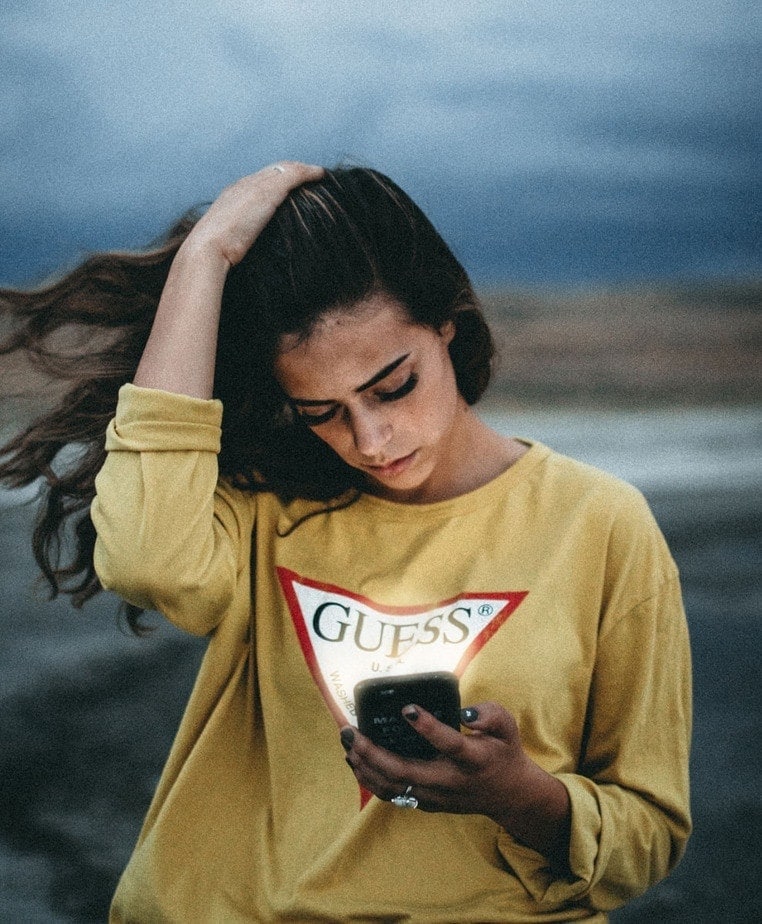
Creating a screen glow in Photoshop with the brush tool is one of the easiest ways of doing things. Since you can quickly paint the brush onto your photo, it doesn’t require any complicated tools to complete the effect.
How To Make Realistic Screen Glows In Photoshop (Curves Adjustment Method)
For this second option, you’ll learn how to make screen glows with a curves adjustment and the pen tool. This technique offers a more precise way of adding a glow to a screen but only provides basic color adjustments. Unlike with the previous method, the curves adjustment only allows you to make slight hue-shifts to the color. This may not work for sci-fi-style photo manipulations, but it sure works well for making things look realistic!
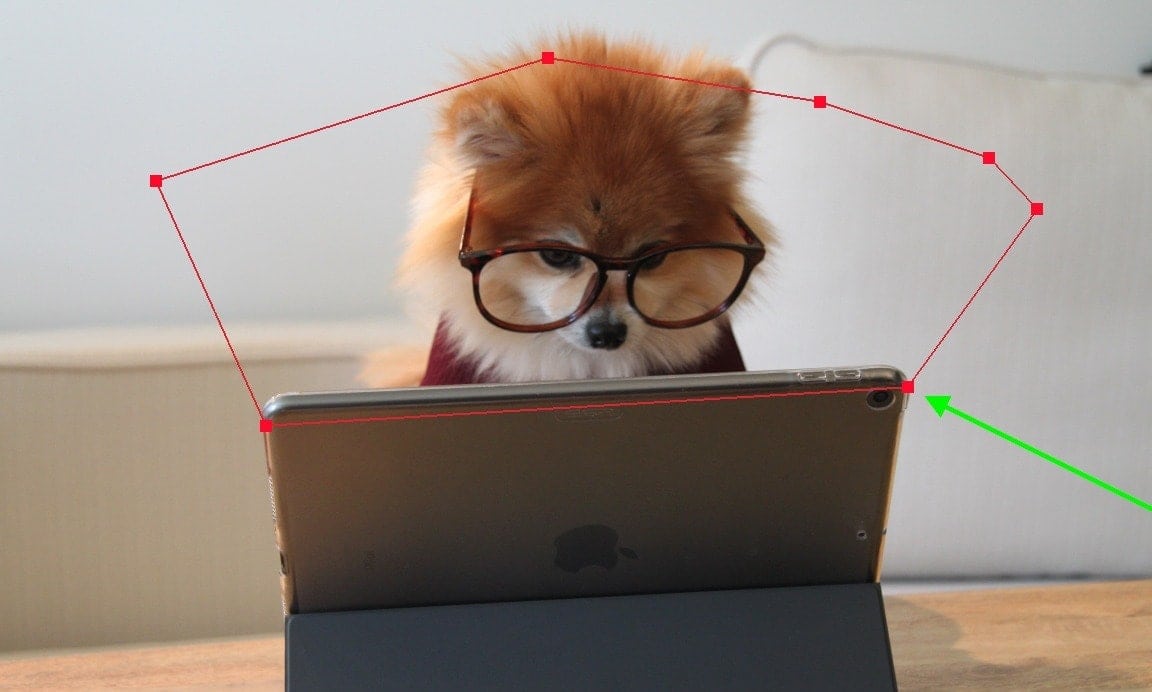
Step 1: Create A Pen Path In The Shape Your Glow
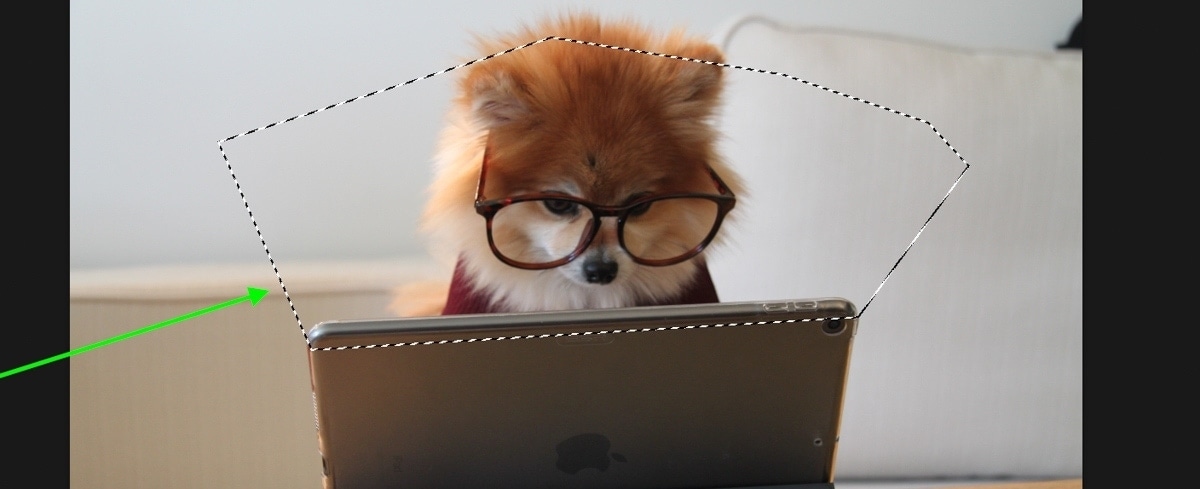
To start things off, grab the Pen Tool (P) and begin to create a path in the shape of your glow. Once again, you want to extend this shape outwards from the direction the screen is facing. Since this screen is pointed directly away from the camera, I’ll create a path stretching upwards.
Once the path is complete, right-click in the center and choose “Make Selection.”
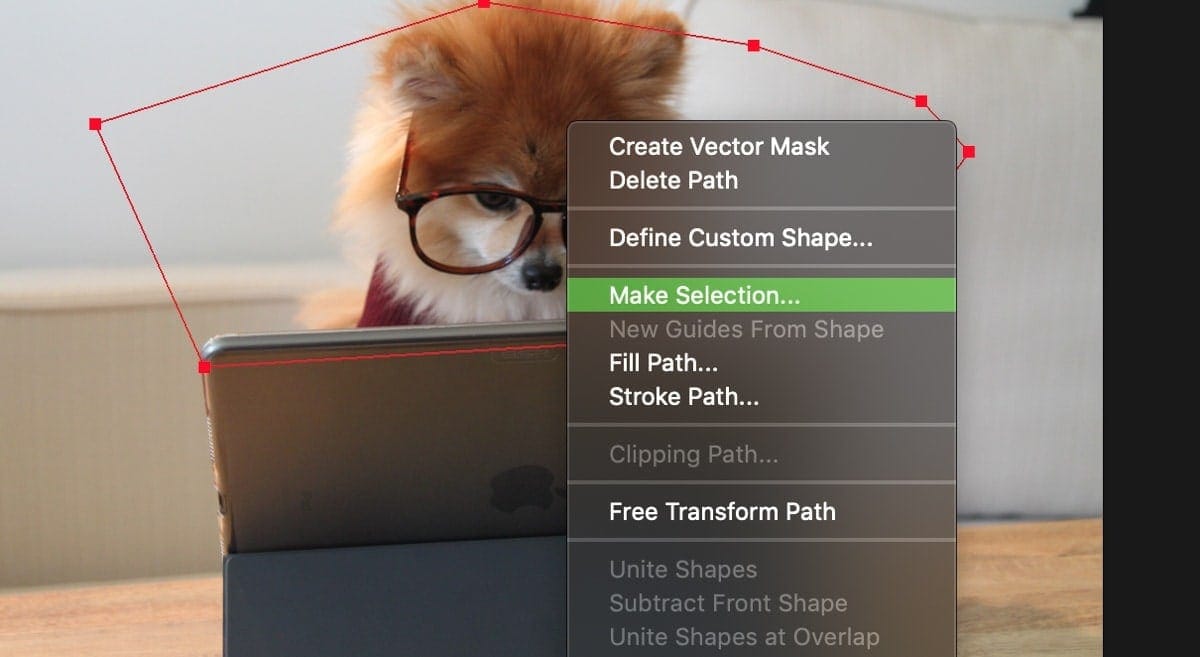
Leave the feather radius at 0px and click OK. Now your pen path will become an active selection, represented by the marching ants.

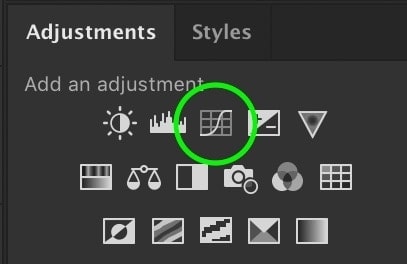
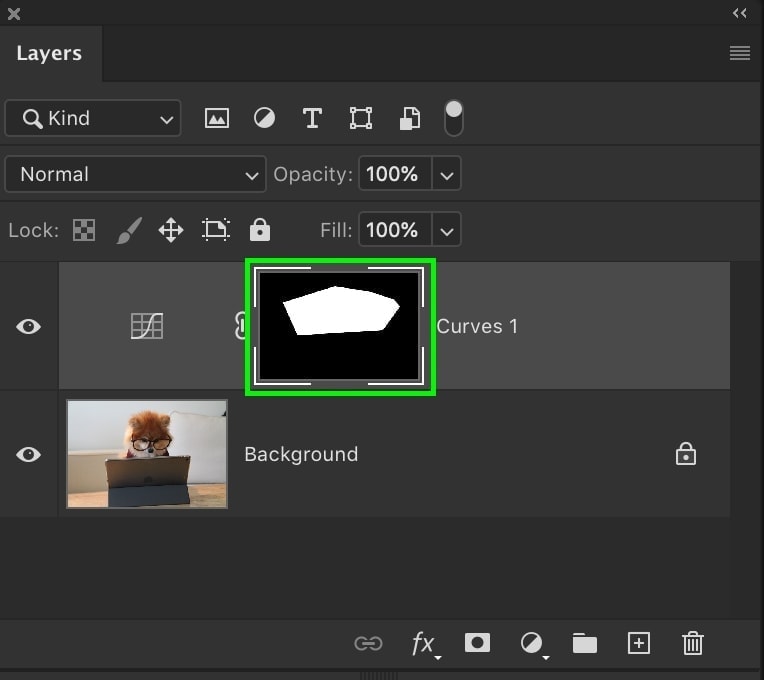
Step 2: Apply The Selection To A Curves Adjustment Layer
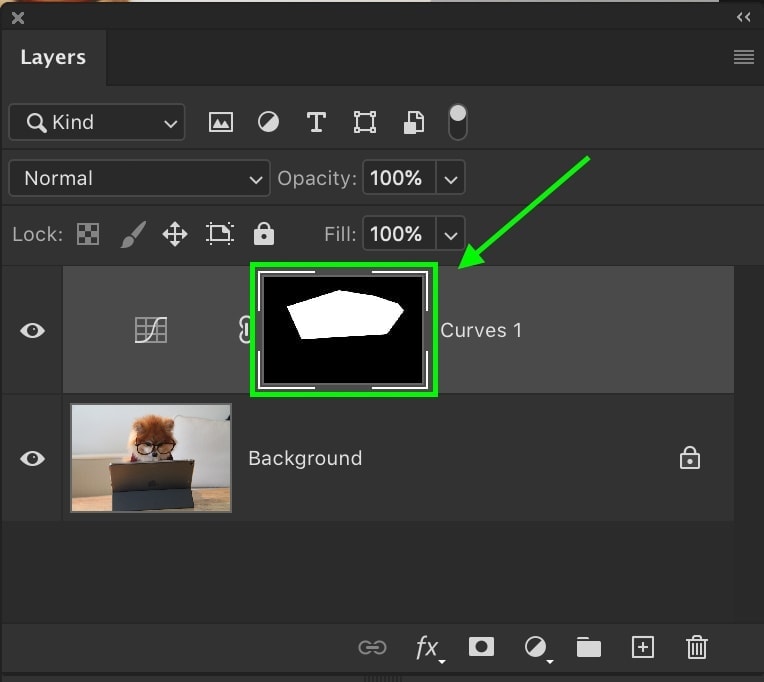
Since the selection is already active, the hard work is done. All that’s left is to create a curves adjustment layer to apply that selection onto the layer mask. By creating a new curves adjustment, the selection will automatically be applied. Now all the curves adjustments you make will be limited to the shape of your mask.
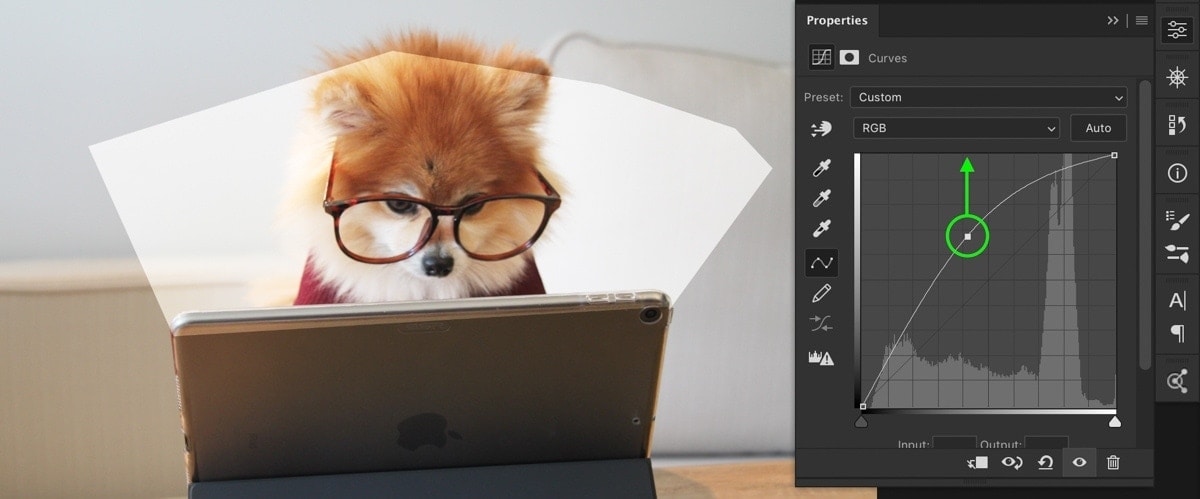
Step 3: Brighten The Curves Adjustment
Clicking in the center of the curve, drag upwards to brighten your image. The brighter you go, the more intense the screen glow will look. Play around with this until you find something that works for your image. Don’t worry; you can always go back and change this later.
Step 4: Add Color With The Curves Adjustment
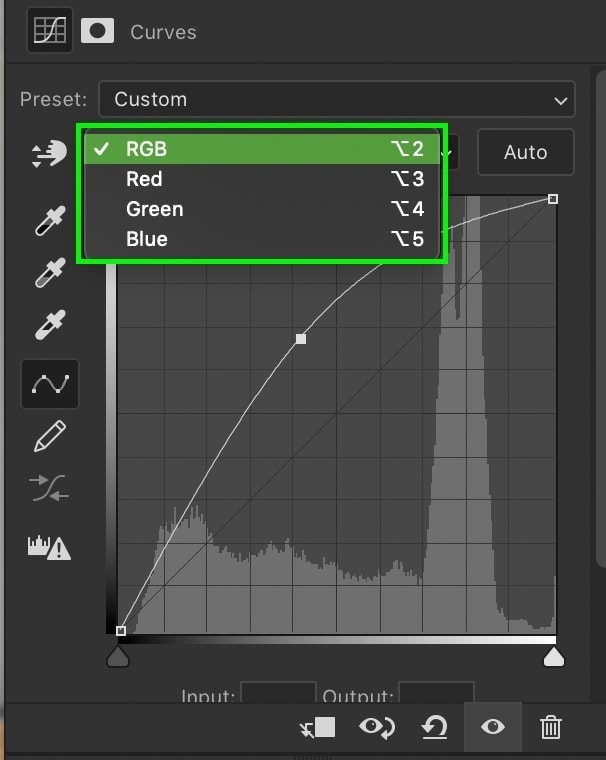
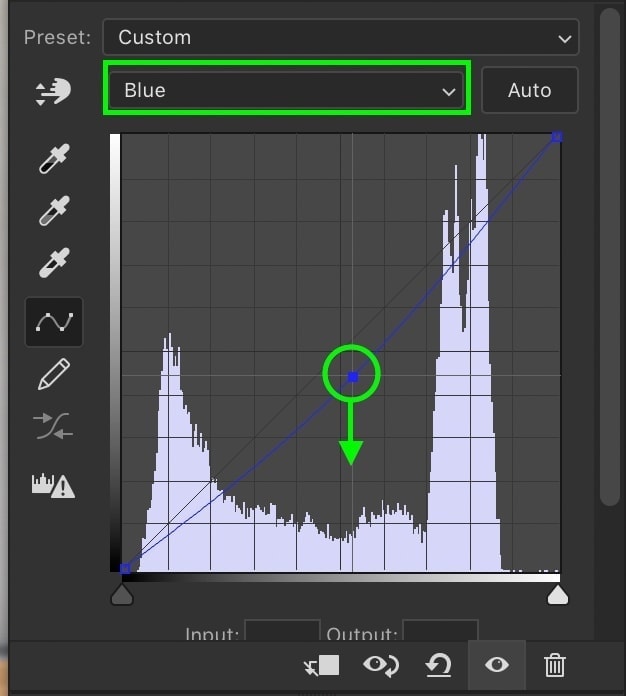
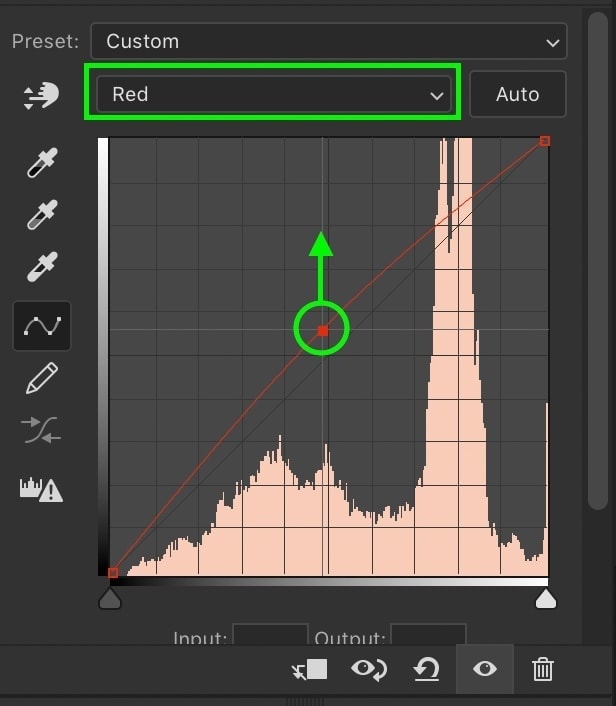
Above the curve is a tab that reads RGB. By clicking on this tab, it reveals individual color channels for Red, Green, and Blue. When you click between these channels, you can apply different colors to your photo. I want to make it look warmer for this screen glow, so I’ll click on the blue channel and add yellow, then click on the red channel and add red.
Step 5: Apply A Gaussian Blur To The Curves Adjustment
Now that the screen glow is looking as you want, the only trouble now is how sharp the edge of the glow effect looks. Luckily you can quickly blend this edge by adding a gaussian blur to the curves adjustment layer mask.

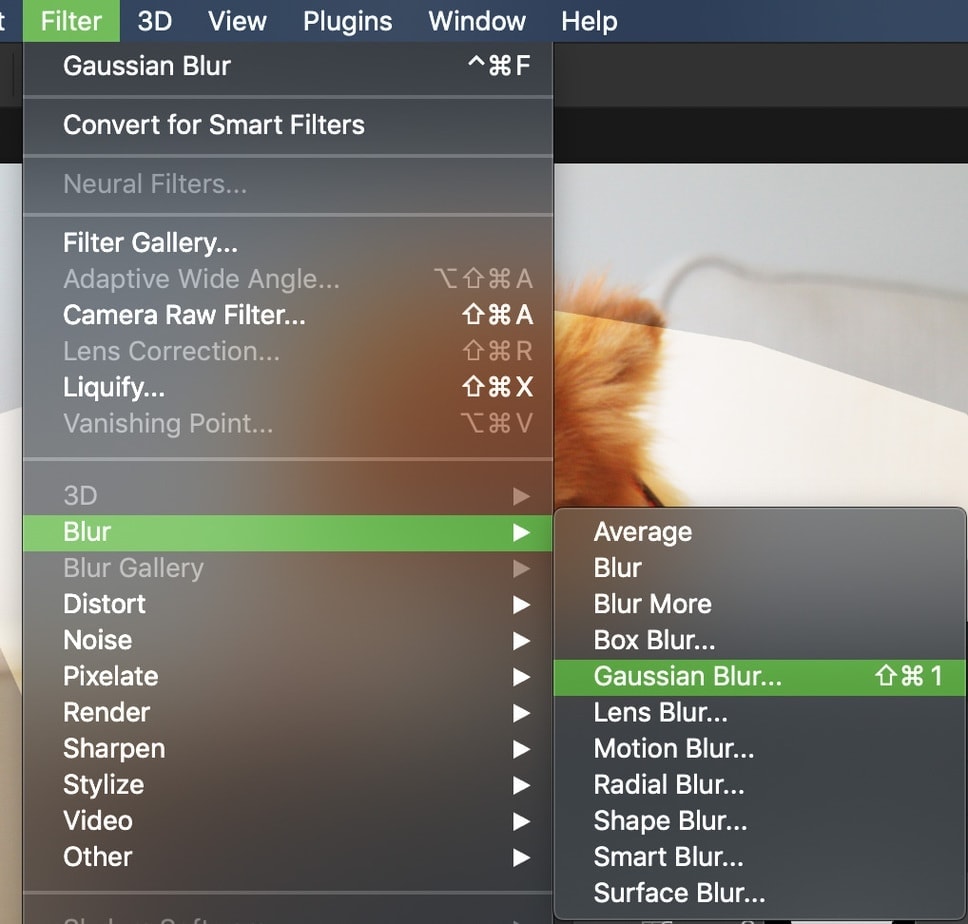
Ensure that the curves adjustment layer mask is selected and go up to Filter > Blur > Gaussian Blur.
By adjusting the blur radius, the curves adjustment will look more and more blended. Try to go somewhere in-between so that the glow is still noticeable, but the harsh edges are no longer visible. You want to have a soft and gradual transition between the glow and the original image.
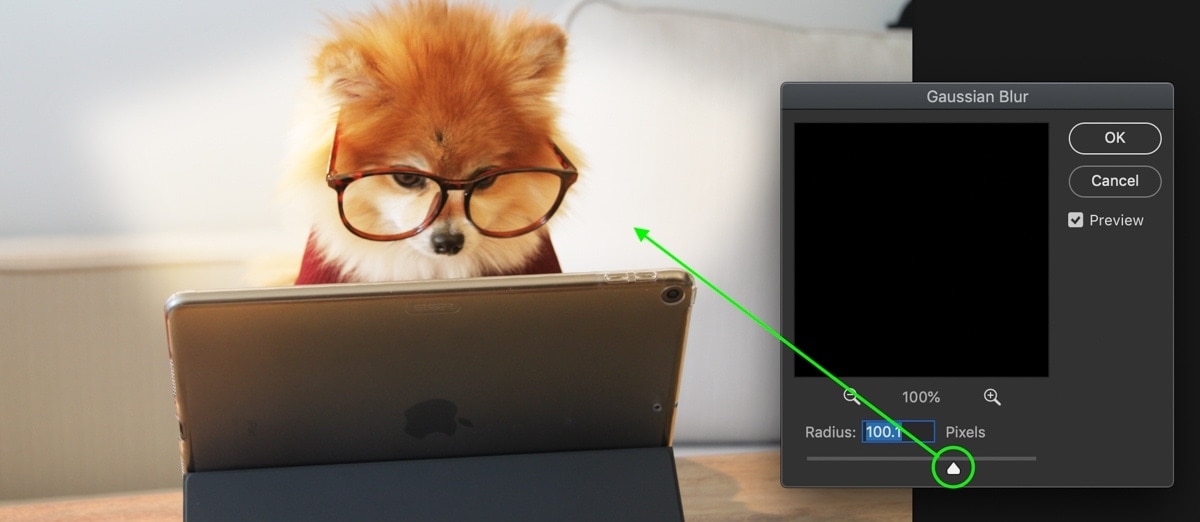
Once you’re happy with the effect, click OK.
Step 6: Darken the Edges Of Your Photo (Optional)
In many photos, a screen glow might not look as good as it could because the rest of the photo is too bright. When you think about glows in real life, you only notice them in darker environments since the brighter screen stands out against the dark background. To create the most realistic glow effect, you’ll want to emulate this idea.

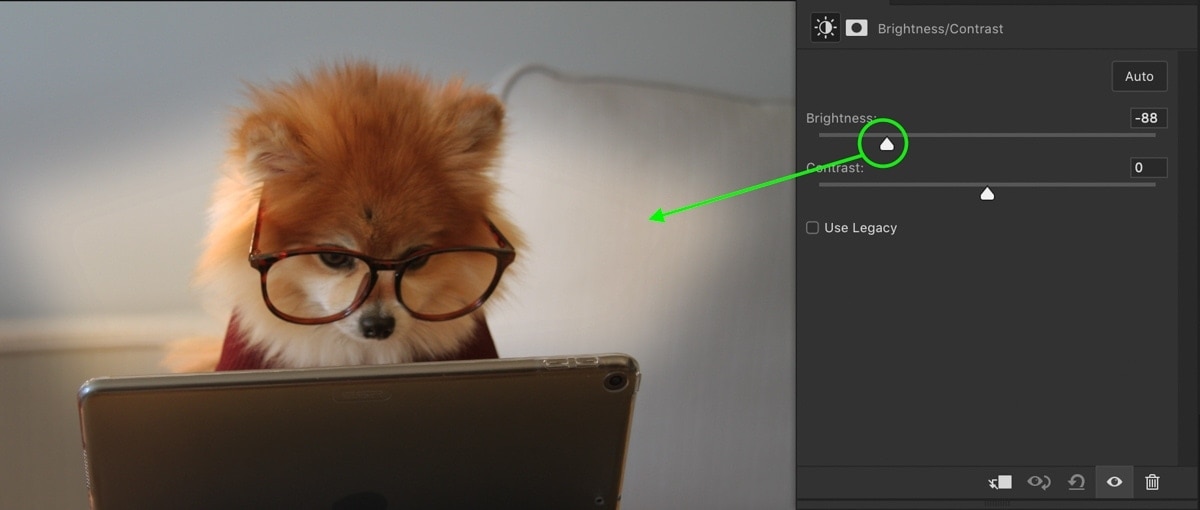
First, create a brightness and contrast adjustment layer and darken the brightness of your entire photo.

Now things are looking a little too dark, so let’s remove this effect from the center area around the glow. The best way to do this is with a foreground to transparent radial gradient. Selecting the Gradient Tool (G), select a foreground to transparent gradient from the gradient editor and set the gradient type to a radial gradient.

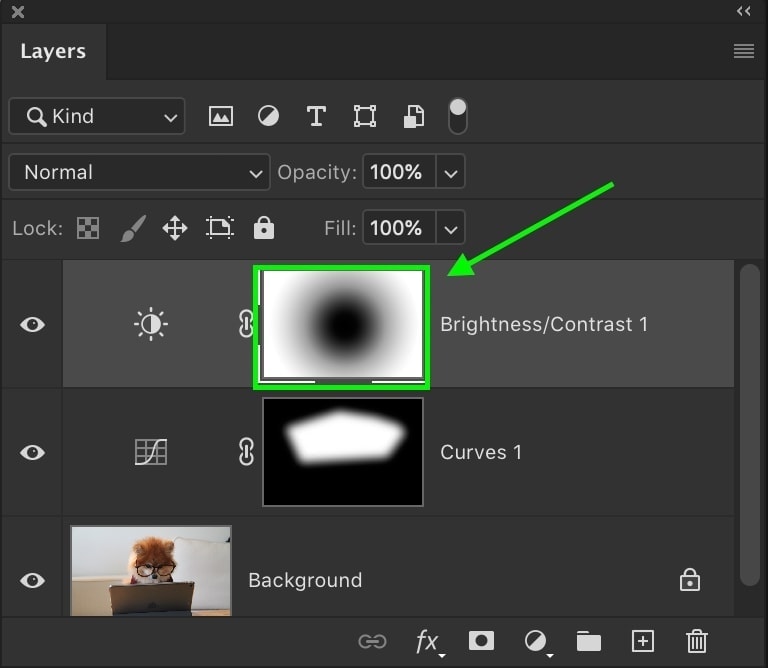
Press D to set your foreground color to black, then click on the brightness and contrast adjustment layer mask to select it. Now click and drag outwards from the screen in your photo to remove the darkening adjustment. This way, the darker areas will only appear around the edges of your photo, helping to make the glow more realistic.
The Result

This way of creating glowing screens in Photoshop offers a more precise result. Rather than dealing with accidental color spill, you can easily control where the glow appears with your pen path. Once the pen path is created and applied to a curves adjustment layer mask, the hard work is done, and you can adjust the glow effect freely.
Now you know two effective ways of making a screen glow in Photoshop. Whether you’re looking for a quick solution with the brush tool or a more precise option with the pen tool and curves adjustment, you’re still left with a great result. Since you’ve mastered this Photoshop effect, let’s move on to the next tutorial and see how to make photos look soft & dreamy in Photoshop!
Happy Editing,
Brendan 🙂
