
When working with so many images in Photoshop, there are countless times when you might want to see more than one image at a time. You might want to compare two separate images against each other or even paste multiple images onto the same canvas to create a collage. Luckily it’s easy to do just that with a few clicks.
I’ll start by showing you how to paste two images onto the same canvas next to one another to create a simple collage. You can do this with as many images as you like, but I’ll start by showing you using two pictures.
How To Place Two Images Side By Side In Photoshop
There are a couple of different techniques for adding two images side by side in Photoshop. They both begin the same way.
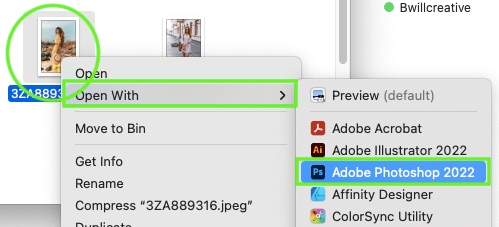
Find the two images you want and open them in Photoshop. You can do this by finding the file on your computer to open in Photoshop. Right-click the file > Open With > Adobe Photoshop 2022.
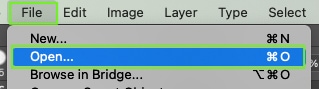
Or you can open the image directly in Photoshop. From Photoshop, go to File > Open.
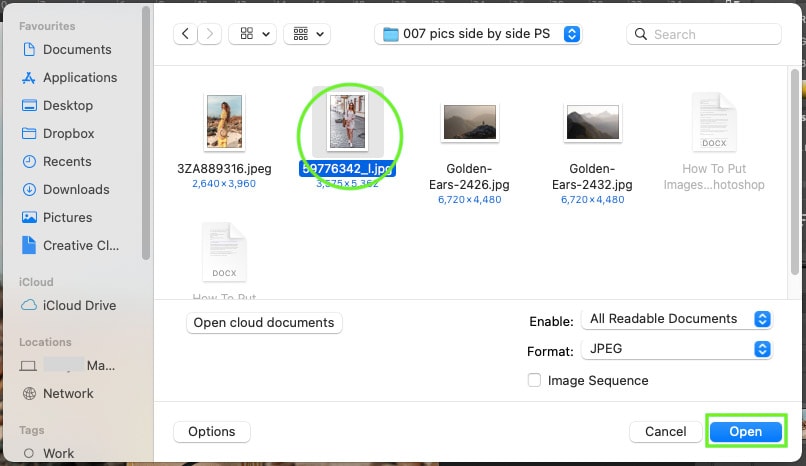
Find your image in the dialog box and select it. Then click Open.
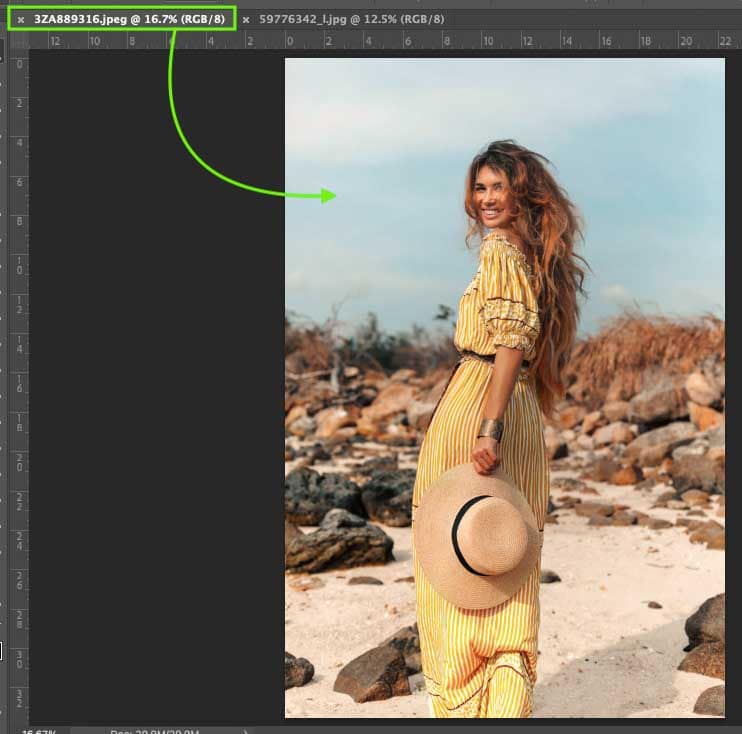
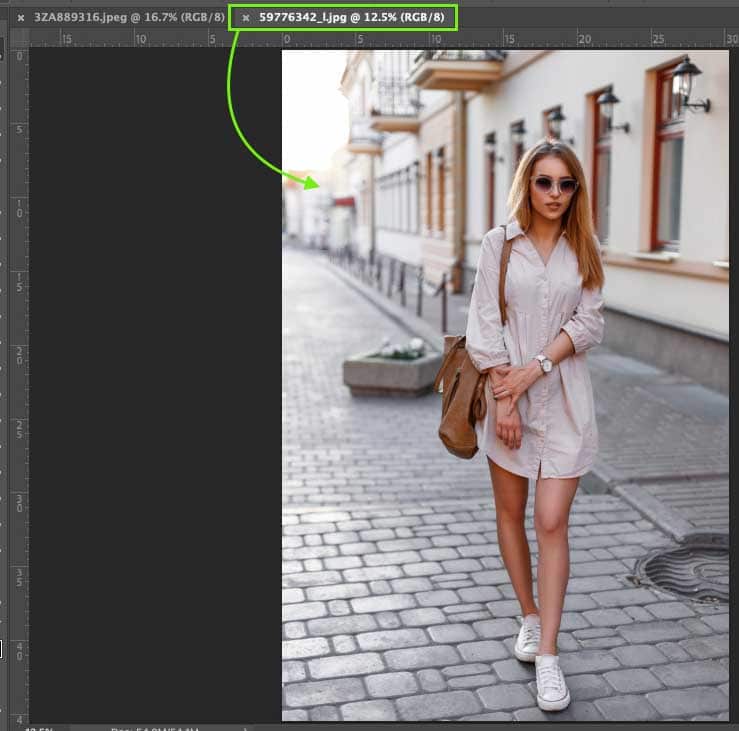
Each image will open as individually named tabs.

You can toggle between the tabs to view each image.
With that out of the way, there are two ways to present images on the same canvas.
Option 1: Increase The Canvas Size
Step 1: Expand Your Canvas
This works best if your two images have the same ratio, such as both being vertical or landscape.
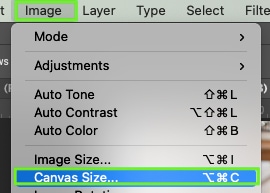
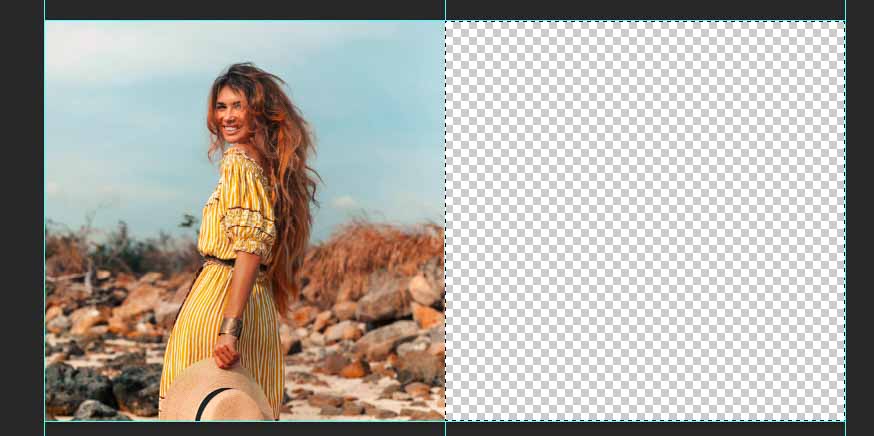
In one of the images, you need to expand the canvas size. Go to Image > Canvas Size. You can also press Alt + Control + C (Win) or Option + Command + C (Mac).
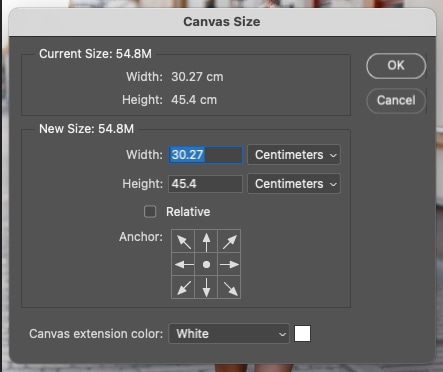
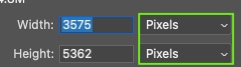
Now I’ll change the dimension measurement from Centimeters to Pixels in the dropdown menu just for simplicity.
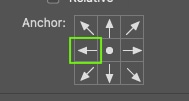
To keep your existing image on the left of the canvas, you need to add extra space to the right of the canvas. The anchor section of the dialog box allows you to pick a side to add more space.
Depending on where the anchor point is placed, the canvas will expand outwards in the direction of the arrows. Therefore, I’ll position the anchor point on the left to expand the canvas to the right.
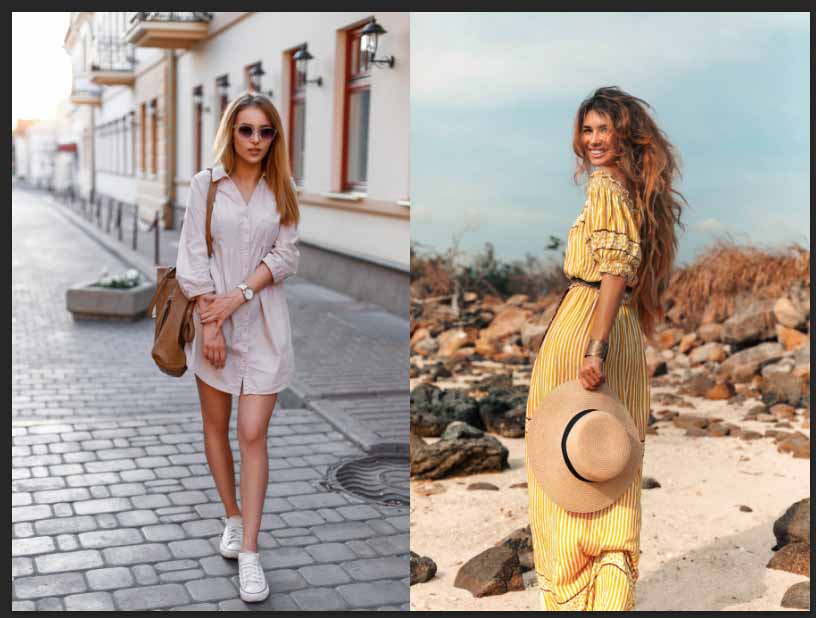
Now double the current value of your width dimension. For this example, I double the width from 3575 pixels to 7150 pixels. Click OK to apply the changes.
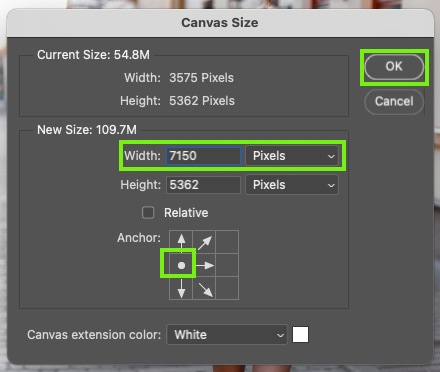
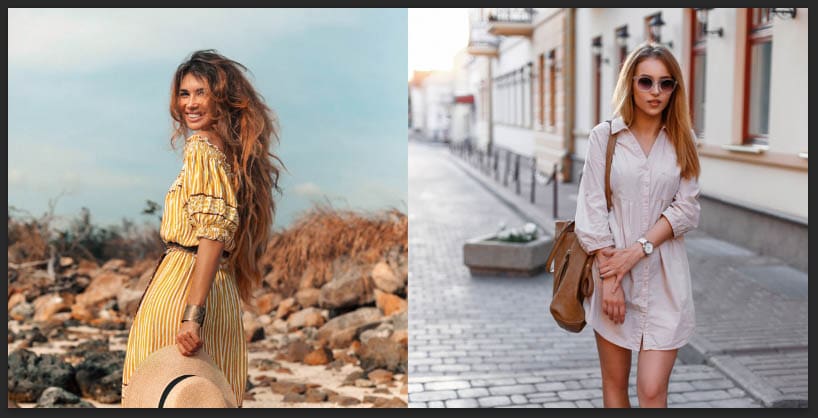
Now the canvas is double the width of the original image.
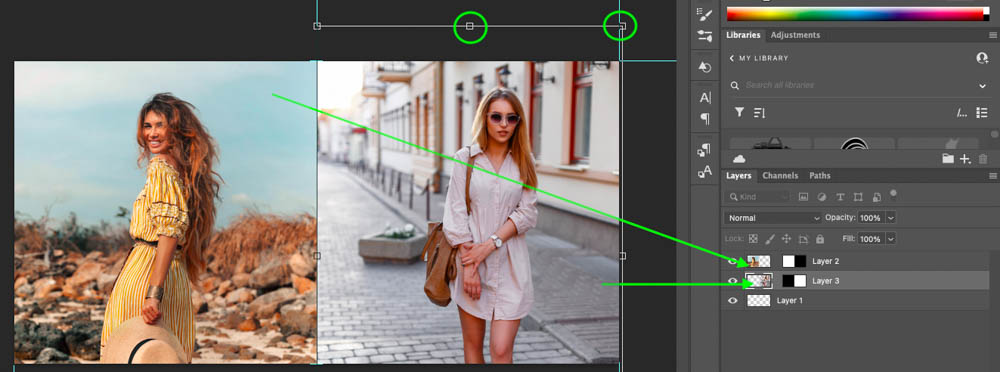
Step 2: Paste The Second Image
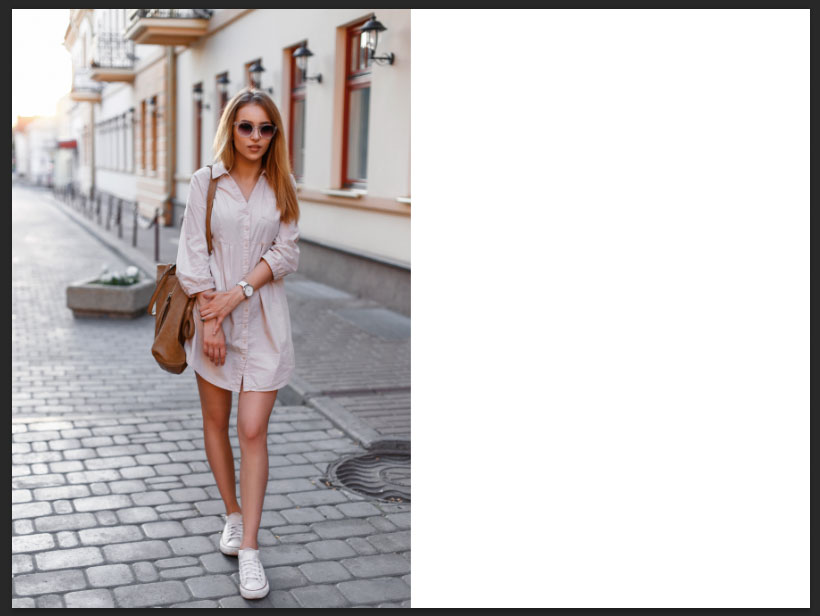
Returning to your second image opened in Photoshop, click on the image layer and press Control + C (Win) or Command + C (Mac) to copy the image.
Now return to the expanded canvas from the previous step and paste your image onto the canvas by pressing Control + V (Win) or Command + V (Mac).
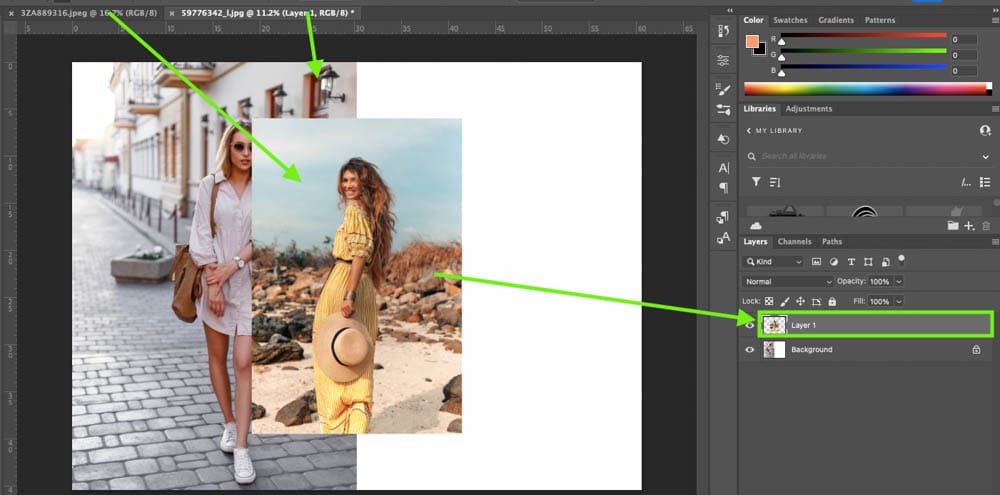
If your images are the same size, use the Move Tool (V) to move the new image into position. However, if it’s too large or small for the new canvas, you’ll need to resize it first.
So to do this, press Control + T (Win) or Command + T (Mac) to transform the layer.
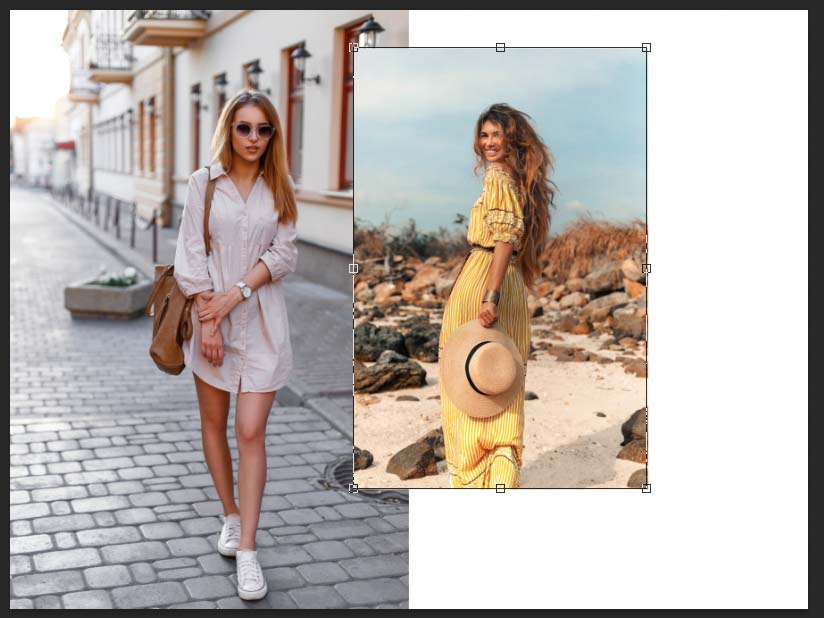
Then click and drag any handle on the transform box to scale the layer — hold the Shift key to keep the aspect ratio of the layer and prevent distortion. You can click and drag in the middle of the layer to reposition the entire layer at once. Continue to scale and reposition until the white area is filled.
The images will remain in separate layers.
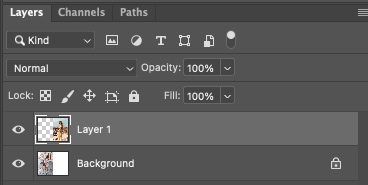
While the top layer is easy to move or resize, the bottom layer is not. For added freedom of each layer, use this next technique instead.
Option 2: Drag & Drop Images
Step 1: Create A New Document
To start, go to File > New. You can also press Control + N (Win) or Command + N (Mac).

This opens a dialog box where you can set the size and dimensions for your new file.
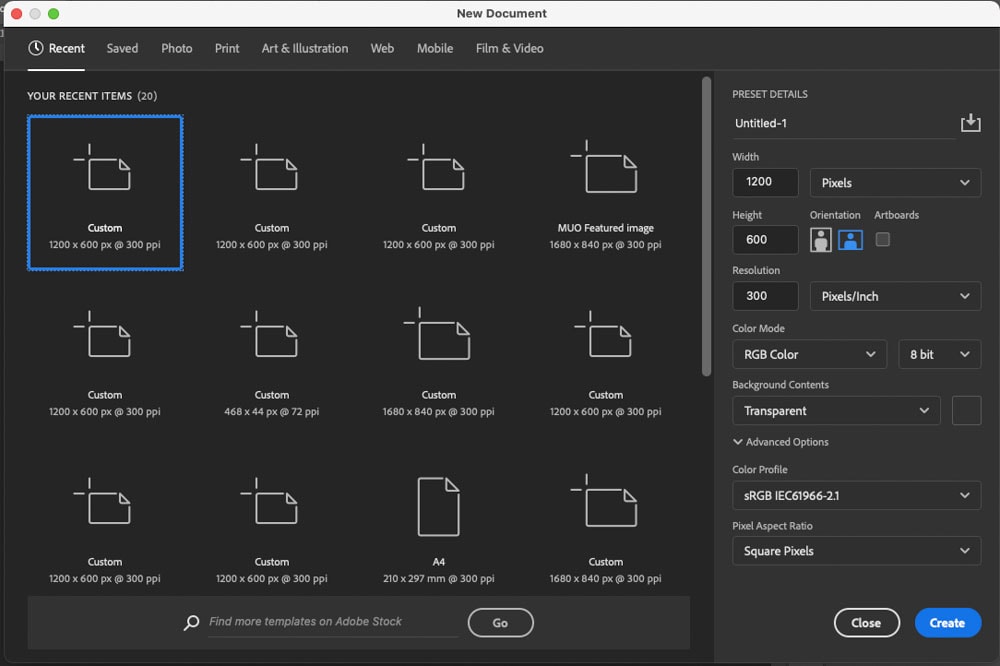
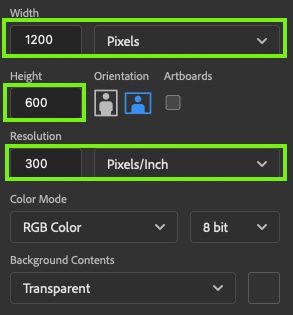
Your document should be large enough to fit two images, but if you aren’t sure, use a width of 1200 and a height of 600 or 800 pixels. Then set the resolution to 300.
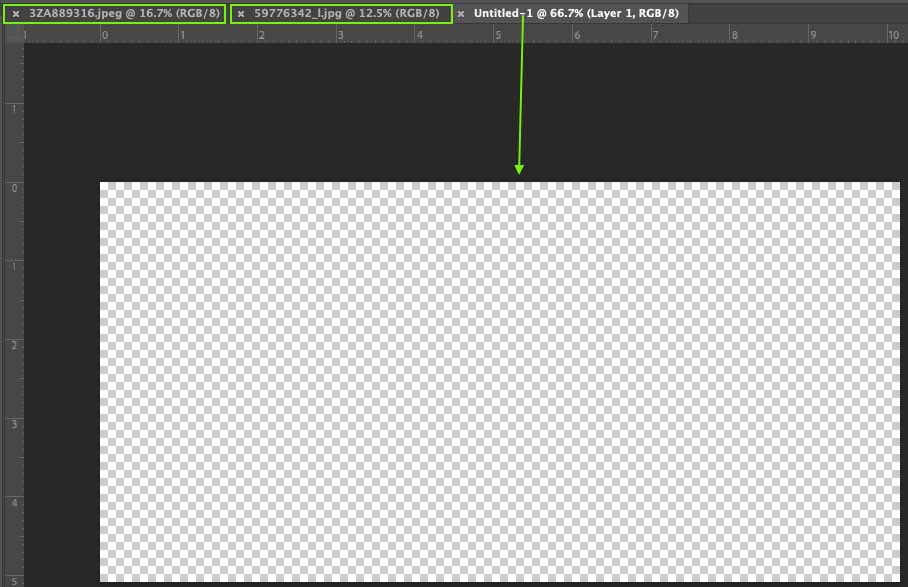
Click Create in the dialog box to open your new canvas in Photoshop.
Step 2: Place A Guide In The Middle Of The Canvas
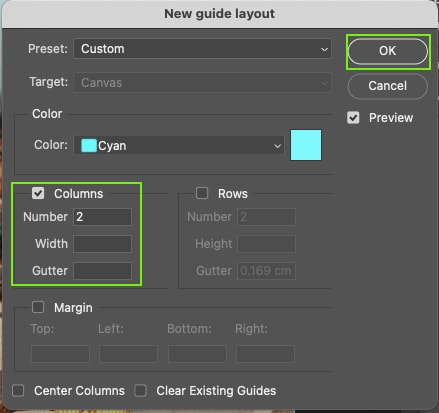
Placing a guide in the middle of the canvas is a good idea to ensure the images are positioned evenly. To do this, go to View > Guides > New Guide Layout.
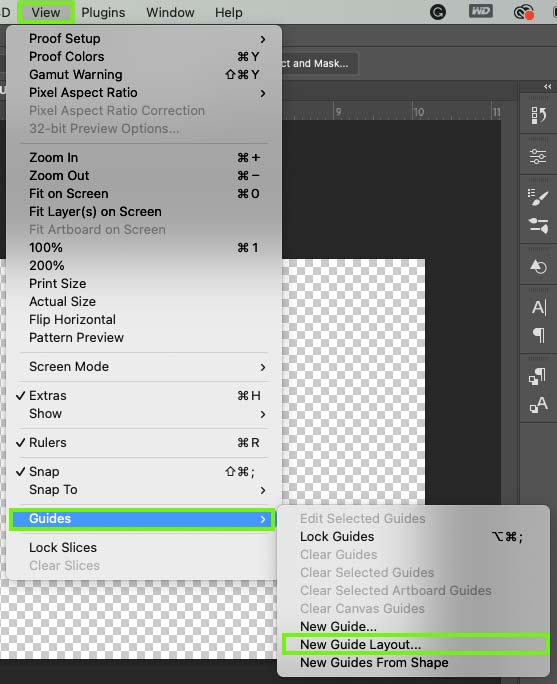
In the dialog box, set the Columns to 2 with no gutter. This will provide a vertical guide in the horizontal center of the image. You can also add more guidelines if you’re adding more images. Click OK when you’re happy.
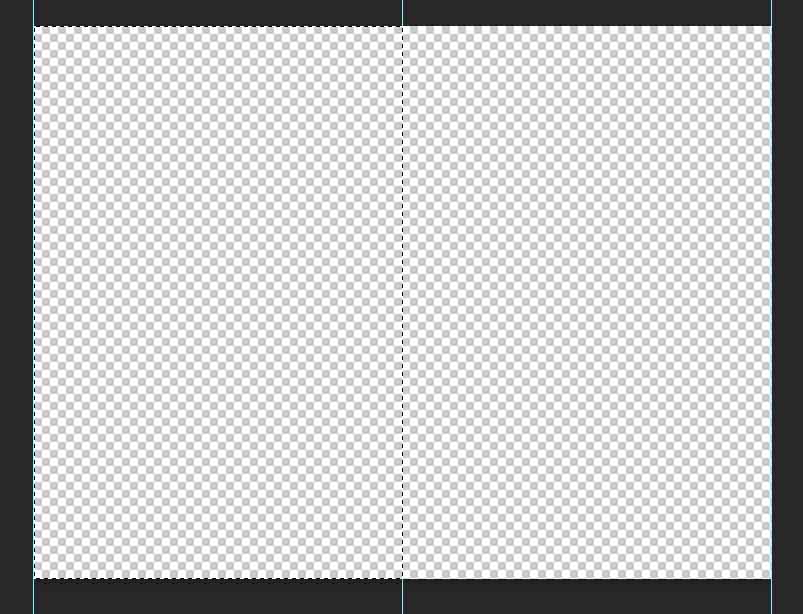
Step 3: Create A Selection On Half The Image
Rather than just pasting the image files directly onto the canvas, you can use a selection to get the perfect positioning.
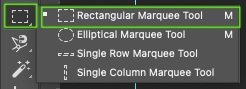
First, select the Rectangular Marquee Tool (M).
Then, drag it out on your canvas to create a selection on one half of the image, indicated by the marching ants. You can reposition the entire selection as you go by holding the Space Bar. Continue to drag out until the selection is complete.
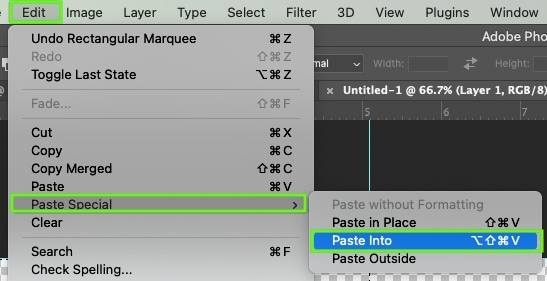
Step 4: Paste Your Image Into The Active Selection
Now go back to one of your opened images and select the image layer in the layers panel.
Copy the image by pressing Control + C (Win) or Command + C (Mac) while the layer is selected. Then go back to your blank document.
To paste the image into the active selection, go to Edit > Paste Special > Paste Into. You can also press Alt + Shift + Control + V (Win) or Option + Shift + Control + V (Mac).
This turns the marquee selection into a mask that reveals your image within the selection. You can see the mask on the layer.
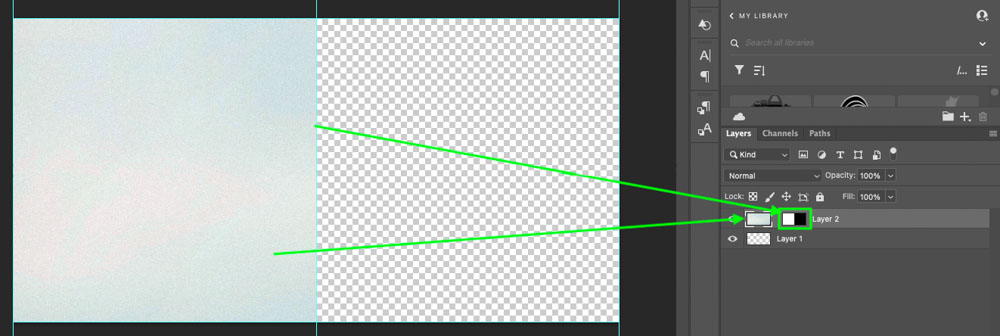
To resize your image, press Control + T (Win) or Command + T (Mac) to access the transform tool and rescale until the image fits as you’d like.
Depending on the image orientation, parts of the image may sit outside of the document.
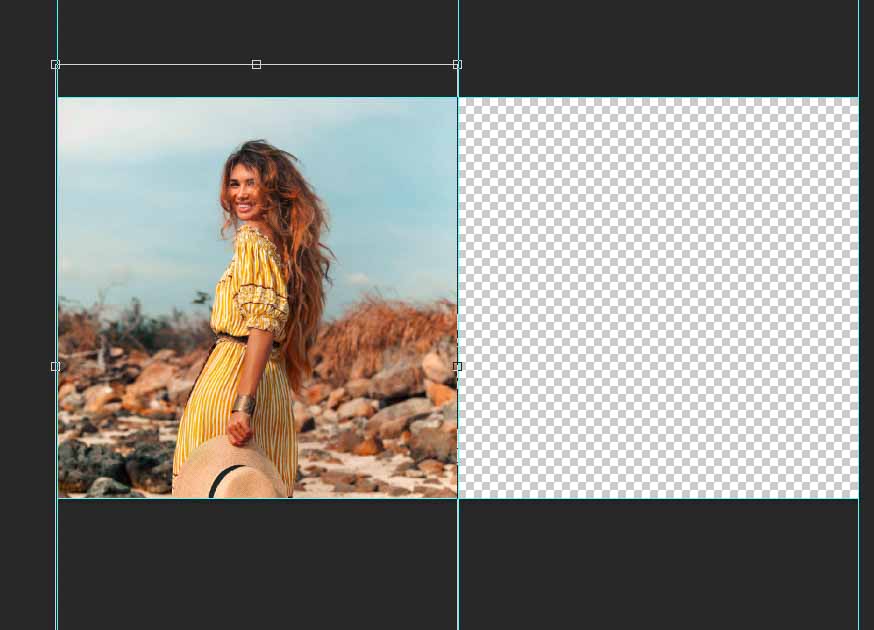
Step 5: Repeat For Your Second Image
To add the second image, repeat the steps on the other side of your Canvas.
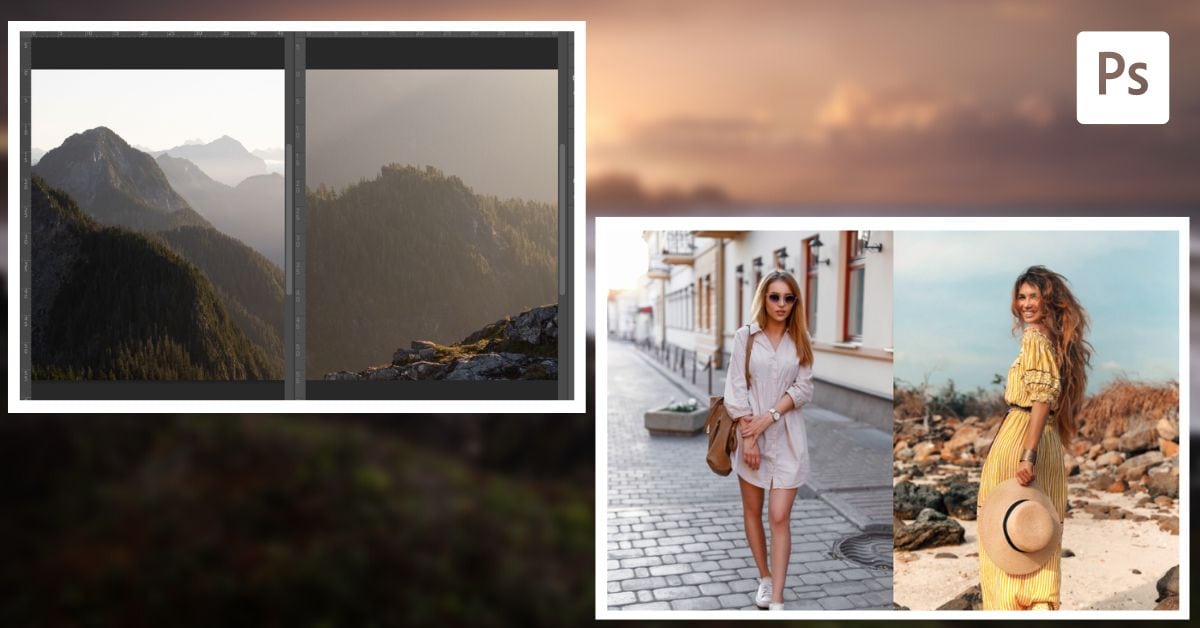
How To Compare Photos Side By Side In Photoshop
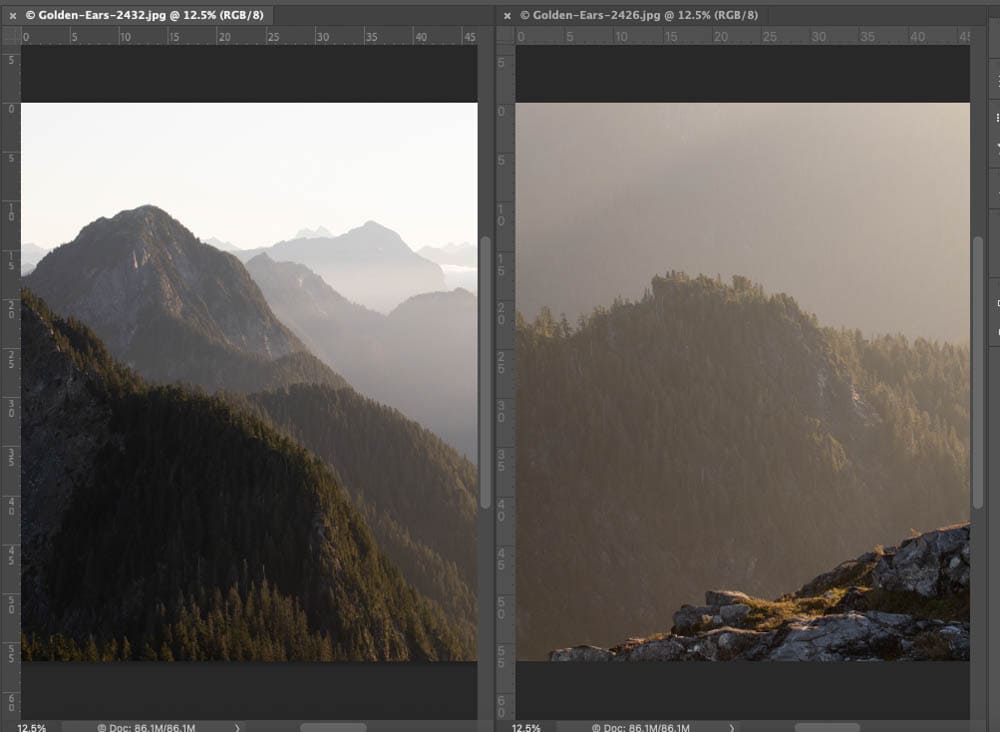
To compare two images side by side in Photoshop, go to Window > Arragange > 2-Up Horizontally or 2-Up Vertically. This will place two opened documents side by side in your workspace, making it easy to work between or compare the two opened projects.
This is great for comparing a reference photo to an active document for artistic purposes or simply to compare the before and after of an image.
To start, you will need to have two images opened into Photoshop. They will open on two separate tabs that you have to toggle between to view.

To view both of these documents side by side, go to Window > Arrange. This menu shows a variety of options to view multiple images at once.
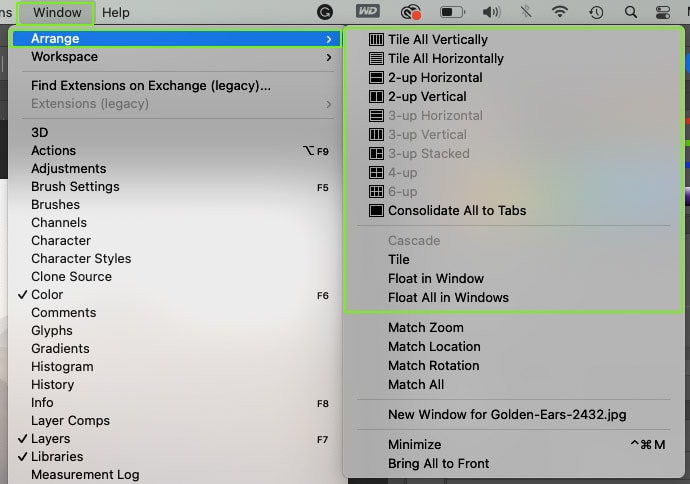
Choosing 2-up Vertical will make both of your image tabs appear side by side in the Photoshop window.

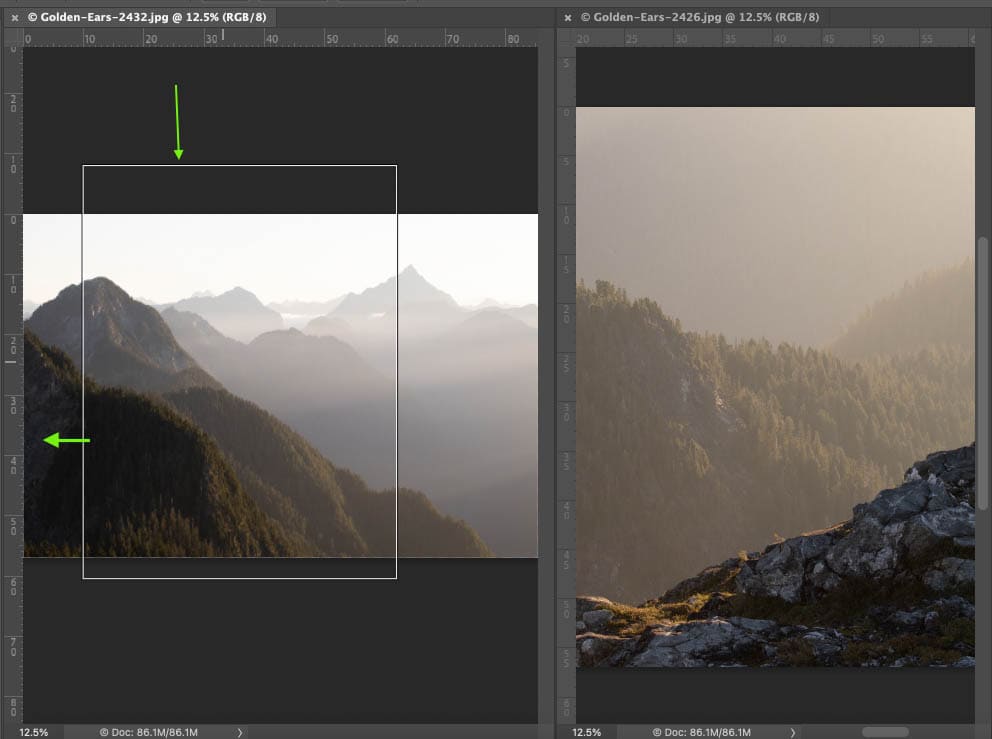
The two images I’ve shown here are both landscape images, so they don’t fit very well into the now-vertical space. To re-frame the viewable part of the image, select the Hand Tool (H) and click and hold on your image.

When holding H and clicking, the image will zoom out, and a box will appear representing which part will be shown when you let go of the mouse. Move the box to the new preview area, and let go.
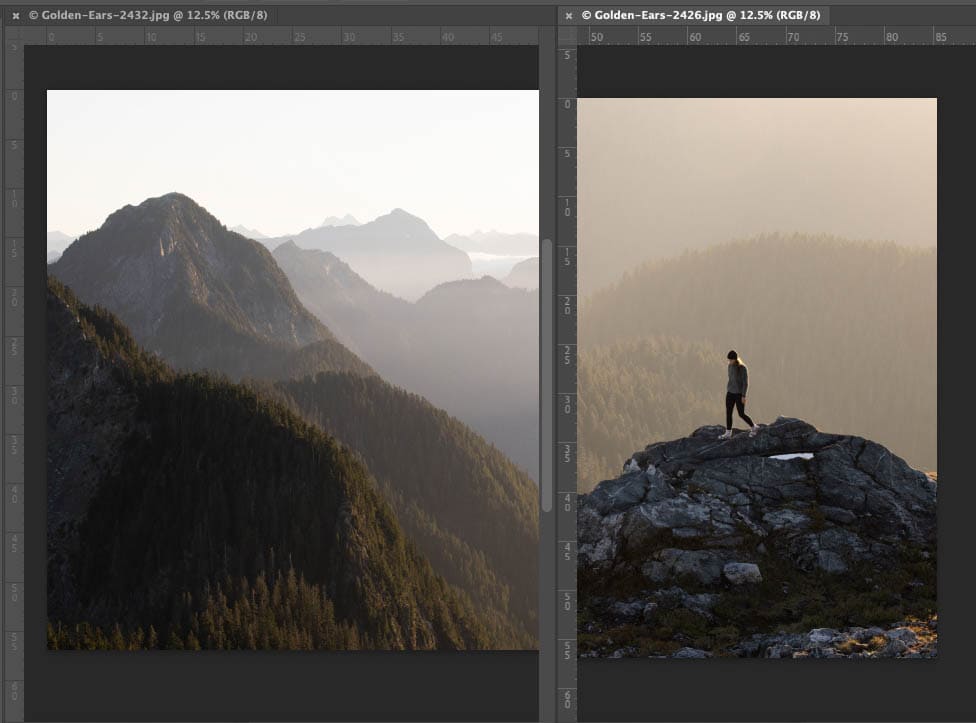
Although you can view these images side by side, they remain as two separate image files.
This technique allows you to compare photos while editing. It saves time and frustration of constantly switching between tabs.


