
There are many scenarios where a photographer may need to reference photos in Lightroom while editing. Adobe considered this and added a Reference View to the Develop module from Lightroom 6.8 and newer, helping editors view another image while editing their photos. These are extremely helpful when comparing two similar images to find the best one or trying to replicate an edit from another photo you really like the style of.
So let’s take a look at how reference view works in Lightroom and how you can use it in your editing.
How To Use Reference View In Lightroom
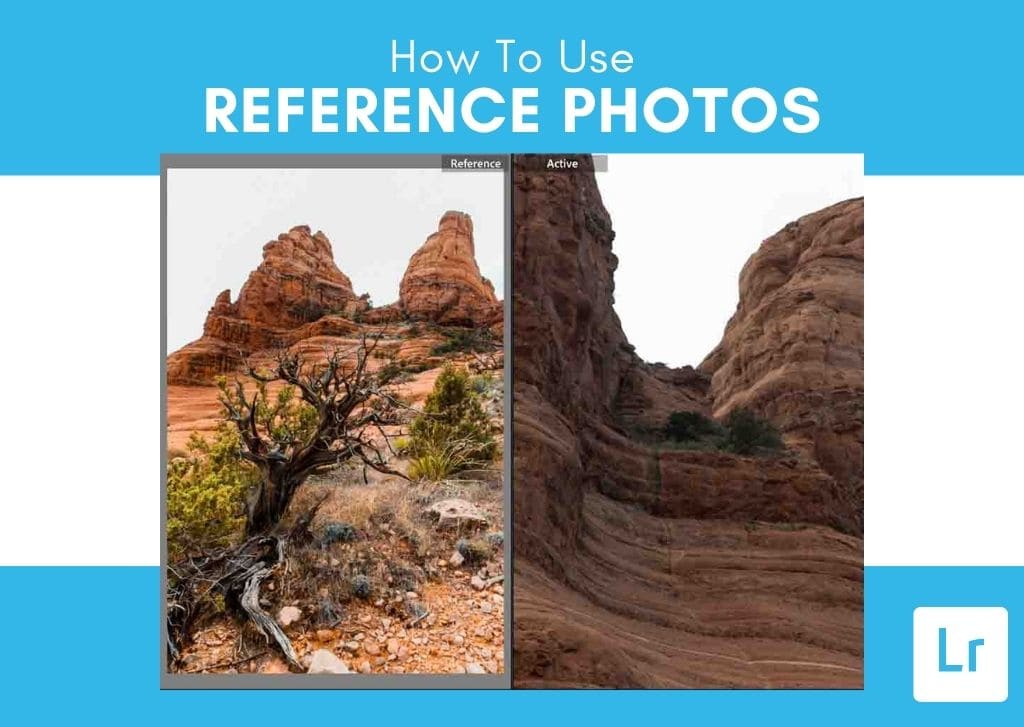
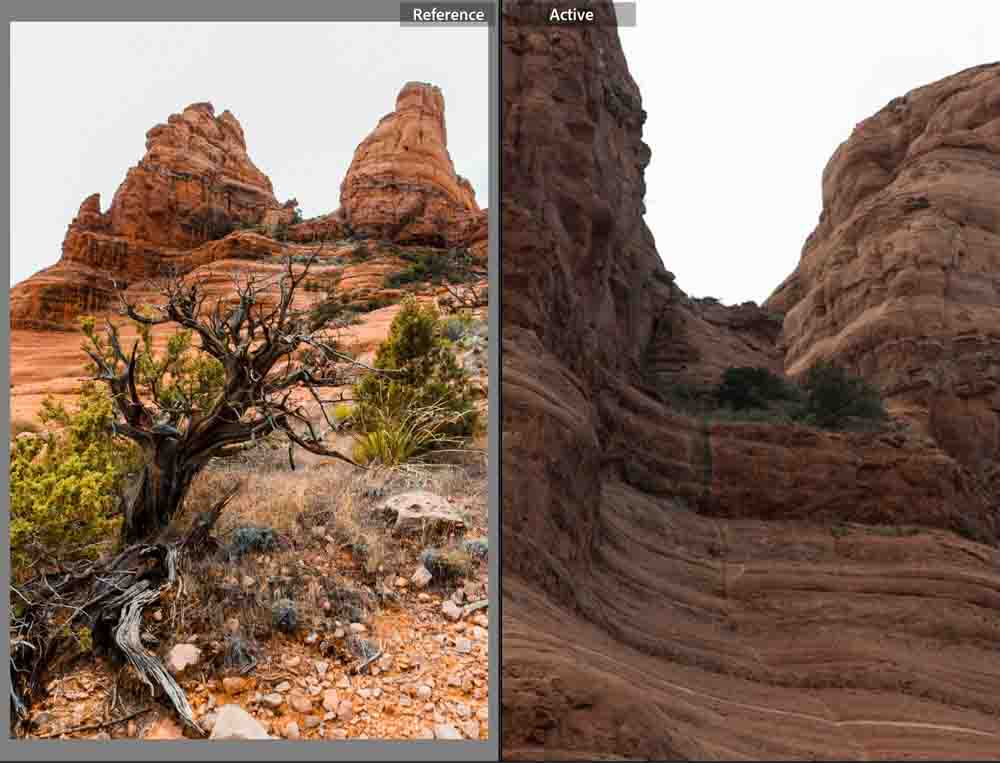
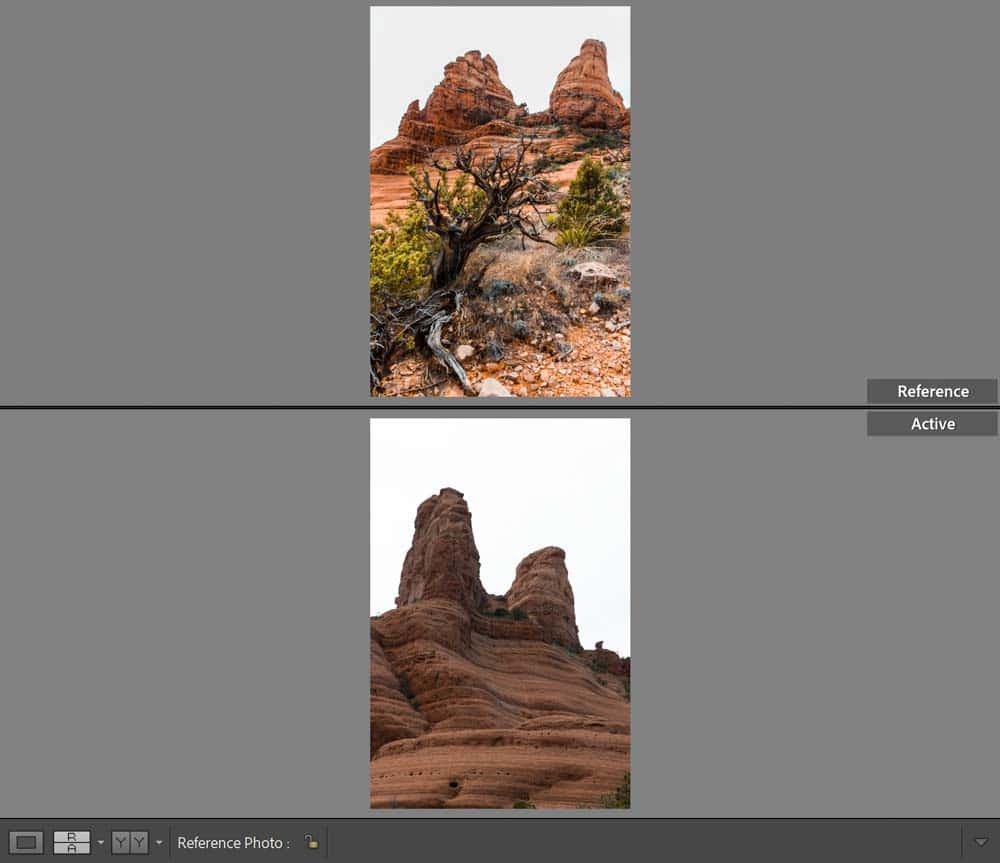
Reference View allows you to view an image you set as a reference at the same time as viewing the image you are currently editing. This gives you a quick side-by-side comparison between the active image (the one you’re editing) and the other picture you’ve chosen. Reference View allows you to make any adjustment you need to the active image except for cropping – cropping an image requires you to leave Reference View.
The image you set as the reference will remain as is – you won’t be able to make any edits to it. The only image you can adjust is the active image. This is important to note, as you would need to set the reference image to active if you wish to make changes to it.
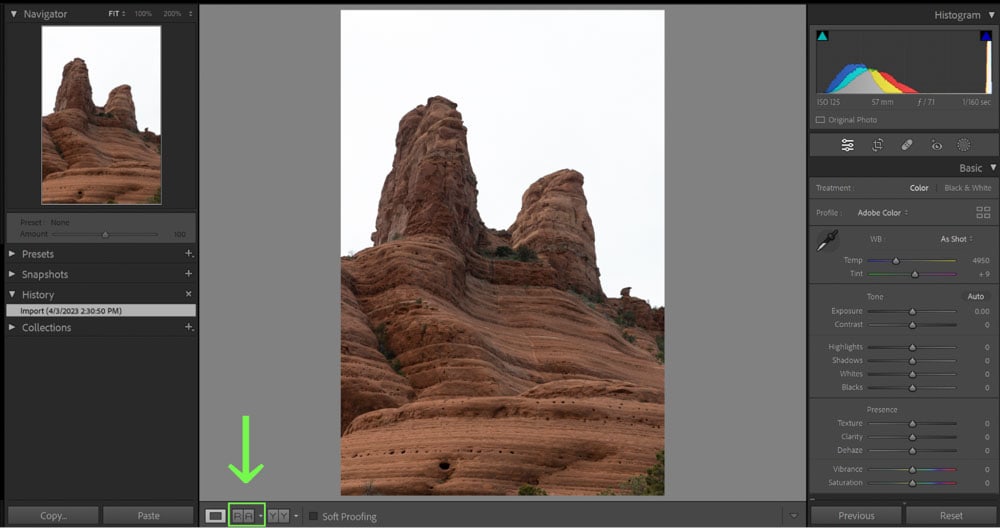
The developers at Adobe certainly had the forethought that this tool would be very useful for photo editing. As such, Reference View is conveniently located at the bottom of the Develop Module.
To start, make sure you’re viewing Adobe Lightroom Classic in the Develop window.

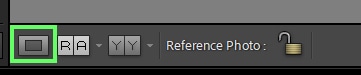
From this window, focus attention on the bottom of the screen. The Reference View button can be found there as R|A. This stands for Reference and Active.
Alongside the above, you can also access Reference View in a couple of other ways.
Firstly, the shortcut Shift + R (Win) or Command + R (Mac) prompts Reference View.
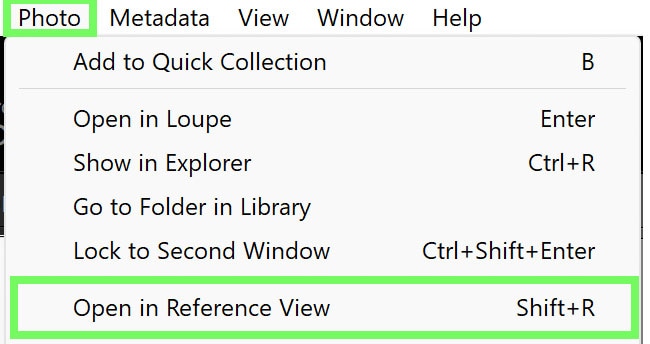
Secondly, if you aren’t in the Develop module already, you can quickly access the Reference View from the Library module by going to Photo > Open in Reference View. Just make sure that the image you wish to edit is selected before doing this.
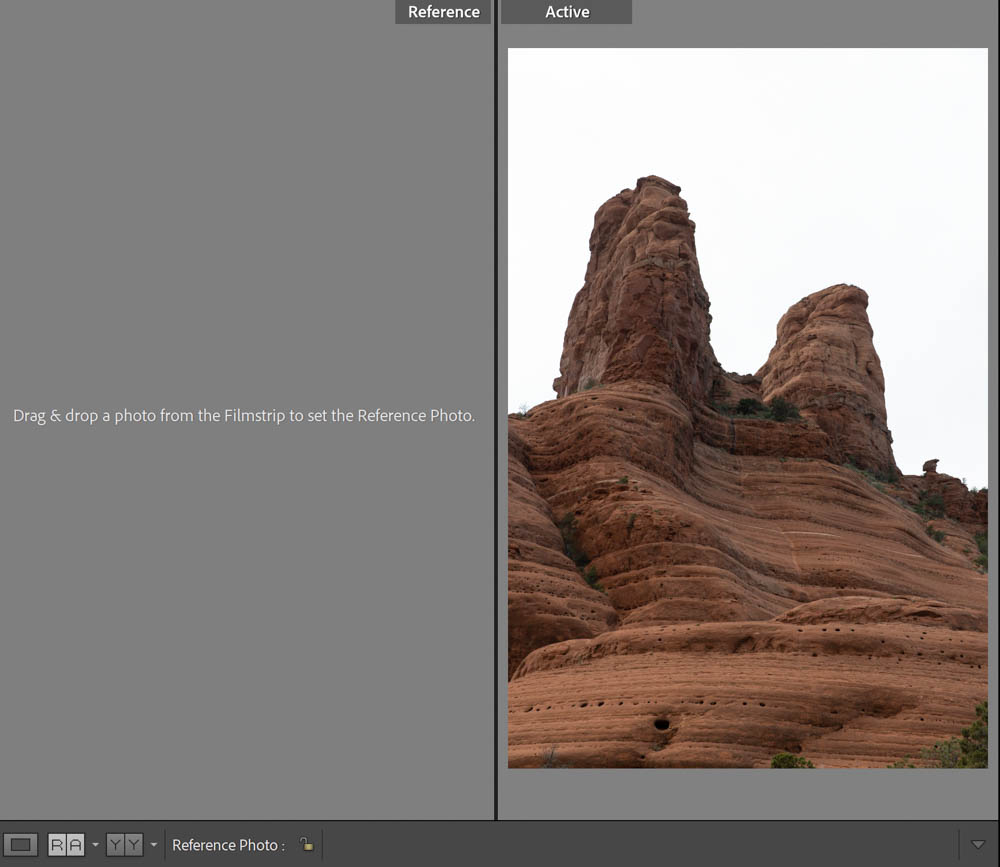
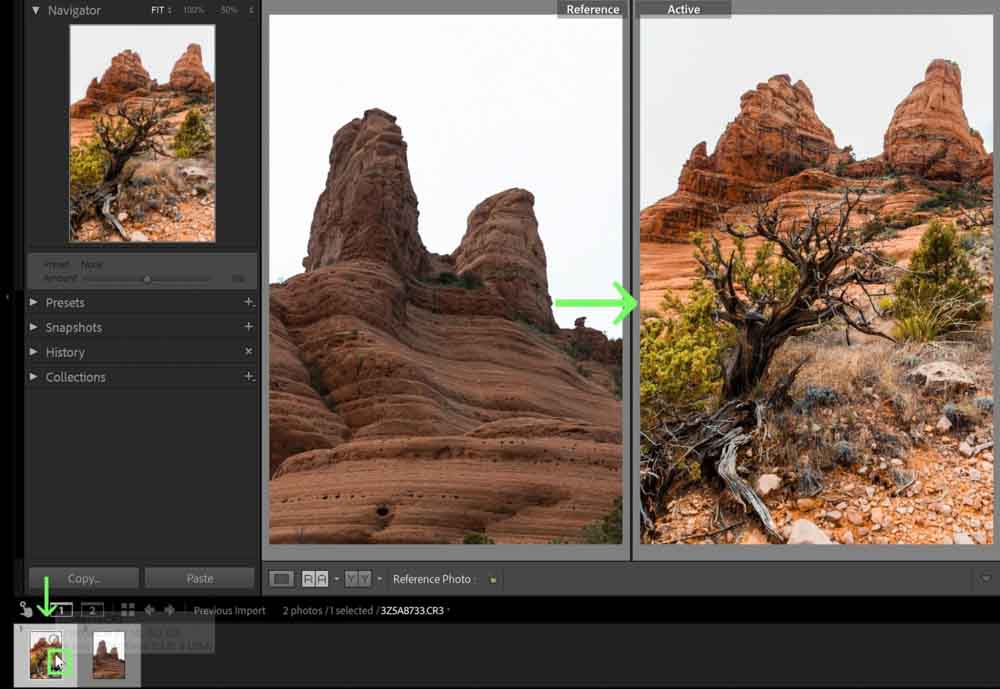
Once pressed, the screen will prompt you to drag and drop the image you’d like to set as the reference photo.
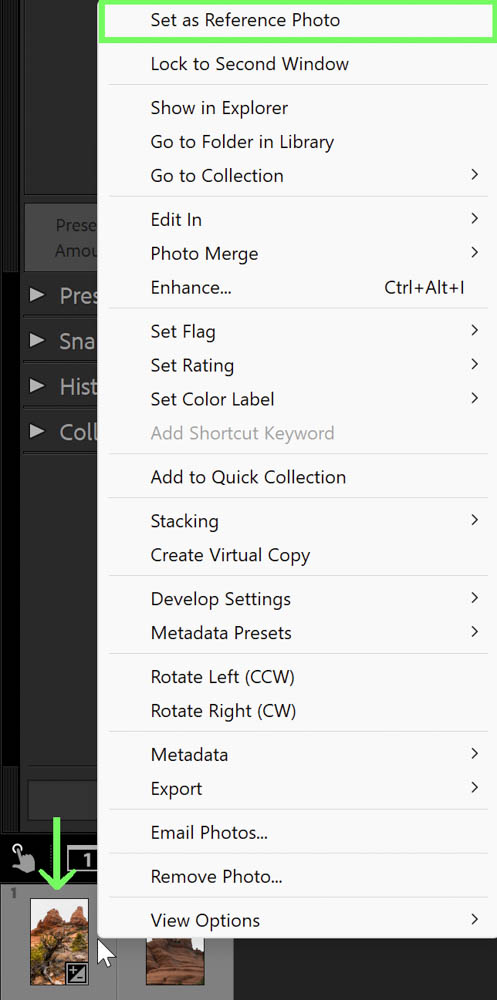
If you don’t wish to drag and drop, you can also right-click on the image you want to set as a reference. Right-click on the desired image and click on Set as Reference Photo.

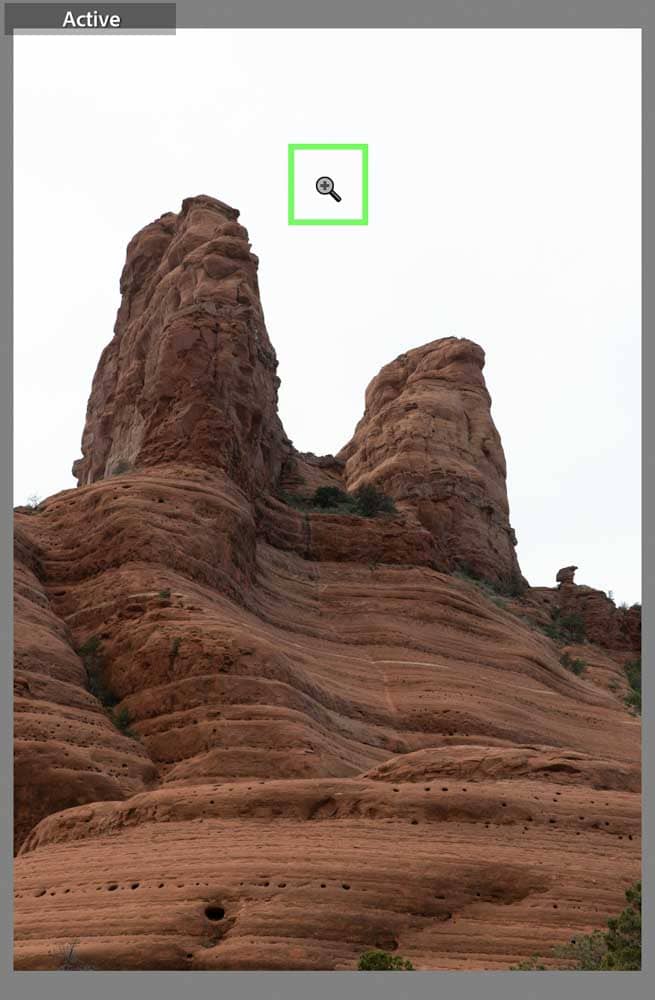
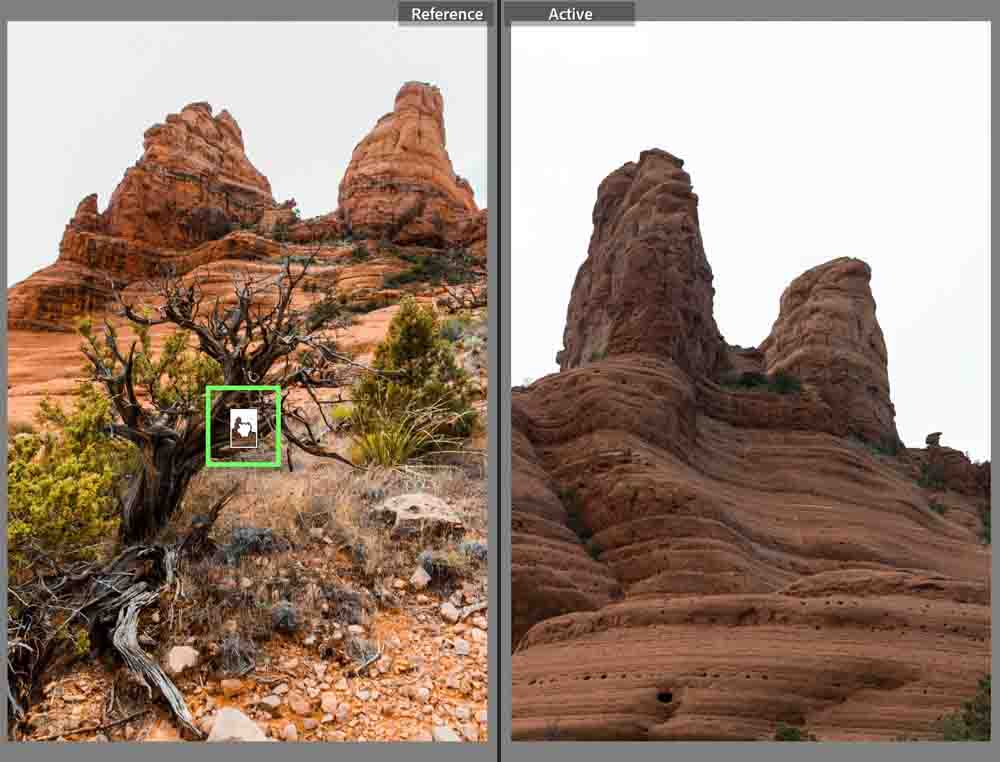
If you are using Reference View to compare image quality, you can zoom into both the Active and Reference images independently. This helps in comparing specific areas of both images.
To zoom, you can hover your mouse over whichever of the two images you’d like to zoom in on and click. To adjust the zoom, you can either use Control + +/- (Win) or Command + +/- (Mac).
Just hover the mouse back over the image and click to bring the image back to its original view. The photo will pop back into normal view.
If you need to change the Reference image, you do so the same way you would have selected a reference image in the first place. You can drag and drop the image you want as a reference into the Reference panel or right-click on the image you want as a Reference and click on Set As Reference Photo.
To change the Active image, simply click on whichever photo you want to work on within the filmstrip, and that image will automatically become the Active image.
Changing The Reference View Mode
You can change the Reference View mode if you need a horizontal view rather than a vertical one. There are two easy ways to do this:
The first is to press the small arrow icon next to the Reference View button. This will open a dropdown menu asking what view you’d like to have.
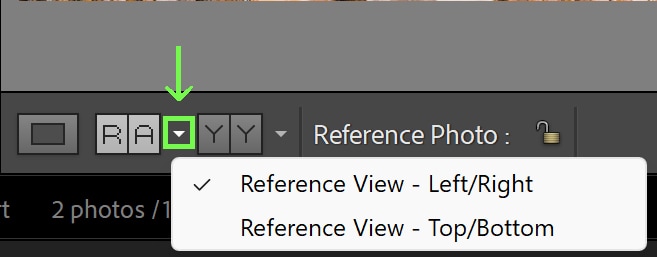
The second option is to press the Reference View button again to flick between horizontal and vertical views quickly.
If you want to exit the Reference View, click the Loupe View icon or press D.
How To Use Reference View In Lightroom To Edit Photos
There are many different ways to use Reference View in an editing workflow. The benefit of tools such as this is their ability to adapt to whatever you may need.
With Previously Edited Photos
Likely the most common use for Reference View is with previously edited photos. This makes it easy to match colors, tones, exposure, and so much more – especially within a single photo shoot.
Because natural lighting and camera settings could quickly change within a single session, using Reference photos can help make sure every image is consistent.
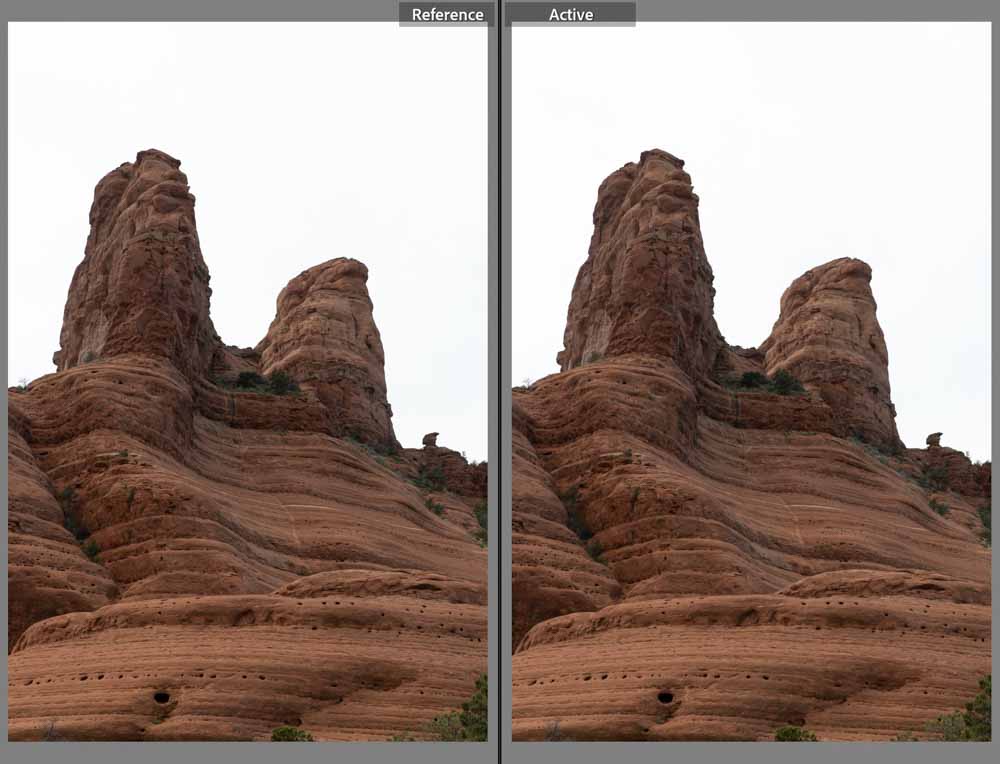
With Virtual Copies
As the name implies, a virtual copy is a duplicate of an image so that you can add edits and process the image without affecting the original photo. You can set the original image and a virtual copy of that shot (with the edits applied) and compare the two with Reference View.
To Compare Image Quality Between Similar Shots
When many similar images are taken, one will certainly shine above the rest. However, it can be hard to tell which one without a side-by-side view. You can put up two very similar images, zoom in on them both, and decide which is the superior shot based on image quality.
To Match The Editing Of Another Image
Sometimes, the best reference image is from an entirely different photo shoot. This is very common with photo niches such as fashion photography. An editor can pull a picture from an old editorial to compare to that of a brand-new photo shoot.
Colors, tones and the like can be matched much more manageably when a reference image is presented side by side.
Match A Photo With A Preset
Not all presets work evenly across photos. You can use the Reference view to adjust a preset to match the picture.
Set the Reference image as a photo in which the preset you wish to use fits perfectly. The Active image is one where the preset may not work as it should. You can now tweak the Active photo to match how the preset is supposed to look.
Create A Consistent White Balance In Several Images
If you are shooting on Auto white balance, sometimes the white balance becomes inconsistent between photos. This is because the camera sensor may read the information in front of it differently per shot.
Using Reference View, you can quickly match white balance to one another by setting the Reference image as having the desired white balance and adjusting the Active image to match.
Once the Active image matches, you can copy the settings as either a preset or a temporary copy in the Develop Settings and paste it on the other photographs that need similar white balance adjustment. This can speed up the editing workflow tremendously.
Ultimately, reference view in Lightroom is a handy tool to compare images as you work to speed up the organization process, or just to help keep a consistent editing style.


