

There are many advantages to working with RAW files since you get far more detail recovery while you edit your images. However, you will likely need to convert the RAW file to another image file format, such as a JPEG file when it comes time to share your images online. These file conversions can be easily done on Photoshop.
JPEG images have many benefits like being able to post images on social media, sharing pictures with your friends, and much more due to the small size of these files. When converting RAW images to JPEG format, some methods are easy and quick, while others require more work but provide superior results.
Here are four easy ways to convert RAW files to JPEG in Photoshop.
Option 1: Using Camera Raw
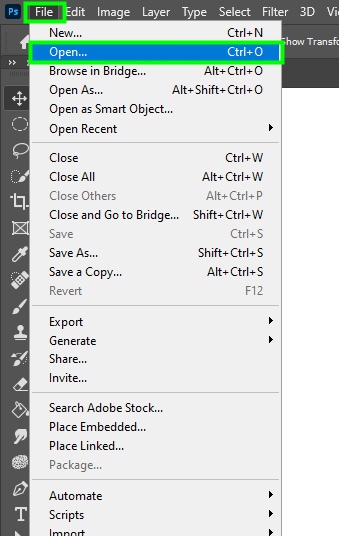
To open a RAW file, click File > Open. Alternatively, press Control + O (Win) or Command + O (Mac) on your keyboard.
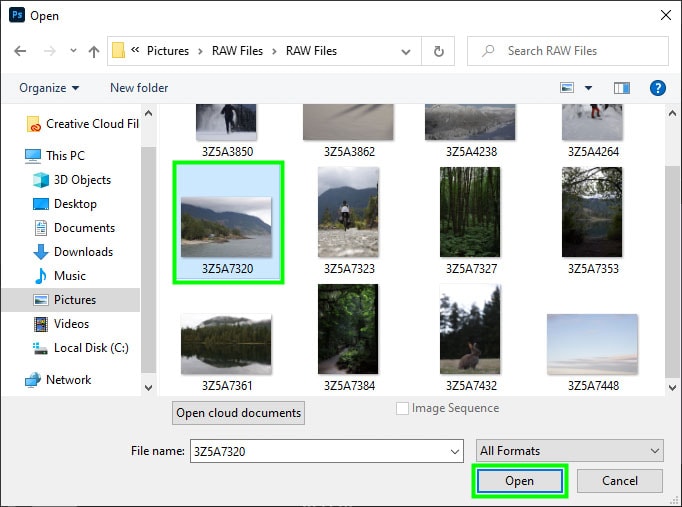
Then, locate the desired RAW file on your computer and select open.
When you bring a Raw file to Photoshop, it opens inside Camera Raw to allow for non-destructive edits before the file is opened as a TIFF file in Photoshop.
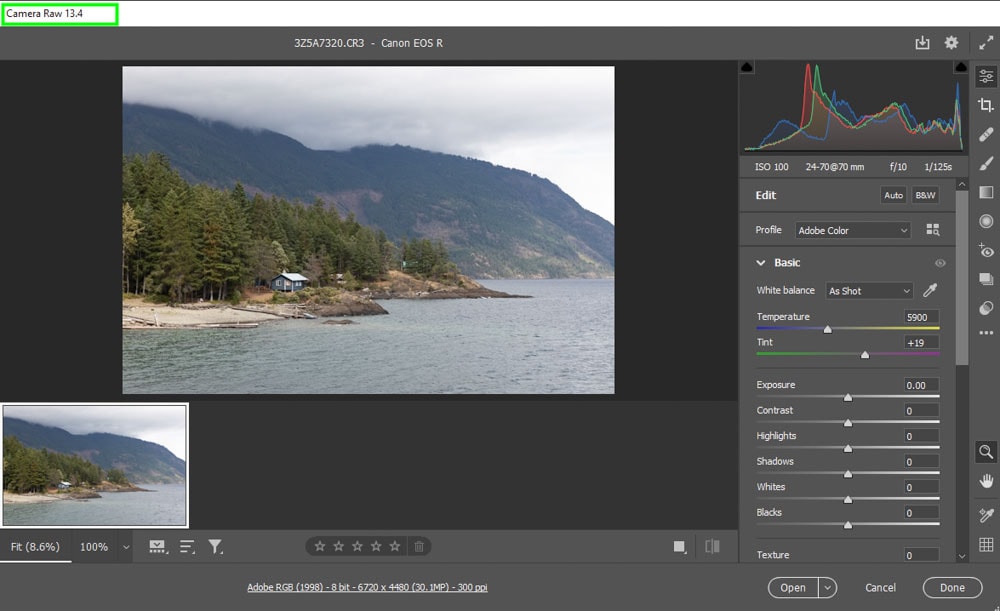
It’s often worthwhile to edit your RAW files in Camera Raw before opening them into the main Photoshop workspace because they have more file information. Once brought into Photoshop, the RAW file is converted to TIFF and loses some of its shadows and highlights recovery potential.
You can use the right side of the Camera Raw workspace to edit your images. The Camera Raw interface is user-friendly and the workspace is similar to Adobe Lightroom.
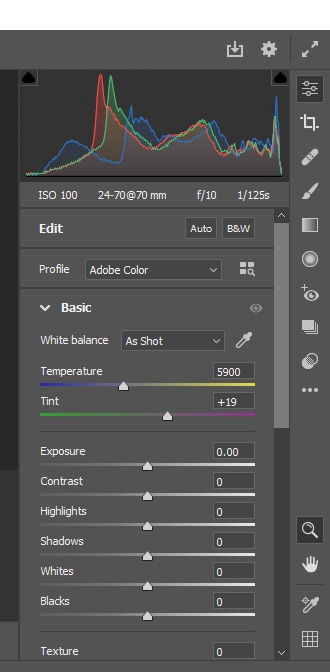
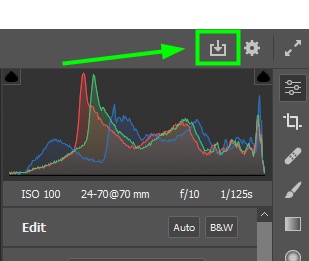
When you’re done editing, you can convert your RAW file to JPEG completely inside of Camera Raw. To do this, click the save icon at the top right side of the Camera Raw panel.
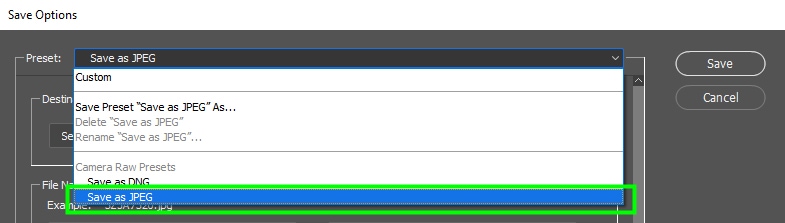
This will open the Save Options panel. Since there are many options in this panel, I will guide you through the main options when converting the file.
To start, since we want to convert RAW files to JPEG, change the Preset to Save As JPEG.
Next, in the Destination block, you can opt to keep the file in the same location as the original RAW file or save it somewhere else.

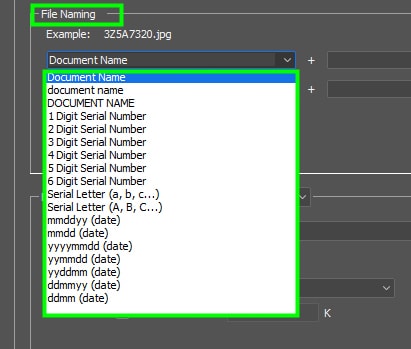
When thinking of a file name, there are several default ways to name your file in the File Naming option.
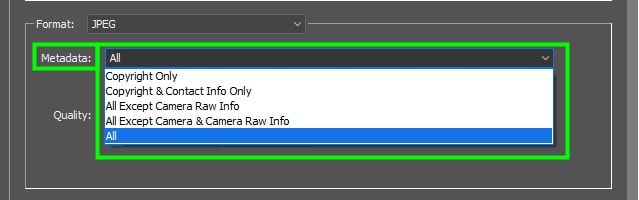
Moving down, in Metadata, you can add copyright information and information about your camera to your file.
Further on, in Quality, you can set the quality of your file to low, medium, high, or maximum.

If you want to post your image on social media, send it to friends, or use it for the web, you don’t need to set the quality to maximum. A quality between medium and high will be enough and you won’t notice the lower quality on digital platforms.
But, if you need to print your photo, I recommend you set the quality of your image to high or maximum. That’s because printed JPEG files can easily become pixelated if the quality isn’t high enough.
The Limit File Size To option allows you to limit the size of the image. Check the block here if you have been given any size restrictions.

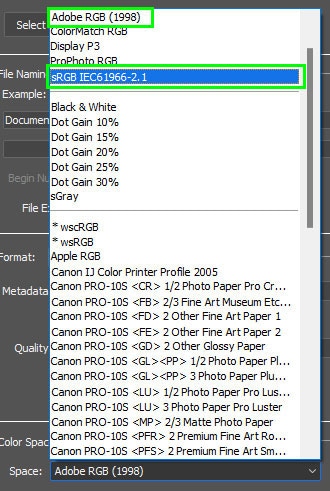
Next, in Color Space, you can see several options, but in most situations, you will only use two or three options from that list.
I recommend you use sRGB IEC61966-2.1 if you want to upload your image onto digital platforms. This color space is the standard color space adopted by most screen device manufacturers around the world and it is web-friendly. This way, you will have less color variation across different devices and platforms.
If you need to print your image, I recommend Adobe RGB 1998 because it contains a much wider color gamut than sRGB.
Moving down, in Image Sizing, you can resize your image. You don’t need to resize your image unless you have a size limit in mind. Not resizing an image will preserve its original resolution.
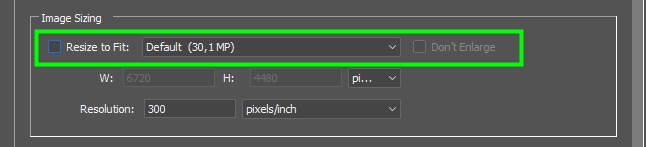
Image resolution is set to 300 pixels/inch by default. This resolution works well for images that will be printed.
However, if you upload your image to a website, it is better to lower the resolution because a high image resolution can reduce a website’s speed. In this case, 72 PPI–standard resolution for the web–will work fine.
When you are done adjusting all the Save Options panel settings you need, click on Save on the right side of the panel. Once you save the file, it will appear in the specified location.
Option 2: Using Export As
If you need to edit your image further in Photoshop and don’t want to convert it to JPEG within Camera Raw, you still have other options, and Export As is one of them.
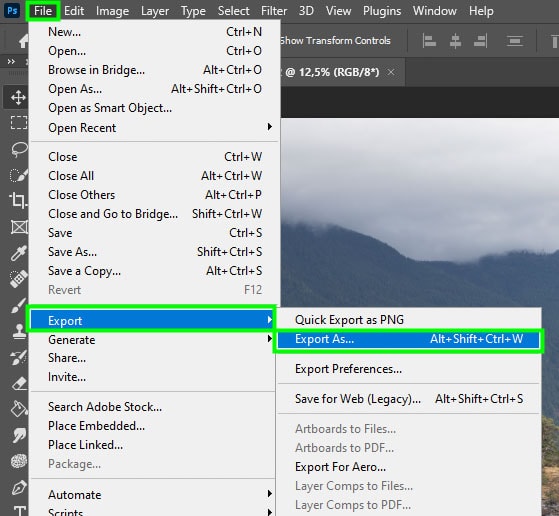
To open the Export As panel, go up to File > Export > Export As. You can also press Control + Shift + Alt + W (Win) or Command + Shift + Option + W (Mac).
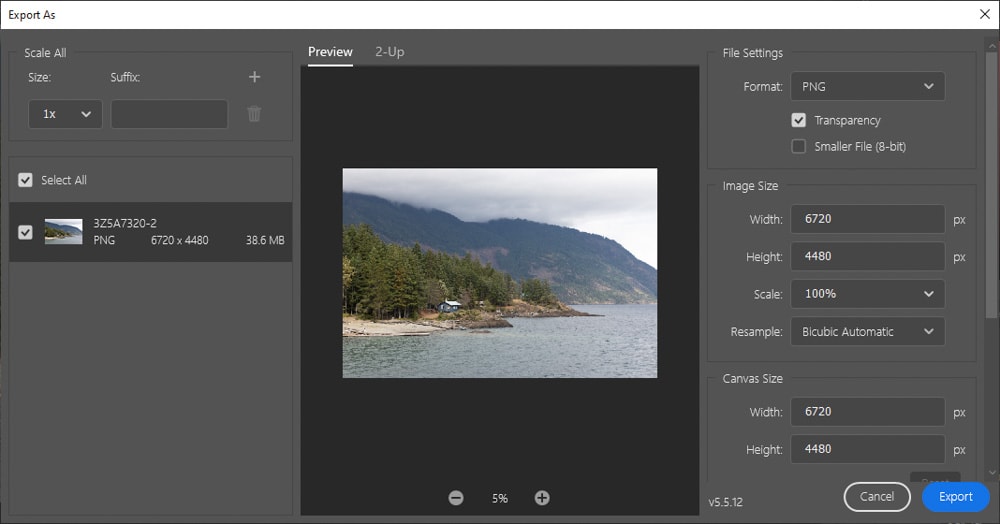
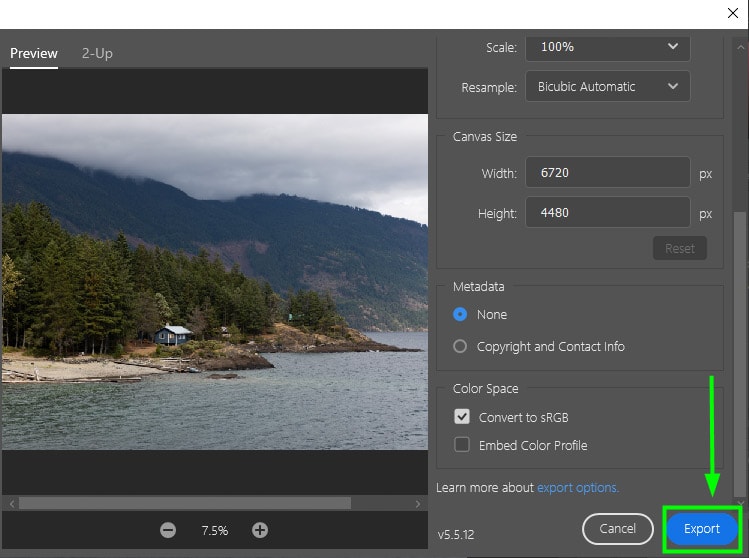
When the export as panel opens, you can use it to convert your RAW file to JPEG as well as adjust the quality of your image.
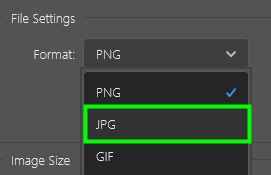
To change the format of your image to JPEG in this panel, go to Format and choose JPG from the drop-down menu.
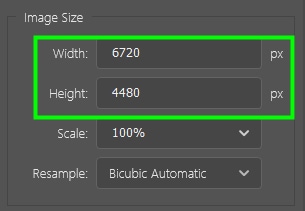
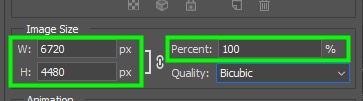
Next, in image size, you can alter your image height and width if you want the image to be a specific size.
You can also resample your image. The resample option adds pixels to your image or removes them to compensate for the stretching or compressing of the image when you change its dimensions.
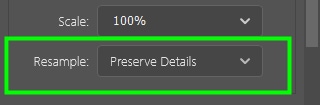
There are many options within the Resample drop-down menu. For example, Preserve Details is a good option when you want to increase the number of pixels in your image without losing the image’s details.

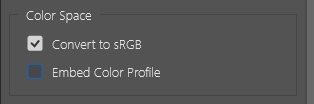
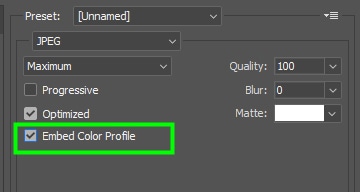
Scrolling down the Export As panel, you will find two options for color space. Choose Convert to sRGB if you want to use your image on the web, and Embed Color Profile if you want to preserve the color profile you applied to your image.
When you finish changing the export settings, click Export.
Option 3: Save For Web
The images you publish on the web are opened by different devices and browsers, so you need to make sure they can be loaded fast with accurate colors, regardless of the device or browser that opens them.
Here is how to take advantage of the Save For Web method to convert your image to JPEG and make your images look great for the web.
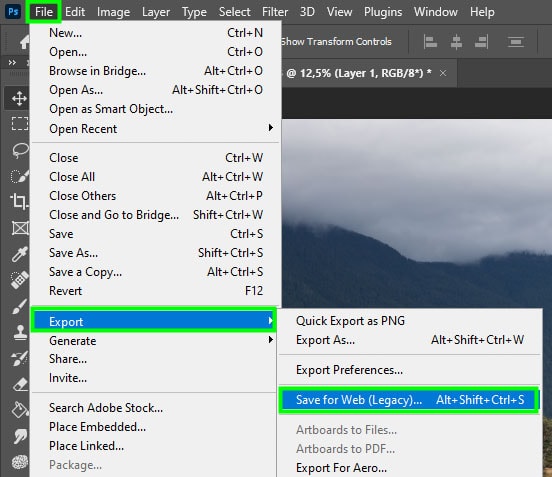
First, go to File > Export > Save For Web. You can also press Control + Shift + Alt + S (Win) or Command + Shift + Option + S (Mac).
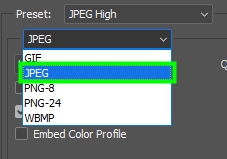
In the Save For Web panel, change the image format to JPEG.
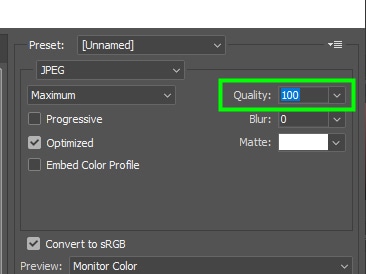
You can then set your image quality up to 100. However, I don’t recommend you set your image quality to the maximum when saving it for the web.
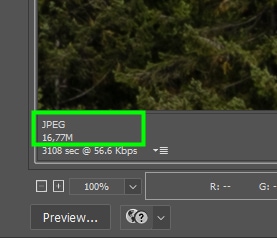
The lower the quality, the smaller the file size will be. You can see the size changes in real-time at the bottom left side of the panel.

Scrolling down the panel, check the box next to Convert to sRGB because this is the most commonly used color profile on the web.
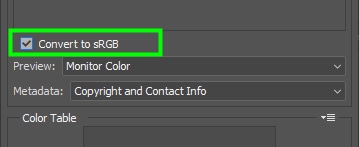
You can also check Embed Color Profile so that all monitors and web platforms that display your image, will display the color profile you set to your image, rather than converting the colors to other color profiles.
Further down, in Image Size, you can enter values for your image’s width and height or enter a percentage you want your image to be reduced to.
When you’re finished, click Save to confirm the changes and convert your image to JPEG.

Option 4: Using File > Save As
The easiest way to convert a RAW file to JPEG is by using the Save As method. This way, you can save your image in seconds. The downside of this method is that you can’t change any of your image settings, such as quality or size.
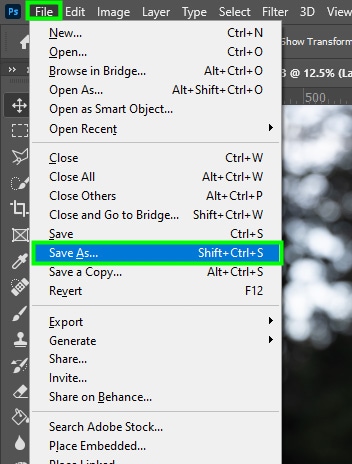
To use this method, go to File > Save As. You can also press Control + Shift + S (Win) or Command + Shift + S (Mac).
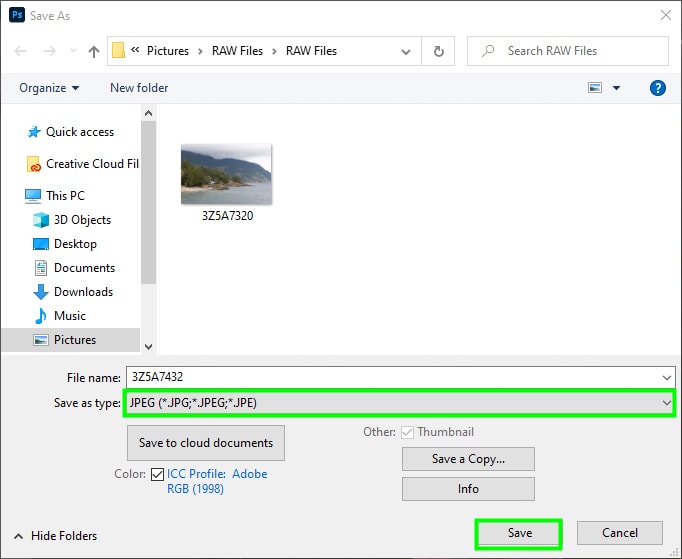
In the Save As window change the file type to JPEG in the Save As Type box.
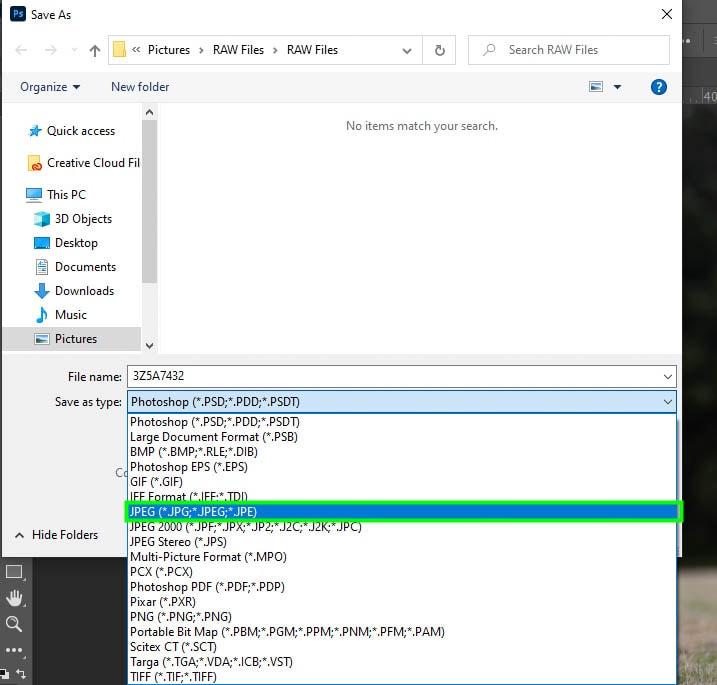
Once the format is selected, click Save to save your new JPEG file.
How To Batch Export RAW Files To JPEG In Photoshop
Instead of converting one RAW file to JPEG after another, you can convert multiple RAW files simultaneously.
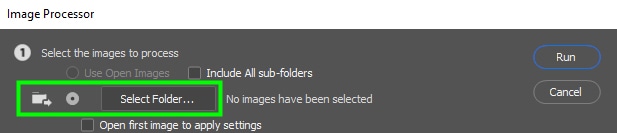
To do this, go up to File > Scripts > Image Processor.

In the Image Processor panel, select the source folder from your computer.
Then, select a location to save your files. It can be the same location as the source file or any other location you want. Keep in mind that all the export settings you adjust will be applied to all files in the folder you selected.

Next, in File Type, make sure to check the box next to Save as JPEG.
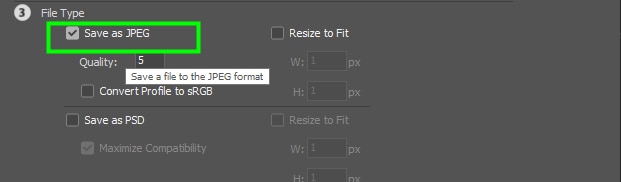
Next, the file quality is set to 5 by default, but you can change it to any value up to 12.

If you intend to upload your file to the web, you can check the Convert Profile to sRGB box, since it’s the most suitable color profile for the web.

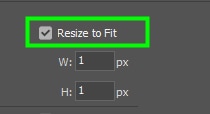
Next, check the Resize To Fit option if you have any size restrictions. Once you click the checkbox, you can enter values for images’ width and height. Keep in mind that if you compress or stretch your images too much, they may end up losing quality.
Lastly, click Run at the top right side of the panel to save the changes.

Once you close the panel, one image after another will appear on your canvas; all converted to JPEG. They will also appear in the location you selected for them to save in as JPEG files.
So with these four options, plus a trick to export multiple RAW files to JPEG as once, converting your images is stress-free and can be done in seconds.
Happy Editing!
