
When your layers panel in Photoshop starts to get overwhelming, or you need to reduce the file size of a project, flattening the image seems like the obvious solution. Although this can be a great option in some cases since flattening your layers is quite simple, there are some things to be aware of before you do it.
In this tutorial, you’ll learn the different ways to quickly flatten your images, the difference between flattening and merging in Photoshop, and when flattening or merging is a better idea.
How To Flatten Your Layers In Photoshop
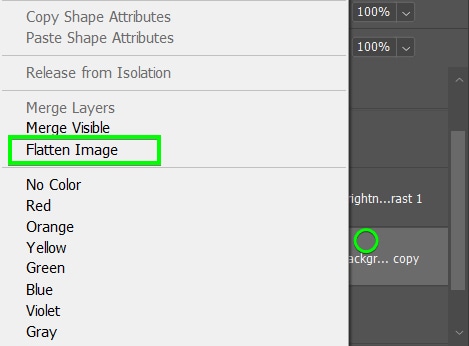
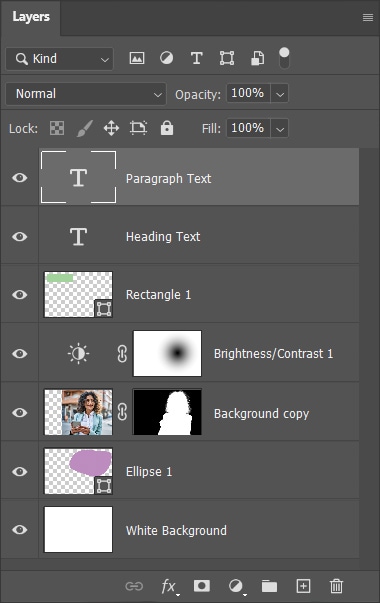
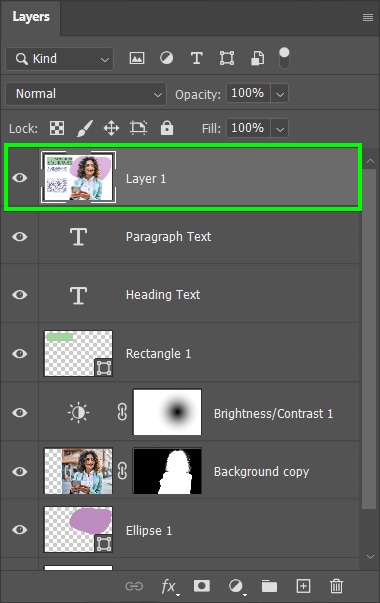
Flattening your image in Photoshop will combine all of your active layers in the Layers Panel into one layer. This helps to declutter your layers panel and reduces the overall file size of your project. To flatten an image, right-click any layer in the Layers Panel and choose Flatten Image.
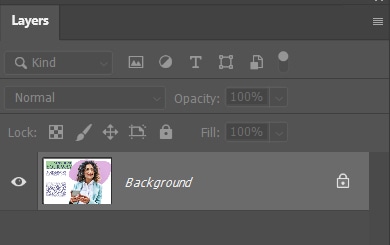
When you flatten your layers, they turn into a single background layer, as shown below.
As I mentioned, no matter how many layers you have, you can flatten them all with a click without having to select them one by one. Let’s take a more in-depth look at this process.
Simply go to the Layers panel, right-click any layer, and choose Flatten Image.
If you regret flattening your layers immediately after doing so, press Control + Z (Win) or Command + Z (Mac) to undo.
The individual layers that compose your image will become uneditable once flattened, so make sure to edit them before flattening.
Assuming disk space isn’t an issue, you can create a PSD file with the original layers before flattening them. This way, you can have a flattened image and a file with its original layers. This is useful because you may want to access the individual layers in the future.
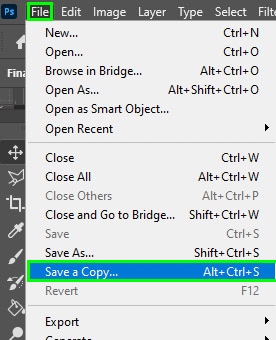
To do this, go to File > Save A Copy.
Name your file in the dialog box that will pop up and save it.
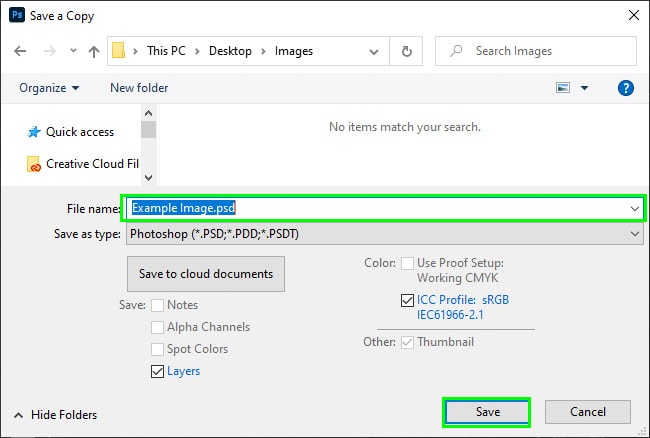
Then you will have a PSD file with all the original layers in it.
Once you have edited and flattened your layers, you can export your final image as a PNG or JPEG. To do this, go to File > Save A Copy.
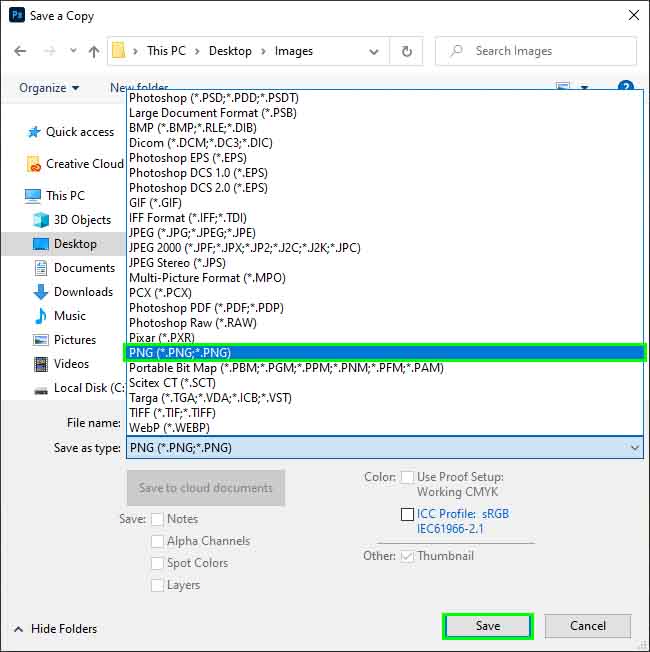
Choose a file format and save the new file.
What’s The Difference Between Flatten And Merge?
Although you might consider merging or flattening layers to reduce the number of layers in a file, these two methods serve different purposes. Here are the key differences between merging and flattening layers.
– How Merging And Flattening Layers Work Differently
By merging layers, you create a single layer containing all the elements from the merged layers. Photoshop doesn’t add or subtract any data to the final product. Due to that, if your layers have a transparent background, the merged layer will also have a transparent background.
When you flatten your layers, Photoshop condenses all layers in the Layers panel into a single background layer. Thus, if you want to preserve layer transparency, this is not the best choice.
– The Benefits Of Flattening And Merging Layers Are Different
Merging layers is useful when you want to reduce the number of layers you are working with. Reducing the number of layers has many advantages. First, your Layers panel becomes more organized since you don’t need to struggle to find a specific layer.
Second, you can prevent crashes in Photoshop when you work with fewer layers. This is because Photoshop uses your RAM to process changes you make while working on your projects. Thus, the more generated data, the more RAM the software consumes, which can eventually lead to a system crash if your system specs are already maxed out with the program.
Beyond that, you can make the software run more smoothly by reducing the amount of information flowing in Photoshop.
Besides, when merging layers, you can simultaneously apply an effect to all of them.
Flattening layers also has its advantages. The biggest advantage is to reduce the size of your resulting image. The size of a flattened file is much smaller than a file containing multiple layers. Therefore, putting less strain on your computer.
Although both methods reduce your file size, merging layers is slightly more efficient since you can just use the keyboard shortcut Command + E (Mac) or Control + E (Win)
When Should You Flatten An Image In Photoshop?
Flattening an image is useful for reducing a file size significantly, which comes in handy for several purposes, such as sending it for printing, since a lighter file is easier to send.
Additionally, you should flatten your image when you need to publish it or send it digitally to someone else. This is because when you flatten an image, it gets smaller, making it faster for many devices to load. This only really applies when sending TIFF or PSD files where there is more file information.
Flattening your image will also help you prevent unauthorized use of the file since people won’t have access to its original layers.
Although flattening an image has many advantages, I advise you to save a second file with the original layers. After all, you never know if you will need to access those layers in the future, so it’s wise to keep a backup.
A Better Alternative To Flattening Your Image
Despite its advantages, flattening your image is a radical step since once you flatten it, you lose access to its layers.
Luckily, I have a suggestion for you that might be a better option.
As mentioned before, flattening an image is best when you have finished editing all of its layers and want to export the final file to either print it or publish it somewhere.
However, a feature in Photoshop allows you to create a merged copy of all your layers while keeping the original ones untouched. That way, you can combine layers with no regrets.
To do this, simply press Control + Alt + Shift + E (Win) or Command + Option + Shift + E (Mac). You need to press all these keys at the same time. You can edit the merged copy to make changes to the entire image while keeping each layer if you need to do more edits later.
This method is something I regularly use when I want to edit all my layers on a single layer without losing my previous layer information. Another workaround is creating a smart object, which you can learn how to do here.
Happy Editing!


