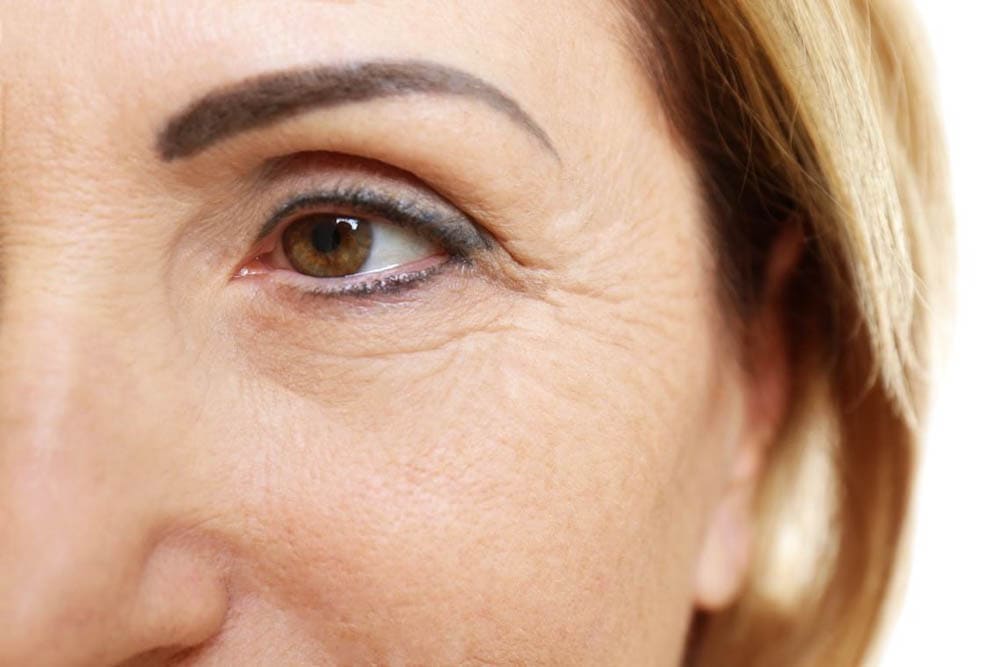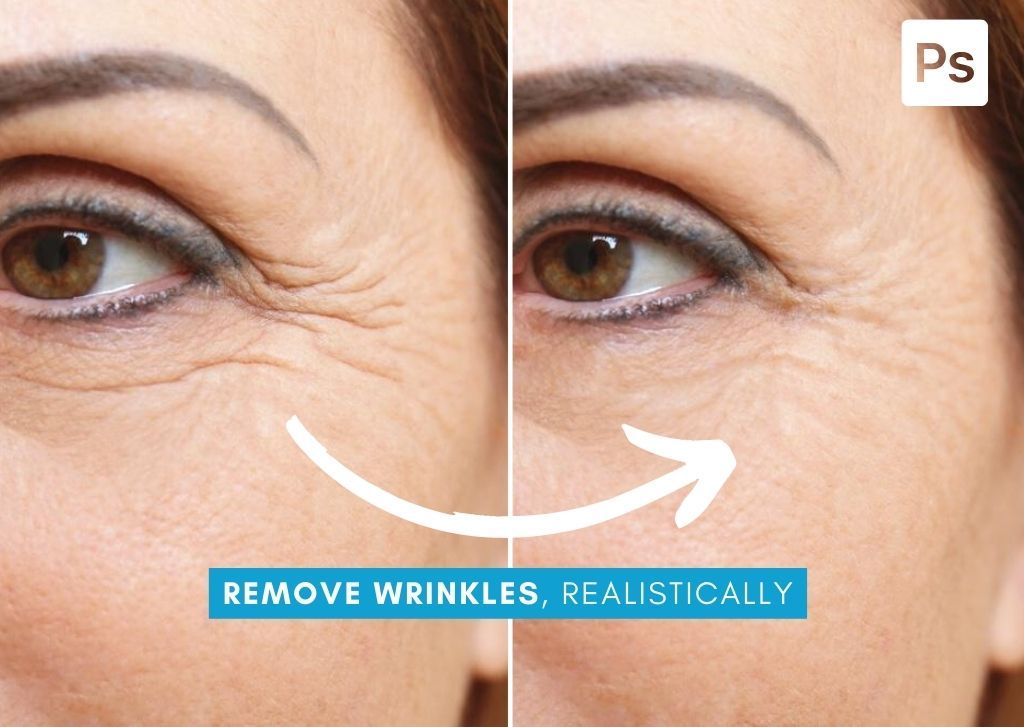

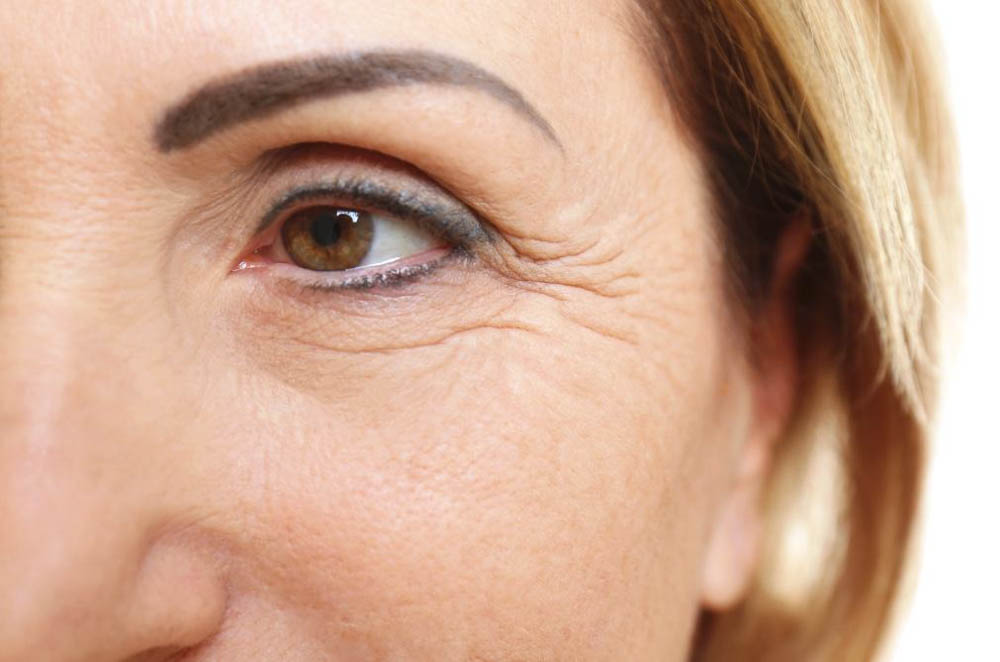
One of the most common requests I get from older clients is to remove their wrinkles and make them “look younger again.” With the help of Photoshop, it’s easy to remove wrinkles from your subjects in just a few minutes. However, it’s important not to go overboard with these effects, so your subject still looks like themselves. So in this tutorial, you’ll exactly how to do just that, remove wrinkles without overdoing it!
I will teach you how to use Photoshop’s healing tools to remove certain wrinkles completely and lighten up other wrinkles to have a much more natural look. You will also learn a few polishing tricks to apply to your image so you can watch the years melt away.
How To Remove Wrinkles In Photoshop
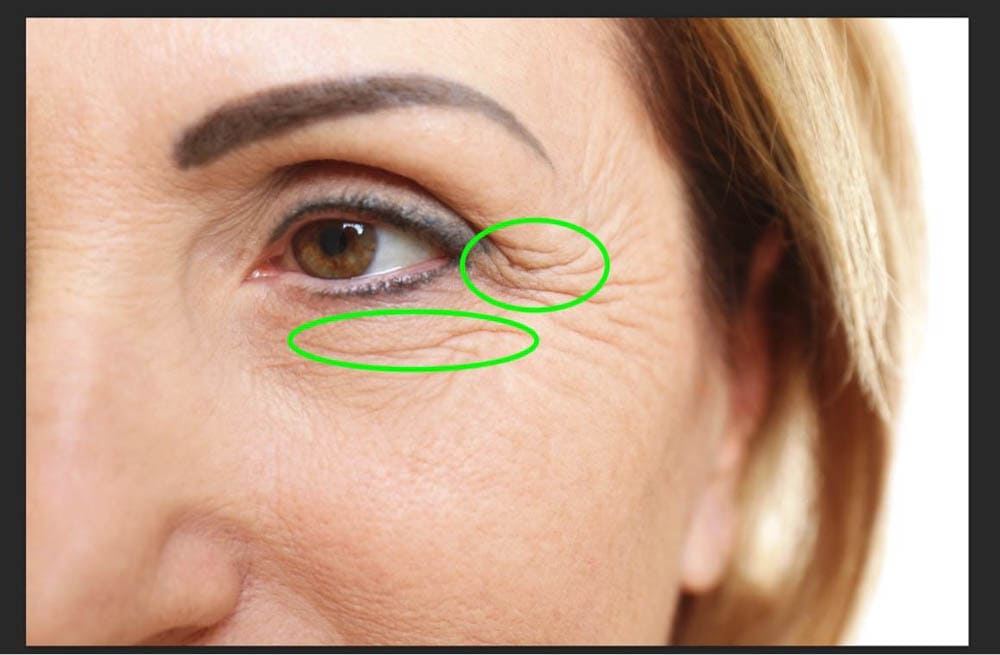
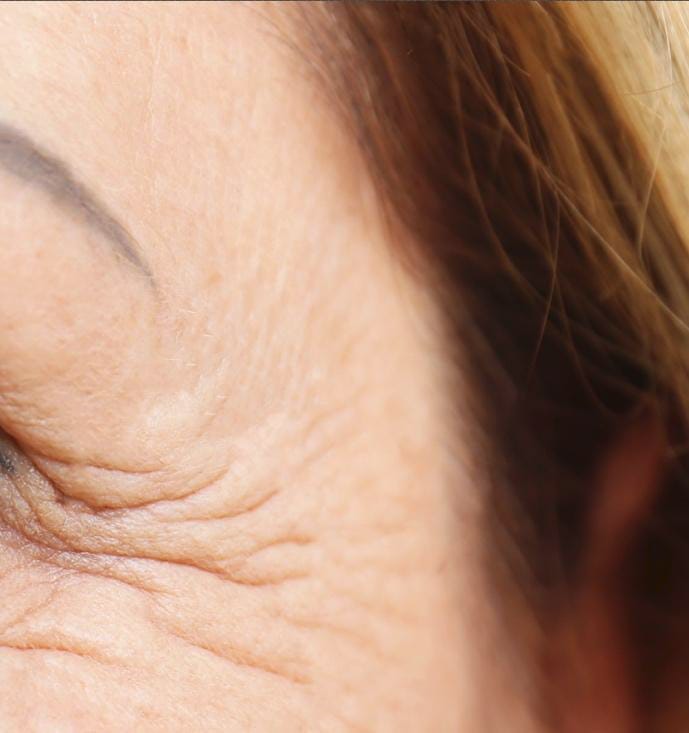
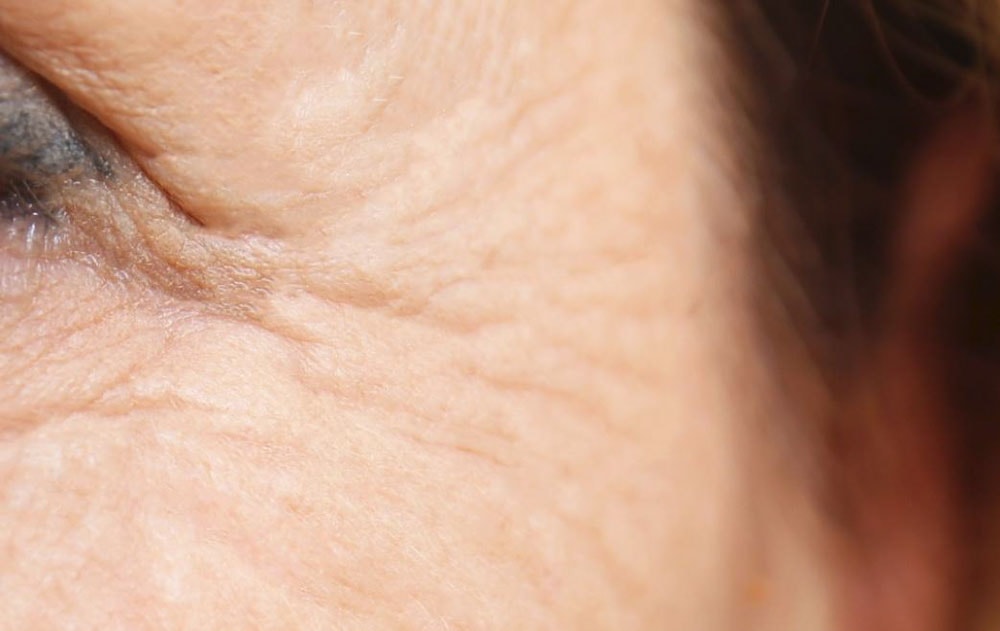
Step 1: Identify The Types Of Wrinkles On Your Image
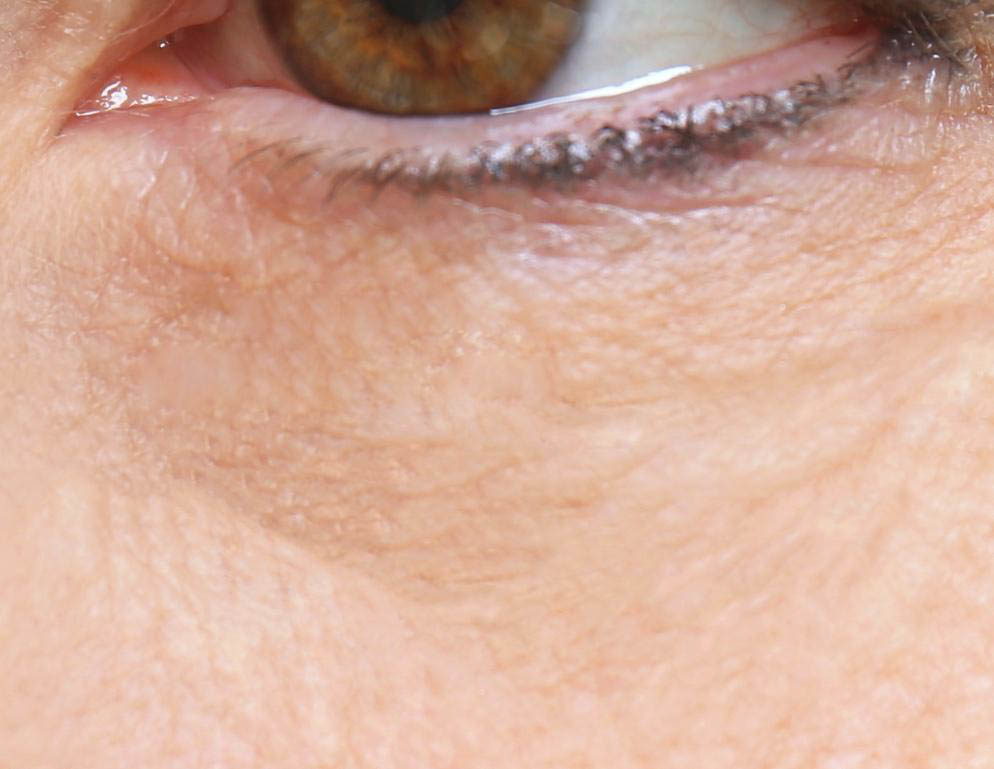
Not all wrinkles are the same. If you remove every wrinkle on your subject, you will have an unnatural-looking face. So the first goal is to determine which wrinkles to erase and which to keep.
This depends on your project, but you can generally erase the more minor, lighter wrinkles you can barely see. You don’t need to mark these areas on your image. Just keep a mental tally.
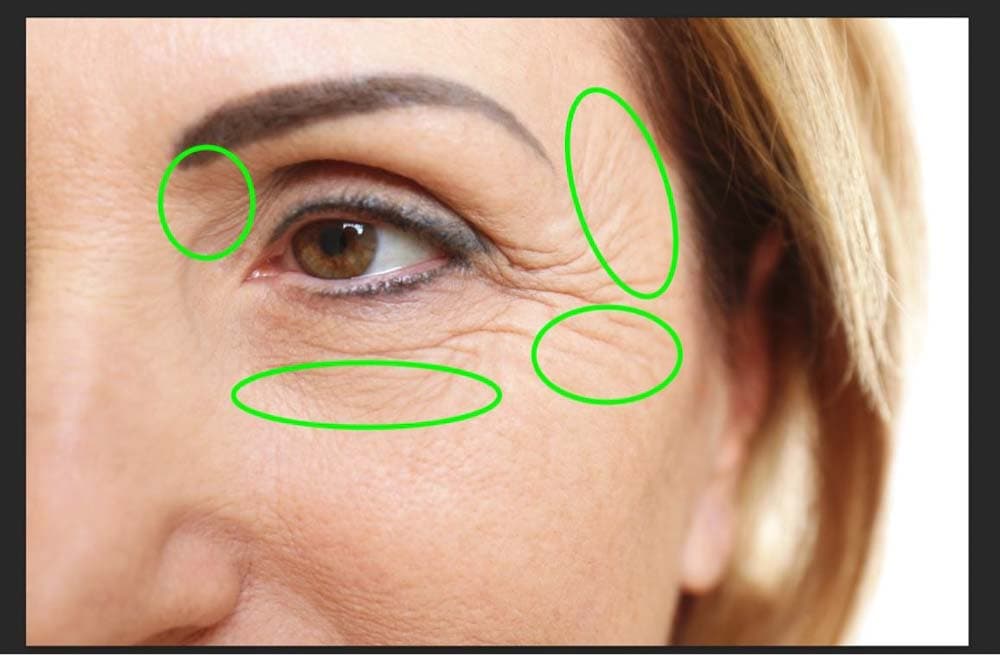
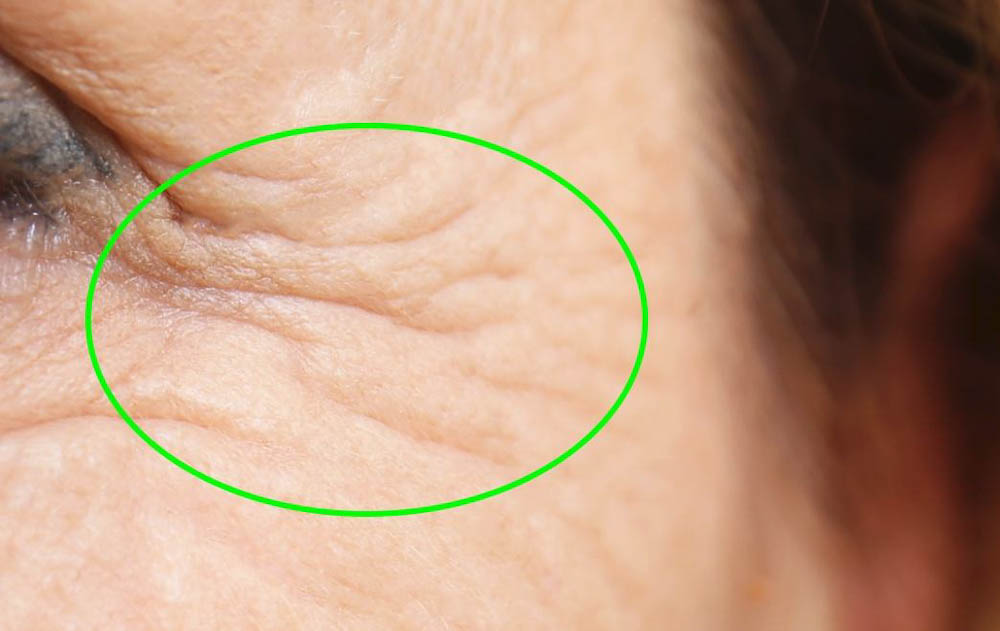
The wrinkles you need to keep to retain a more natural look are the thicker, more deep-seated wrinkles. You will want to reduce these wrinkles and not remove them.
You may be tempted to remove these types of wrinkles just as swiftly as the lighter ones, but this is the number one mistake people make when trying to remove wrinkles from their close-ups or headshots. Over-fixing any flaw or blemish can make it obvious that someone edited the photo.
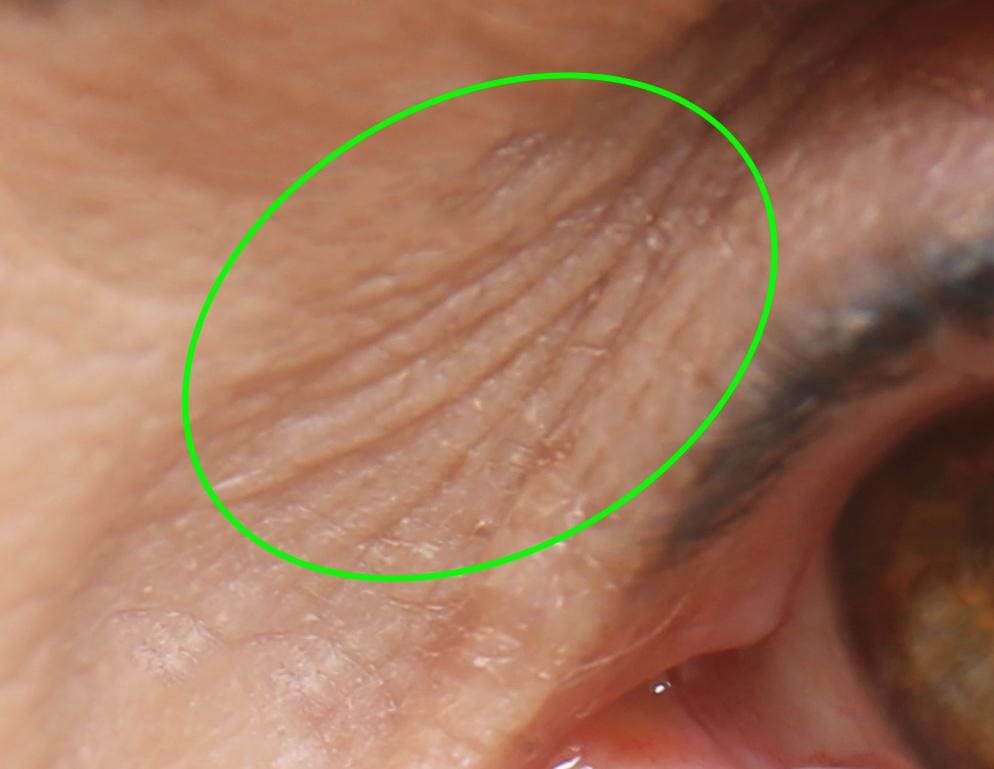
Step 2: Remove The Lighter, Smaller Wrinkles With The Healing Tools
Now that you’ve made a mental tally of which wrinkles are fine to erase, it’s time to smooth out some skin.
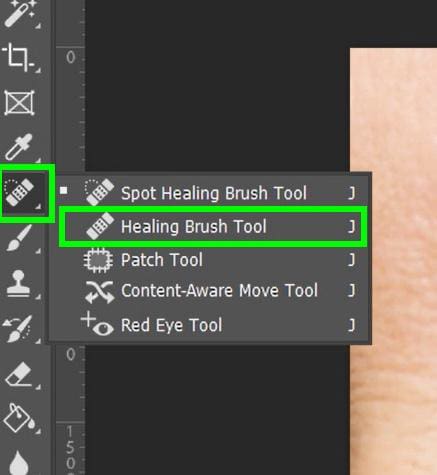
The two tools you’ll use to smooth your subject’s skin are the Spot Healing Brush Tool and the Healing Brush Tool.
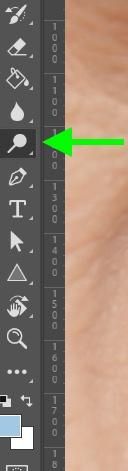
You can find these tools by clicking and holding on the Spot Healing Brush Tool in the Toolbar. This will open a sub-menu with the Healing Brush Tool in it. Also, press J to easily access whichever tool is currently visible.
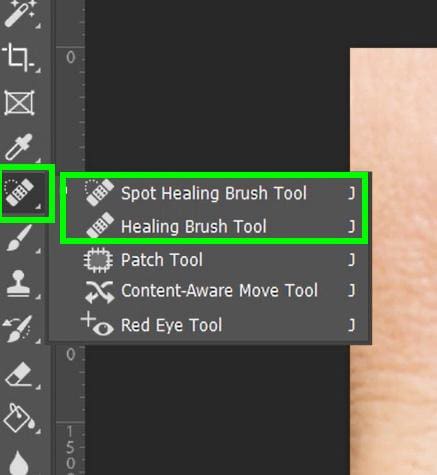
These two tools are very similar, with one big difference between them:
- Healing Brush Tool – This tool requires a source point from a different area of your image to replace the pixels under your brush with the source point pixels. The Healing Brush Tool may take some getting used to for a novice, as you will constantly be clicking different source points as you use it.
- Spot Healing Brush Tool – This tool requires no source point as you brush over your image. This tool uses the pixels around your brush to fill in the area you are brushing. This tool is used exactly like the Brush Tool in Photoshop, so it’s easy to pick up and use. However, this tool is not as accurate as the Healing Brush Tool due to not using a source point.
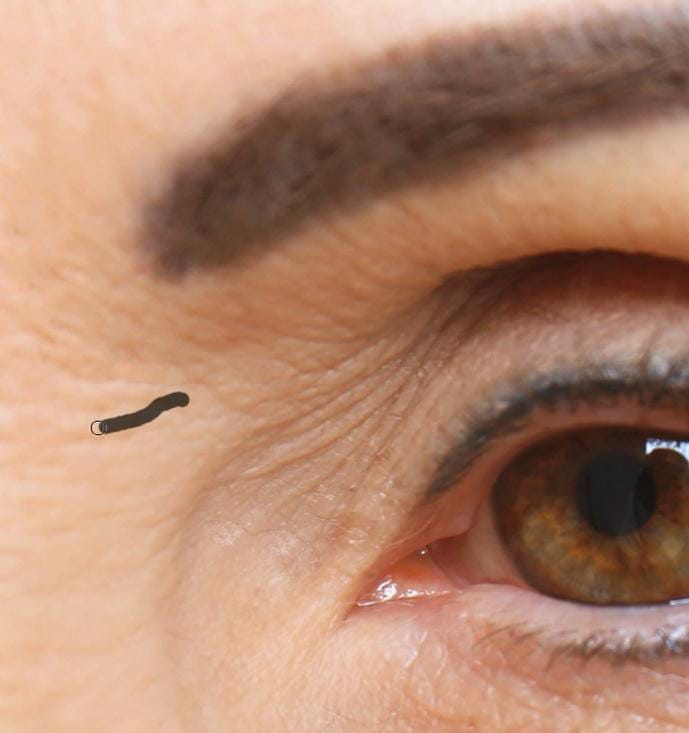
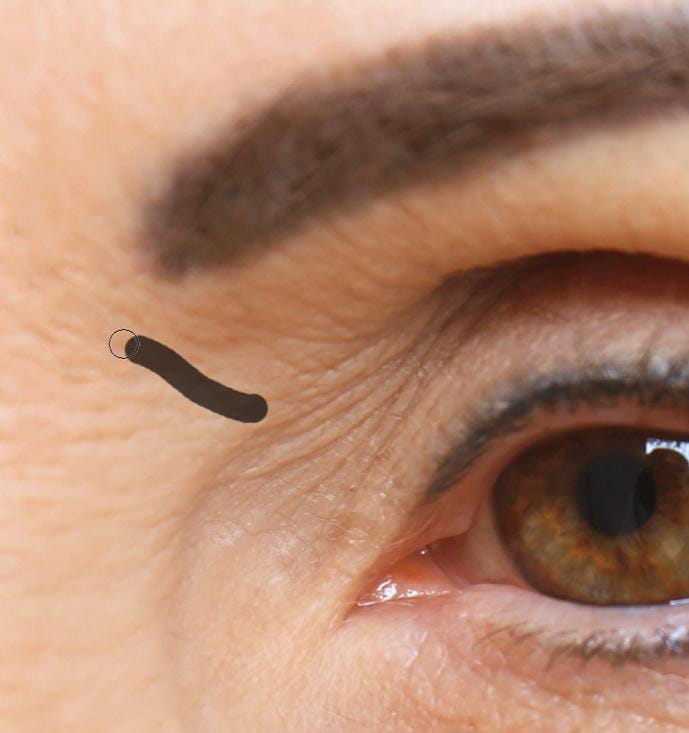
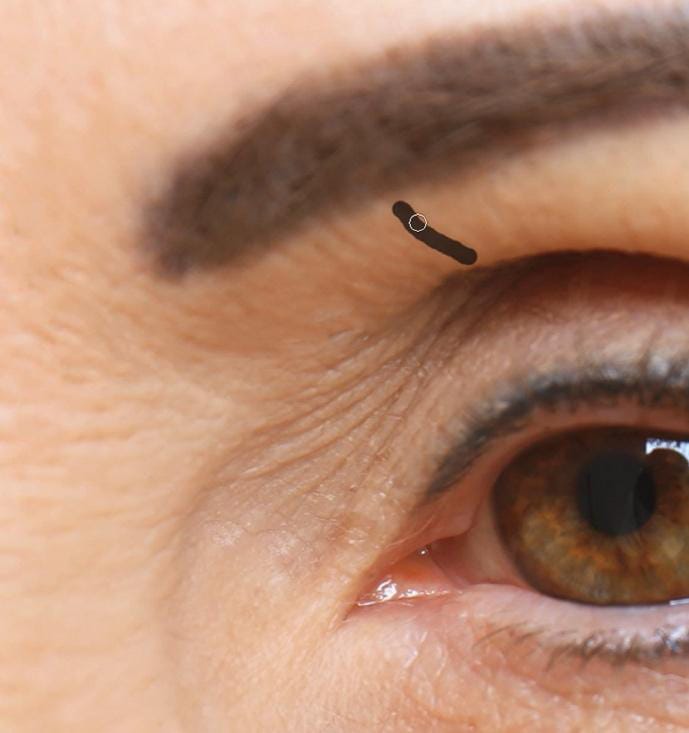
To remove the lighter wrinkles on your subject, the Spot Healing Brush is the best as it is easy to use.
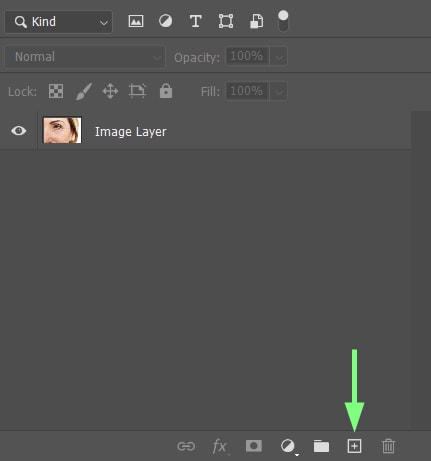
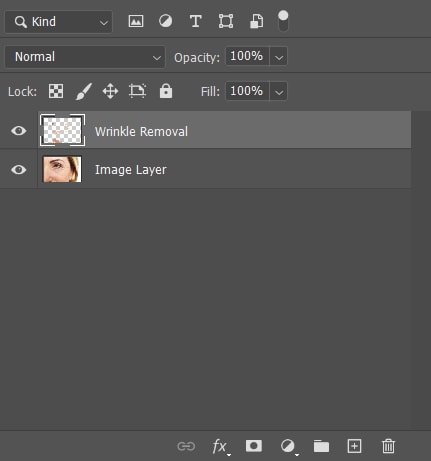
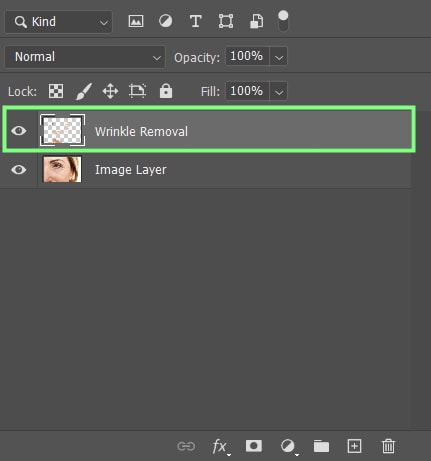
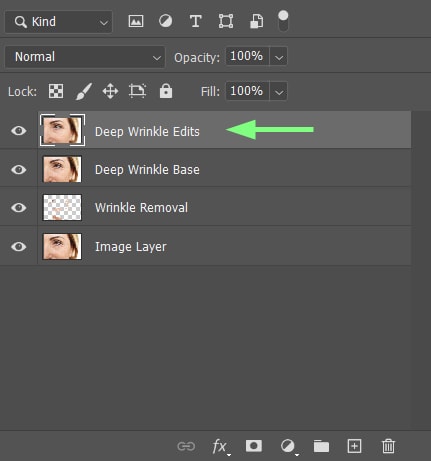
First, add a new layer to your project by clicking the Add New Layer button in the Layers panel. It’s always a good idea to name each layer you add to be able to go back and make edits to a particular layer easily.
Grab the Spot Healing Brush Tool (J) and in the Options bar, make sure:
- Mode is set to Normal.
- Type is set to Content-Aware.
- Sample All Layers is ticked on.

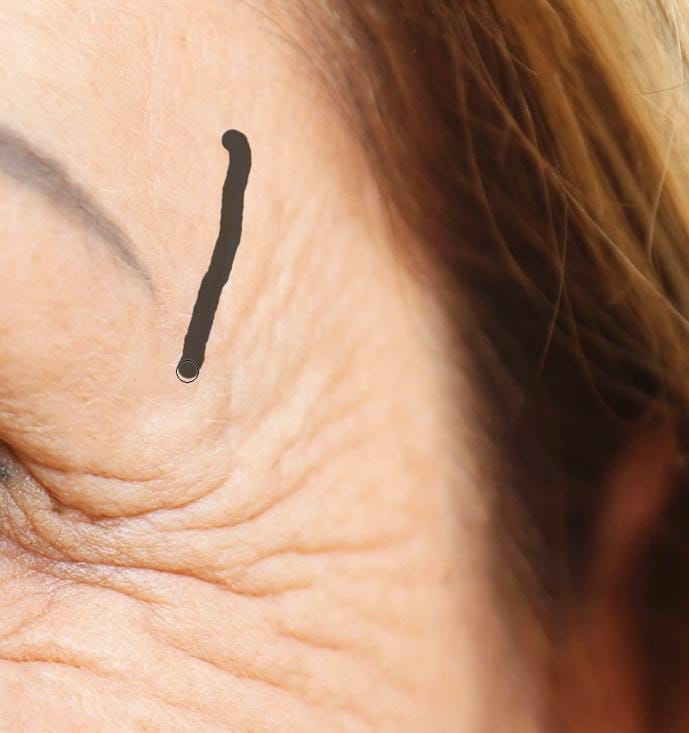
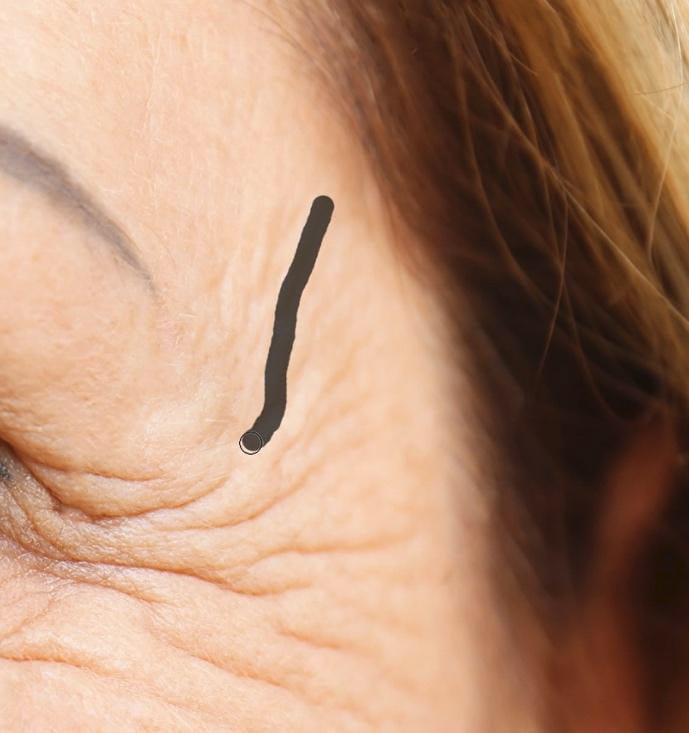
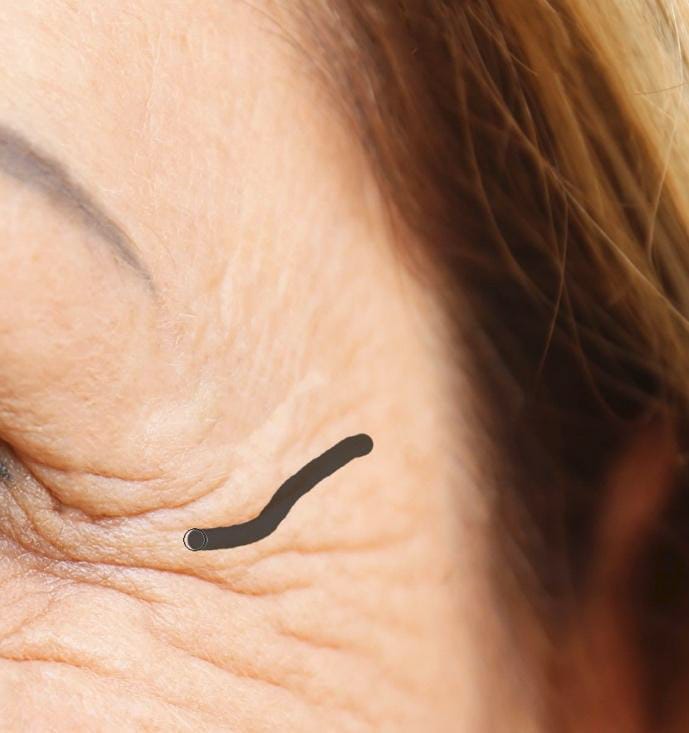
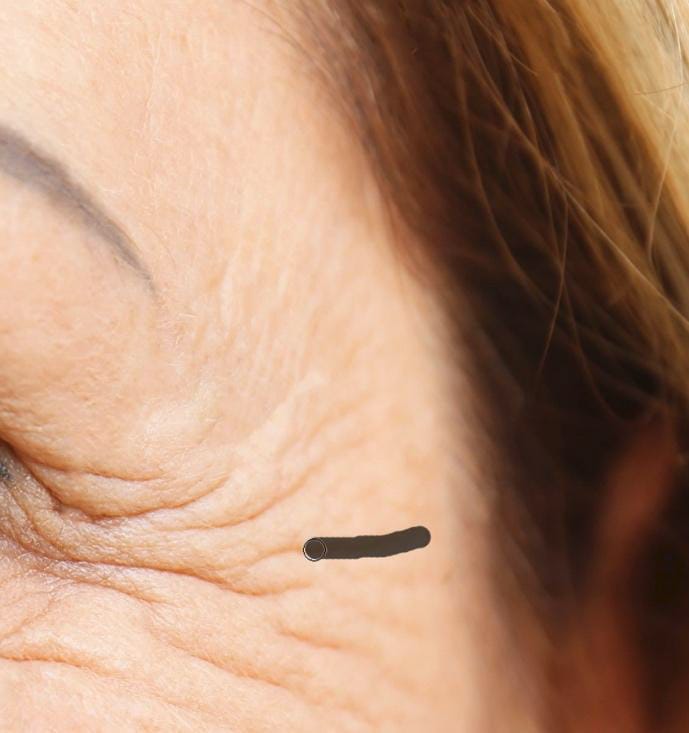
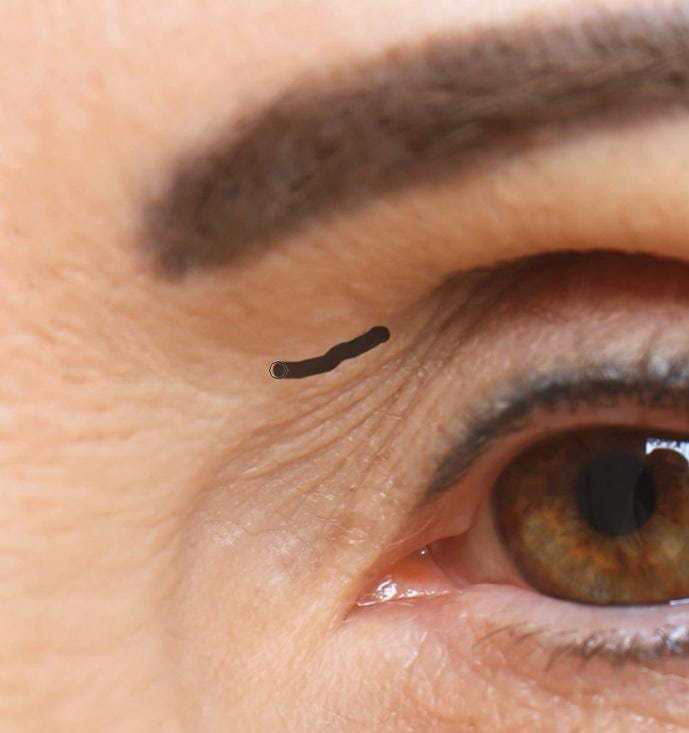
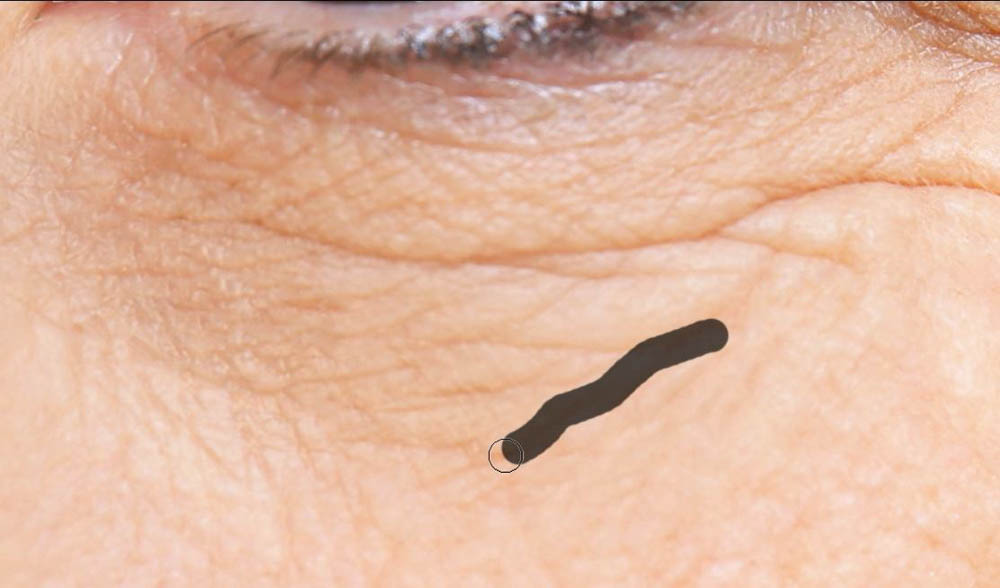
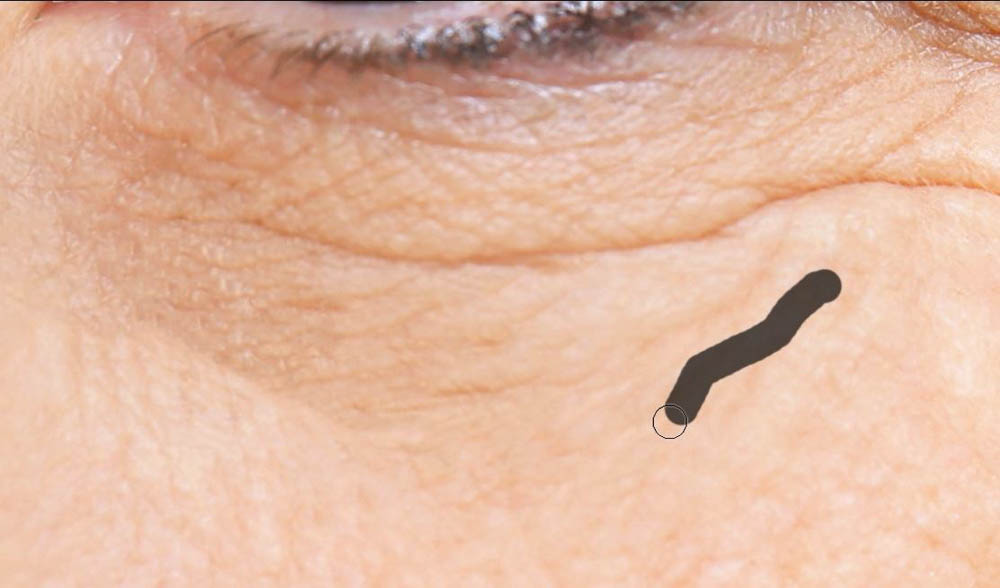
Once you have selected the Spot Healing Brush Tool and set the options, you can simply brush over the light wrinkles on your subject.
You will see a black line as you brush over each wrinkle. Try to brush over each wrinkle all in one go. If you mess up, remember that you can press Control + Z (Win) or Command + Z (Mac) to undo your last action and try again.
Also, ensure your brush size is slightly bigger than the wrinkle itself. This way, the brush will have enough pixels to sample around the wrinkle for the AI to figure out the best way to cover it. You can make your brush size bigger with ] and smaller with [.
When you’re done spot healing an area, it may seem like not much has changed, but if you look at the before and after versions of your image, you will see the difference.

Repeat this process for each area you see light wrinkles to remove.
Make sure not to touch any of the heavier wrinkles. Those areas you will handle later.

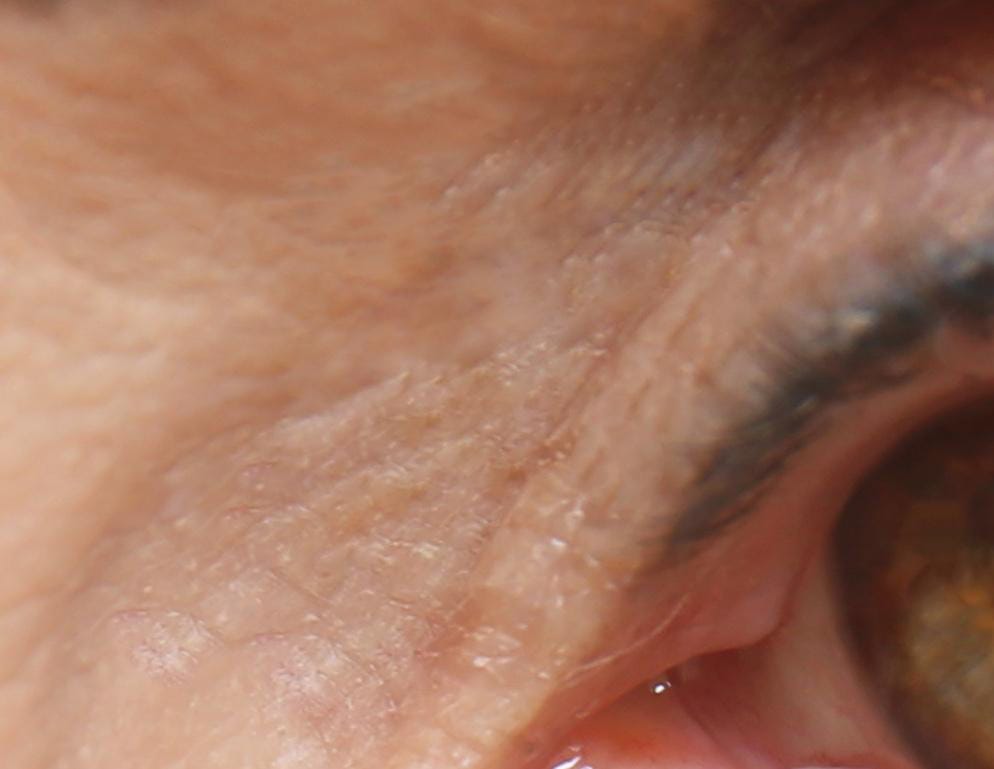
When it comes to fixing areas of the skin with clumps of tiny wrinkles and blemishes, it’s better to switch to the Healing Brush Tool (J). This tool will mainly cover the areas you’re painting with the correct texture you need since you have to source the areas each time.
In the options bar, make sure:
- Mode is set to Normal.
- Source is set to Sampled.
- Sample is set to Current & Below.

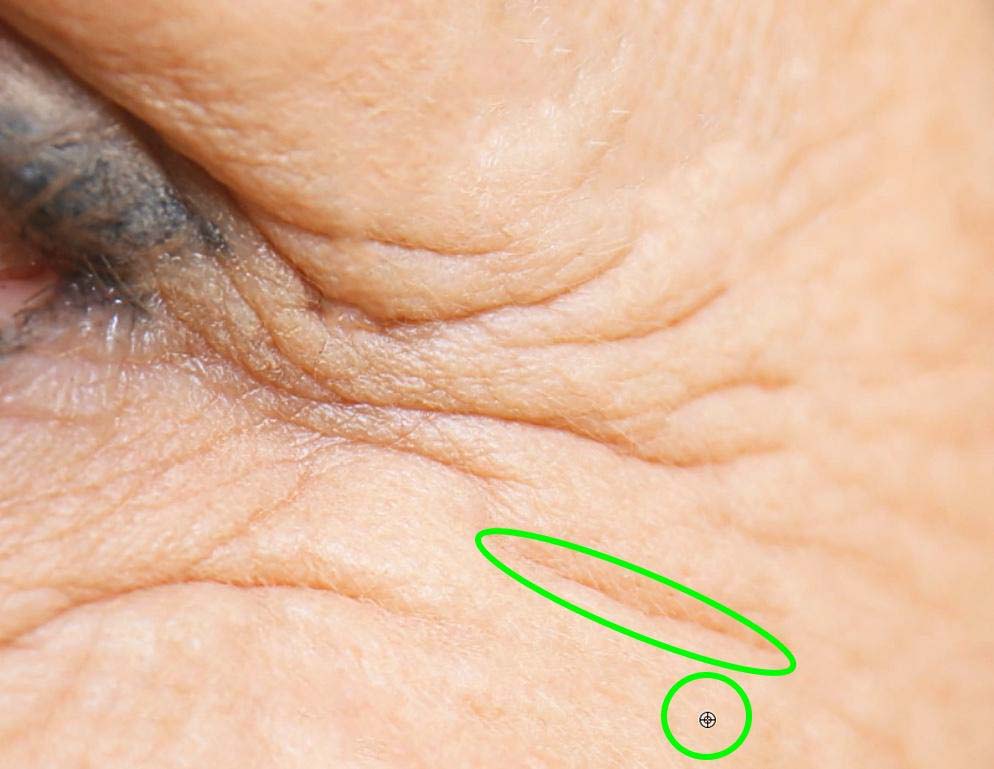
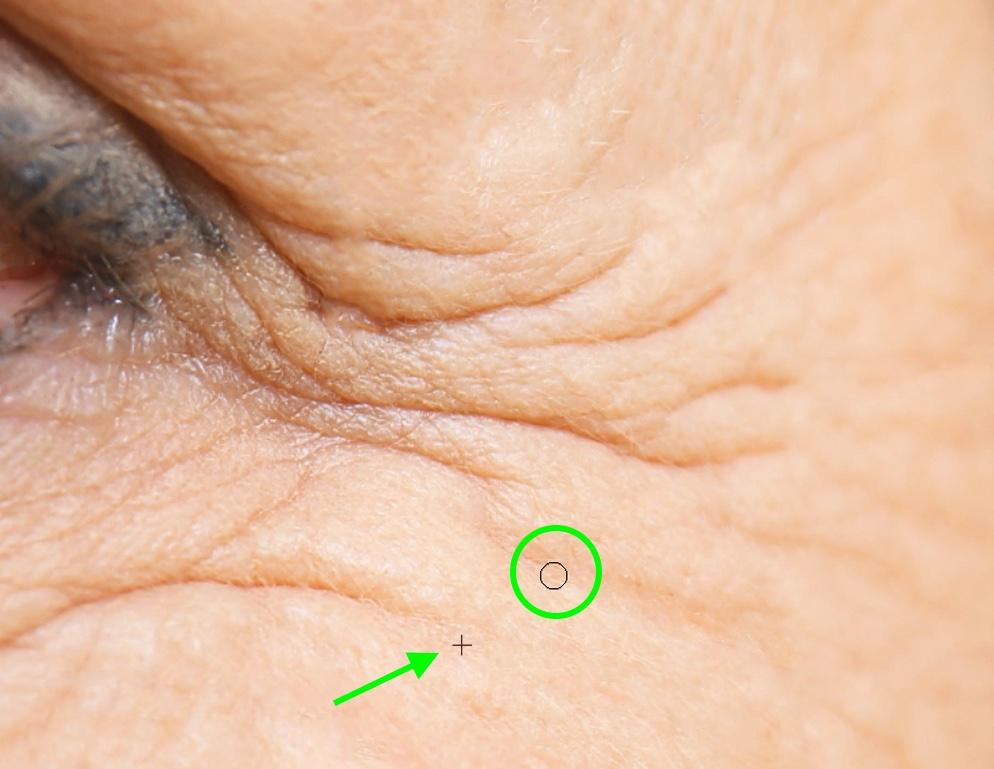
The Healing Brush Tool works based on the area that you sample. To sample an area, hold down Alt (Win) or Option (Mac) and click on the area you wish to sample. You will see a small crosshair while you hold down the Alt or Option key, indicating that the tool will sample the place you click.
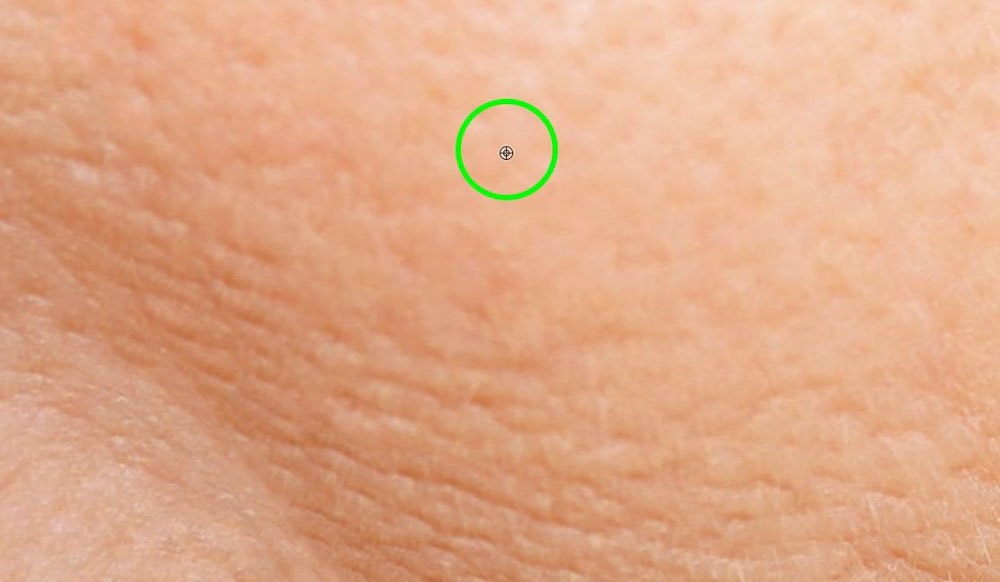
Now, paint over the wrinkles on your subject like normal, but this time, notice the small crosshair that remains visible each time your paint. This crosshair shows the area being sampled as you paint in real-time. This crosshair will move parallel with each one of your brush strokes.
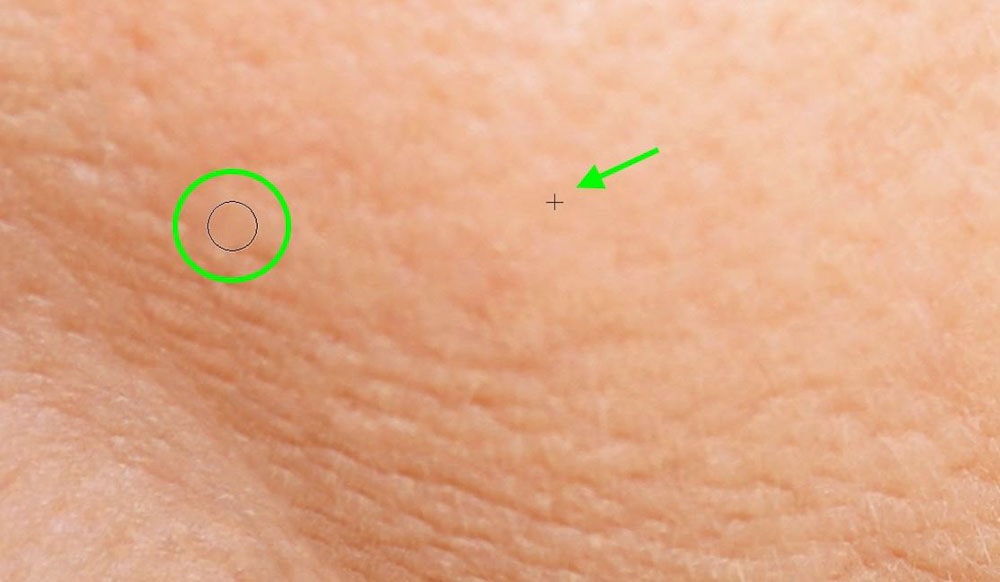
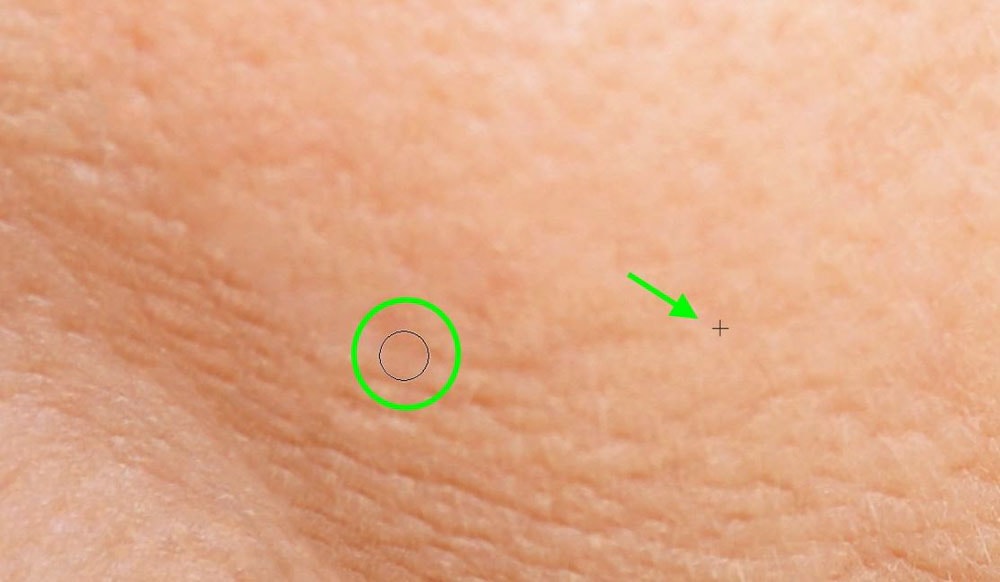
Keep painting over the area that needs fixing. Just ensure that the crosshair remains on the areas with smoother skin and doesn’t run into areas with more wrinkles. If this happens, the wrinkles the crosshair touches will be sampled, and you’ll be painting wrinkles on top of wrinkles.
It may seem annoying at first having to pick a new spot to sample each time, almost every time you make a brush stroke, but it’s well worth it in the end. This is the best way to create a much more realistic feel.
When you’re done touching up all the lighter wrinkles you can see, take a step back and look at your work.
It may not seem like you have accomplished a lot, but if you look at a side-by-side comparison, the differences are there.

Step 3: Reduce The Heavier Wrinkles With The Healing Brush Tool
Now that the lighter wrinkles are out of the way, it’s time for the bigger ones.
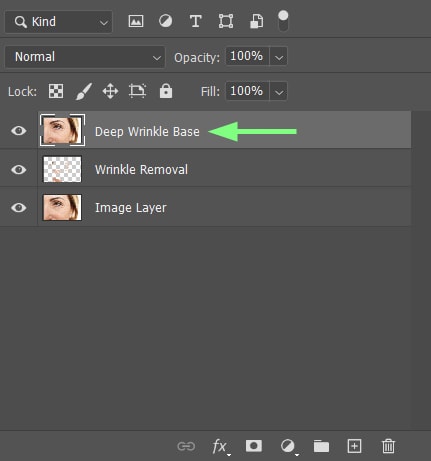
Setting this part up is a little bit different. You don’t want to add a new layer like last time. This time, you want to make an exact copy of both layers and merge them into one.
You can do this quickly by selecting your topmost layer, then pressing Shift + Control + Alt + E (Win) or Shift + Command + Option + E (Mac).
A new layer will be created of all your previous layers, merged into one.
Creating this new merged layer is helpful in case you make any big mistakes later or change your mind about how your project is going in the future.
Instead of having to start from scratch and erase all the lighter wrinkles again, you can just trash this new merged layer and create another one, retaining all the edits from steps 1 and 2.
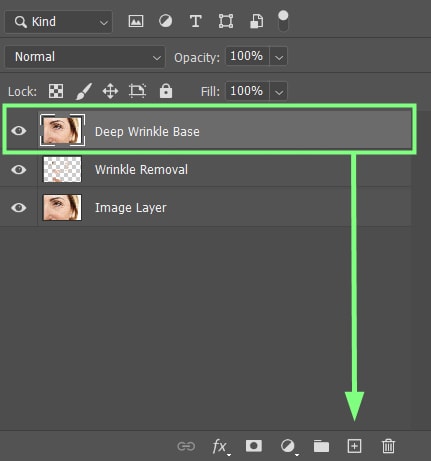
Also, you won’t be working on this new merged layer directly but on a duplicated version. Drag this merged layer down to the Add New Layer button to duplicate it. This will be the layer that you will work on.
One more thing before you get started. As you move through step 3, you may notice that your subject is starting to look more unnatural than you would prefer. Don’t worry; step 4 is going to fix that.
To start this process, ensure you have selected the Healing Brush Tool (J).
Identify the wrinkle you wish to reduce, and then hold down Alt (Win) or Option (Mac) and click somewhere below or near the wrinkle to sample the area.
Brush over the wrinkle in question to cover it. Make sure the crosshair doesn’t move into other wrinkles or trouble spots.
Repeat this process as many times as you need to as you tackle the thicker wrinkles on your subject.
You should see a big difference in your subject when you’re done. If things look good to you, then great! You’re basically finished!
Chances are, however, your subject is not looking the most natural right now. This is where step 4 comes in.

Step 4: Change The Layer’s Blending Mode To Lighten
The goal of touching up the heavy wrinkles on your subject’s face is to smooth out the subject’s skin without looking like someone smoothed out the subject’s skin. Your brain will expect to see wrinkles in certain areas.
So the trick here is to lighten up the shadows of each heavy wrinkle so that the wrinkle is still there; it’s just not as pronounced.
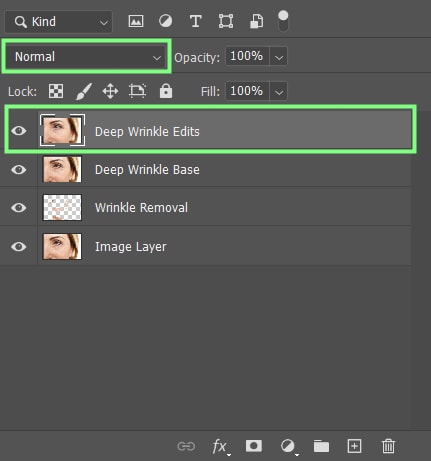
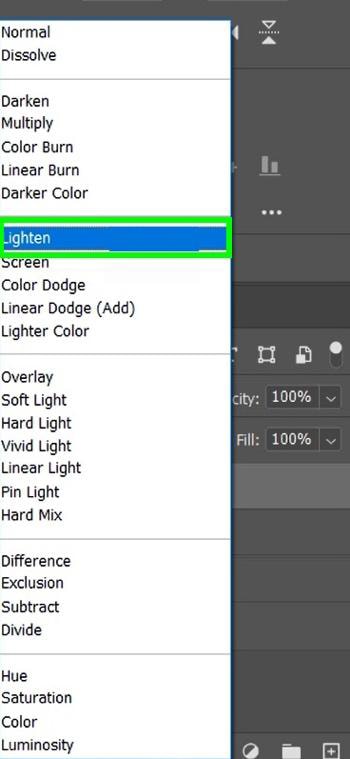
You can do this by selecting the layer on which you made all your heavy wrinkle edits and changing the blending mode from Normal to Lighten in the drop-down menu.
The Lighten Blending Mode works by looking at your image’s lightest and darkest pixels and showcasing the lightest ones. Using this blending mode will affect the shadows of your image the most, often eliminating them entirely.
Just by doing this, you will probably notice a big change in your subject. If things look good to you, then great, you’re done. If not, there’s one more adjustment you can make in your Layers panel to make your heavier wrinkles look even more natural.
Make sure the layer you switched to Lighten is selected, and adjust the Opacity to what best reflects your intended look.
This will depend on your image, but as a general rule, try bringing your opacity down to around 50%, then adjusting it up or down to see what brings out more definition in the wrinkles.
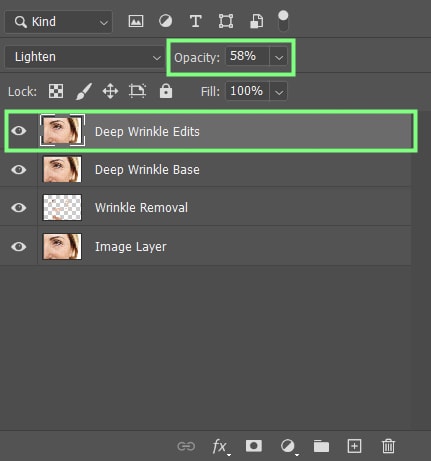
When you’re done making these opacity adjustments, the wrinkles on your subject should look less pronounced but defined enough to make your subject still look human.
Step 5: Do Smaller Touch-Ups With The Spot Healing Tool & Dodge Tool
Your project is almost complete. You just need a little bit of polish to sell the effect.
Before you dive in using any tools, make another merged copy of your work so far. To do this, select the topmost layer in the Layers panel, then press Shift + Control + Alt + E (Win) or Shift + Command + Option + E (Mac).
This will create a merged layer of all your previous layers. You are making it easier to make changes later if you need to.
(Note: You can add a new empty layer above the merged layer you just created and make the changes you’re about to make on that layer, but because this new merged layer should be your last one, this is unnecessary.)

Once your new merged layer is set up, grab your Spot Healing Brush Tool (J). Go over some spots you may have missed or spots that just don’t look right after all the previous changes.
Remember not to over-fix things. If you come to an area of your subject’s skin that looks fine, just leave it. You don’t want to fix an area so hard that it ruins the entire piece.
Repeat this process throughout your entire image.
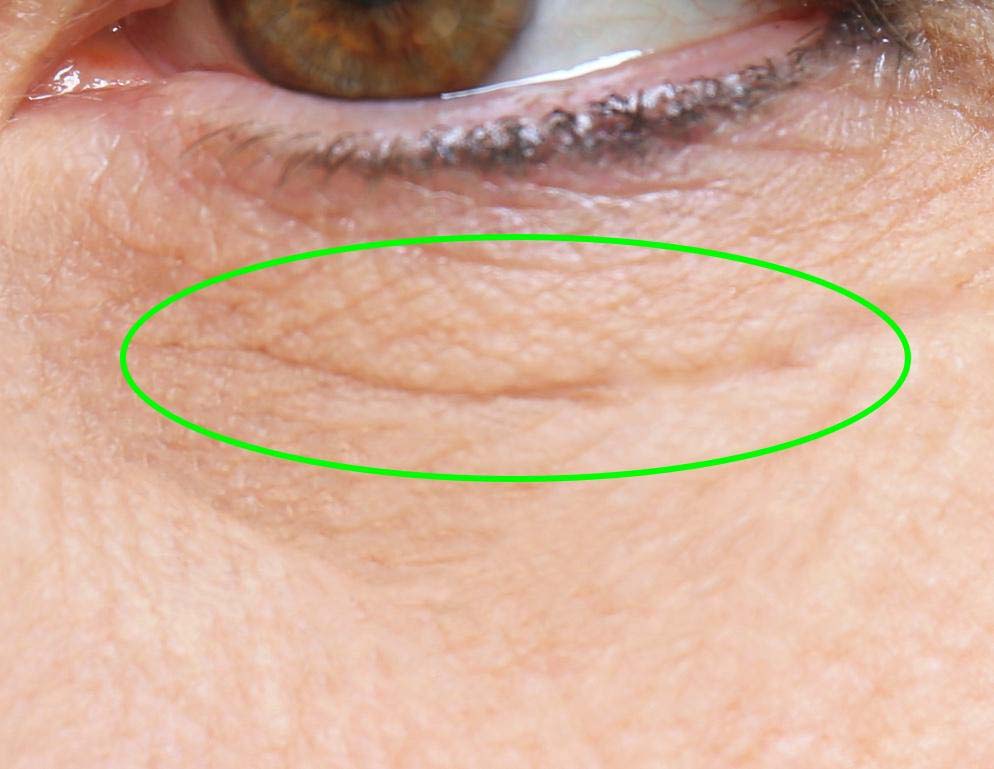
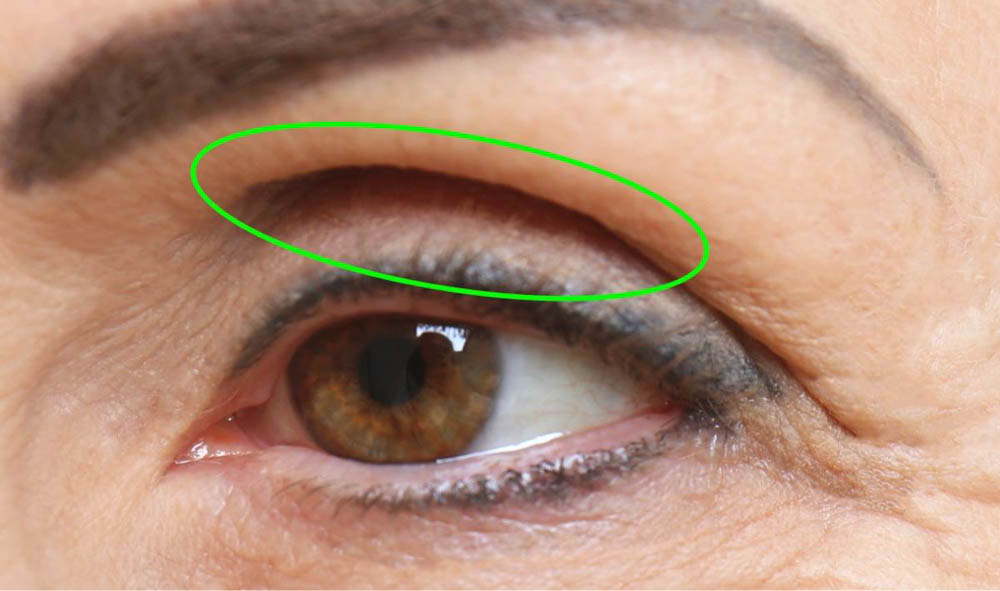
You might want to consider manually lightening up different areas in your image to match the surrounding areas. After lightening up the shadows in all of your subject’s heavy wrinkles, the parts of the face that have natural shadows to them may now look too dark in comparison.
These areas depend on the project you’re working on, but one of these areas is often under the eyelid. Grab the Dodge Tool (O) from the Toolbar to lighten up areas like this.
For the Dodge Tool settings, make sure:
- Range is set to Shadows
- Exposure is set somewhere between 15% and 30%.

Once the Dodge Tool is set up, paint over the dark areas you need to lighten up. Make sure you don’t lighten up these areas too much because that will also look unnatural.
Paint over these areas just enough to match the shadows of your fixed wrinkles. Feel free to adjust the exposure as you paint to make things easier for you.
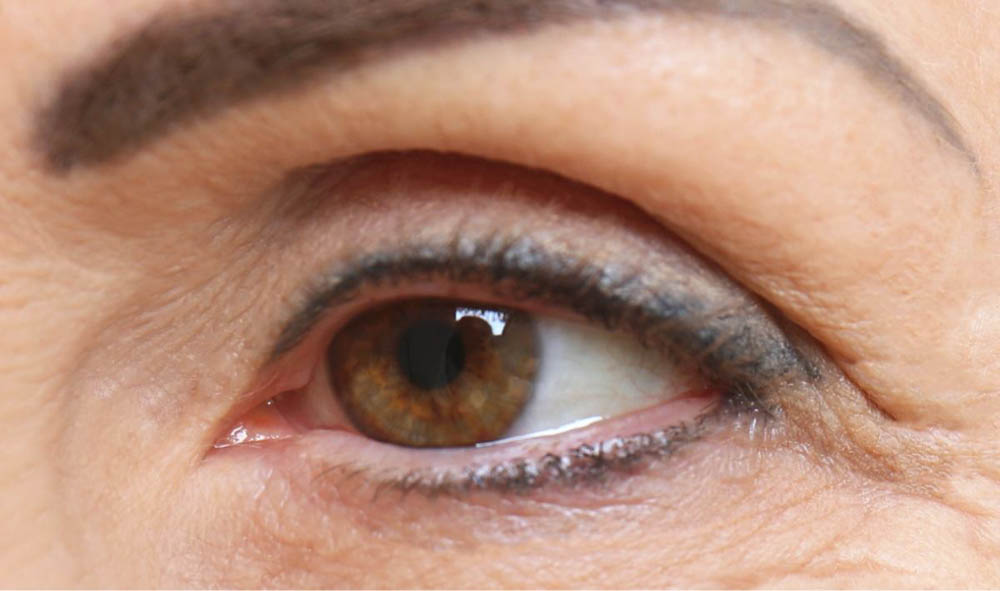
All your touch-ups are done, and you now have a subject that looks at least a few years younger. Maybe even a decade younger.