
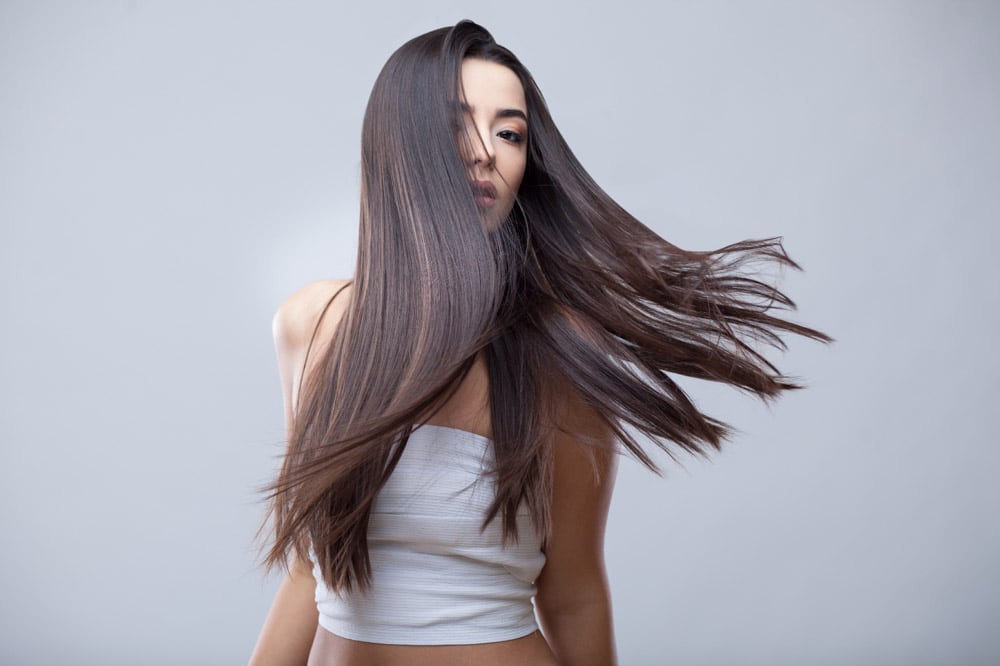
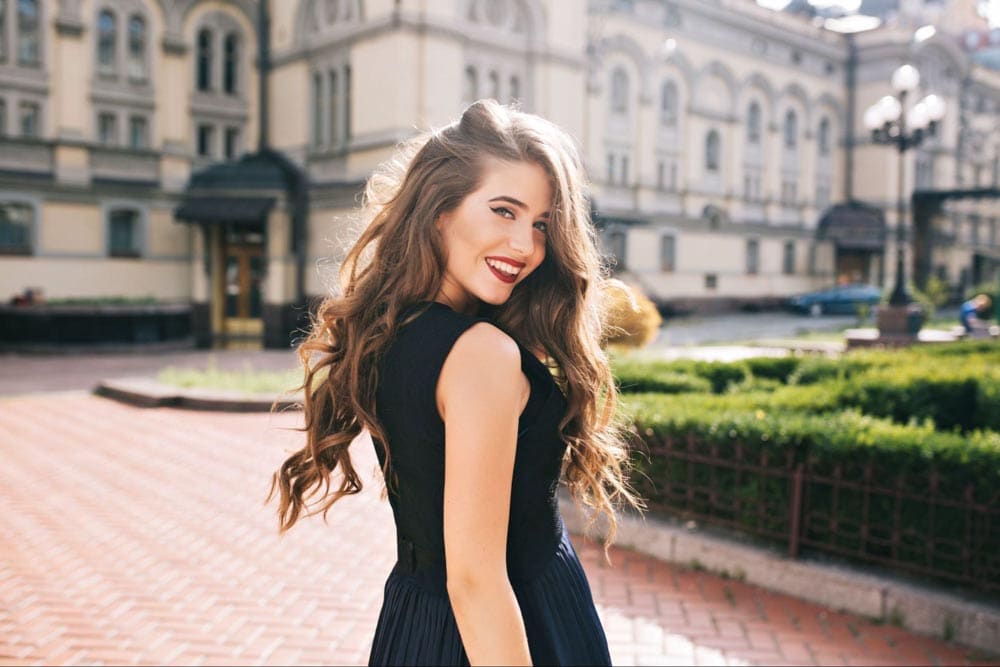
When I first tried to cut out hair in Photoshop I remember how impossible it felt. That’s because even if you have a solid understanding of the various selection methods in the program, dealing with the random and complex edges of hair is a completely different challenge.
So, in this tutorial, I’ll break down three of my go-to methods to help you with the trickiest images.
Video Tutorial
Option 1: Cut Out Hair in Photoshop Using Select And Mask
Step 1: Activate The Quick Selection Tool And Click On Select Subject
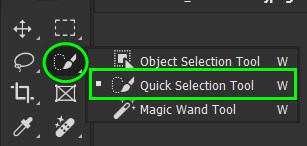
First, activate the Quick Selection Tool (W). Then, click on Select Subject in the Contextual Task Bar or in the Options Bar.

Step 2: Click On Select And Mask In The Options Bar
Then, open the Select and Mask workspace by clicking on the button in the Options Bar or pressing Alt + Control + R (Win) or Option + Command + R (Mac).

Step 3: Set The Mode To Object Aware And Enable Smart Radius
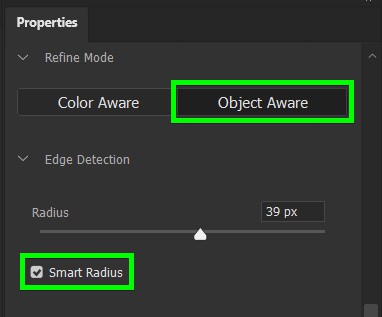
From the Select and Mask workspace, set the Refine Mode to Object Aware since it’s the best mode for selecting hair. Then, enable the Smart Radius checkbox.
Step 4: Click On Refine Hair In The Options Bar
Click on the Refine Hair button in the Options Bar. This will automatically clean up the selection around the hair.

Step 5: Refine The Edges Using The Refine Edge Brush Tool
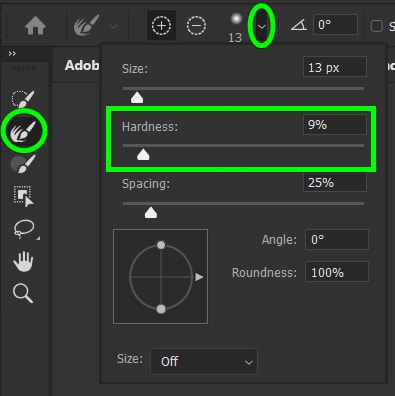
If you still need to touch up around the hair even further, go to the left side of the workspace and grab the Refine Edge Brush Tool on the left side of the screen.
Then, use the brush tool settings to set the hardness between 1% and 10%, depending on how thick the strands of hair you want to refine are.
If you need to decrease brush size, use the left bracket key [ on your keyboard, and press the right bracket key if you need to increase it ]. Then, brush around the edges of the hair to move the edge of the selection inwards.
Step 6: Set The Output Settings To New Layer With Layer Mask
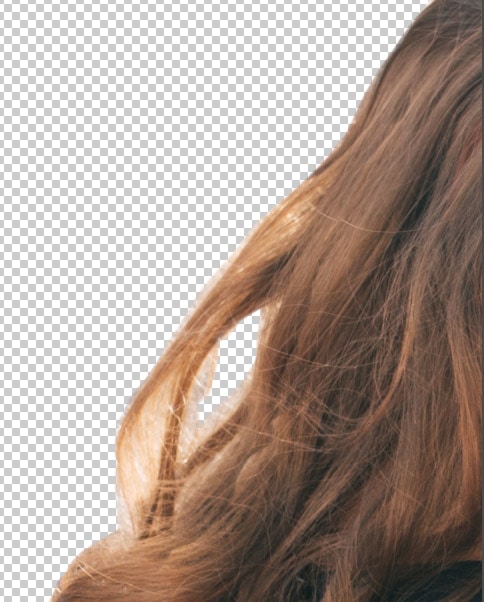
Once the hair is selected and refined, go to Output To Settings in the Properties Panel and choose New Layer With Layer Mask.
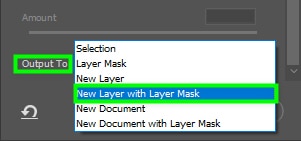
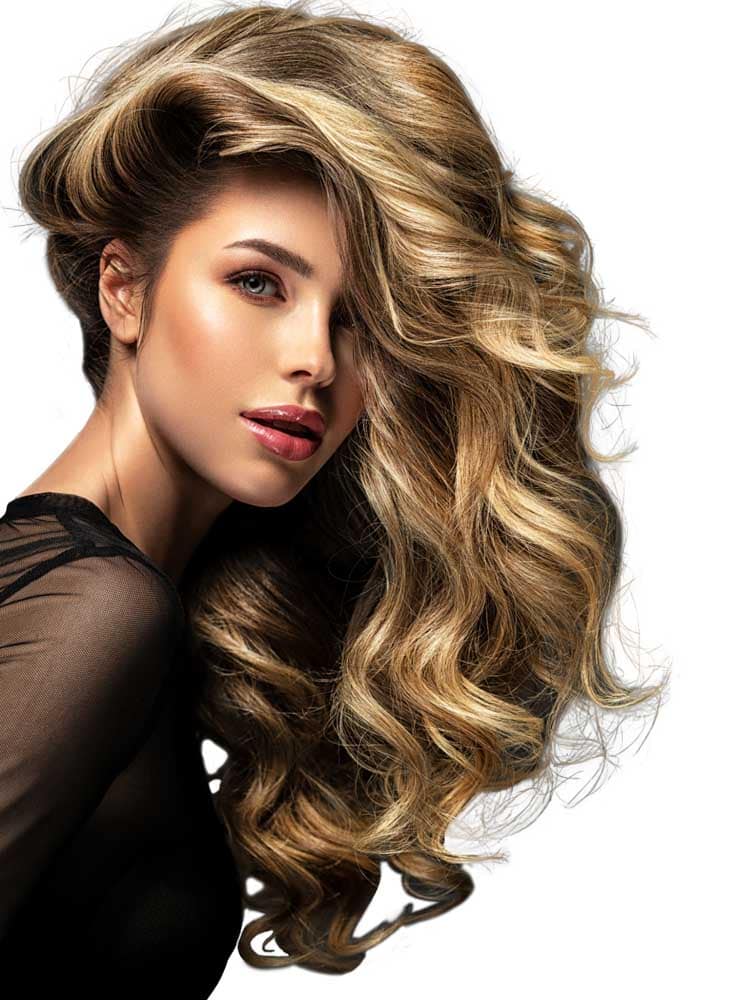
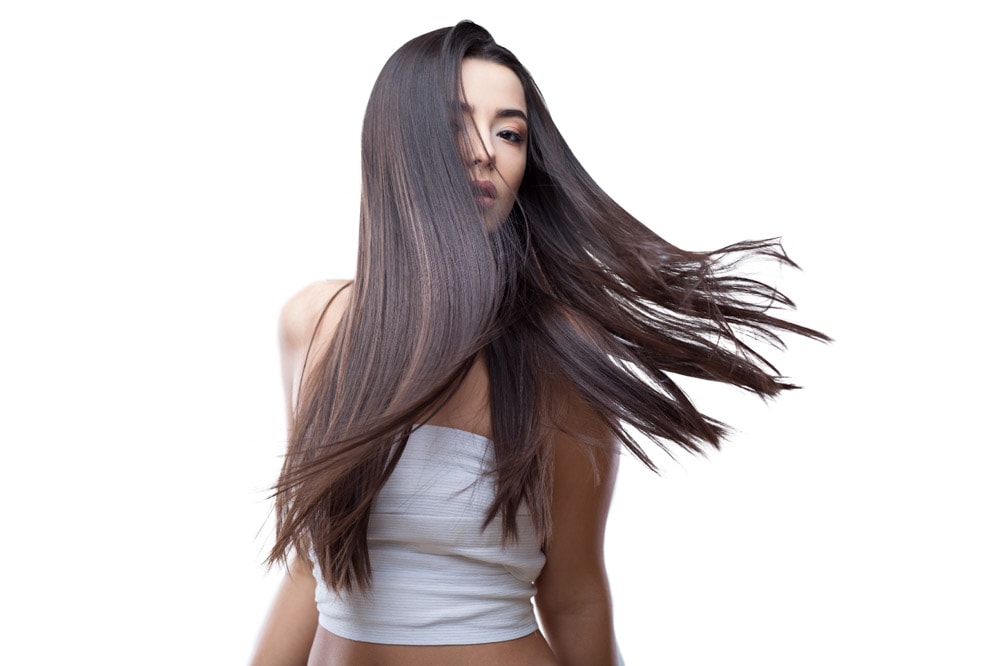
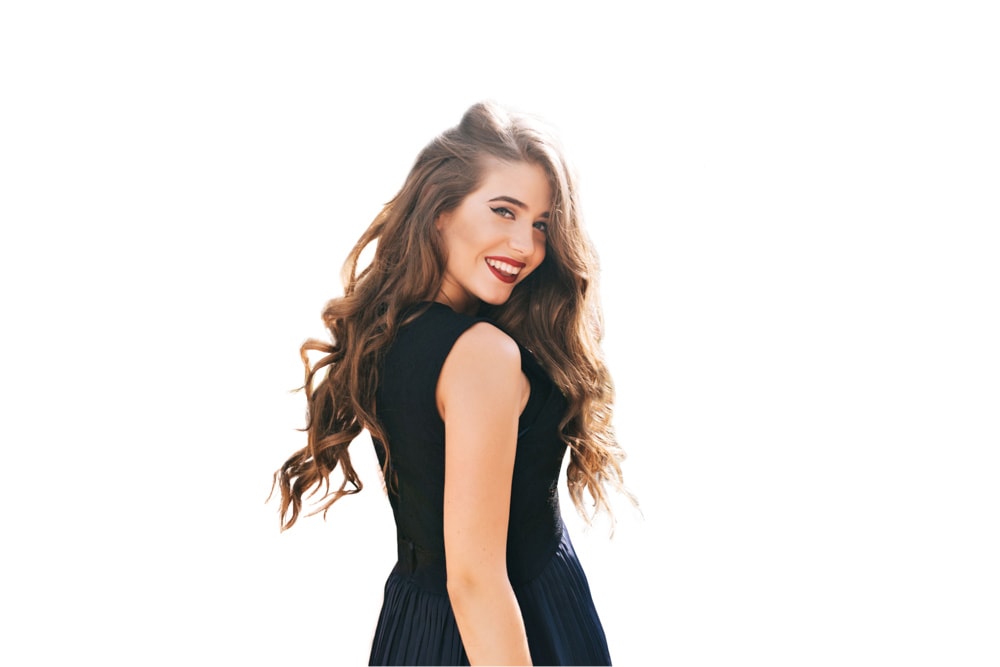
The Output To option will place your selection within a layer mask and remove the background. You can then add a white background to the image.
Option 2: Cut Out Hair In Photoshop Using Channels
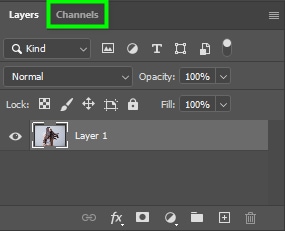
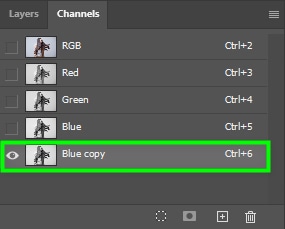
Step 1: Open The Channels Panel
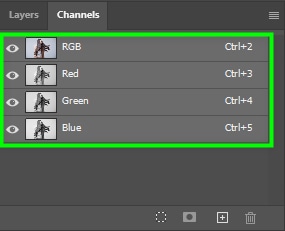
Open the Channels Panel, located next to the Layers Panel, once your image is in the workspace. You will see all the color channels that make up your image in this panel.
Note: If you can’t see the Channels panel, go to Window > Channels.
Step 2: Duplicate The Channel With The Highest Contrast
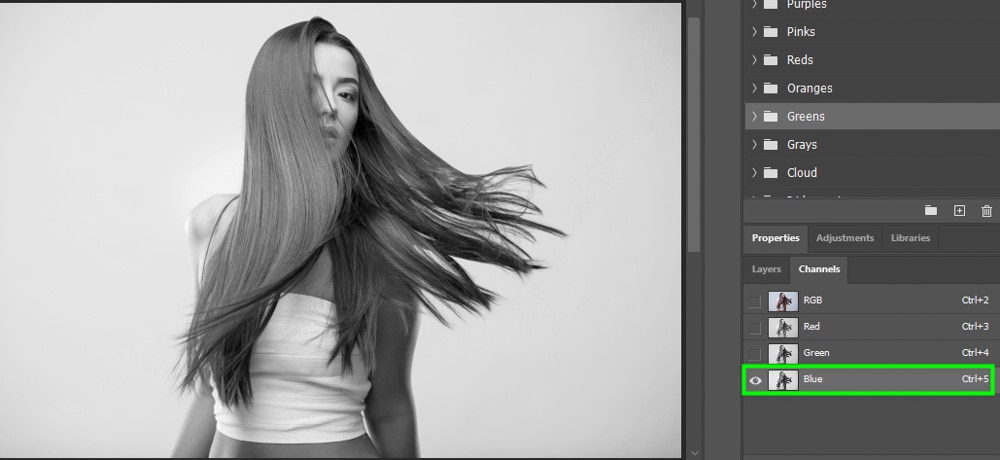
Click one channel after another to find out which one has the most contrast. The color channel with the most contrast will vary depending on the colors in your image.
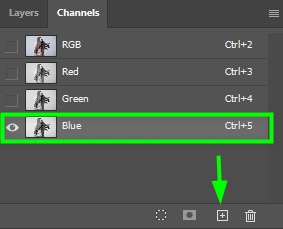
So, after finding the channel with the most contrast, duplicate it by clicking the layer and dragging it towards the plus sign icon at the bottom of the Channels Panel.
Step 3: Increase The Contrast Using A Levels Adjustment
Open the Levels Panel by pressing Control + L (Win) or Command + L (Mac).
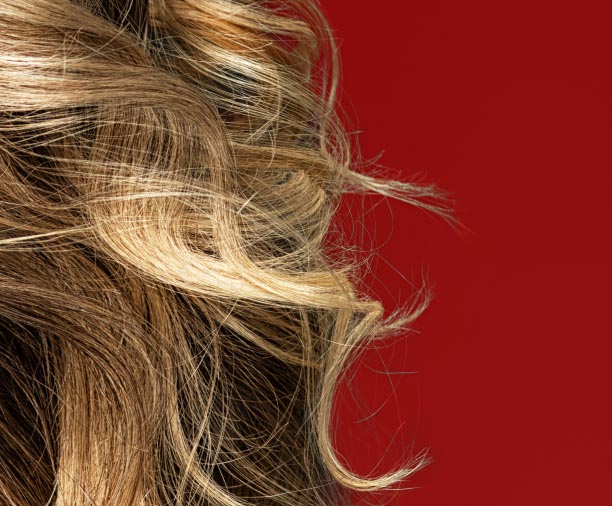
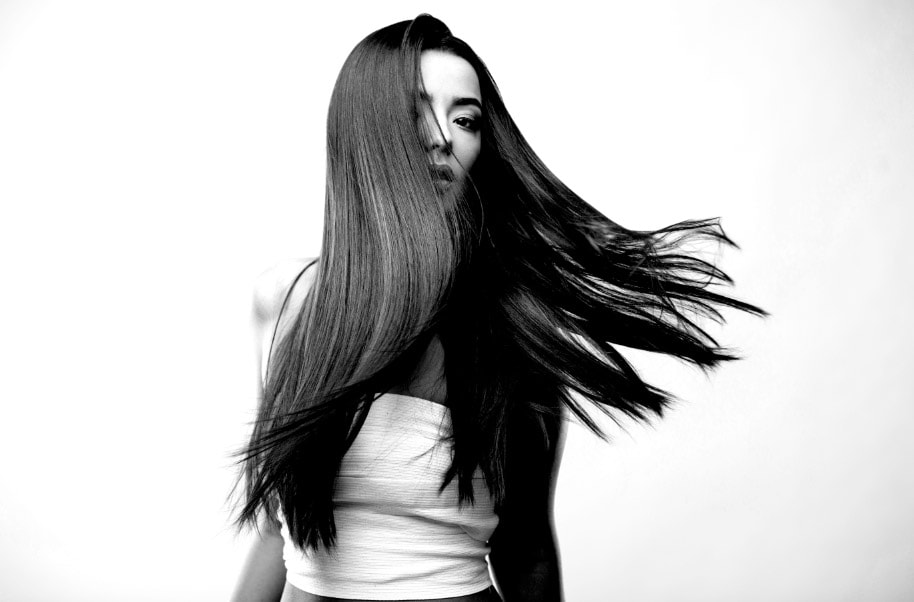
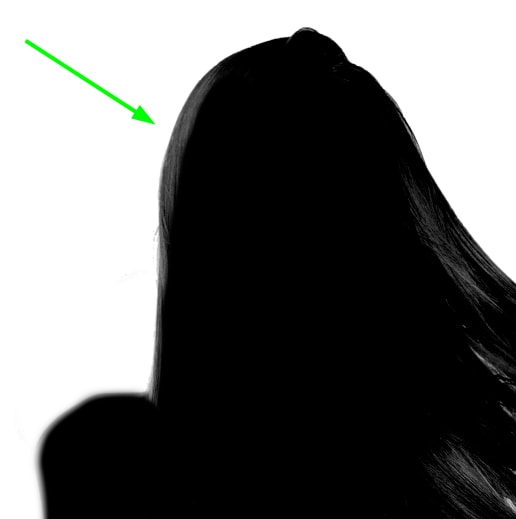
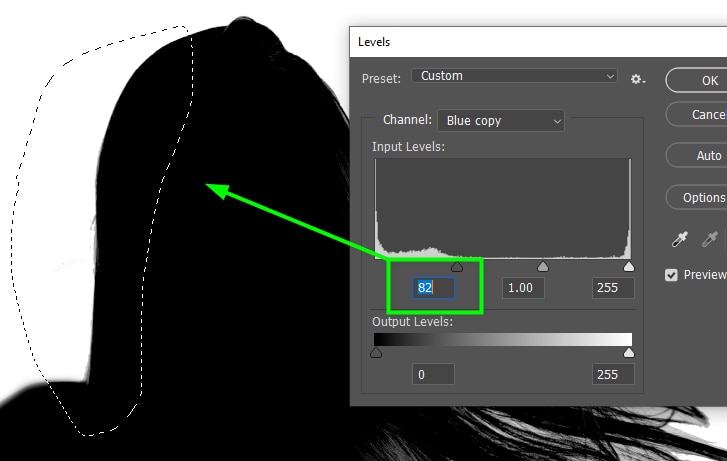
Then, click the black arrow and move it to the right until the subject becomes as dark as possible. Don’t move the arrow too much to the right; otherwise, you will lose hair details, which will result in an incorrect selection. As for the white arrow, move it to the left until the background turns as white as possible. Stop moving the arrow when you notice the selection is affecting the hair.
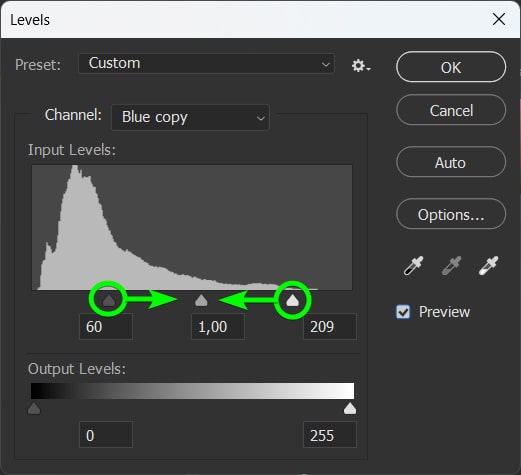
Once you have adjusted the levels, the contrast of the image will be much higher than before.
Step 4: Paint Black Over The Subject And Hair
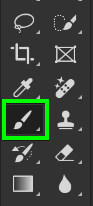
To finish making your subject completely black, enable the Brush Tool (B) and make sure the foreground color is black. If not, double-click the foreground swatch and choose black from the color picker panel (#000000).
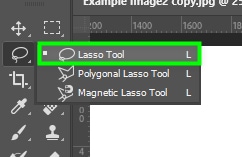
Then, start painting your subject. Everything must be black, especially the hair. To make your job easier, you can keep opening the Levels Panel from time to time to darken some areas by selecting the Lasso Tool (L).
Draw a selection around the target area. Then, press Control + L (Win) or Command + L (Mac) and darken the shadows, as you learned previously. The target area will turn black instantly.
Keep painting over your subject and darkening areas with the Levels Panel until it is completely black. Press OK when you’re done.
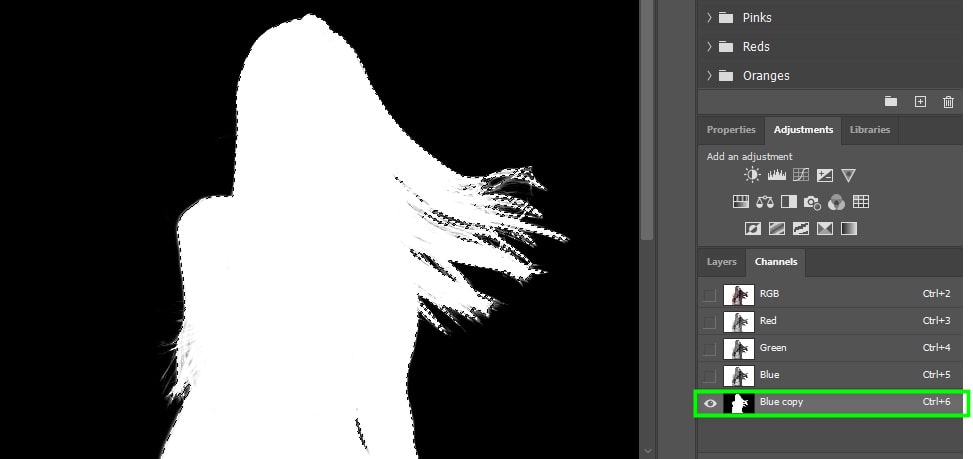
Step 5: Invert The Channel And Create A Selection
Press Control + I (Win) or Command + I (Mac) to invert the channel when you’re done. This is necessary because selections with a channel work similarly to Layer Masks, so everything white becomes visible while everything black is hidden.
Next, turn your channel copy into a selection by holding Alt (Win) or Command (Mac) and clicking on the channel thumbnail to create a selection.
Step 6: Add A Layer Mask To The Selection
Click the RGB channel to convert your image back to color. Then, go back to the Layers Panel and click the layer mask icon to apply the active selection onto a layer mask.
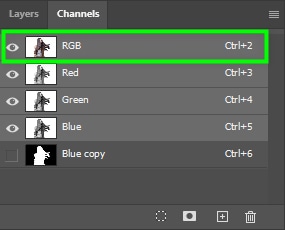

Clicking the layer mask will hide the background, after which you can continue editing or exporting the image. Once the subject has been selected and cut out of the image, you can add any background to the image, such as a white background. You can also save the image as a PNG file to retain transparency.
Option 3: Cut Out Hair In Photoshop Using The Clone Stamp Tool
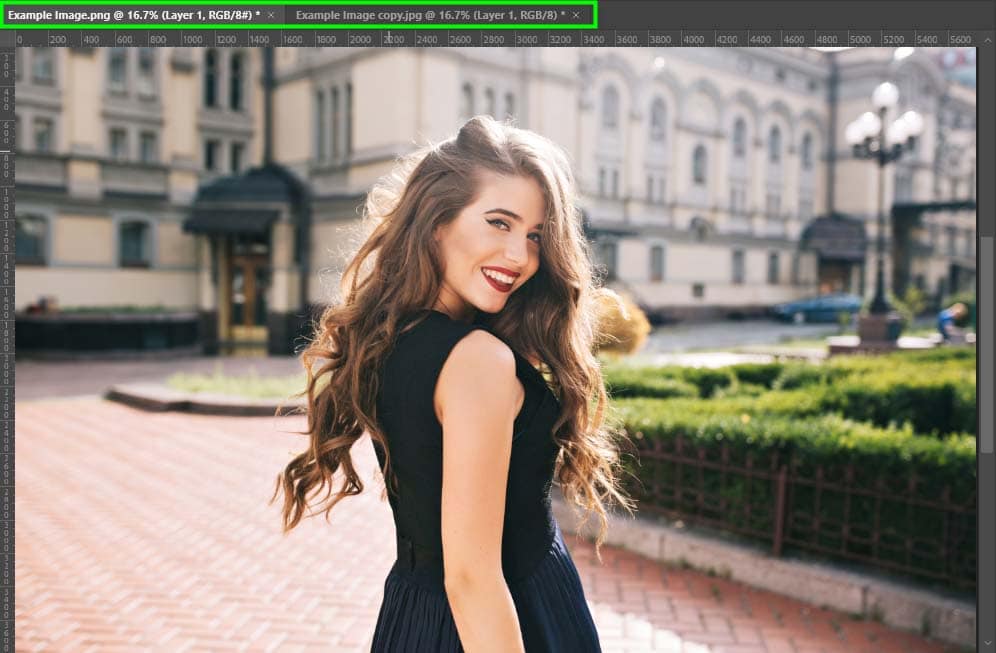
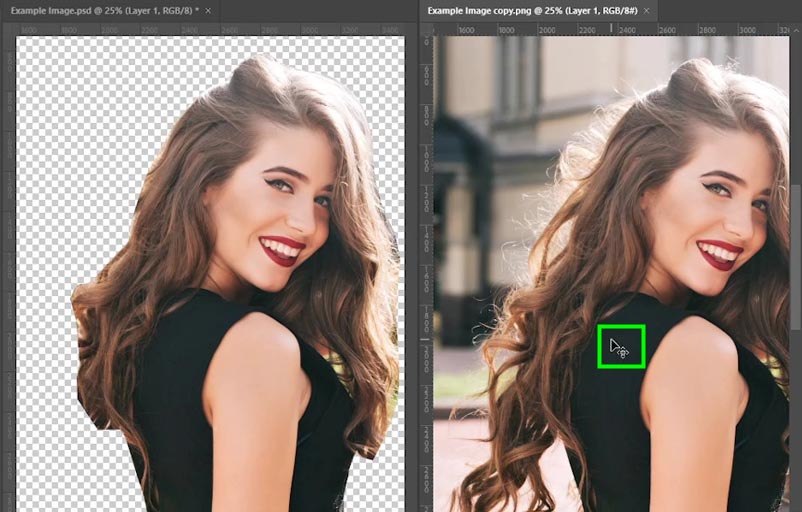
Step 1: Copy Your Image And Open Both Versions In Photoshop
First, make a copy of your image and open both the image and its copy in Photoshop in different tabs.
Step 2: Select The Subject And Add It To A Layer Mask
Next, open the original image tab and make a rough selection of your subject with the tool of your preference. In my case, I used the Quick Selection Tool (W).
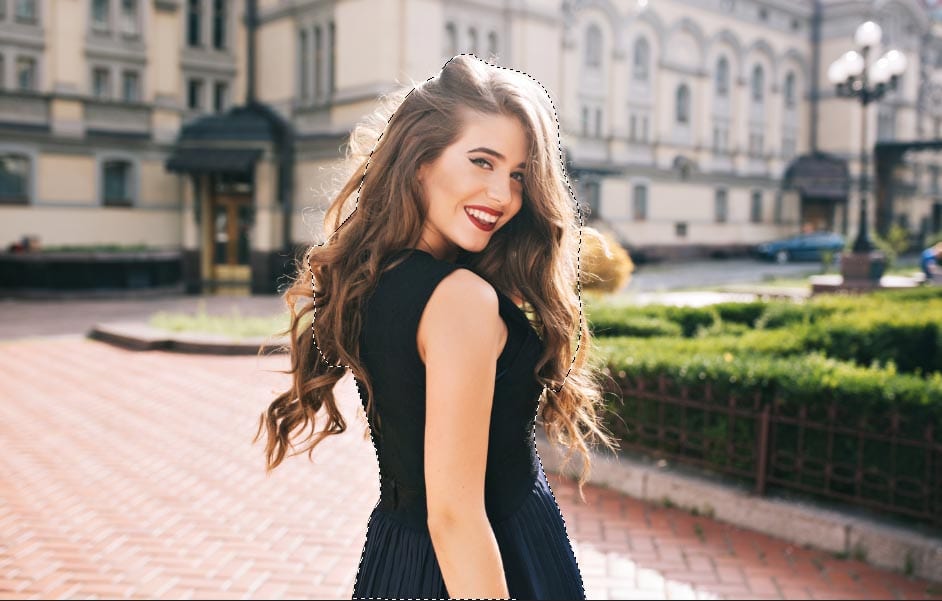
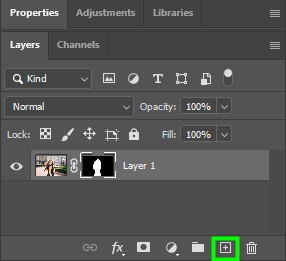
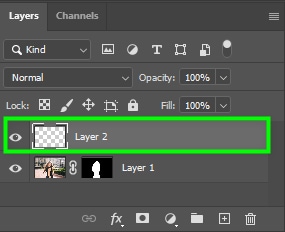
Next, go to the Layers Panel and click the Layer Mask icon to hide the background. Then, create a new layer by clicking the plus sign icon at the bottom of the panel.

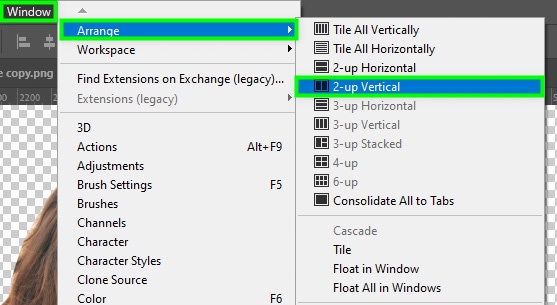
Step 3: Go To Window > Arrange > 2-Up Vertical
Open the two images in side-by-side windows using the menu path.
Step 4: Select The Clone Stamp Tool And Adjust The Settings
Now, select the image copy on the right and enable the Clone Stamp Tool by pressing S on your keyboard.
Before sampling the source area, you need to adjust the clone stamp settings in the Options bar:
- Blending Mode to Normal
- Opacity to 100%
- Flow, I recommend a value of 26% for thick hair strands and 2% for thin hair strands
- Ensure Aligned is enabled and set Sample to All Layers

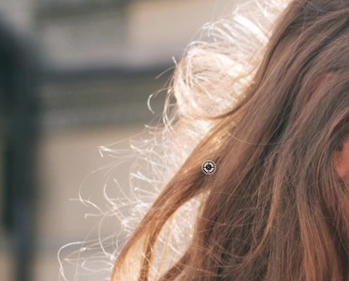
Step 5: Select A Sample Area While Holding Alt/Option
After adjusting all the settings, position your cursor on the area you want to copy pixels and hold Alt (Win) or Option (Mac). Then, drag around the same area to sample the desired pixels.
Step 6: Select The Original Image And A Blank Layer To Paint The Cloned Pixels On
After sampling the pixels you need, keep the Clone Stamp Tool active and select the original image.
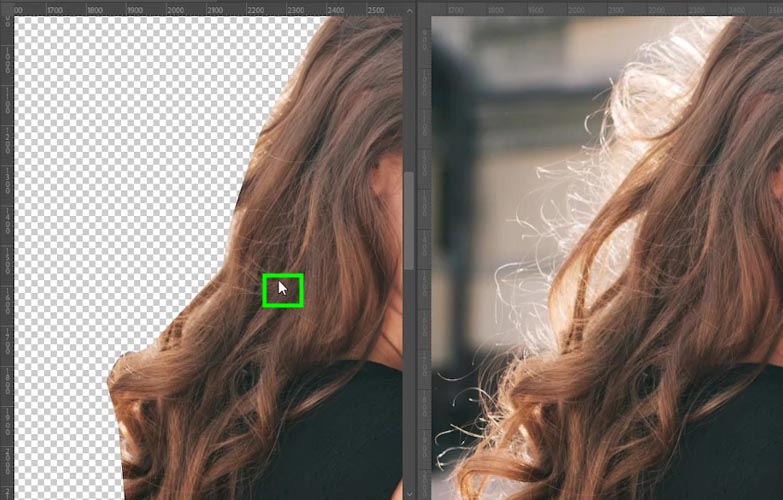
Then, go to the Layers Panel and select the blank layer you created. After that, paint over the target area to paste the pixels you copied.
Keep cloning hair strands until you cover the whole hair area. You can then merge the layers in the original image tab by selecting them both while holding Shift, right-clicking, and selecting Merge Layers.
After that, you can save your image or edit it further, like by adding a simple white background. You can also go through with a very small clone stamp brush and manually paint flyaways back into your image for an ultra-realistic result too.
These are a few helpful tools to cut out hair in Photoshop and help you get more precise selections. Now, to further your selection skills in the program, check out this next tutorial on the best ways to cut out people and objects in Photoshop.
Happy Editing!


