
I have used Photoshop for a long time to edit photos and create graphics, and I have been curious about the other programs out there. One such software that comes relatively close to Photoshop is Affinity Photo, and after testing the software myself, I have the answer of which one you should choose.
There are so many graphic and photo editing software that it may be difficult for beginners to choose from. Luckily, I have tested both programs, and as a professional photographer, I will be sticking with Photoshop for various reasons.
However, there are cases where Affinity Photo will be the better choice for you, especially if you are a beginner or hobbyist creative. I have compared the two programs head-to-head to help you decide which software will work best for you based on factors such as the interface, tools and filters, learning curve, and more, with a winner for each category.
This comparison is based on Affinity Photo 2 and Photoshop Version 24.5. These two versions were both released in May 2023.
Affinity Photo VS Photoshop: Interface
As photo editing apps, both Affinity Photo 2 and Photoshop are designed to cater to photographers, graphic designers, digital painters, and other creatives working in the digital space. With this in mind, each program has an interface full of design tools, filters, and features.
The interface determines how easy it is to work inside the program and find what you are looking for. The two programs offer a very similar interface consisting of a Menu Bar at the top of the screen, an Options Bar above the workspace, a Toolbar on the left, the document window in the middle, and several panels on the right.
However, Affinity Photo 2 has an extra bar between the Menu and Options bar for changing the interface and accessing quick actions.

If you are familiar with Adobe interfaces, you will find the Affinity Photo layout to feel similar, with slightly larger buttons and icons. The interface is somewhat more suited for beginners because of the quick actions visible immediately above the workspace and the brightly colored icons.

Beginners will also find the interface easier to navigate and find the necessary tools because of the text that appears at the bottom of the workspace, explaining how to use the tool.
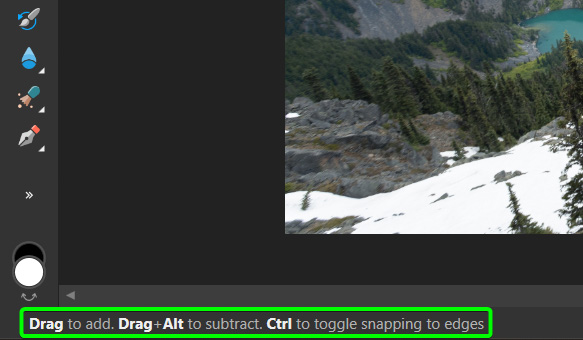
While the bars and panels in Affinity Photo are similar to Photoshop, and you can find and open panels using the Window menu in the same manner, a big difference between the two programs is the Persona feature.
The Personas in Affinity Photo 2 are located underneath the Menu Bar, and the icons change the workspace to match the selected Persona. The Persona options are the default Photo Persona, Liquify Persona, Develop Persona, Tone Mapping Persona, and Export Persona.

Selecting a Persona alters the workspace to show the most used tools for that design or editing process. For example, the Liquify Persona adds a mesh to the image and offers all the Liquify tools in the Toolbar.
Photoshop’s interface is more professional, with a gray-toned layout and icons. The smaller icons create a neater and more streamlined look while allowing more features and tools in the workspace.
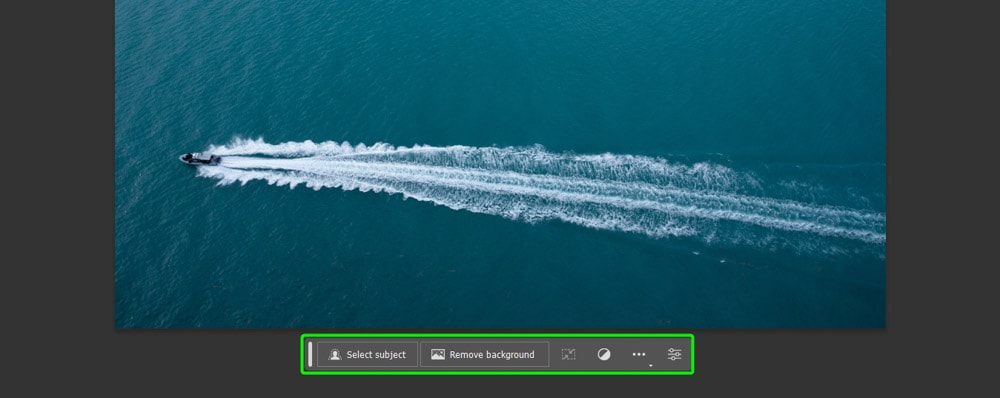
In Photoshop’s latest update, a new intuitive floating Bar appears below the image with Quick Actions, Adjustments, and Properties based on what you likely want to do next.
The features on the bar change as you edit to speed up your workflow by offering possible solutions to help you find the next tool or process you need.
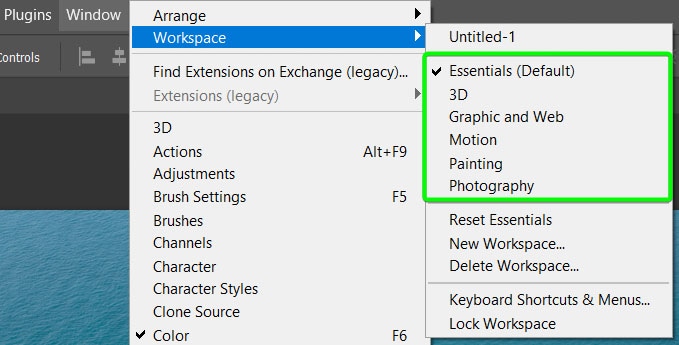
Much like Personas, you can adjust the workspace in Photoshop using various workspace options such as Essentials, Motion, or Painting. You can also customize the layout to a workspace that suits your unique workflow.
When deciding the winner of the interface category, it depends on what you’re after. Beginners may find the friendlier-looking interface of Affinity Photo better, with helpful, quick actions and tool explanations to help the learning process.
However, from a professional perspective, Photoshop offers more tools and features with a cleaner layout and more precise interface.
Winner: Photoshop
Affinity Photo VS Photoshop: Tools & Filters
There are many similarities between Affinity Photo 2 and Photoshop when it comes to tools and filters. Both programs offer unlimited layers, high-performing retouching tools, a wide array of filters, layers masks, several selection tools, and lots more. However, here are the key differences.
While Affinity Photo 2 doesn’t have as many features as Photoshop, it comes very close, especially compared to other programs.
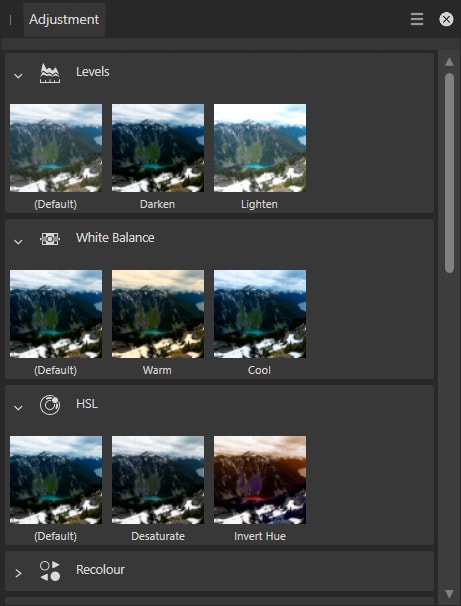
Matching Photoshop, Affinity Photo 2 has adjustment layers you can easily add to an image. However, a slight advantage is the preview of each adjustment, which is helpful, especially for beginners or those wanting a quick preview.
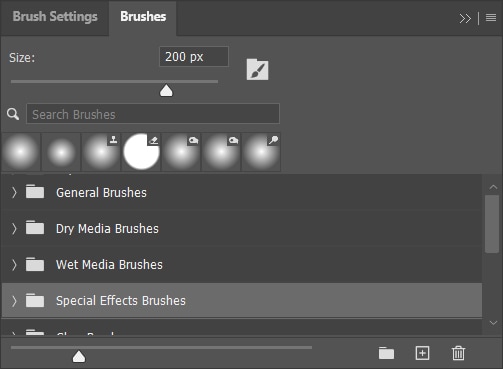
Another standout feature of Affinity Photo 2 is the brushes, which offer multiple stamp and pen nib options with many customization options, which may nearly beat the brush options in Photoshop. Affinity Photo 2 can open .ABR files which is the standard Photoshop brush file type. However, more dynamic settings may translate poorly.
Customization options in Affinity Photo include creating a brush that changes color as you paint, which is also available in Photoshop.

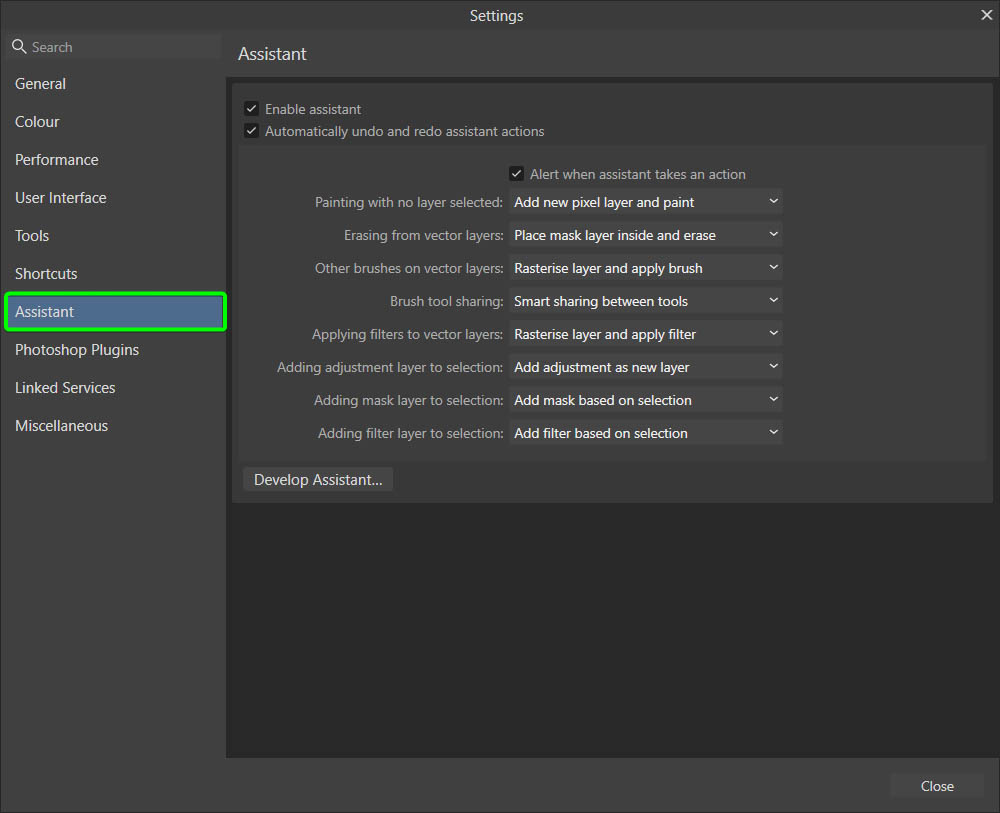
Another useful feature in Affinity Photo is the Assistant. The assistant carries out tasks to help you when you have missed an action, such as adding a new pixel layer when you start painting or automatically rasterizing when adding a filter to a non-compatible layer.
While Affinity Photo offers an impressive amount of tools and filters, Photoshop still provides a lot more. In Photoshop, you have all the tools that Affinity offers, plus more. The selection tools and path-creating tools are more intuitive and provide more features.
Photoshop may have fewer default brushes in the program, but there are almost endless resources online to find for Photoshop, including custom brushes, filters, and more.
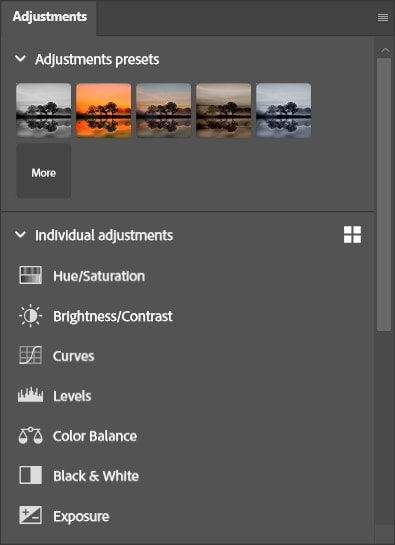
Photoshop also offers a range of adjustments to add to images. While the standard adjustments don’t provide a preview of the effect, in the recent update, Photoshop added Adjustments presets showing the result in a preview.
Both programs’ standard tools and features create a close race, with Affinity Photo coming up short with fewer filters and tools. However, Photoshop undoubtedly takes the lead with Adobe Sensei, which drives all of Photoshop’s AI features.
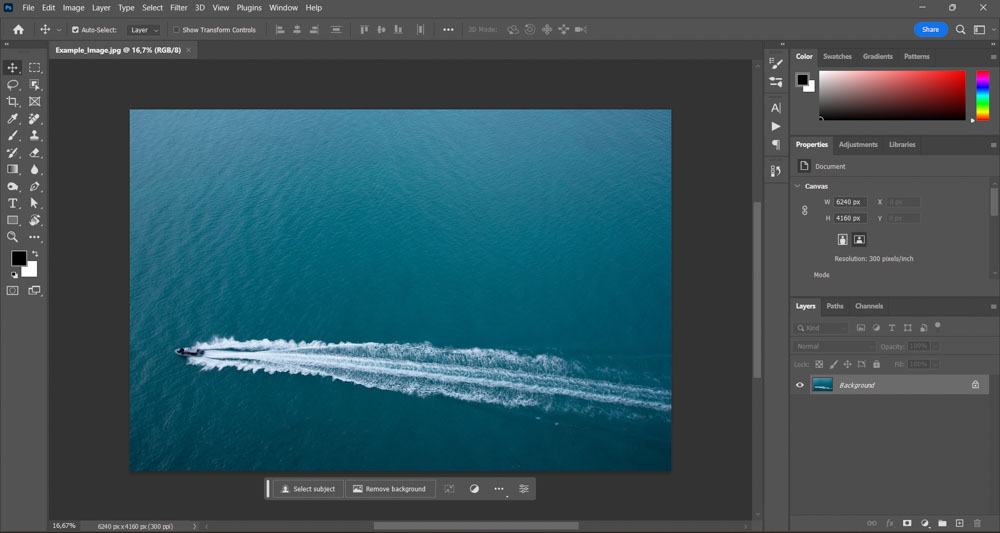
Photoshop continuously updates the program and adds new AI features that speed up the workflow, including the Remove Tool, the Select Subject feature, and its large selection of Neural filters. Photoshop is the key to achieving high-quality edits at a professional level with a streamlined workflow.


Winner: Photoshop
Affinity Photo VS Photoshop: RAW Editing Capabilities
When it comes to RAW editing capabilities, both programs can process and edit RAW images at a high level.
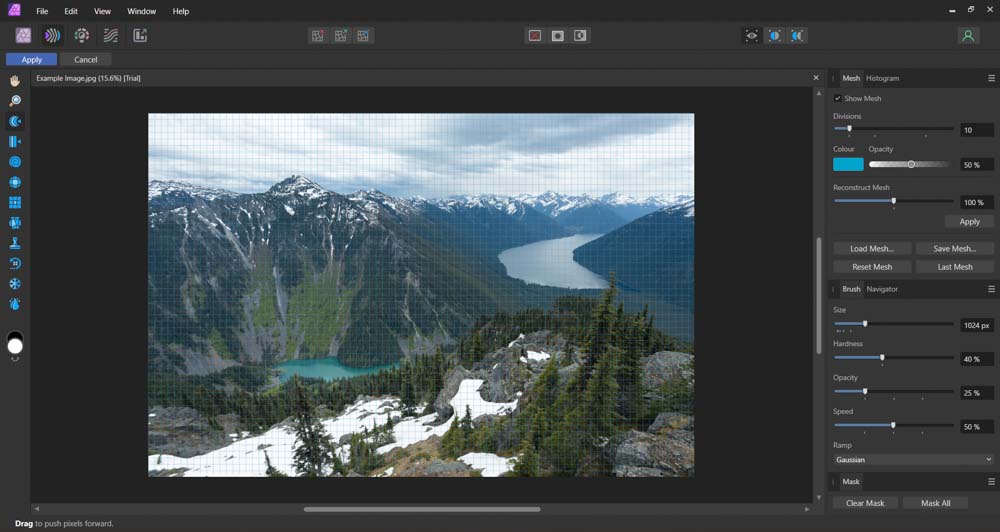
When opening a RAW image in Affinity Photo 2, it opens in the Develop Persona with several tools available to edit the image. You can add general edits to the RAW file, such as Exposure, Contrast, and Clarity adjustments, among many others.
However, Affinity Photo 2 lacks in certain areas when it comes to batch processing images, which may cause lagging and is a more tedious process. This makes Affinity Photo 2 acceptable for working with RAW images occasionally but is not recommended if your main workflow requires editing these files.
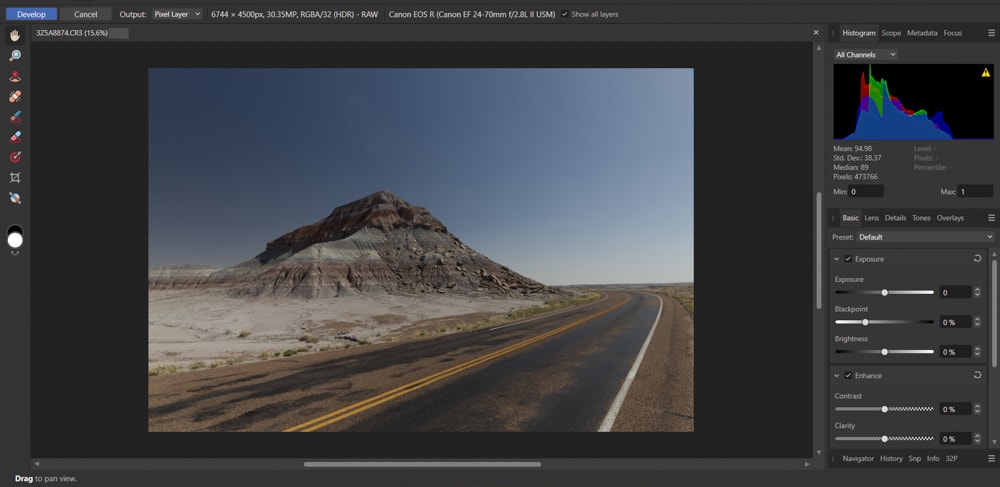
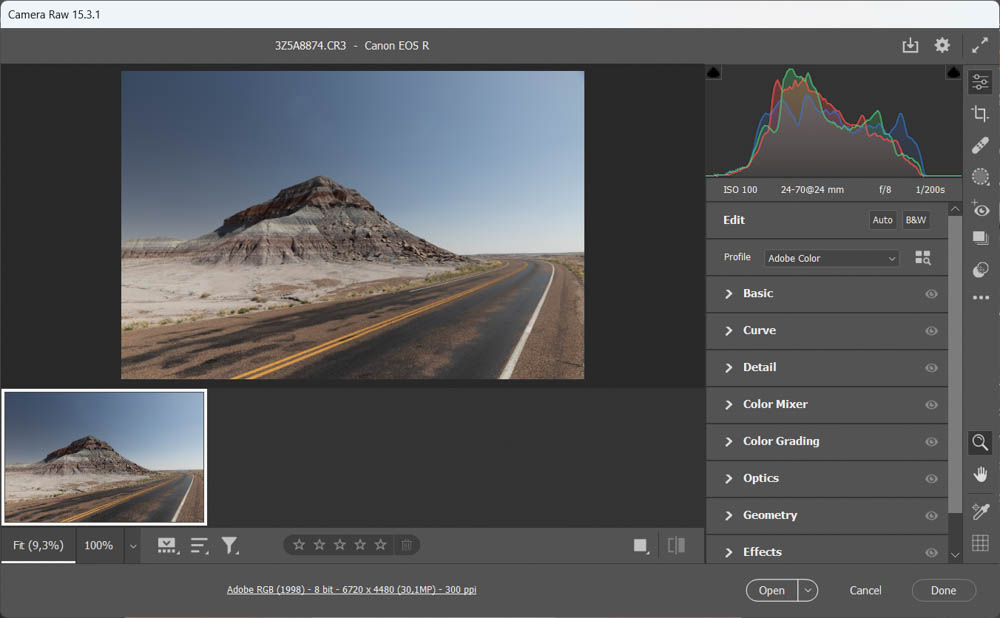
Photoshop is a well-respected software when it comes to editing and processing RAW files. When opening this file type, it opens in Camera RAW, and you can edit the photo non-destructively in this panel without even taking the image into the Photoshop workspace.
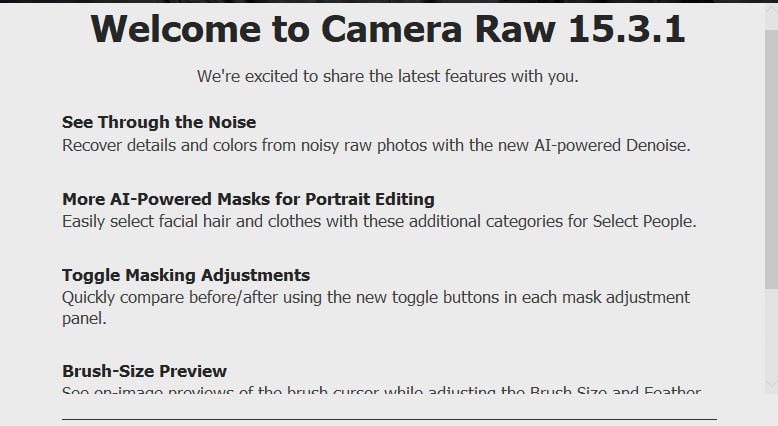
While Photoshop was already leading in terms of RAW editing capabilities, the latest update has added even more AI-powered features, such as improved Denoise and Masking capabilities.
Photoshop also offers seamless bulk processing that doesn’t lag or slow down the program as long as your system meets Photoshop’s minimum software requirements. Photoshop is also available in the Photography Plan, which comes with Lightroom. Lightroom offers bulk processing and image organization at a very high level.
Winner: Photoshop
Affinity Photo VS Photoshop: Compatibility
When choosing photo editing software, it’s important to note the program’s compatibility. This refers to the program’s ability to open and export different file types and the ability to work alongside other programs.
Based on the nature of your work, you may need to open and export specific file types or work across multiple programs to achieve the desired result.
File Compatibility
When it comes to file compatibility, both Affinity Photo 2 and Photoshop are capable of opening and exporting the most used file formats, such as RAW, TIFF, JPEG, PNG, PDF, GIF, SVG, and WebP.
Affinity Photo 2 can open and process PSD and PSP files. However, certain edits may not translate well or will need to be redone in cases where Affinity Photo 2 doesn’t support the specific modification.
Photoshop can’t open the native Affinity Photo 2 file, which is AFPHOTO. This becomes a problem if you collaborate with a team using Adobe software. PSD files are more compatible with a range of other programs.
Winner: Tied
Software Compatibility
Working in a photo editing and design space often requires working with different programs to complete a project. While photo editing software works specifically with raster-based images, there are many cases where you need high-level vector-editing features.
It’s also often beneficial to work in a more bulk-processing and organization-based program to edit batches of images from a photoshoot before opening a few pictures in a more detailed photo editing app such as Affinity Photo 2 or Photoshop.
Luckily, you can easily open images in Affinity Photo 2 or Photoshop directly from popular programs such as Lightroom, ON1 Photo Raw, Capture One, and Adobe Bridge.
When it comes to a complete design package, Affinity Photo 2 works hand-in-hand with other Affinity products, including Affinity Designer and Affinity Publisher.
Photoshop works with other Adobe products, including InDesign and Illustrator, to create complete graphic design projects that include images, vectors, and layouts.
Being the industry standard, Photoshop and other Adobe products are most commonly used in professional spaces, and therefore creating PSD files is more beneficial when sharing work amongst colleagues than less-used programs such as Affinity Photo.
Winner: Photoshop
Affinity Photo VS Photoshop: Resource Availability
When choosing a photo editing program, it’s always a good idea to note the available resources for the program. These resources can help in many ways, such as providing valuable add-ons and plugins for the program.
Affinity Photo 2 is not as widely used as Photoshop and therefore doesn’t have as many resources available for download, such as plugins, brushes, and templates. However, certain assets created for Photoshop will work in Affinity Photo 2, but there may be limitations.
Photoshop has been around for long enough, with a huge user base that has created a booming market for resources online. This includes an almost endless supply of free and paid templates, brush packs, actions, and more.
Winner: Photoshop
Affinity Photo VS Photoshop: Learning Curve
When working on a new program, it’s important to determine how hard it will be to learn and how quickly you can master it to effectively use it as a tool in your workflow.
Affinity Photo offers an easier learning curve as the interface and features are designed with beginners and hobbyists in mind. The icons are bright and easy to understand, with helpful tips and descriptions for each tool and feature at the bottom of the workspace.
Affinity Photo also displays many of the necessary tools and features in the default Photo Persona, so making certain edits doesn’t take a lot of clicks and hidden menus to complete. All the controls are easy to understand and stated clearly, which is helpful for beginners.
However, Affinity Photo is a high-level photo editing program, and if you haven’t used similar software before, the interface can be complex and confusing. In addition, if you are a long-time Adobe user looking to switch, the slight differences may be frustrating.
Photoshop is an industry-level software designed for experts and professionals. As a result, the layout and features are streamlined and concise to avoid unnecessary delays. This makes the learning curve steep for beginners.
With the extensive features in the program and the regular updates, even seasoned users need to continuously learn new things to effectively use the software at a high level. If you are dedicated and looking to use Photoshop as a tool to further your career, then the learning curve is worth it.
In addition, due to the large number of users working on Photoshop, there is an abundance of paid and free tutorials, courses, and cheat sheets available to help users learn the program and become an expert on it.
Winner: Affinity Photo
Affinity Photo VS Photoshop: Price
Price is always a necessary factor when choosing a new photo editing or design program, as you need to be able to afford the new software. This factor normally works alongside your intent of using the program.
You are more likely to need to invest a bit more into a program if you intend on making money from your creations than if you are simply using it as a hobby or for learning purposes.
Affinity Photo 2 is priced very low for the amount of features and tools you get out of the program. A massive bonus of the program is that you only need to pay a once-off fee to download the program, and from then on, all updates are completely free.
There are a few options when purchasing Affinity Photo 2, but all are once-off payments with free updates. You can buy the desktop app for Windows or Mac at $52.99 or the Universal License, which includes all Affinity programs compatible on all platforms, for $123.99. Lastly, you can purchase the Affinity iPad app for $13.99.
Photoshop has a different payment model, which requires a monthly subscription to keep using the program. You can access all the Photoshop features and Adobe Fonts for as long as you pay the monthly subscription. All updates are free while you are paying the subscription.
There are different pricing structures, with the option to pay an annual fee upfront, monthly with a cancellation fee, or monthly without a cancellation fee. You can buy the program in three ways, and here are the prices for the program on a monthly subscription with a cancellation fee.
- Photoshop Only: $20.99 per month
- Photography Plan (includes Lightroom Classic and Lightroom): $19.99 per month
- All Apps Plans (consists of the entire Adobe Suite): $54.99 per month

Both programs offer free trials, so if you’re still not convinced about which program to buy, you can try them both out. Photoshop only offers a 7-day free trial, whereas Affinity Photo offers a 30-day free trial.
Winner: Affinity Photo
Which Should You Choose?
Affinity Photo 2 and Photoshop are very similar programs, which makes it a tough decision. Ultimately, I recommend you focus your decision on two main factors, your intent, and your budget.
If you are a beginner looking to try out photo editing or create work for school projects or family and friends, then Affinity Photo 2 is for you. You can access high-level editing tools without paying a monthly subscription or long-term commitment. The price may seem high initially, but it is much cheaper in the long run.
If you are serious about your work and looking to break into the professional photo editing and design world, then you need to consider an industry-standard product like Photoshop. Creating work in Adobe programs and having experience in Photoshop will benefit you when looking to work with a professional team.
When earning money for your work or just wanting the best tools available, Photoshop’s monthly subscription won’t be too heavy on your bank account and will help you create high-end work that clients will be willing to pay for. Just be sure to check out my guide to the best ways to buy Photoshop here to help yourself save some money while you’re at it.


