Knowing how to change a logo color in Photoshop allows you to create multiple versions of your logo. This is helpful when you need variations to fit all types of marketing material. For instance, I recommend always having a white, black, and full-color version of your logo.
There are a variety of simple color-changing techniques in the program, and they work exceptionally well for logos. With just a few clicks, you can add a new color to your logo and be ready to show it off to the world.
Video Tutorial
How To Change The Color Of A Logo Using Layer Styles
The color overlay method works best if you want to apply a completely different color to your logo. This technique directly applies the new color over your logo, so there’s not much refining involved.
For this technique to work, transparent backgrounds are crucial. If you still have a white background behind your logo, click here to learn how to remove it.
Step 1: Open The Layer Styles Dialogue Box
With your logo open in Photoshop, first, make sure it has a transparent background.
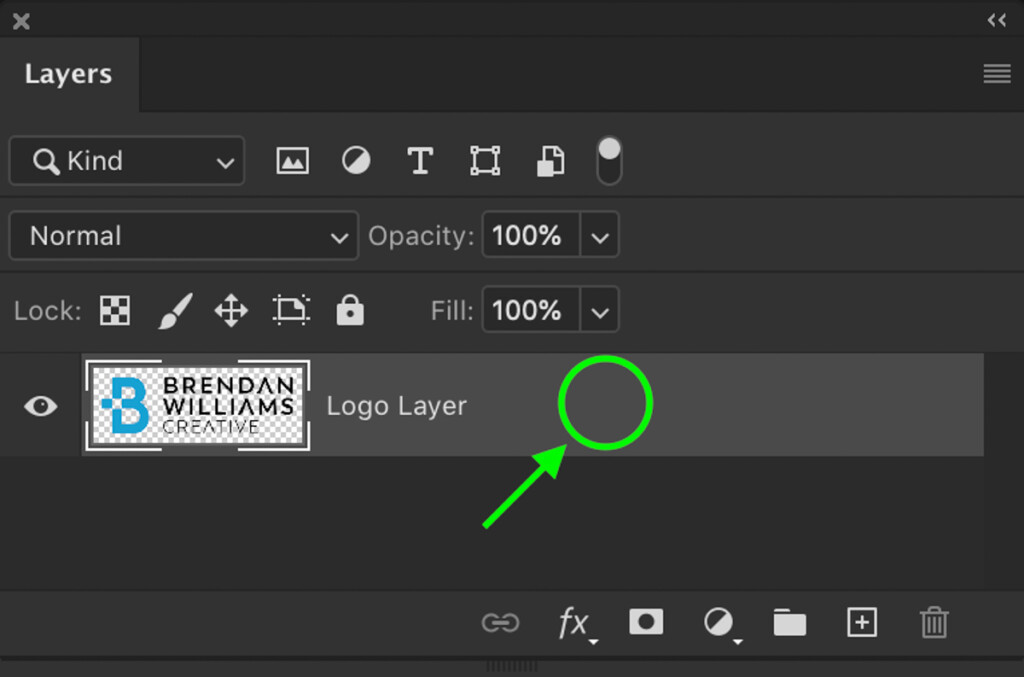
Then, open the Layer Styles window by double-clicking on your logo layer. The Layer Styles Dialogue Box will open.
Step 2: Select The Color Overlay Style
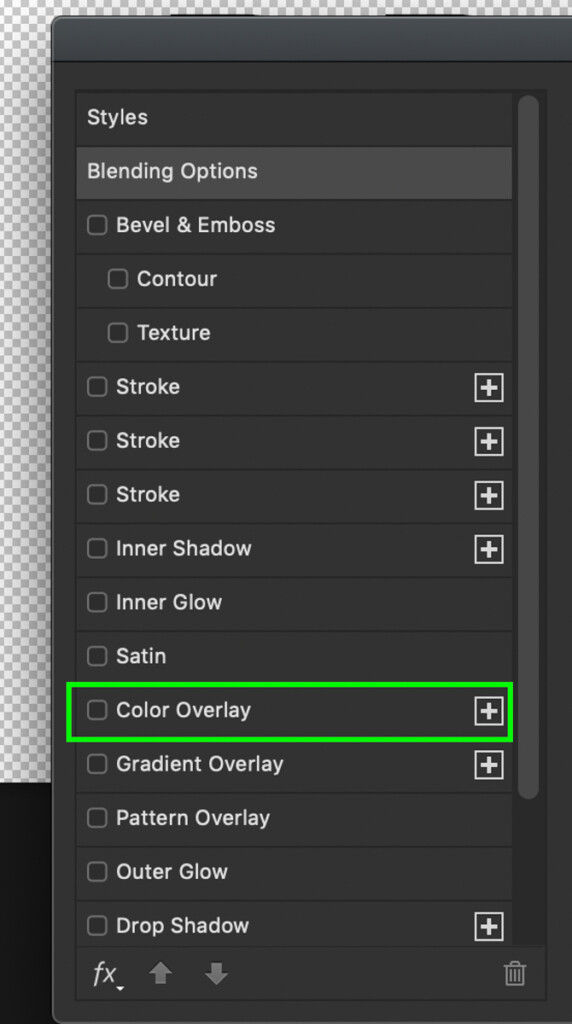
Within the Styles menu on the left-hand side of the window, click on the Color Overlay style.
Step 3: Click On The Color Overlay Box And Select A New Color
First, make sure the Blend Mode is set to Normal and the Opacity at 100%.
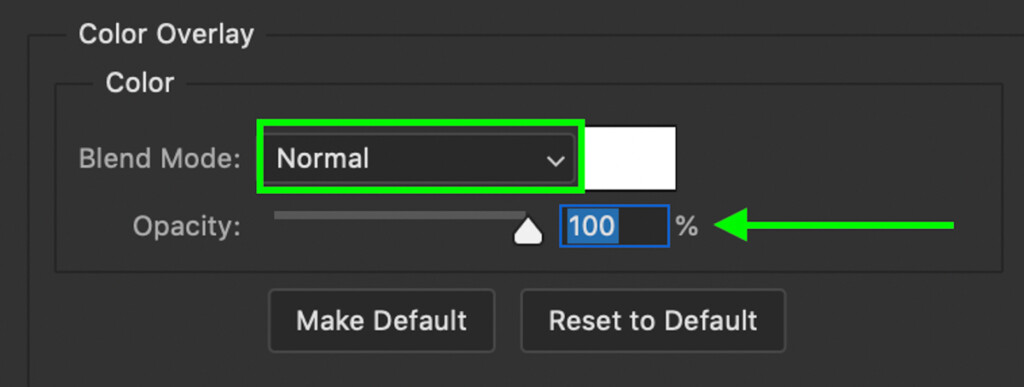
Then click on the color overlay box.
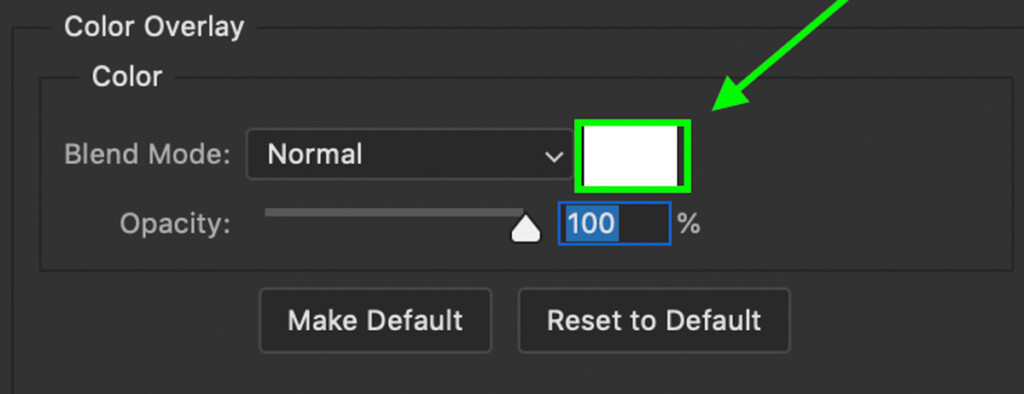
A color palette will appear, and you can choose any color you’d like. If you want to copy a certain color in your image, you can click anywhere on your canvas to sample a color.

Once you have a new color picked, click OK to apply the color overlay to the logo.
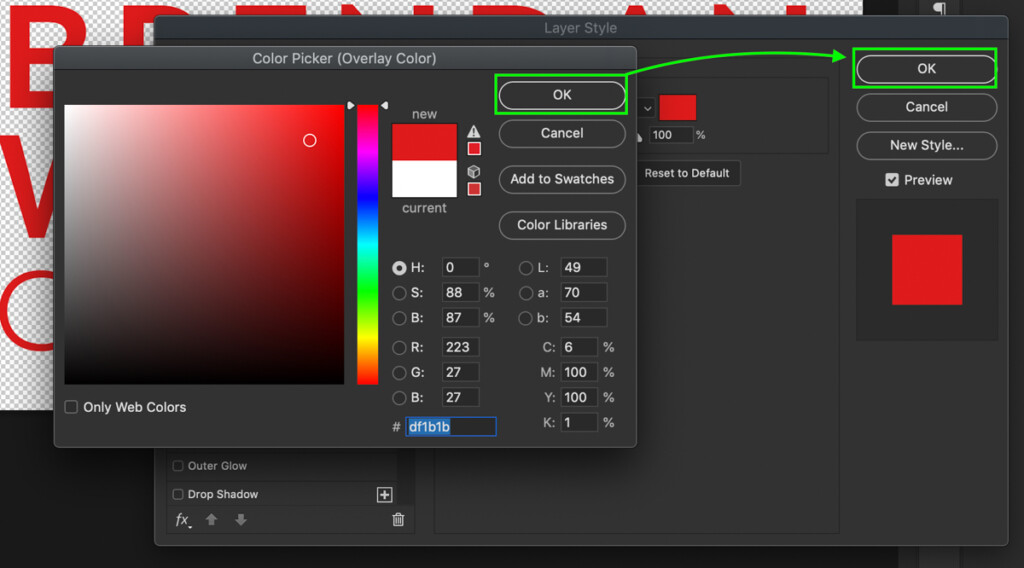
Now you’re left with a newly colored logo made with the help of Photoshop!

How To Change A Logo Color Using Hue Saturation (Alternate Method)
This second method works best if you want to make mostly hue adjustments to your logo. This doesn’t work very well for changing black or white into color. However, it works extremely well for turning one color into another color.
For example, the icon is a bright blue with my logo, so it will be easy to change this color. On the other hand, the black text won’t change with this type of adjustment.
With that in mind, let’s break down how to do this technique:
Step 1: Create A Hue Saturation Adjustment Layer
To start things off, create a new hue saturation adjustment layer above the logo layer. To do this, select the icon in the Adjustments Panel.

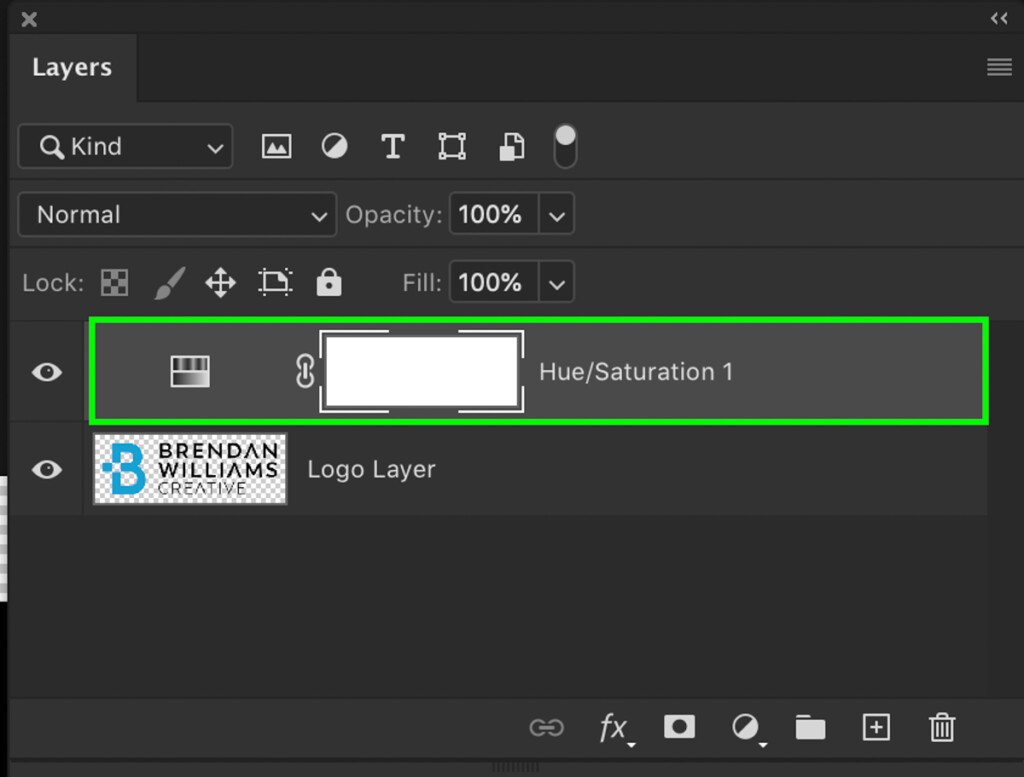
Step 2: Adjust The Master Hue Sliders
The first thing you see when you open the hue saturation adjustment layer is the Master tab. This is home to all the global hue, saturation, and luminance adjustments for your logo.
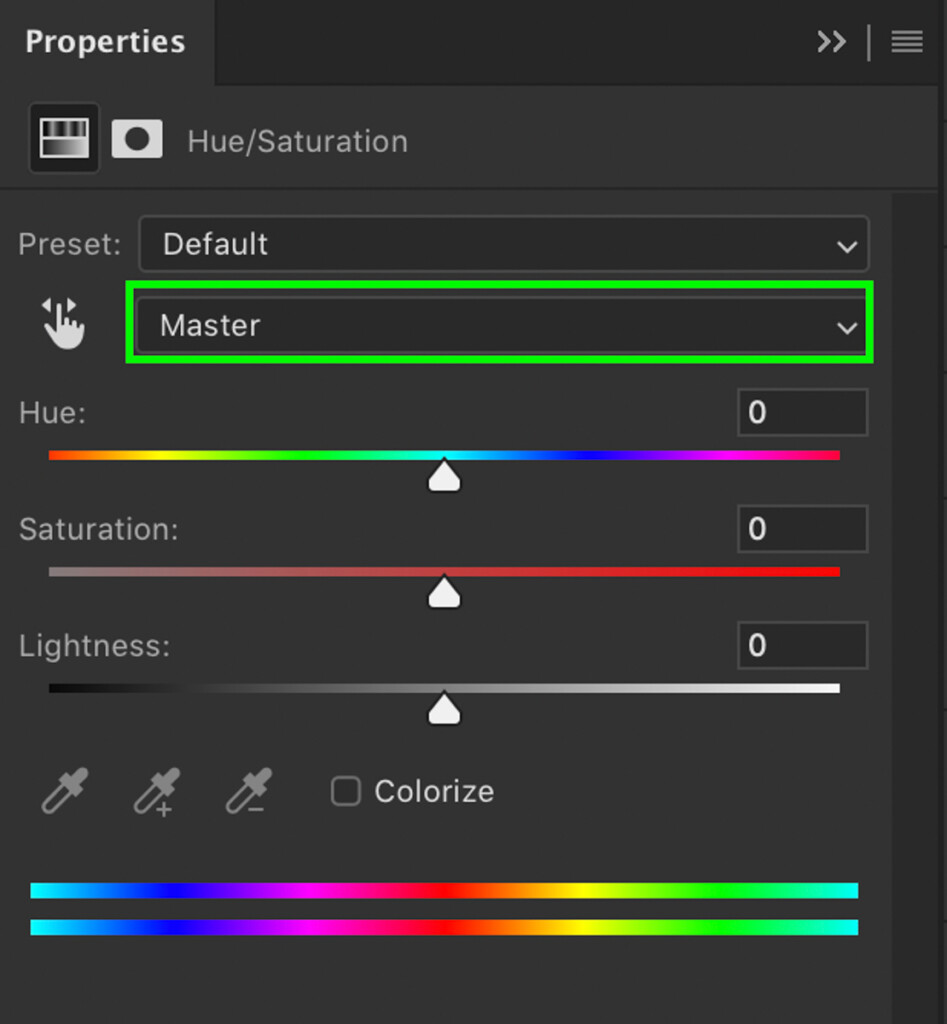
Since you want to change color, start by adjusting the hue slider to change your logo’s hue.

To customize the color even further, adjust the saturation and luminance sliders as needed.

With only two steps, you’ve changed your logo’s color with the hue saturation adjustment layer in Photoshop!
If you only want to change colors while leaving blacks or whites untouched, this is the easiest method.
Step 3: Selectively Add Color Back In Using A Layer Mask (Optional)
Let’s say you have two colors in your logo, but you only want these hue adjustments to affect one of the colors. Since you are using an adjustment layer, it’s extremely easy to mask out any color adjustment you don’t like.
With the hue saturation adjustment layer mask selected, grab your Brush Tool (B) and set the foreground color to black.

Make sure that the adjustment layer mask is selected, and paint over the parts of your logo you don’t want the new color applied. Since you’re using a layer mask, this will make the hue adjustments invisible wherever you paint.

Once complete, you’ll only see the hue adjustments in the parts of the mask that are still visible. Now, just export your logo as a PNG, and you’re all done!
How To Partly Change The Color Of A Logo In Photoshop
If you have text in your logo, as I do, it’s unlikely that you want everything to be the same color. In this case, I only want the emblem to be the new color while the text remains untouched. With the help of a layer mask, this can be fixed in seconds.
Follow the steps from the first method to change the color of the entire logo, then follow along below.
First, start by duplicating your logo layer by selecting it and pressing Control + J (Win) or Command + J (Mac).
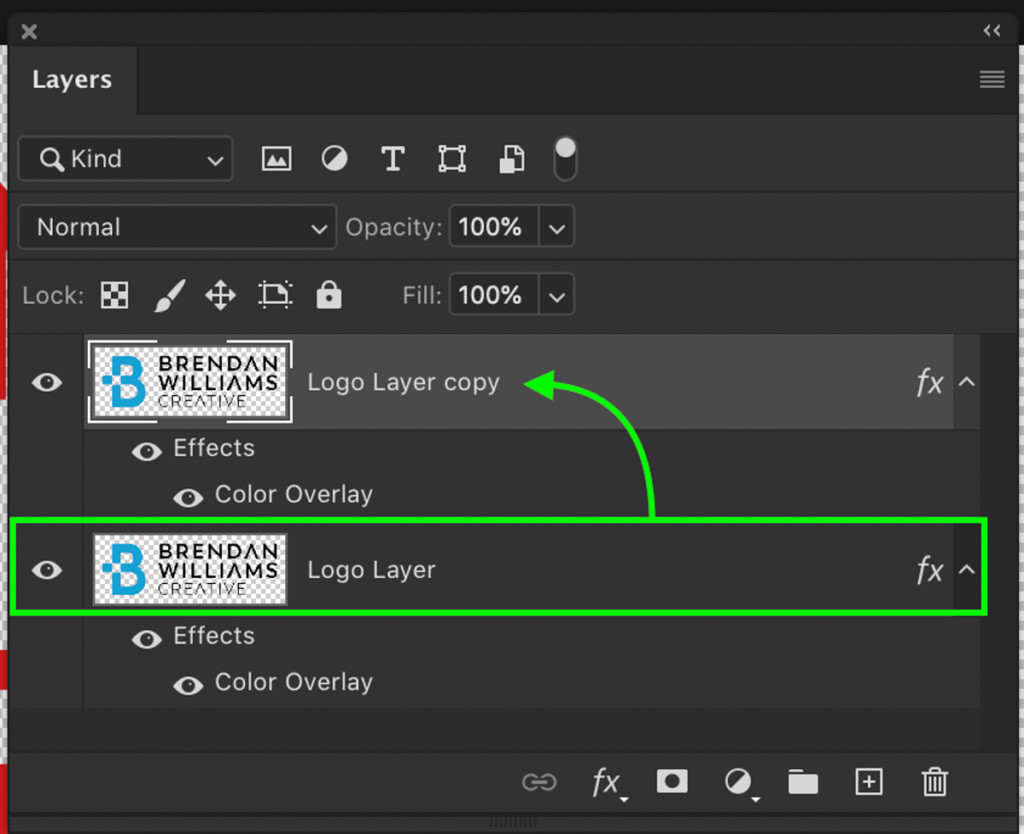
With the new layer selected, right-click on the FX icon and choose Clear Layer Style.
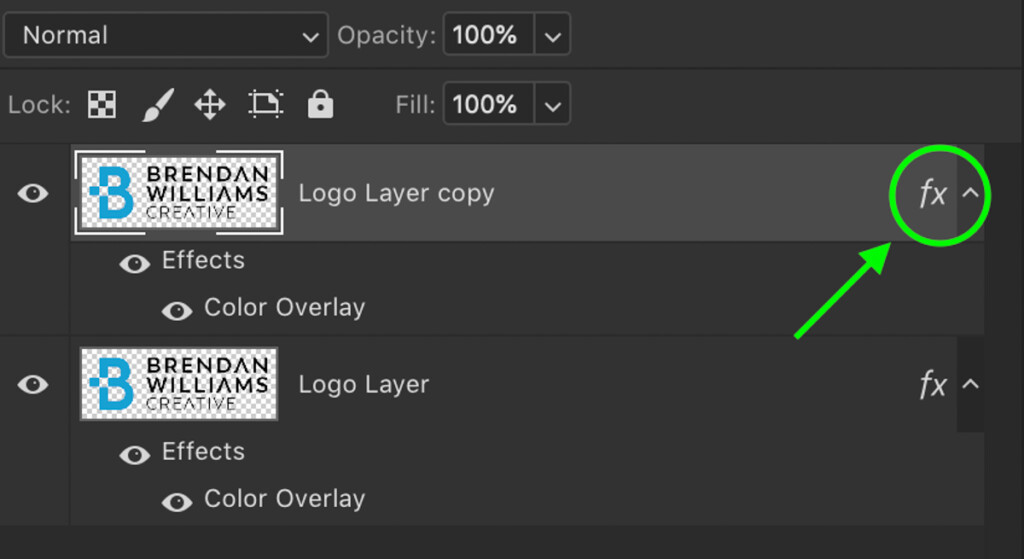
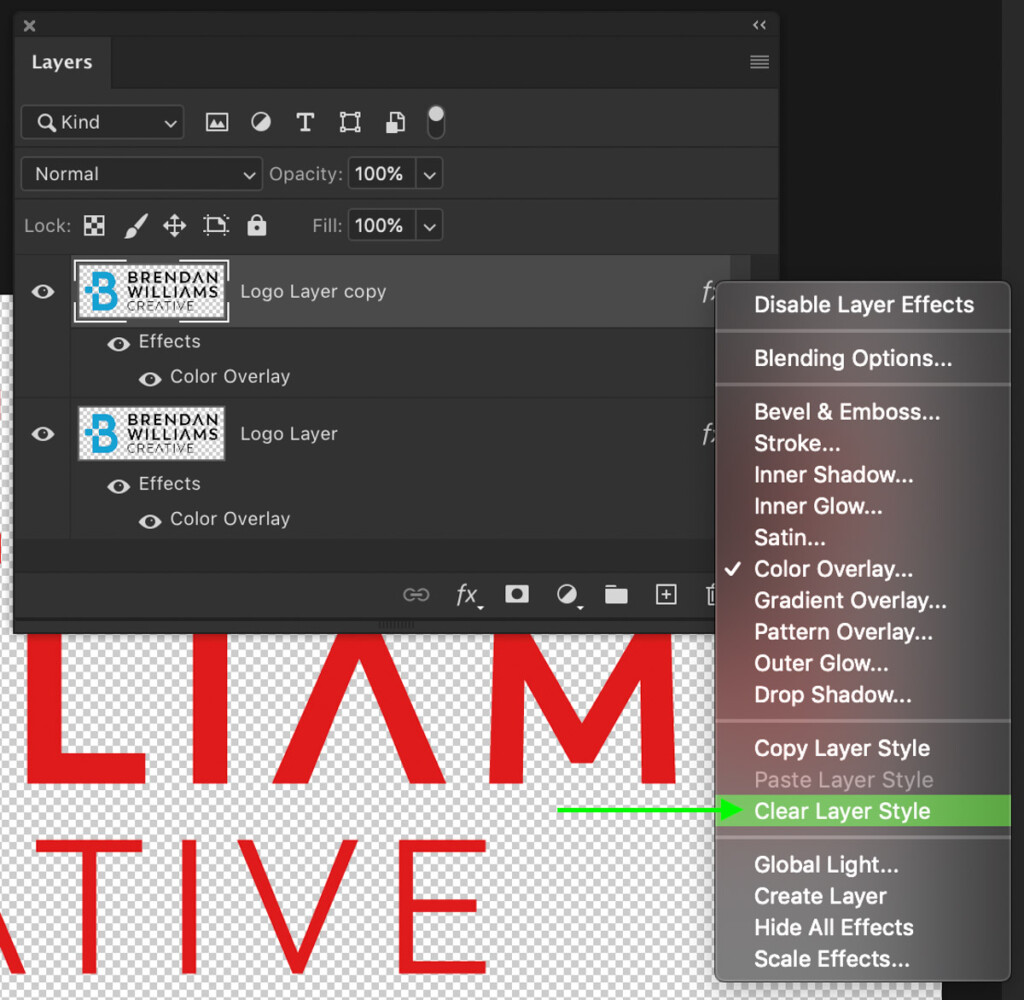
Your logo will be converted back to normal while the underlying layer has the color adjustments added.
Next, add a layer mask to the duplicated logo layer by clicking the add layer mask button in the Layers Panel.
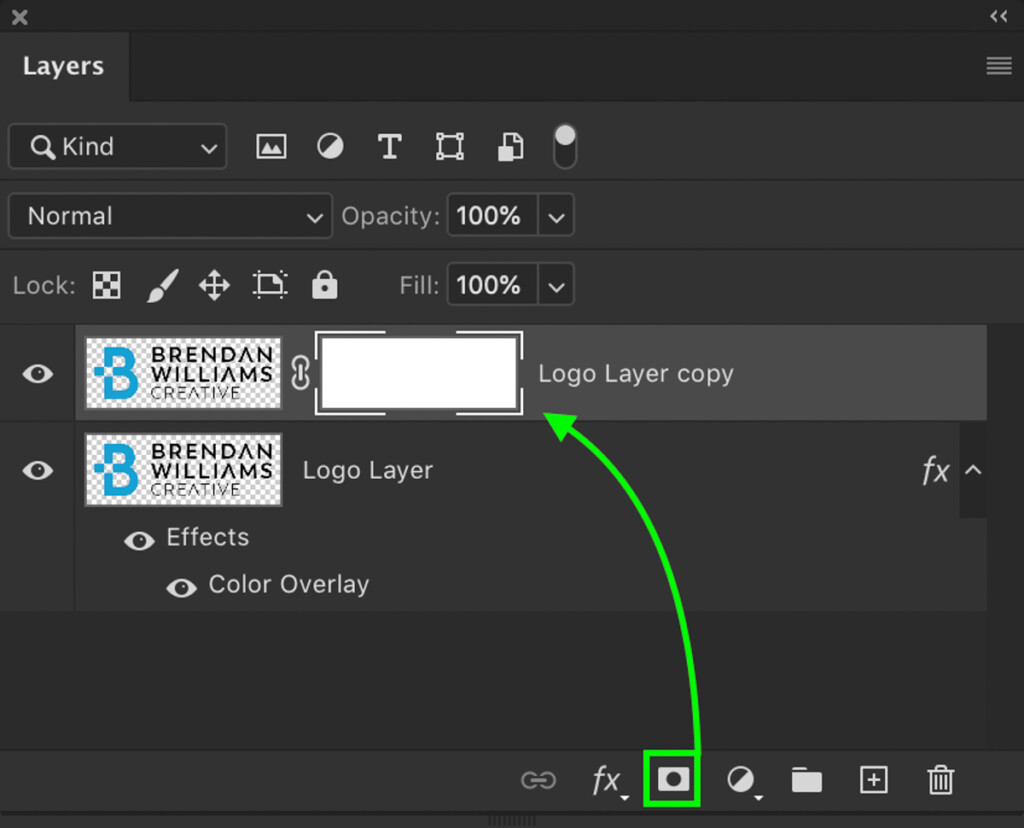
Then, select the Brush Tool (B) and set the foreground color to black.

With the layer mask selected, begin to paint over the parts of your logo that you want the color to appear. In this case, I’ll paint black over the icon of my logo. This will make that area of the layer transparent, allowing the newly colored logo from underneath to show through.
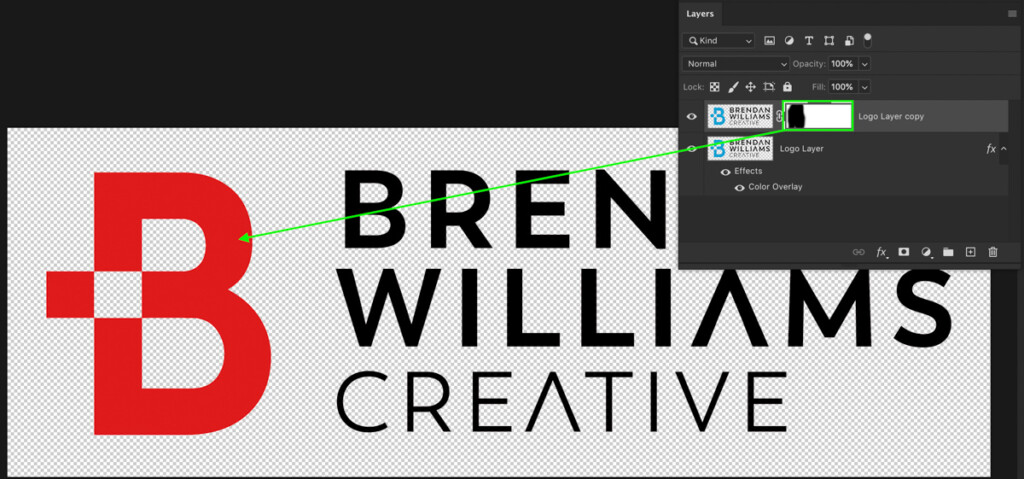
Once your mask adjustments are made, you have successfully changed the color of a logo selectively!

You can use this same process for adding a secondary color to your logo as well. Rather than deleting the layer style, you can update the color overlay and then use a layer mask so it only appears in certain places.
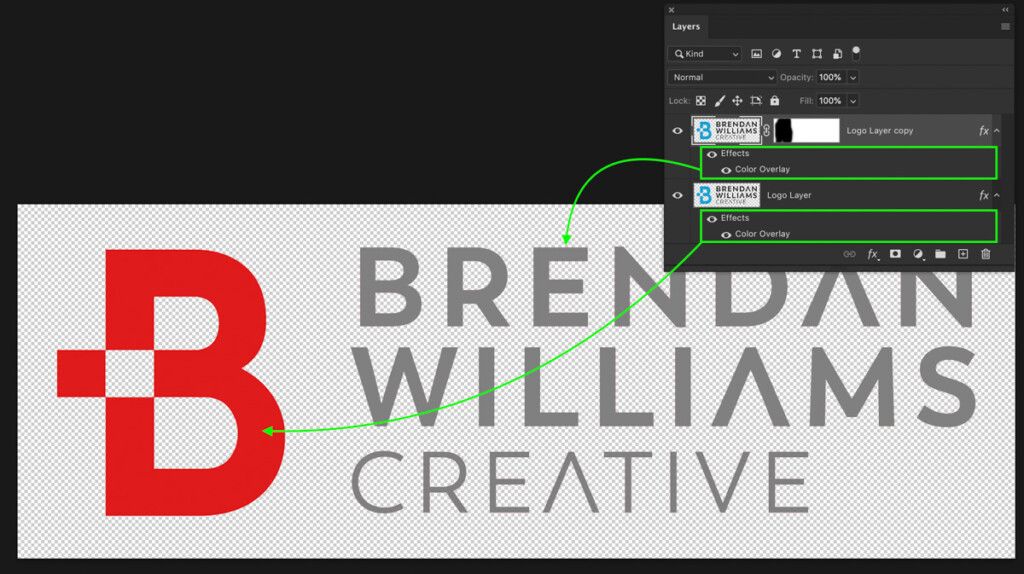
So now that you know how to change the color of a logo in Photoshop, the sky’s the limit for the looks you can create. Whether you’re looking to rebrand or get a variety of logo colors for new merchandise, Photoshop makes it easy.
Happy Editing,
Brendan 🙂
