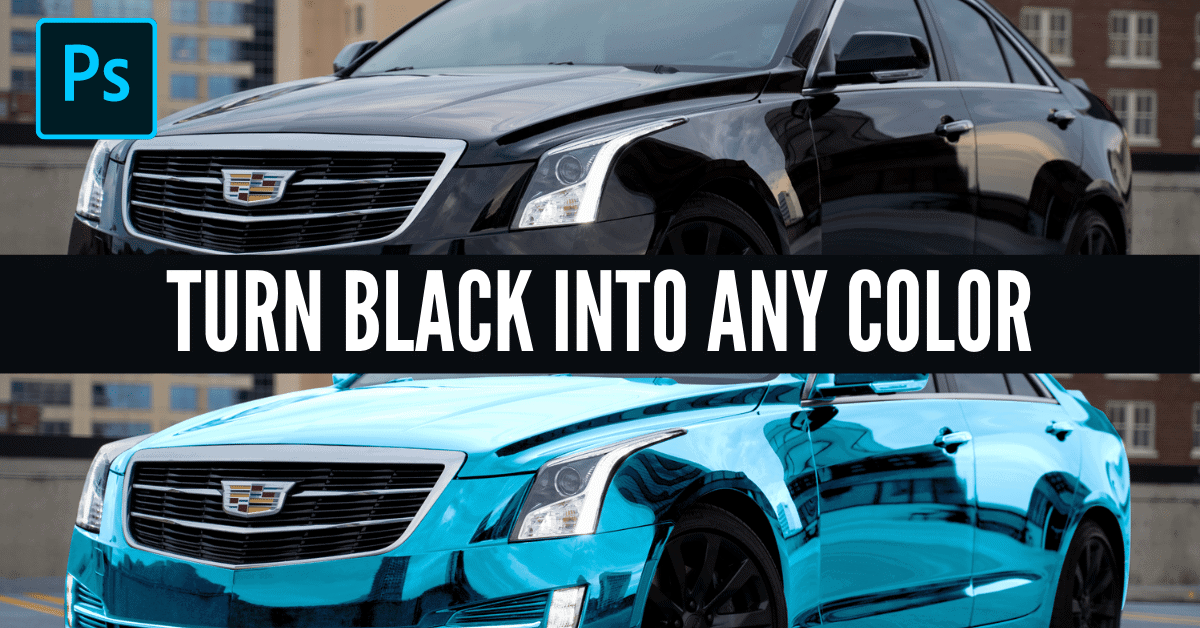

With tools like the hue saturation adjustment layer, changing colors in Photoshop is pretty straightforward, but that’s not so much the case with black. Changing black into another color in Photoshop has been notoriously difficult for many, but there’s an easy solution to it all. Rather than using the typical color changing methods, you need to call upon a color fill layer and a levels adjustment to change black into a color.
In this tutorial, you’ll learn the step-by-step process to change black into any color in Photoshop, whether you’re adjusting clothing, a car, or a product. From creating your initial selection all the way through to refining the final color, you’ll be a color-changing pro by the end of these steps.
If you aren’t familiar with the basics of changing colors in Photoshop, make sure to check out this post to get up to speed!
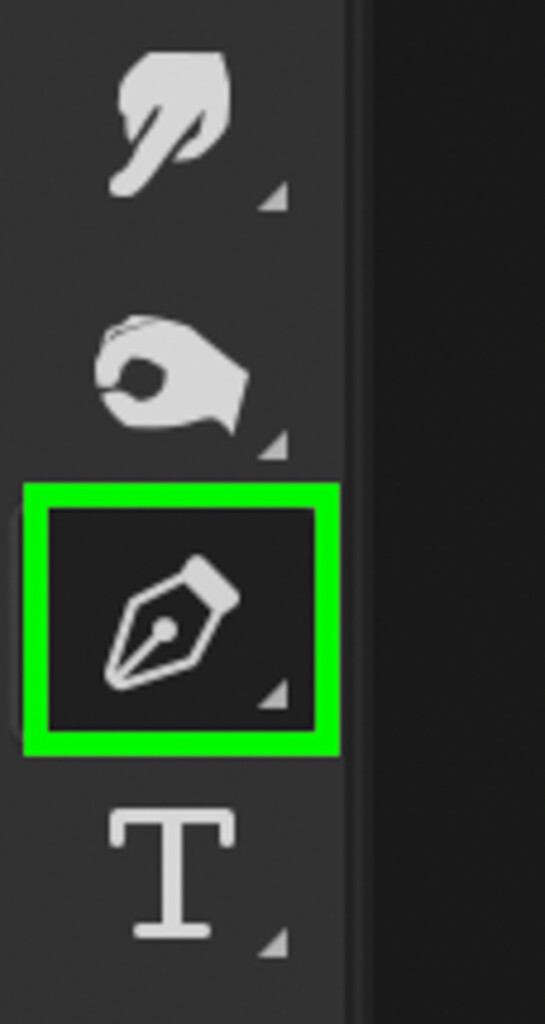
Step 1: Select Around The Black Color Using The Pen Tool
Before you can make any color adjustments, you need to first select the black that you want to adjust. The problem with the typical color selection tools in Photoshop is that they don’t do well when sampling blacks. That’s because shadows in your photos can get mistaken for the same color and become added to the selection.
What ends up happening with tools like select color or the magic wand is a lot of unnecessary back and forth. To make life easy, start by using the pen tool to create a path around the black you want to add color to. If you’re new to the pen tool, you can brush up on your knowledge here.
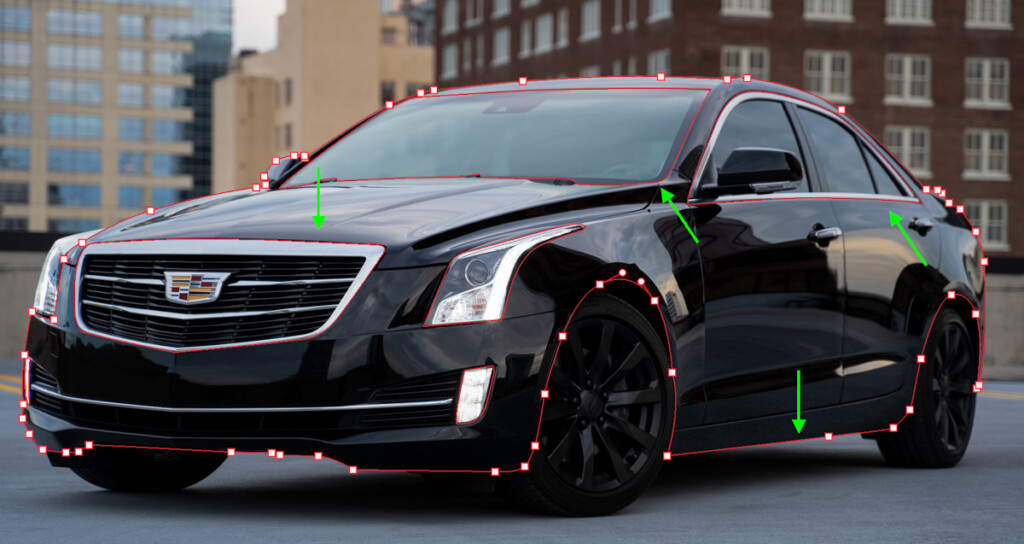
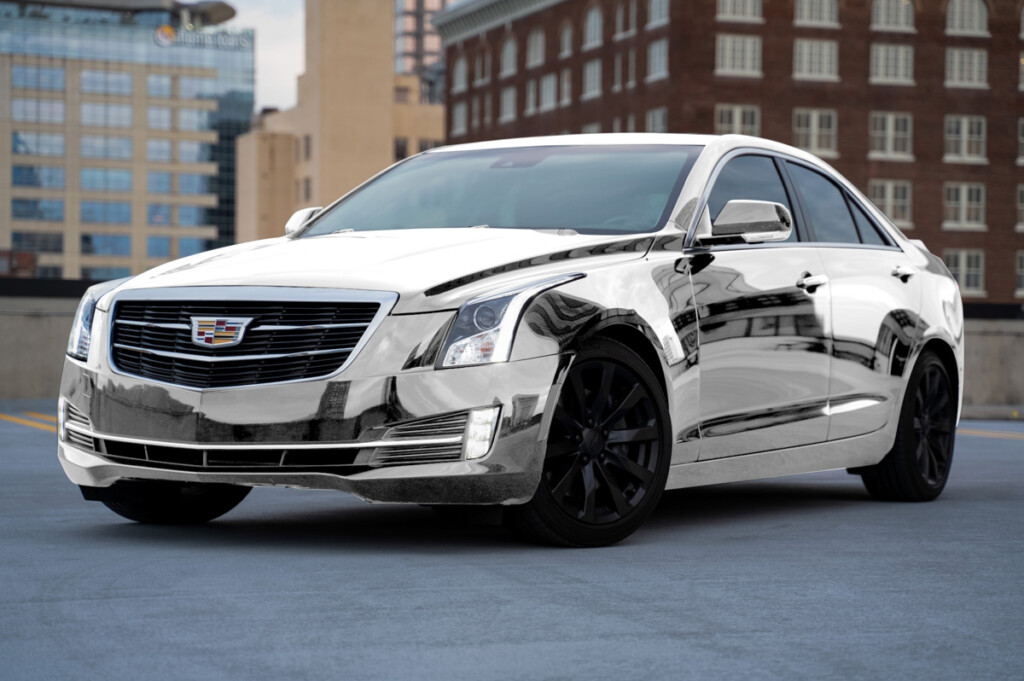
For this example, I want to change the color of this black car. That means I’ll create a pen path around the entire body of the car, excluding areas I don’t want to adjust, such as windows and wheels.
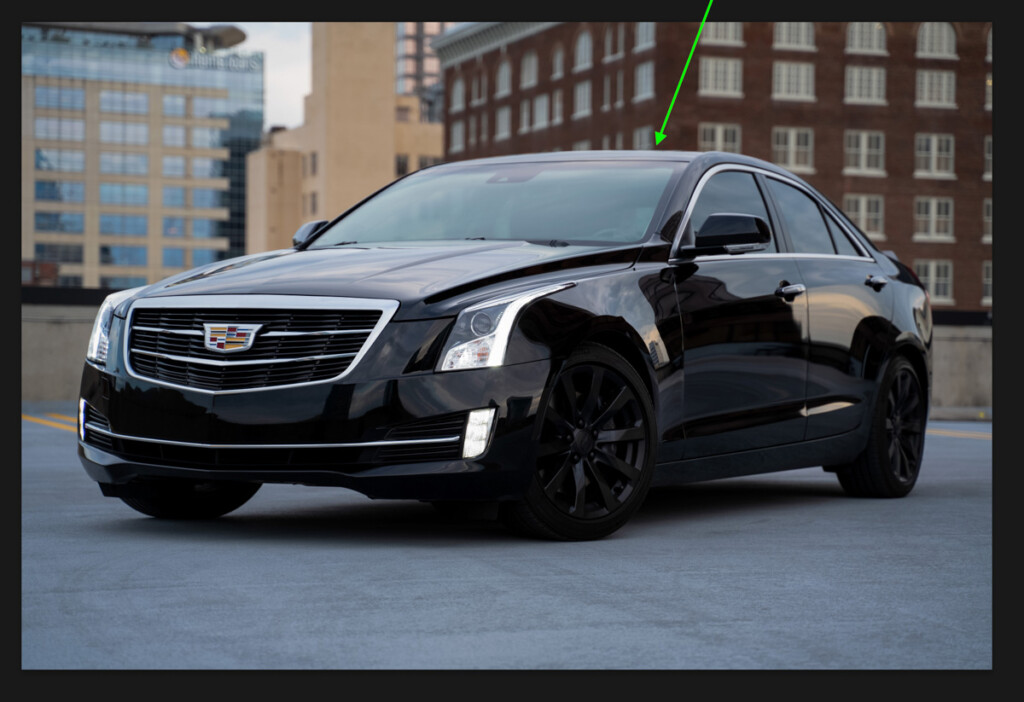
If you’re working with a different object, such as black clothing, the same idea applies.
With your pen tool set to “path,” begin creating the pen path around your object by clicking to add new anchor points. You can click and drag your cursor to curve the shape of the pen path.
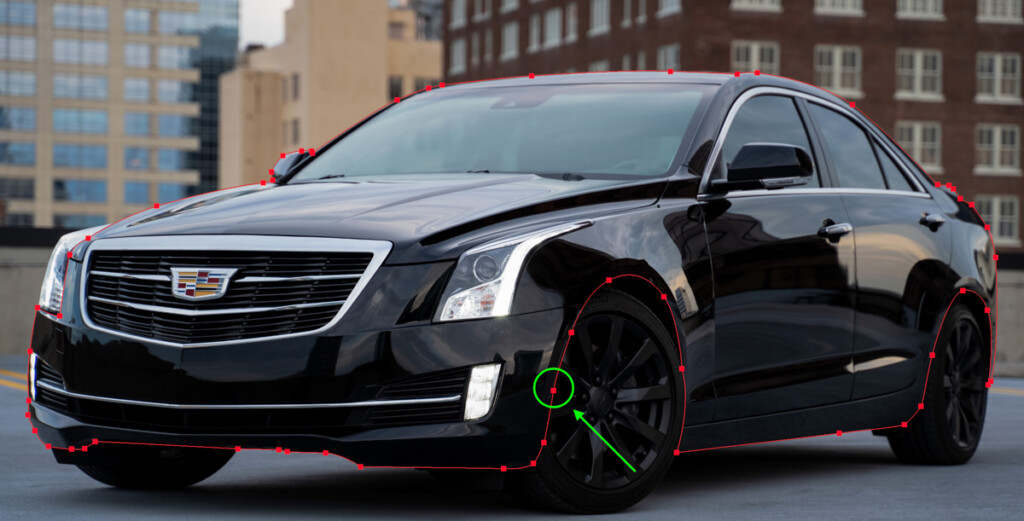
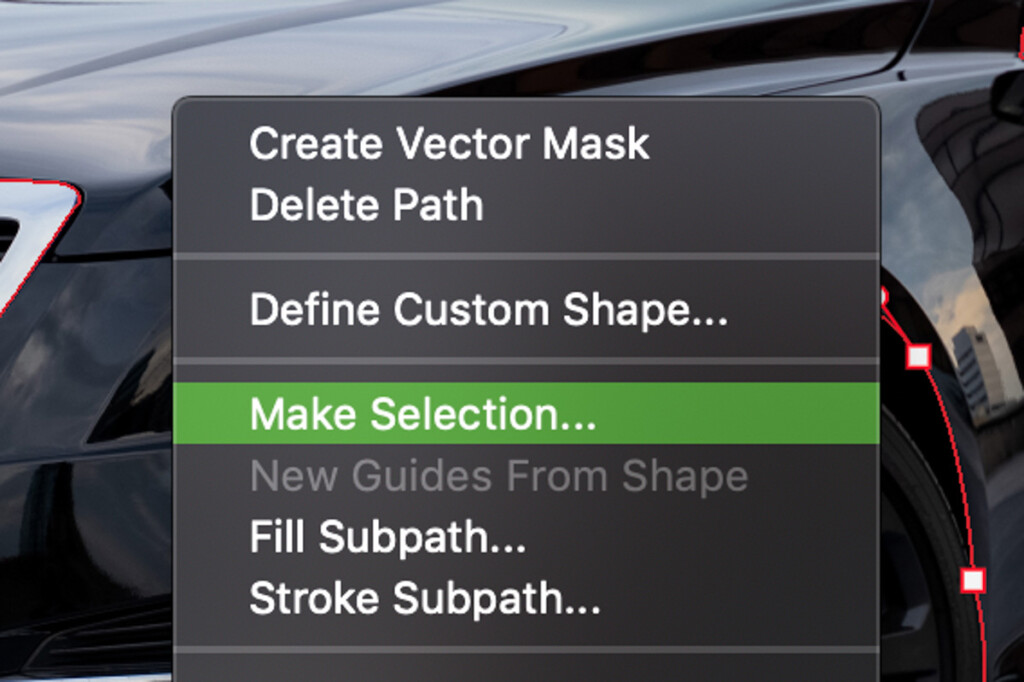
Once complete, connect back to the starting anchor point. Right-click in the middle of the path and choose “Make Selection.”
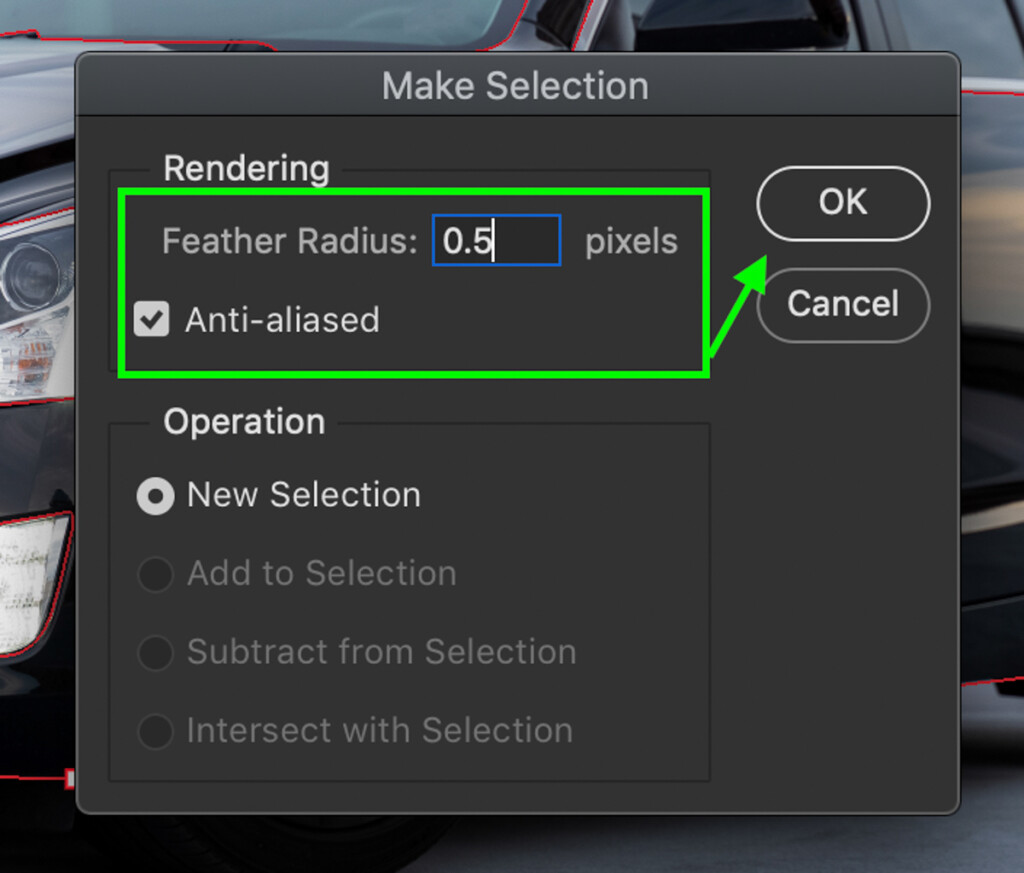
Set the feather radius to 0.5 pixels and click OK.
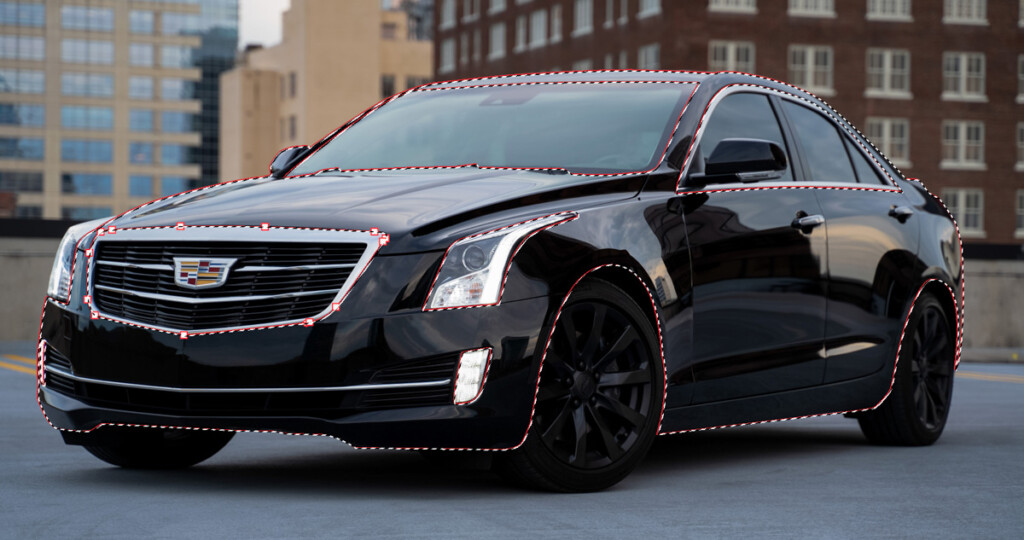
Your pen path will turn itself into an active selection represented by the marching ants.
To learn more about some alternative ways of making selections in Photoshop, check out these top 5 tools.
Step 2: Add The Selection Onto A Color Fill Layer Mask
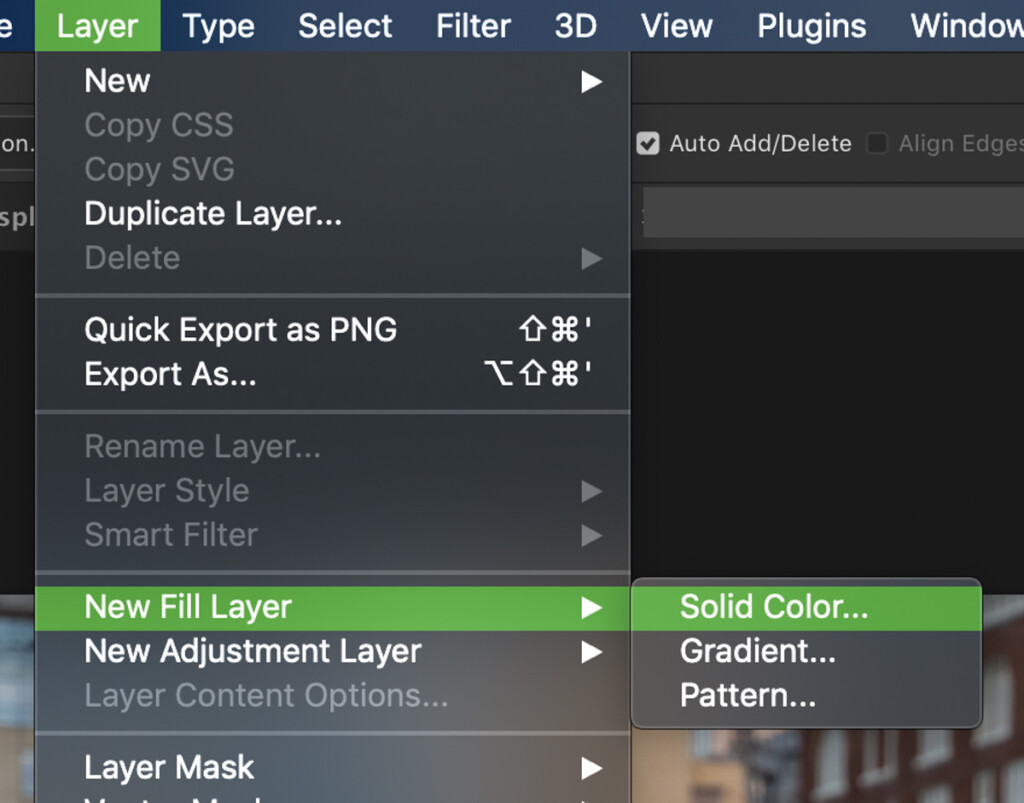
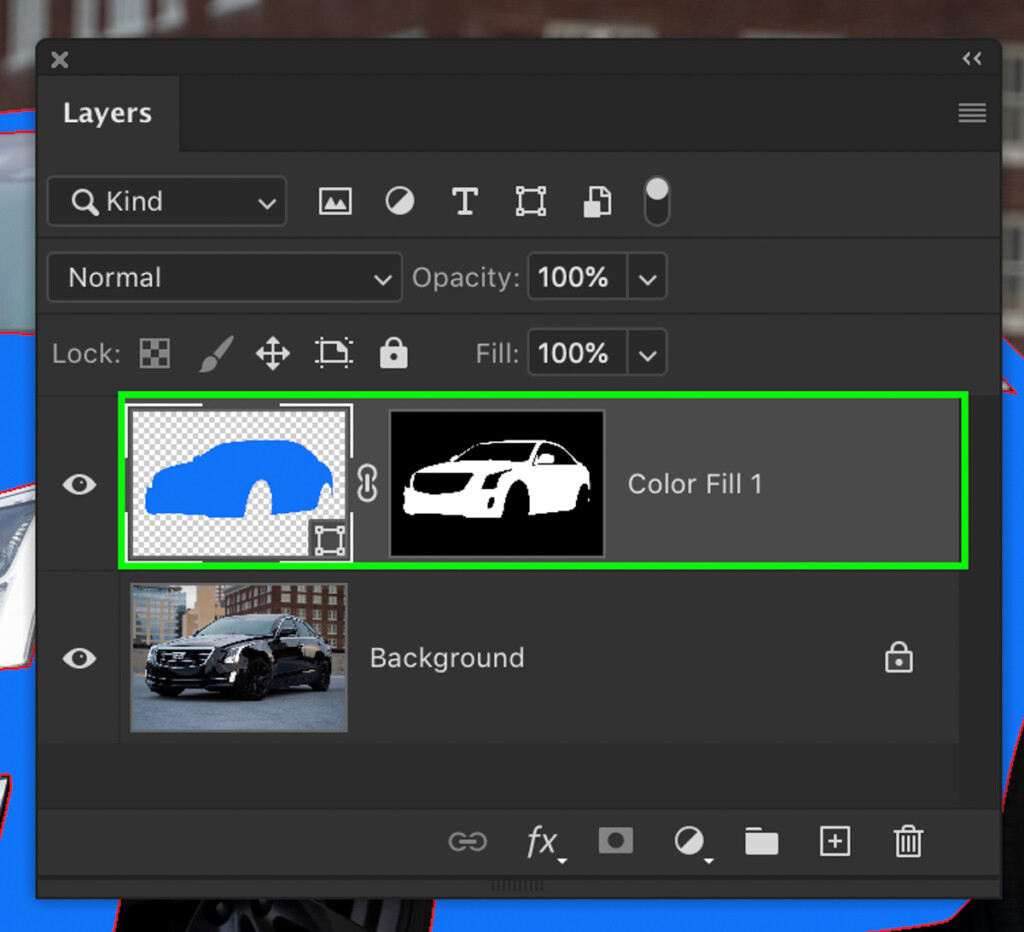
With your active selection created, go up to Layer > Color Fill Layer > Solid Color to create a new color fill layer.
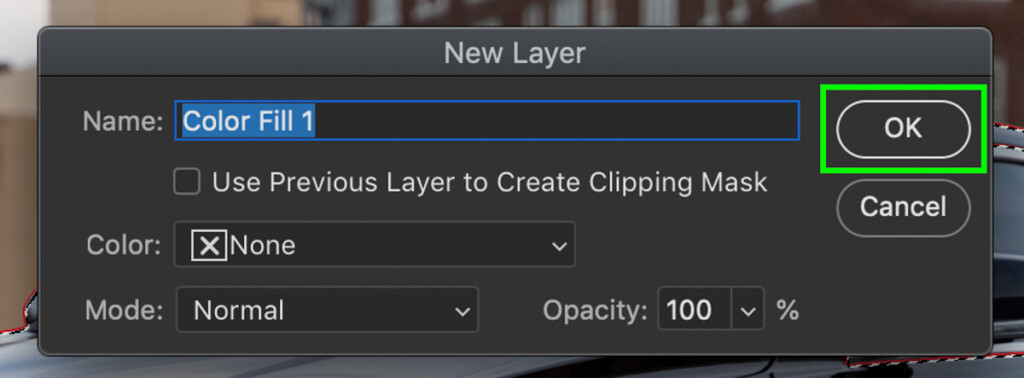
Rename this layer to anything you’d like, and click OK. I’ll leave mine set to the default name.
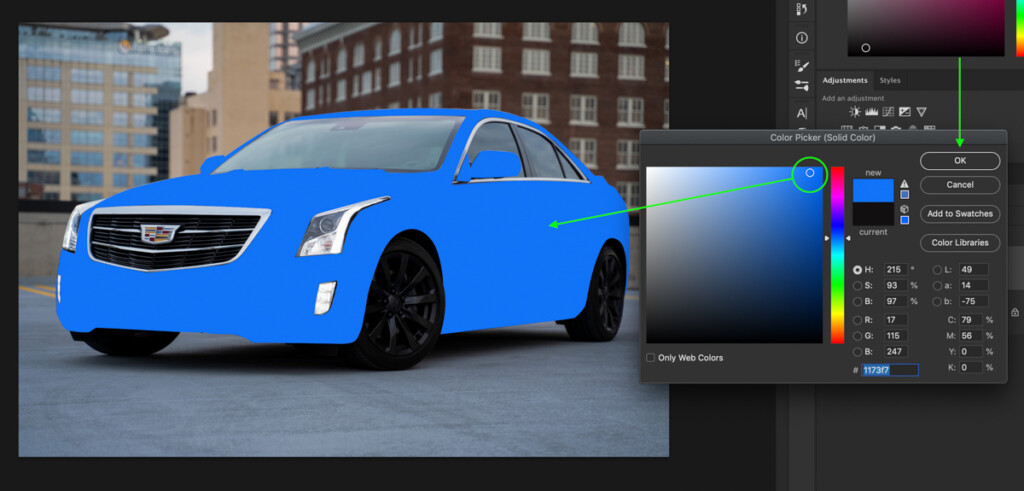
Now choose any color to replace the black with. You don’t need to get too hung up on this because you can easily change it later. For now, I’ll select a blue to replace the black with.
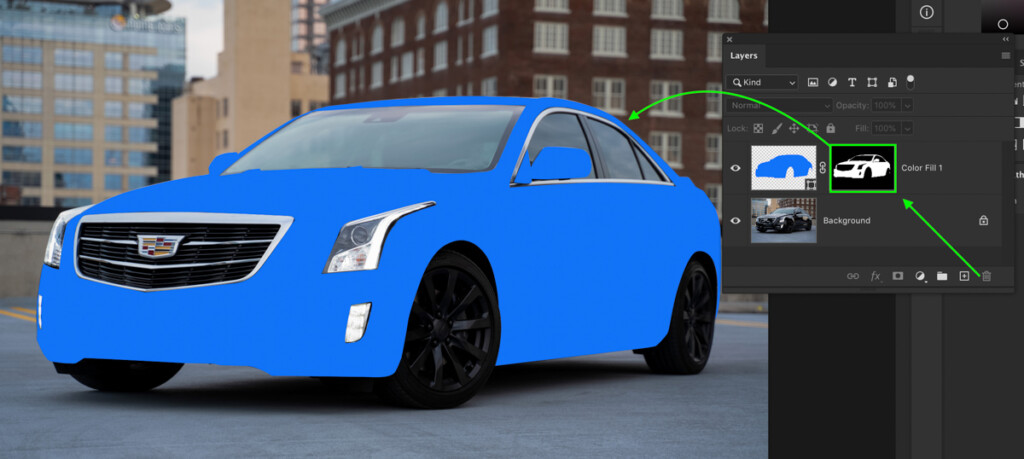
Your active selection will be applied to the color fill layer mask, making the new color fill only visible over the black object (the car in this example).
Step 3: Set The Blending Mode To “Color”
So you’ve applied a new color to replace the black in your photo, but it doesn’t look very good quite yet. To make your color fill adjustment blend more realistically, you can use the “Color” layer blending mode.
Start by clicking on the color fill layer to highlight it.
Then click on the layer blending mode and change it from Normal to Color.
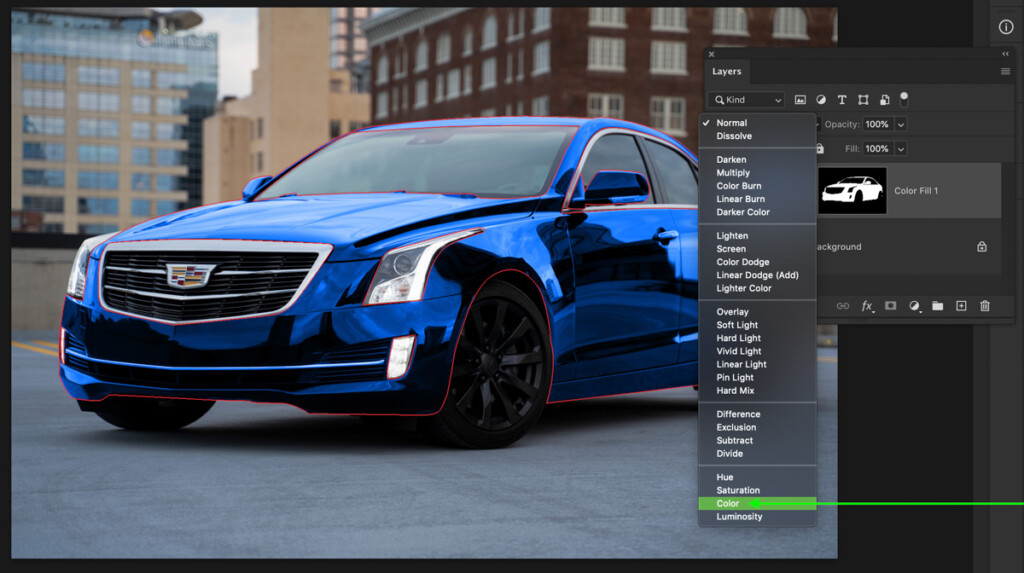
Now the color takes on the shadows and highlights from below and gives a more natural appearance.
Step 4: Create A Levels Adjustment Layer
When you first change black into a color in Photoshop, the new color often looks very dark. Since black is essentially a shadow, it ends up darkening any color you apply once it’s blended. To solve this problem, all you need to do is adjust the exposure and contrast levels. The best way to do this is with the Levels adjustment layer.
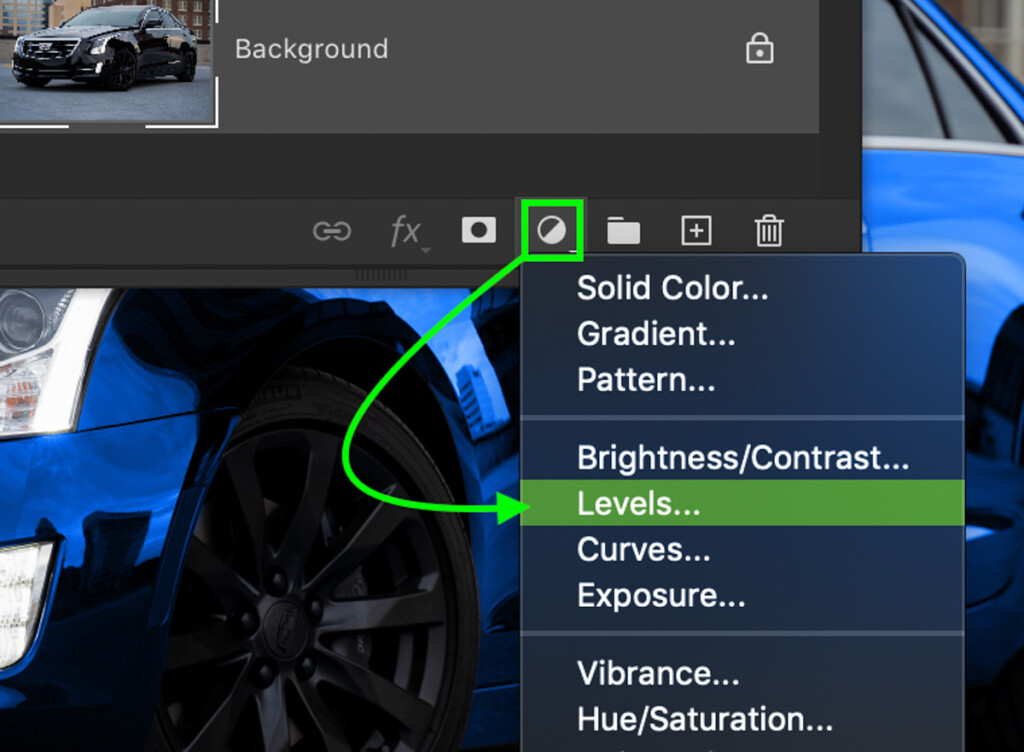
Create a new Levels adjustment layer by clicking on it in the adjustments tab.
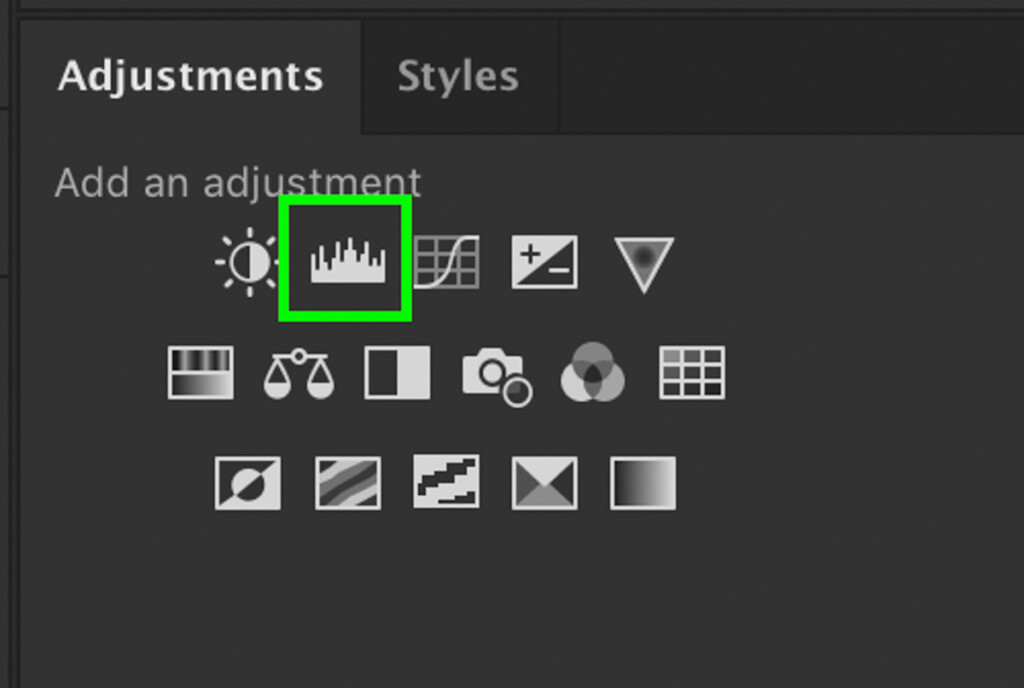
Alternatively, you can access it from the bottom of your layers panel.
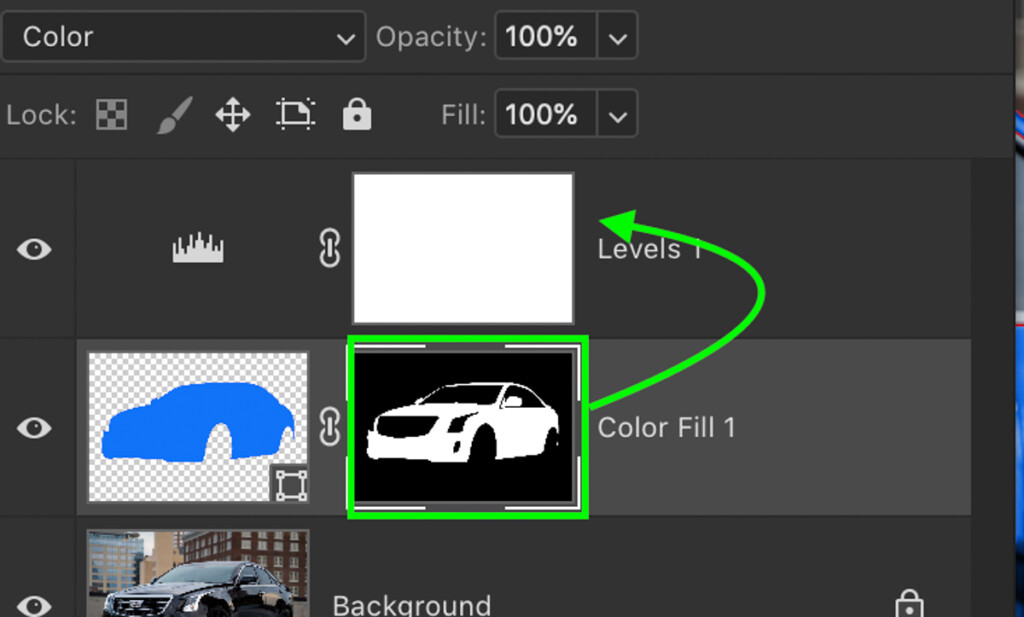
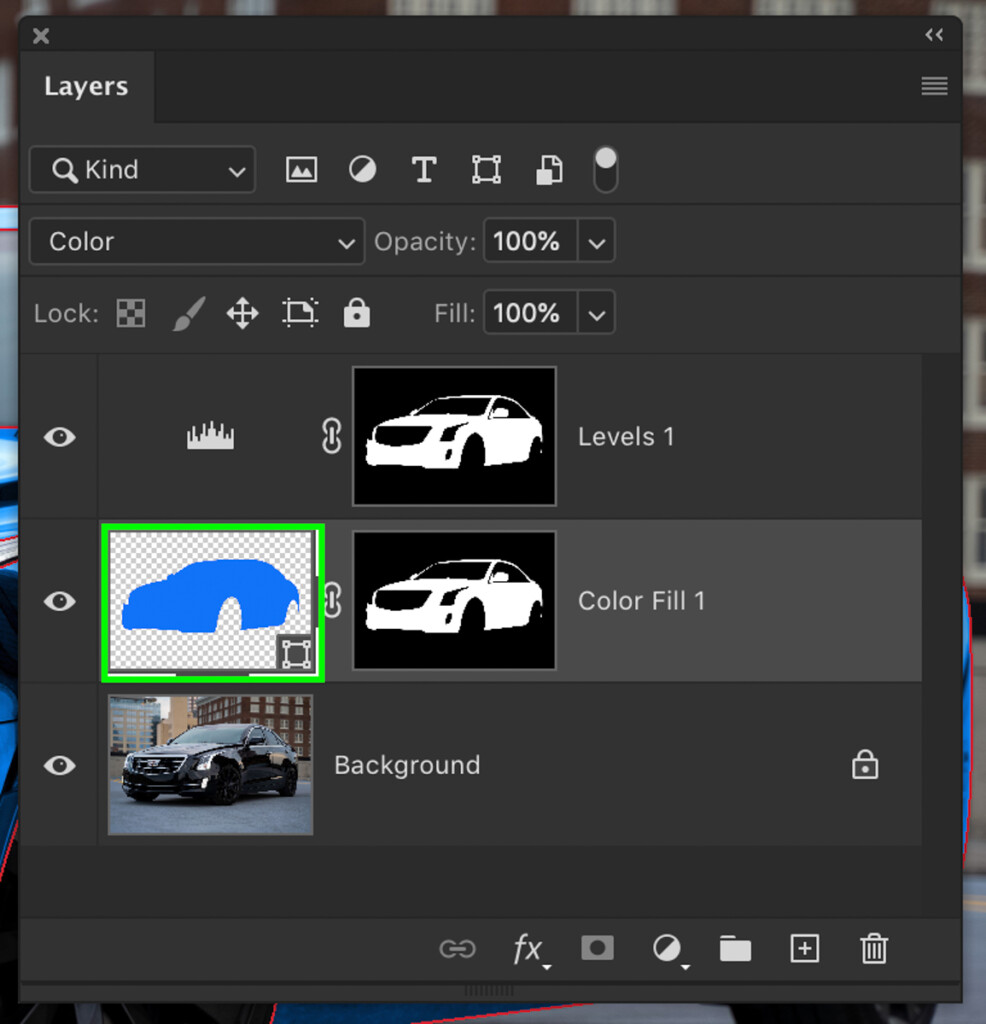
Step 5: Duplicate The Color Fill Layer Mask Onto The Levels
By default, any levels adjustment you make will be applied to the entire image. Since you only want it to affect the selected black area, you can use the color fill layer mask to isolate the adjustment.
Rather than creating your mask all over again, you can duplicate the color fill layer mask. By holding Alt or Option on the color fill mask, then clicking and dragging up to the levels adjustment, you’ll duplicate the layer mask.
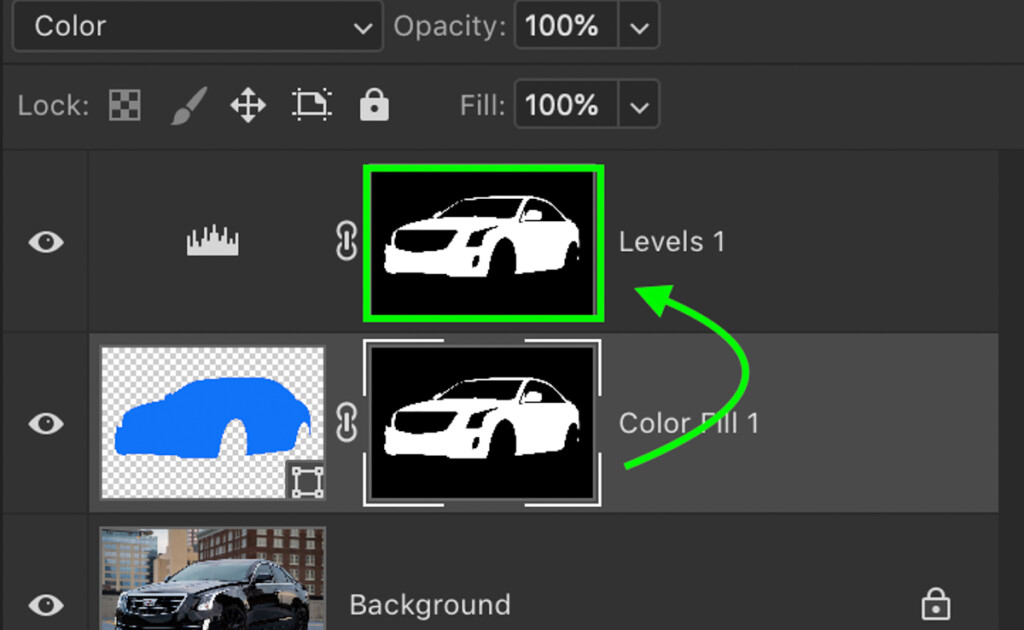
Now both adjustments will be applied to the same area. All that’s left now is to edit the brightness!
Step 6: Adjust The Levels To Brighten The Color
Double-clicking on the levels adjustment layer to open the dialogue box, you can use the mid-tones or highlights option to brighten the color.

Try starting by adjusting the mid-tones until you’re happy with the base look of your color.
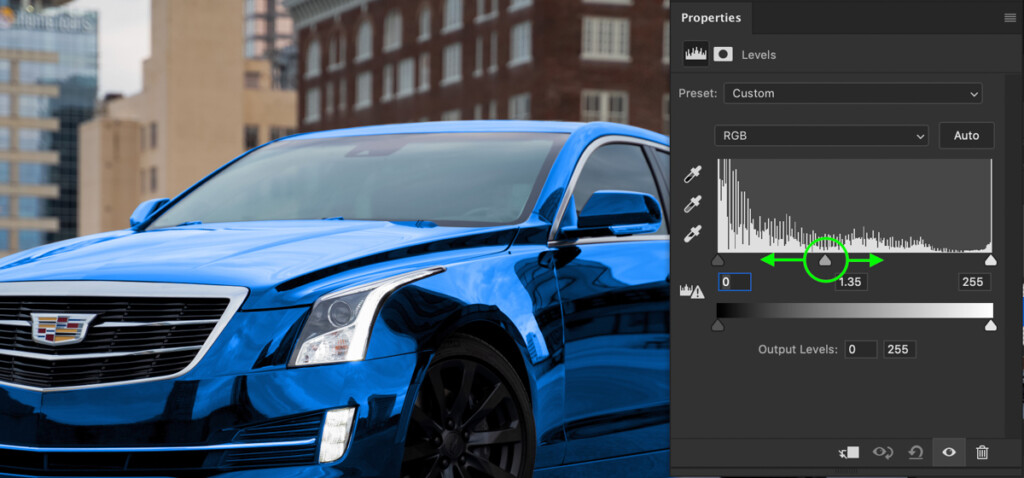
From there, try playing with the highlights to see what effects it creates.
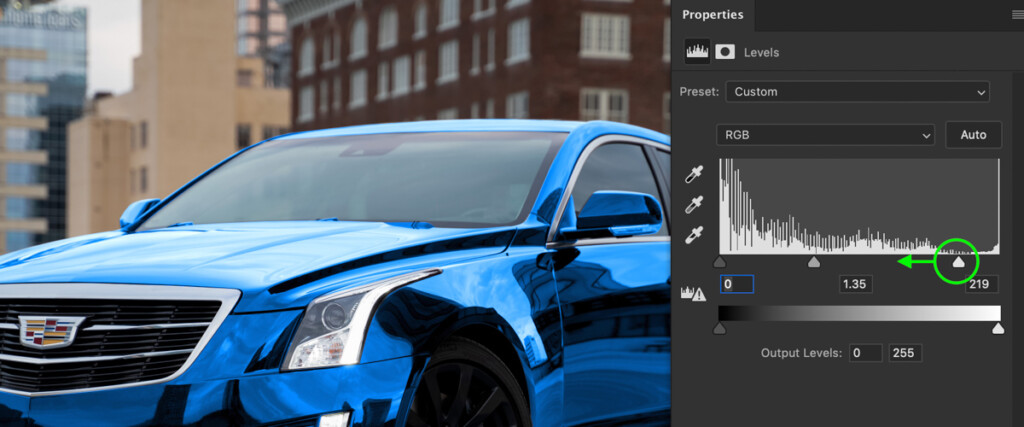
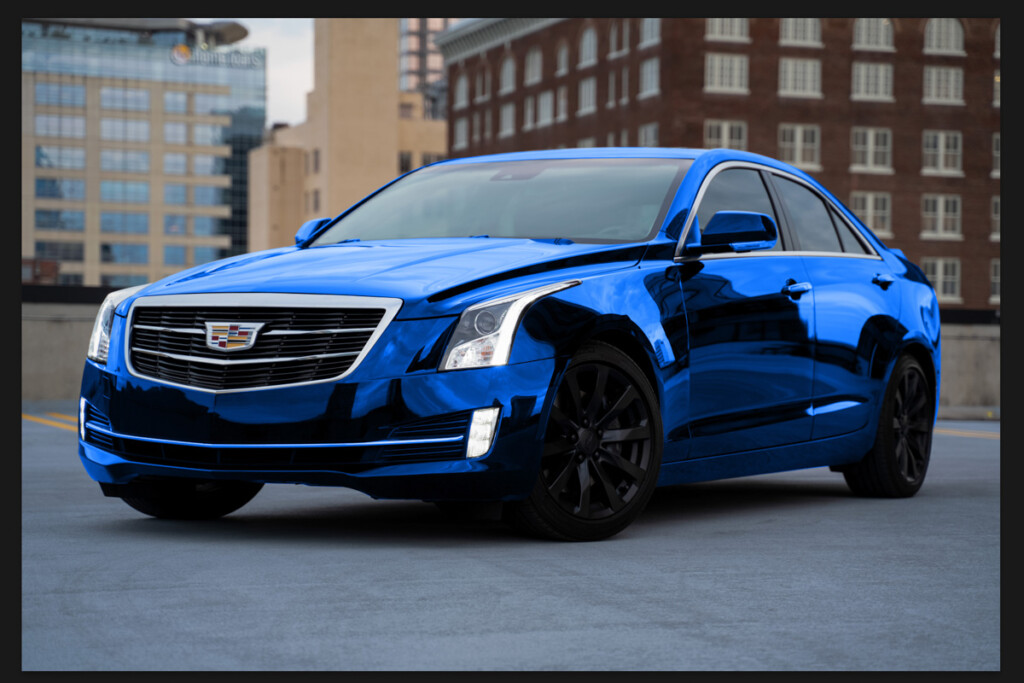
Because of the layer mask you duplicated in the previous step, the brightness adjustments are only applied to the black. Since that’s where the color is applied as well, it ends up brightening the entire area as one. With a little bit of playing around, you can perfectly refine your colors to match any look you’re going for.
How To Change The Color After You’re Finished
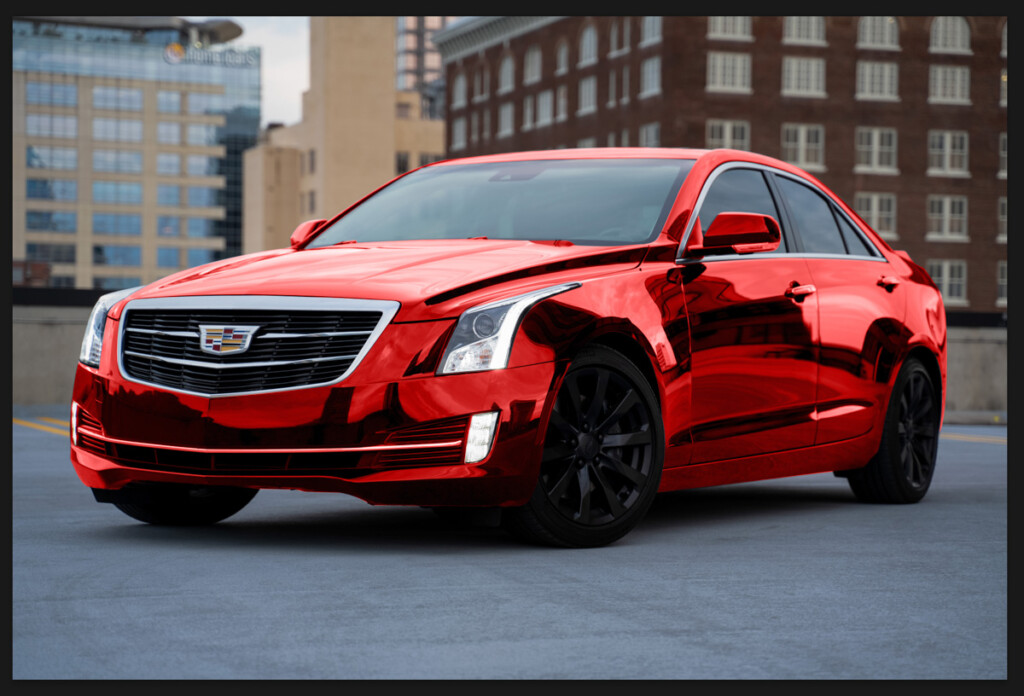
Once you’re finished changing black into a new color, you might completely change your mind on the color you want to use. Since you used a color fill layer, you can easily change this color by double-clicking on the color fill layer icon/thumbnail.
A color picker will appear where you can choose a new color to replace the black with.
For example, if I pick red, the black will be changed to that color.

When you’re happy with the new color, click OK to save your changes.
Changing Black Into White In Photoshop
If you want to change black to white, then you need to use a mixture of your color fill layer and the levels adjustment.
To start, change the color fill layer to white by double-clicking on the color fill icon.

Then open the levels adjustment and move the mid-tones and highlights slider to the left. This will brighten the black area further and make it appear more white.
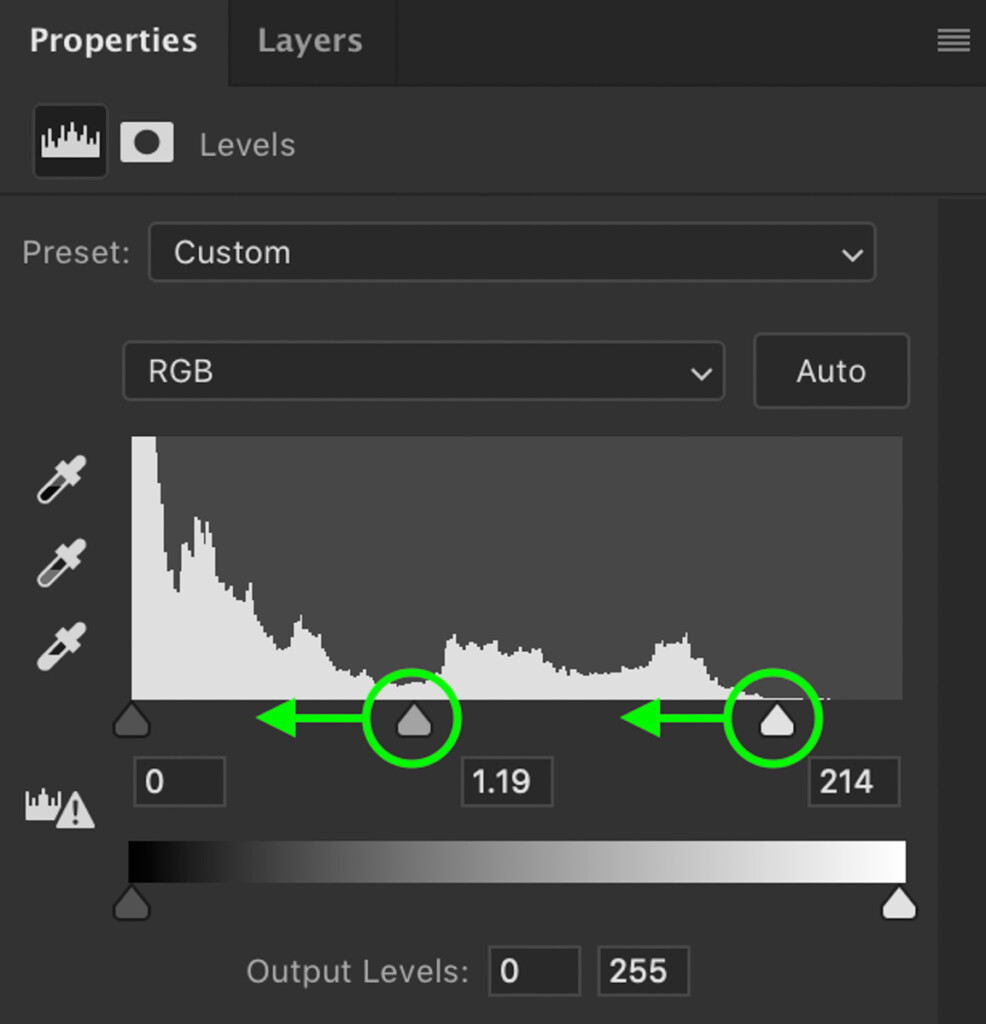
After a bit of playing around with the levels adjustment, you’ll be left with a white object instead of a black. Just be careful not to go too crazy with this adjustment, or the color will look blown out.
So that is how to change black into a color in Photoshop using 6 easy steps. This process can be used for any black object you want to change the color of, as long as you start with a good selection. By spending the time to make a clean pen path around the black from the beginning, you’ll end up with a far more realistic result.
Although there are other ways of making selections in Photoshop, black is a tricky color for auto selections since it blends in with shadows. Using a manual selection tool like the pen tool, you can guarantee you select the right areas and are left with an accurate selection!
Now that you know how to change black into any color, what about white? Check out How To Change Any Color In Photoshop (Even White) to keep the color-changing fun going.
Happy Editing,
Brendan 🙂


