

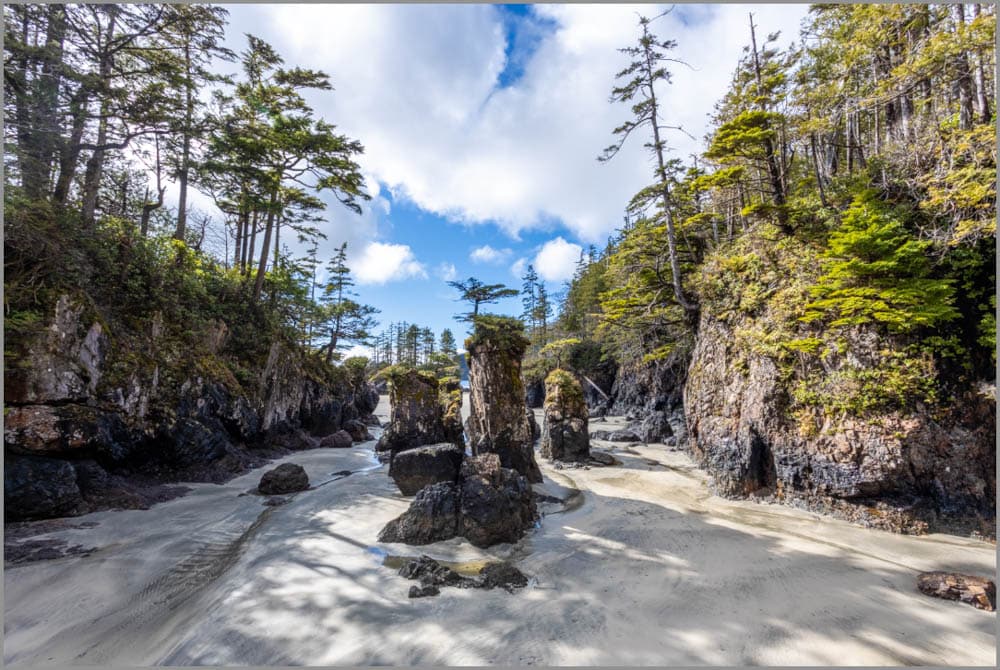
Landscape photography is an exciting niche, capturing the world’s natural beauty and wonder. But making sure that your landscapes look as magnificent on camera as they do to the eye requires some clever tweaks of the camera settings.
Once you’ve mastered the exposure settings paired with a few camera tricks, you’ll be well-equipped to handle whatever nature throws at you during your landscape photo shoots, keeping you prepared to photograph it all.
The Best Camera Settings For Landscape Photos Are:
- Mode: Manual Mode (M)
- Shutter Speed: 30” – 1/100
- Aperture: F/8 – F/16
- ISO: 100
- Focus: Auto (AF)
- Focus Type: Single Shot
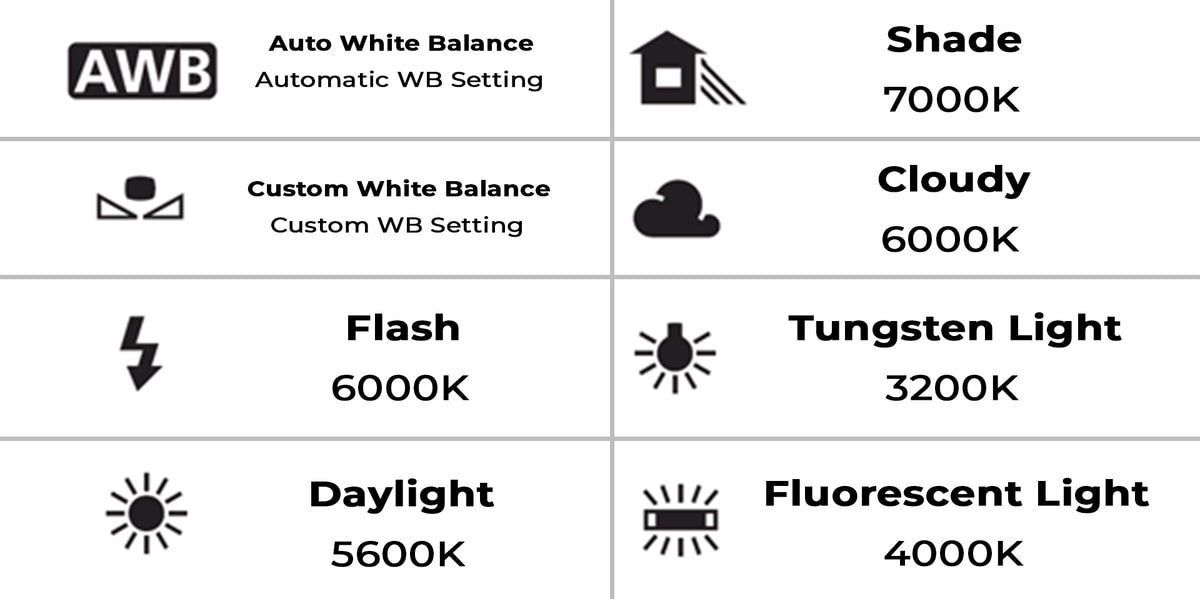
- White Balance: Daylight, Shade, Cloudy, or AWB
- Drive Mode: Single Shot
- File Type: RAW
But let’s dive into the settings a bit further to fully understand why I’ve given these base recommendations.
Understanding Important Camera Settings For Landscape Photography

Compared to other types of photography, landscapes aren’t the most difficult; your scenery won’t grow legs and run off. However, there are some settings that are unique to this type of photo niche.
For starters, Manual Focus (MF) and Auto Focus (AF) work for landscape photography, and leaving the camera on AF is perfectly fine with modern cameras.
Secondly, when it comes to the best camera mode, landscape photography thrives in Manual Mode. With manual, you can perfectly tailor each setting to create the exact look you want to achieve. Although Aperture Priority and Shutter priority may also work, the camera isn’t always the best at predicting what the other settings should be to achieve the correct exposure.
Once Manual Mode is set, you can select the shutter speed, aperture, and ISO.
Shutter Speed Explained
For landscape photography, both fast shutters and slow shutters work wonders – but which one you utilize will change the aesthetic of the image tremendously.
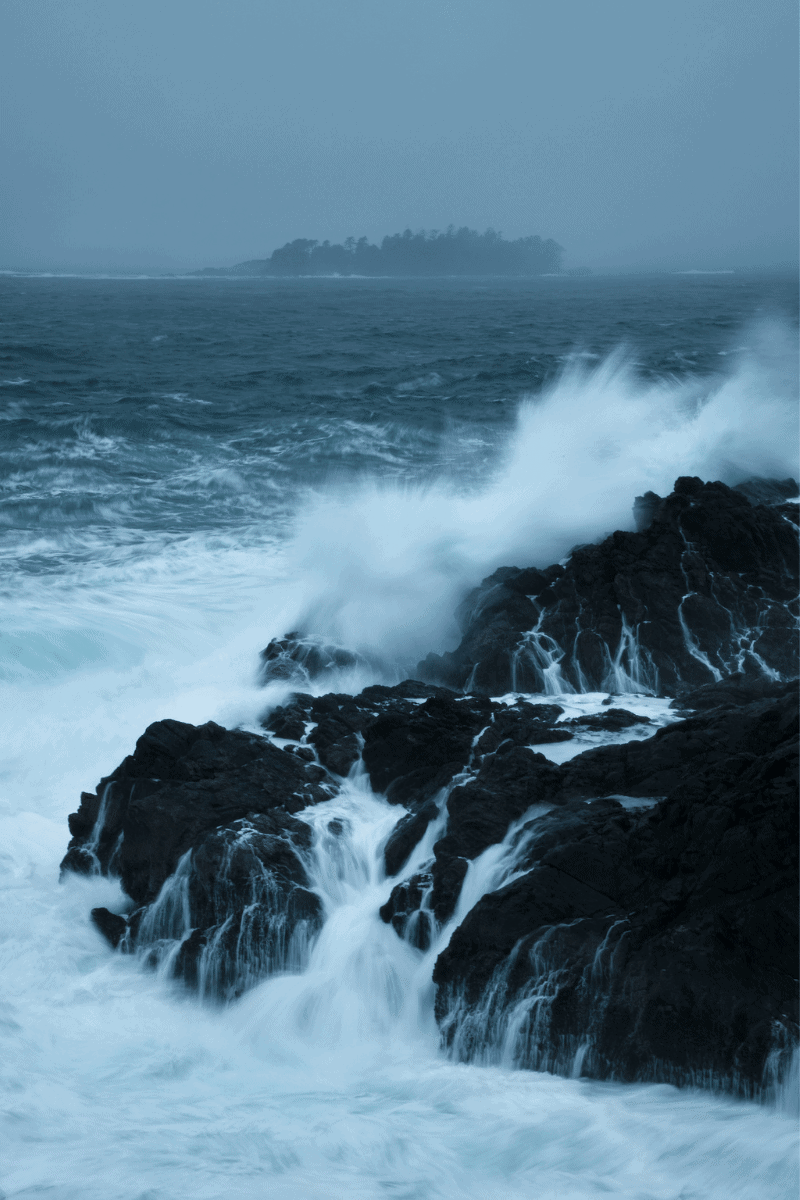
Fast shutter speeds are used for sharp landscape shots, aimed at helping darken the exposure during bright sunny days or freeze rain and snow for a dramatic effect. Since our human eyes don’t tend to see individual rain droplets, freezing them can be awe-inspiring.
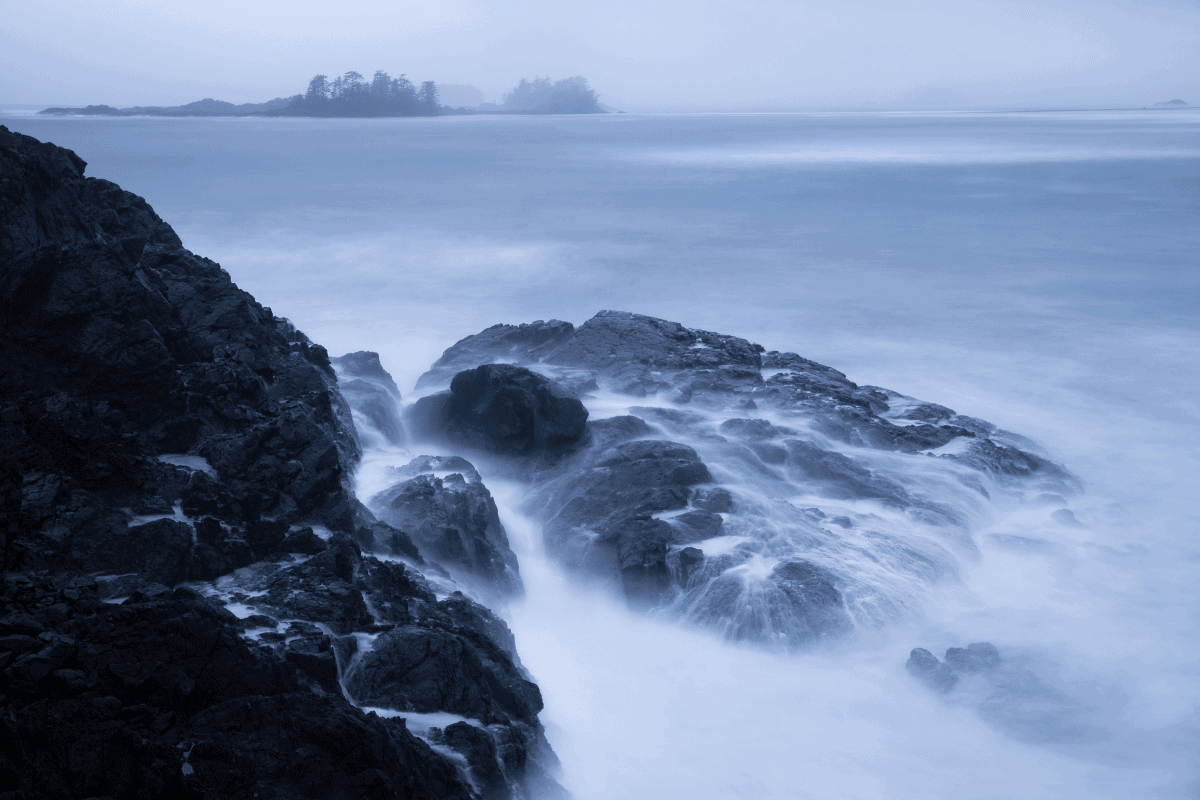
Slow shutters save exposure during darker days or help moving parts of the landscape (such as water) be blurred to create a calm, glassy, non-distracting look. Attention is drawn directly to the subject and away from the texture of a moving element.
Landscapes don’t move around, so leaving the drive mode as the camera’s default of One Shot is great. This allows the camera to set itself up for capturing that one brilliant image rather than readying itself for a burst of multiple shots.
Aperture Settings
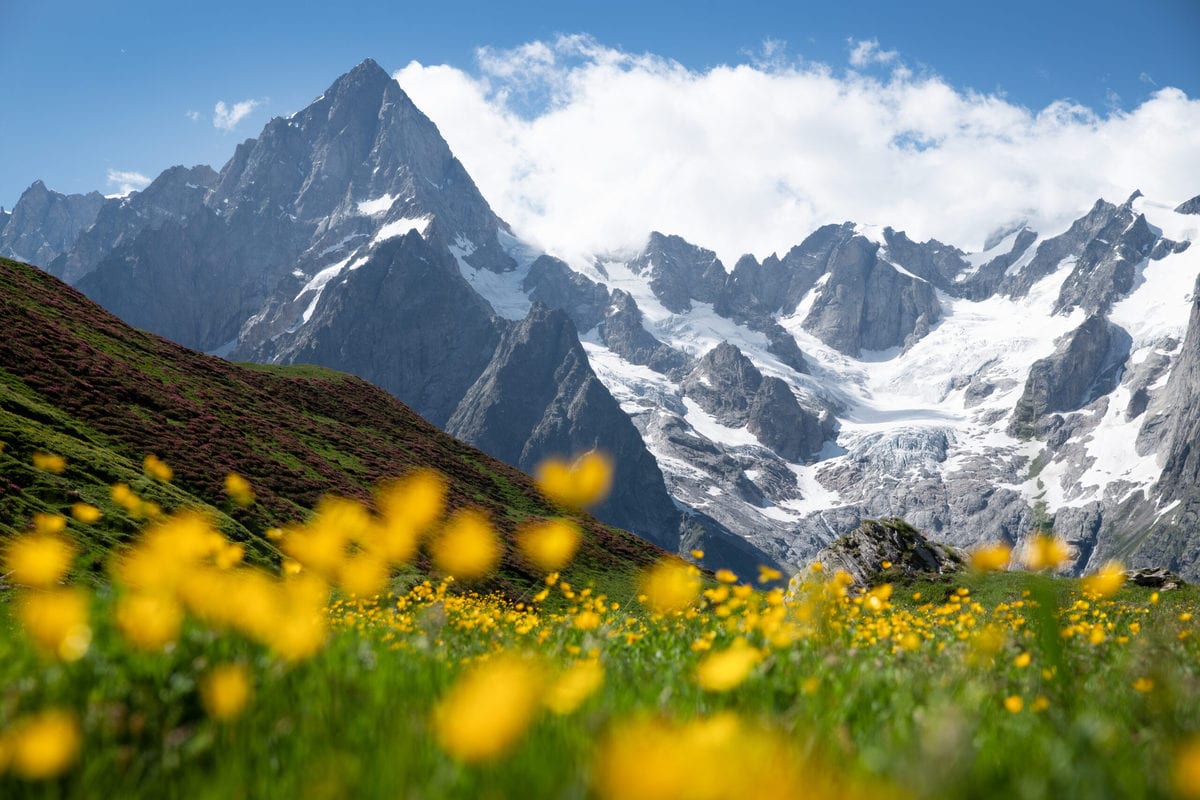
Where many photography niches call for shallow depths of field to isolate your subject, landscape photography asks for the opposite: a broad depth of field to keep more of the frame in focus.
The ideal aperture for landscape photography often ranges from F/8 up to F/16. What aperture within that range you choose depends on the lighting conditions of your landscape and how much of the foreground is present.
Wider apertures work well when you have a lot of foreground elements to blur them out and lessen the distraction. However, a landscape that includes primarily midground and background elements will suffice with an aperture of F/8 to F/11.
Landscape photographers who print their work will also be keen to use as narrow an aperture as possible because sharpness becomes key when the photo is printed. Ideally, the entire image will be sharp so the viewers can look closely at a print and see all the fine details. Some landscape photographers have been known to push their aperture to F/32 if the lens allows.
Focus Stacking
With narrowing the aperture comes a darker exposure. Sometimes, narrow apertures aren’t possible because the ISO and shutter settings may not be able to compensate for the darkness, so the exposure suffers too much.
In this case, a photographer can use a technique known as Focus Stacking to achieve the desired focus. Focus stacking is when a photographer takes multiple images with different focus points and then stacks them together in post-processing.
For example, one image will have the foreground as a focal point, another photo will focus on the middle ground, and the last will focus on the distant horizon. Merge these images in Adobe Photoshop, and you will have a single shot with every part of the landscape perfectly focused.
ISO Settings Explained
Every detail matters in landscape photography, so ensuring noise doesn’t muddy up your photo becomes vital. As landscape photography allows you to keep the camera stable and capture a non-moving subject, you can keep the ISO as low as possible.
Although post-processing can help remove noise, the image will lose its sharpness as a result. Because of this, it’s best to try and keep noise out, to begin with.
Landscape photographers aim to shoot at a maximum ISO of 200 if possible. However, some cameras may allow you to push the ISO to 500 or so before any noticeable noise appears.
The Importance Of White Balance In Landscape Photos
Although many types of photography leave the white balance on default Auto (allowing the camera to decide), the auto mode may not do you any favors with landscapes.
White balance aims to remove color casts, but in landscape photography, sometimes you want the color cast. For example, photographers ideally want to preserve the beautiful golden wash of the sunset hour, but auto white balance will try its best to remove the yellow. Restoring a lost color cast can be tricky, so avoiding finding yourself in that situation is best.
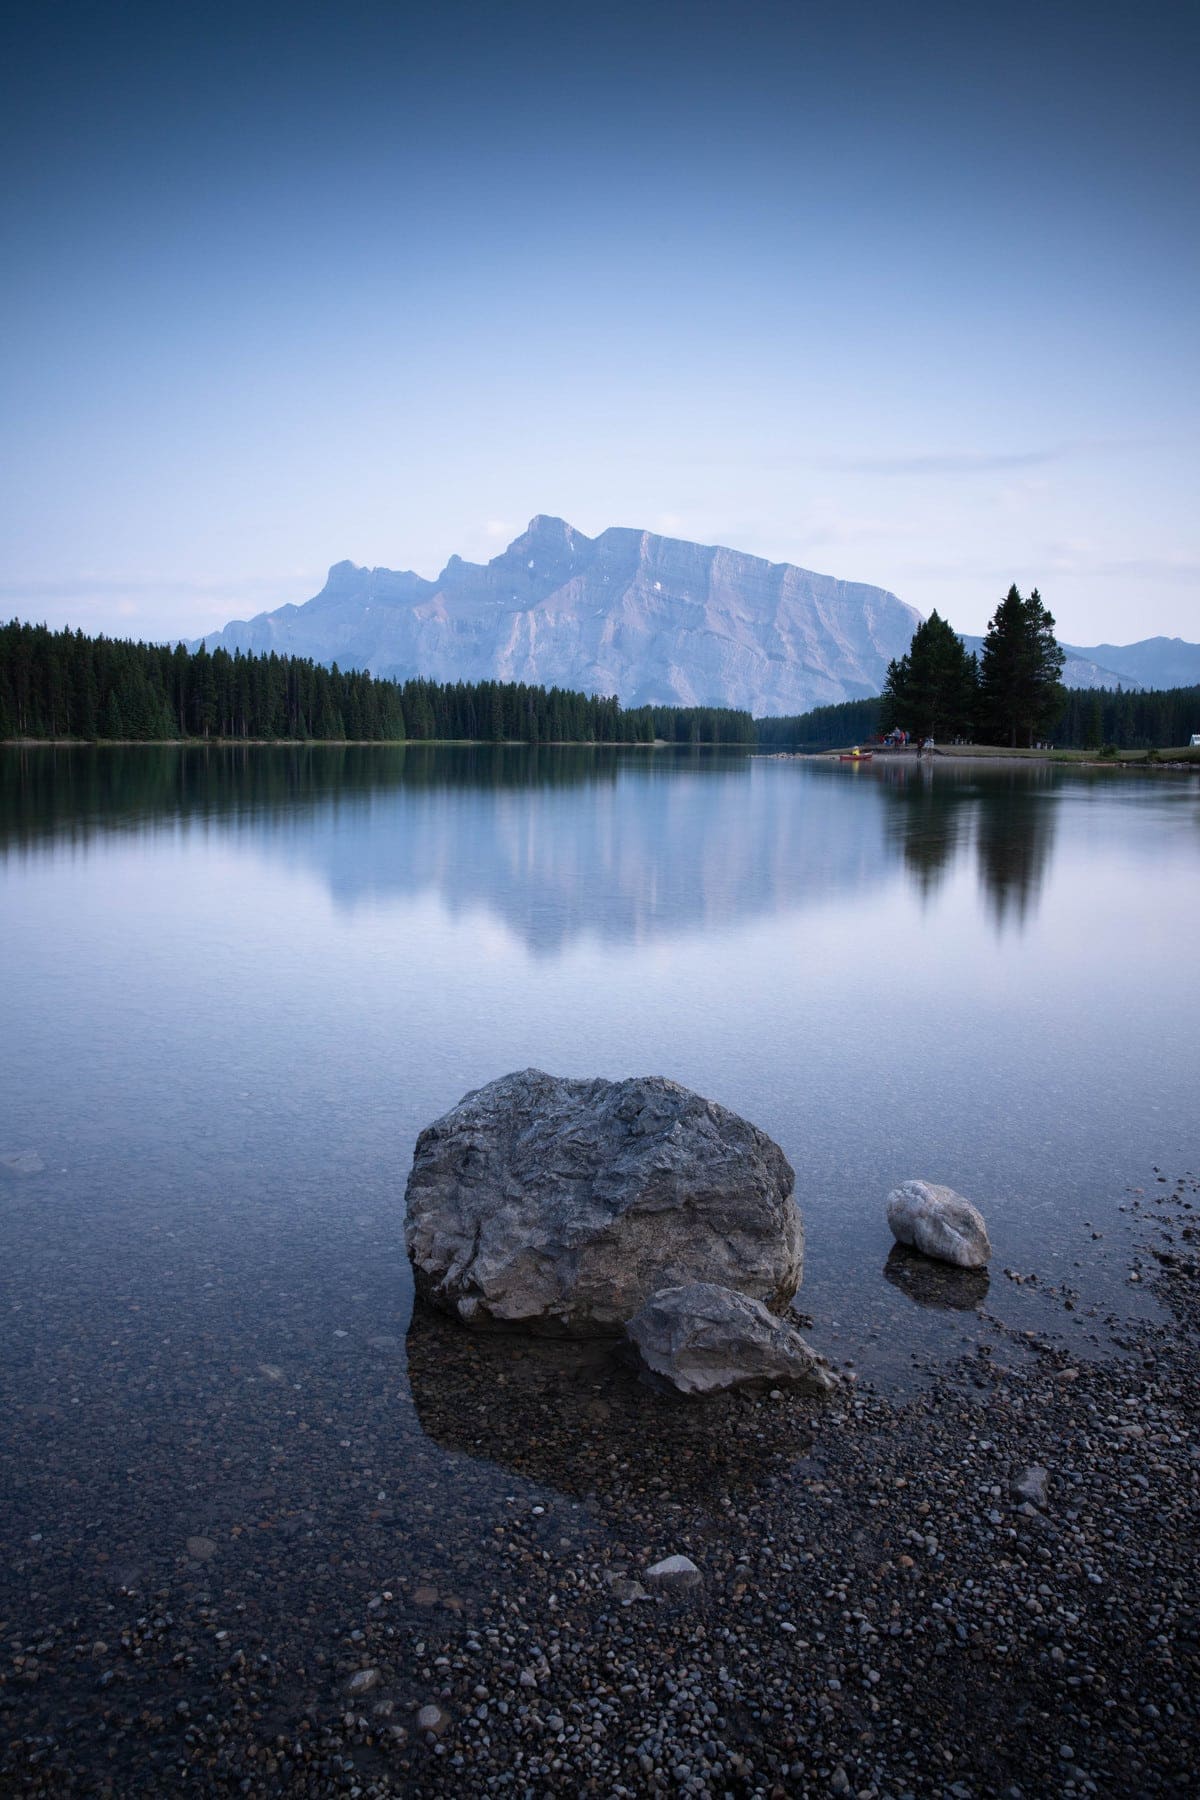
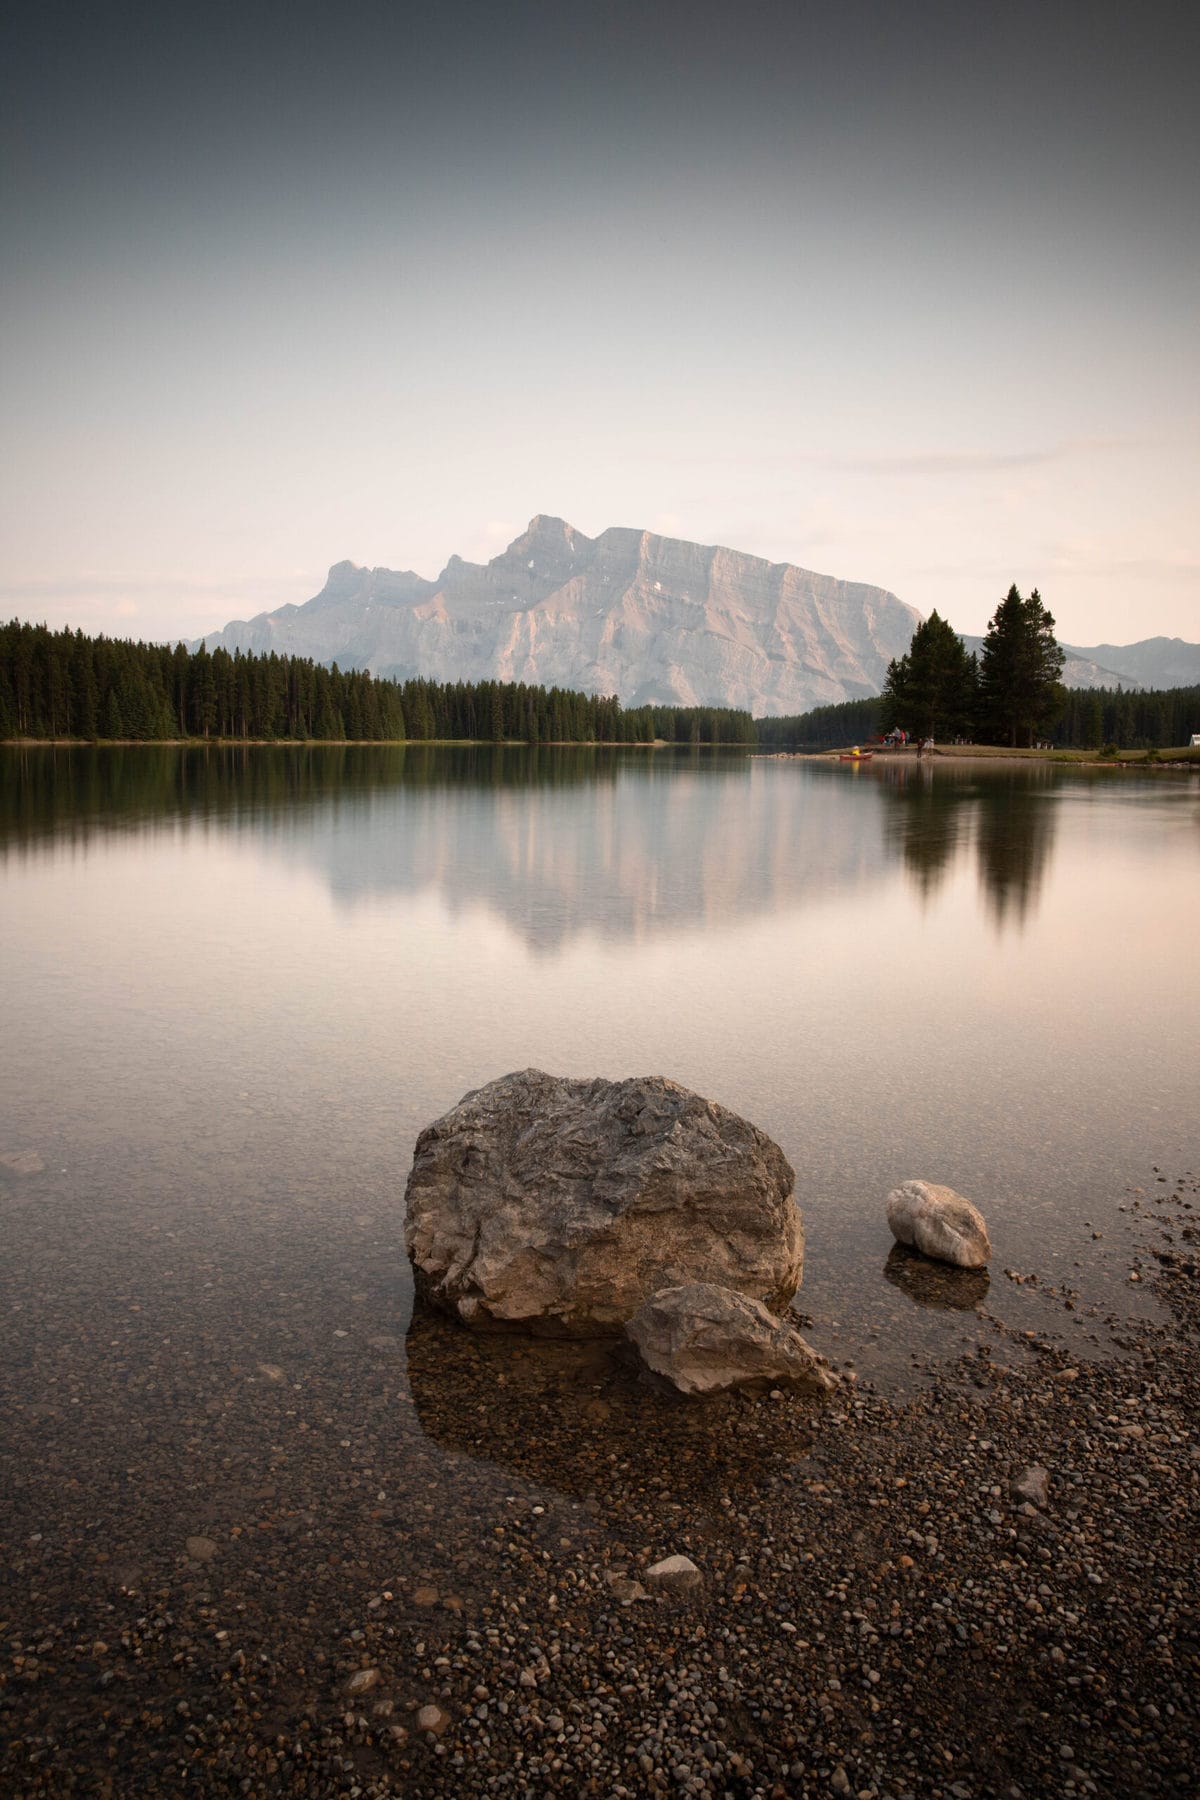
Using the various white balance settings that the camera has built into it is key here. Most modern cameras have at least Sunny, Daylight, Cloudy, and Shadow white balances built into them. Switch into the one applicable to the landscape you shoot, and you should be golden (no pun intended.)
The Art Of Bracketing
With all of the above being said, landscape photographers often find themselves in predicaments in harsher lighting conditions, such as bright sunny days. Generally, a camera cannot simultaneously expose both the darkest of shadows and the brightest of highlights. Luckily, there is a solution for this in the form of bracketing.
Bracketing is when several shots of the same scene are taken at different exposures and then layered together to produce the perfect exposure. Some cameras have this as a built-in automated option (referred to as Exposure Compensation), while others require you to manually take these different exposure shots.
For bracketing, simply mount the camera onto something that won’t move (such as a tripod) and select the Exposure Compensation setting in the menu. For cameras that do not have this feature, place the camera on Manual mode and manually take each shot.
The exposures you capture are based on the light meter in the camera. One of the exposures would be the most neutral exposure, where your light meter dial sits in the middle, declaring a “perfect” exposure. Then one shot will be an underexposed capture to expose the highlights properly. The other shot will be an overexposed shot to capture shadows correctly.
These images will then be layered onto each other in post-processing to expose the shadows, highlights, and midtones perfectly.
Sometimes, the landscape features varying degrees of shadows and highlights, so just three exposures won’t do the trick. There is no limit to how many exposures a photographer can stack into a single image, as some landscapes will need more than three.
If your camera does not bracket in-camera, you can do so in post-processing software. You can create an HDR image in Adobe Lightroom or in Adobe Photoshop, which lets you combine bracketed exposures as an automated option. Alternatively, you can buy software like Aurora HDR, which is made expressly for photo bracketing.
Using Neutral Density Filters In Landscape Photography
Landscape photographers often fill their bags with accessories, such as lens filters. Neutral Density Filters (commonly referred to as ND filters) can help achieve specific shots in lighting conditions that would otherwise make a particular image impossible.
Adding an ND filter to your lens is like strapping on sunglasses. Simply said, neutral density filters darken your lens. This filter prevents some light from reaching the camera sensor, allowing you to utilize specific exposure settings that would otherwise prove difficult.
For example, in the afternoon sun, using a slow shutter speed (even with very narrow apertures) will cause your exposure to be too bright. This is simply because the sun is overpowering the camera with light. Adding an ND filter to your lens lets you capture silky waterfalls in the sunlight because the filter has effectively darkened your frame.
Neutral density filters are not all the same, however. How dark a filter gets is noted with how many “stops” the filter has. A 3-stop ND filter lets you increase your shutter speed or widen your aperture by three stops of light, whereas a 10-stop ND filter offers you ten extra stops of light to work with.
Most ND filters are pre-set to a specific stop. More expensive options can be variable, allowing you to spin the filter dial to change the intensity of the darkening effect.
For landscape photography, most photographers use 6-stop filters and 10-stop filters.
Recommended Landscape Photo Camera Settings Based On The Scene
The lighting and weather conditions impact the settings tremendously, as they vary the available light.
Sunrise & Sunset Landscapes
Arguably a photographer’s favorite times of day to shoot, sunrises and sunsets create incredibly vibrant, dramatic, and eye-catching landscapes. However, the sun tends to move relatively fast, so there is limited time to capture the ideal shot.
Ideally, you’re still grappling with ensuring that your ISO is as low as possible to prevent noise, but light does fade rather quickly with a sunset or sunrise – so an ISO of up to 500 is perfectly normal to utilize. A middle-range aperture of F/9 to F/16 ensures the landscape is well-focused and can balance with a higher ISO. Set the shutter speed to wherever it may fall to gain the exposure you want.
Although I’ve talked a lot about using Manual Mode for landscape photography, Aperture Priority may help newer photographers with sunrise or sunset photography. With Aperture Priority, just set your aperture to about F/16 and let the camera take care of the rest. Because the light does change quickly, this can help keep up with the rapid darkening or lightening of the frame.
If you want to add a lens flare to your sunset or sunrise photos, keep narrowing your aperture. The narrower the aperture, the more prominent the burst you will get. Remember to adjust the rest of your exposure settings accordingly to compensate for the narrower aperture. This may mean bumping up your ISO and slowing down your shutter.
Bright Sunny Landscapes
Although most landscape photographers will try to avoid a bright sunny day, sometimes, this less-than-stellar lighting condition can still yield great photos. Sunny landscapes do well with the classic Sunny 16 Rule.
The Sunny 16 rule states that you should capture sunny days with an aperture of F/16, and when doing so, the shutter speed is set as the exact inverse of the ISO. So if your ISO value is 100, the shutter speed will be 1/100.
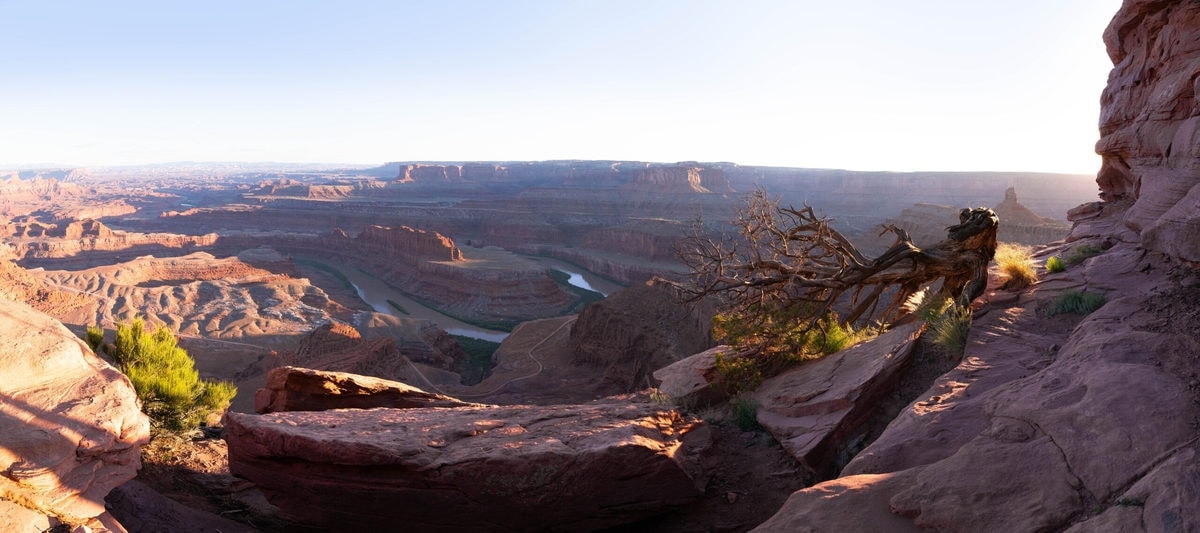
This should set your exposure off to a great start, with potential tweaks here and there based on what exposure you want for that particular landscape scene. For example, in the image above, I have major foreground elements that I wanted to blur, so I used a wider aperture and sped up my shutter, and lowered my ISO to compensate.
Cloudy Day Landscapes
Cloudy and overcast days are lovely for landscape photography, making your exposure settings much easier. The clouds act like a giant diffuser over the sun, spreading the light into a very even exposure. Shadows aren’t too dark, and highlights aren’t too bright.
Because of the neutral characteristics of cloudy days, your settings are open to whatever you fancy. Remember that darker clouds will cause a darker shot, while overcast clouds are pretty bright.
If you capture a landscape with an overcast sky in the frame, expose for the sky rather than the ground itself. The terrain can have its shadows brightened in post-processing, or you can use bracketing to expose for both. A cloudy day featuring dark clouds should allow you to expose for the landscape and sky simultaneously.
Winter & Snow
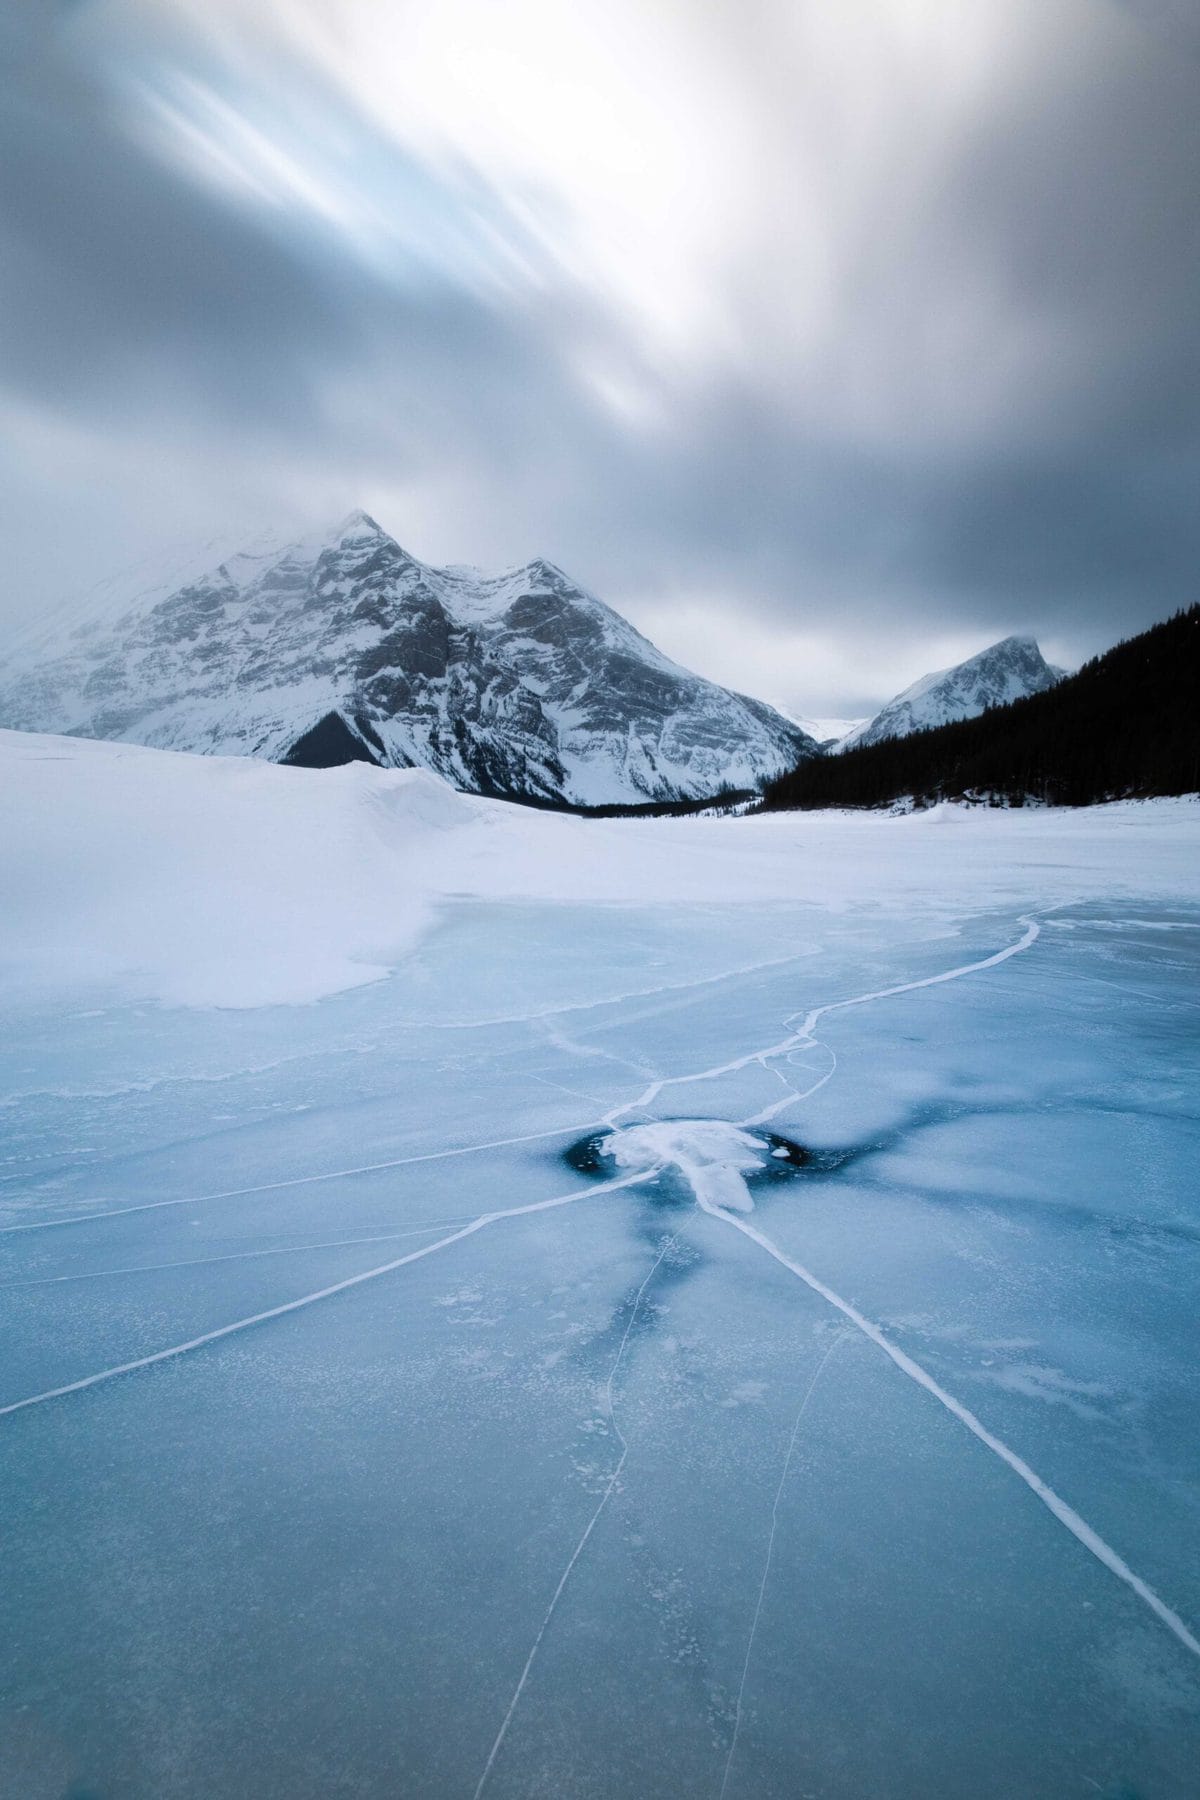
The wintertime can be difficult for photographers to expose. The brilliant white of the snow is very reflective, bouncing light around and overexposing your shot easily. As such, you’ll want to focus on having a fast shutter speed to darken your exposure enough to ensure the snow still has detail within it.
Aim for as low an ISO as possible, as narrow an aperture as you can muster, and a higher shutter speed. Settings such as ISO 100 (for DSLRs) or ISO 50 (for mirrorless cameras), an aperture of F/11, and a shutter speed of over 2000 can do well. If you want to use a long exposure or a shallower depth of field, investing in an ND filter can help.
Aside from snow, remember that wintertime means shorter days. The sky will get dark rather quickly, so plan your time of day accordingly.
Landscapes With Rivers & Waterfalls
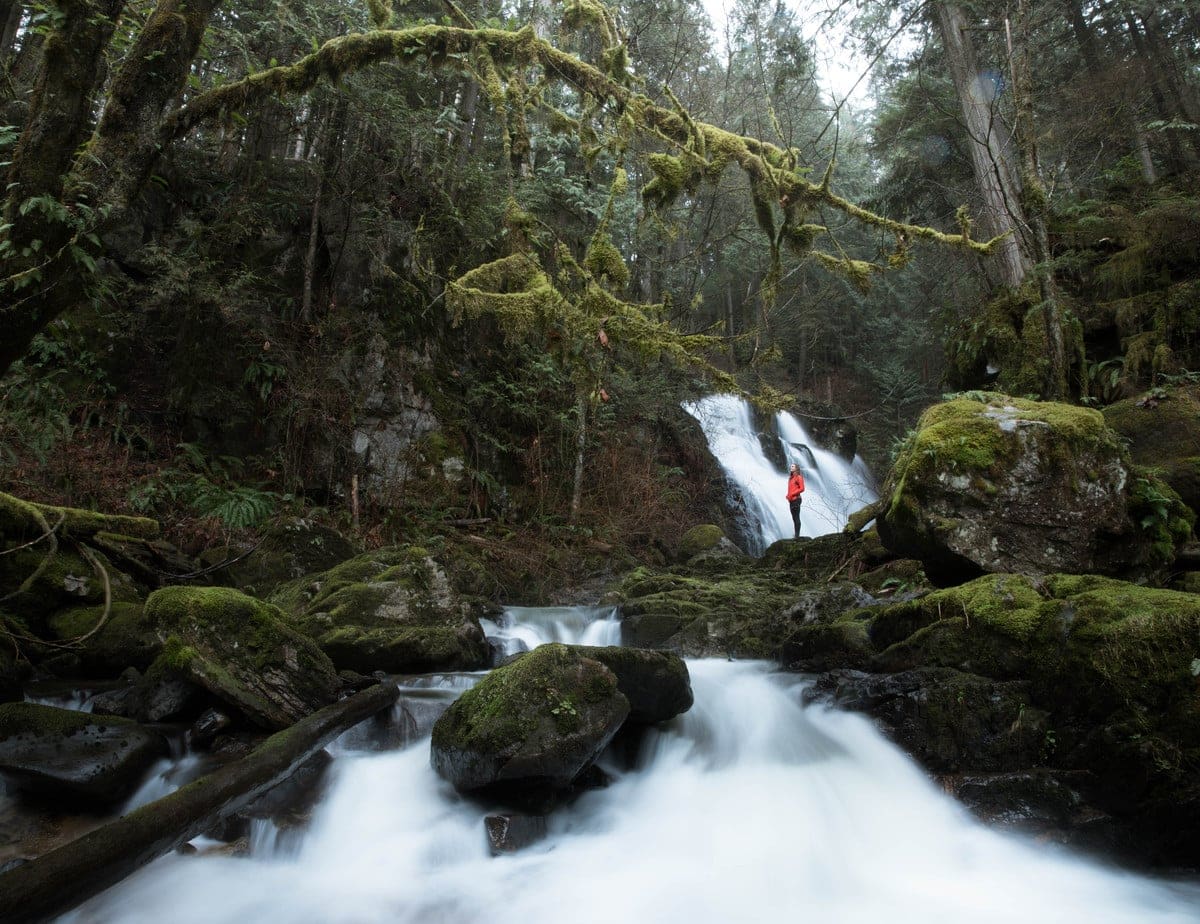
Moving water provides a brilliant opportunity to capture silky waterfalls and streams. Long exposures will add motion blur to the water’s movement, making it look like fabric.
To do this, set the shutter speed between 1 to 6 seconds long. As the shutter remains open for quite a while, the image will be much brighter due to the amount of light that gets let in. Use an ND filter if you are shooting on a bright sunny day.
Keep the ISO to the lowest possible number (typically between ISO 50 on mirrorless systems or ISO 100 on DSLRs) to avoid image noise, and set the aperture to a narrower F-stop of F/9 to F/32, depending on the lens used. This ensures sharpness throughout the shot.
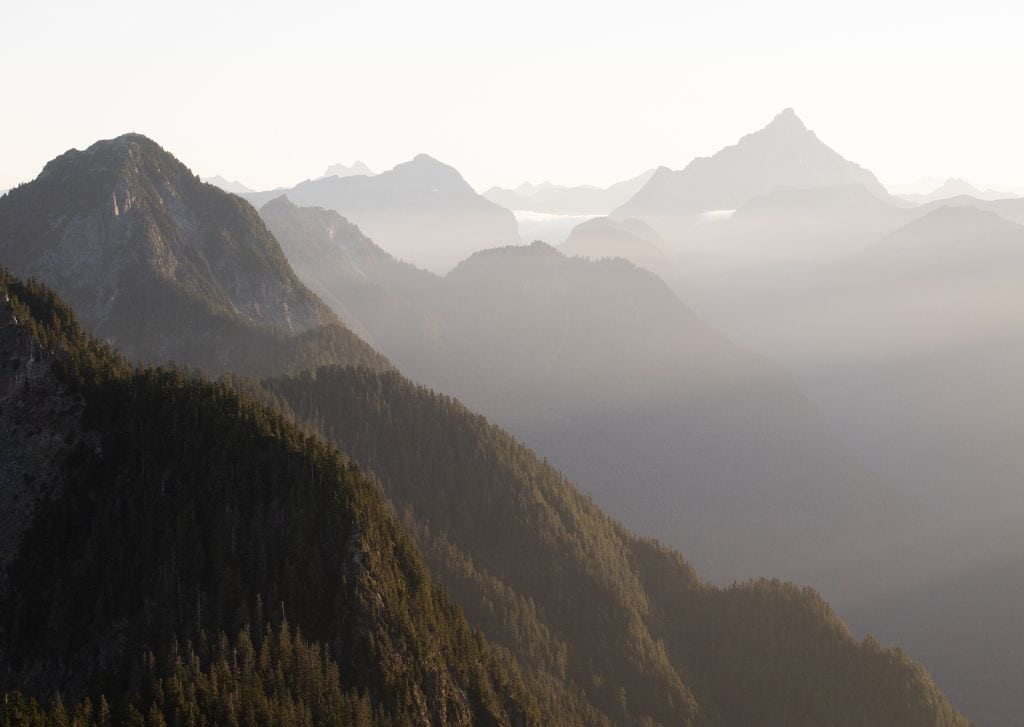
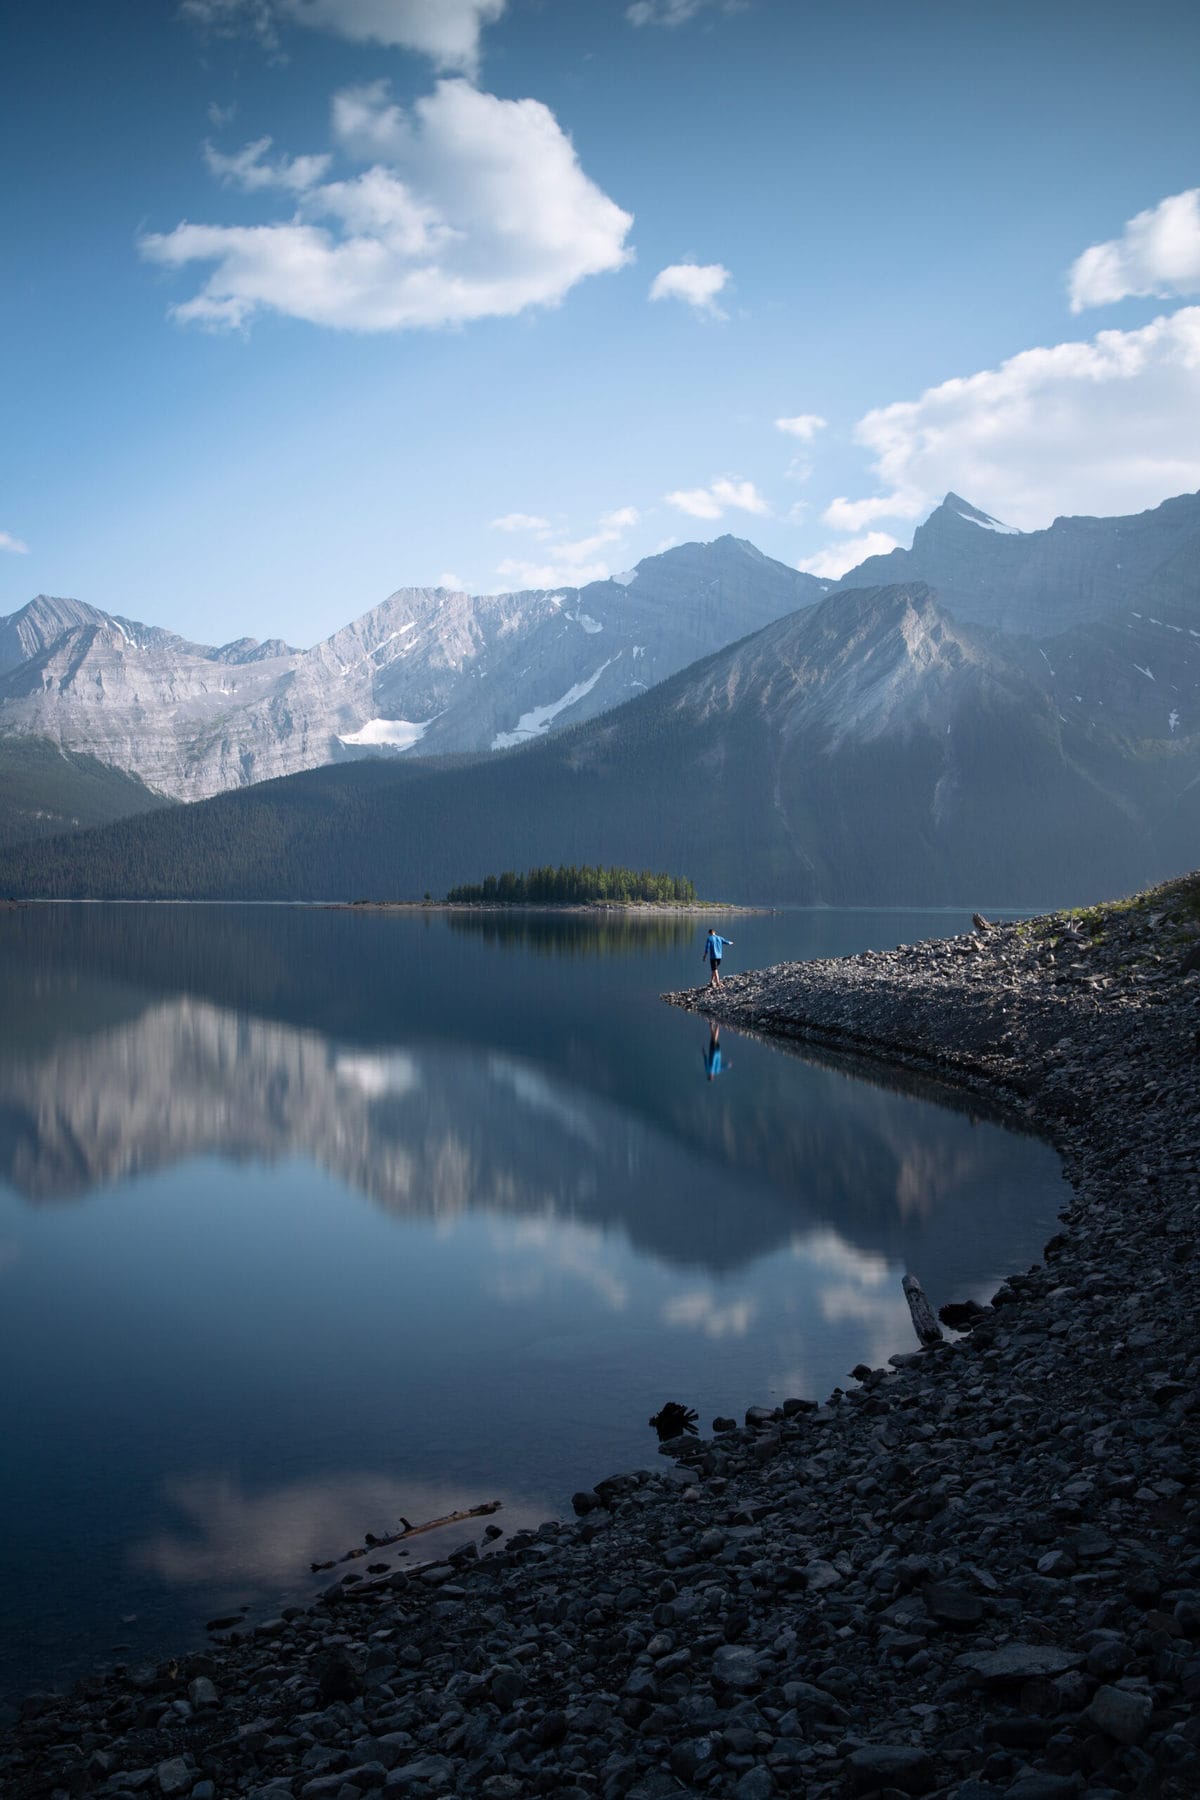
Mountains & Hiking
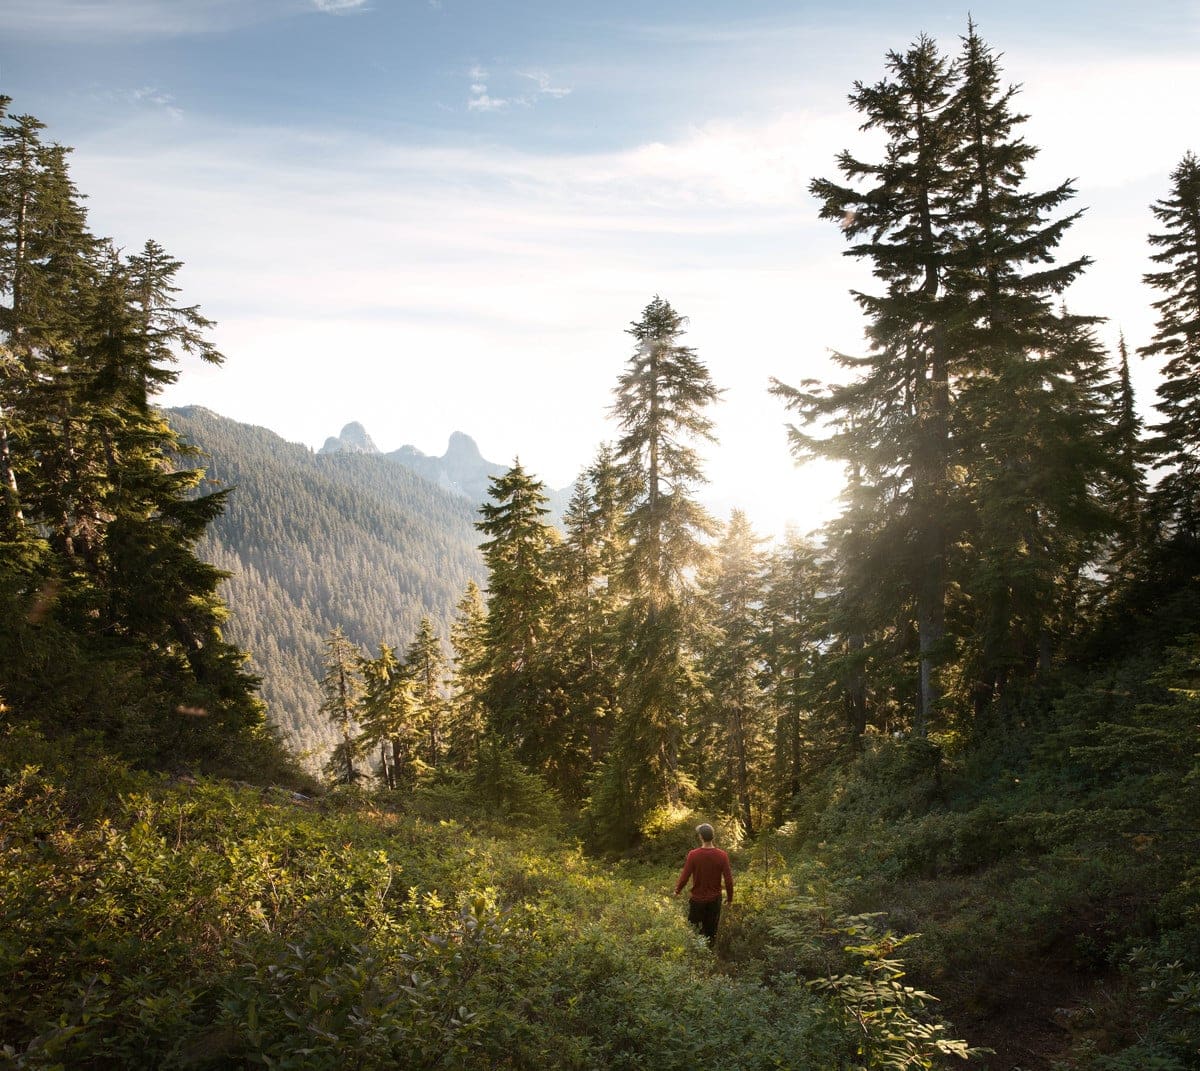
Some of the most iconic landscape photos tend to take place on hikes when the photographer adventured up an unknown path only to come across stunning scenery. Remember that the sun is often blocked when photographing mountains and hiking trails, so your frame will be pretty dark.
It’s normal to push your ISO slightly higher for mountainous scenery, such as up to ISO 500, depending upon the lighting. Keep your aperture narrow to capture the beautiful details within the mountainscape, and let the shutter speed fall where it needs to keep the exposure balanced.
The exact settings used depend on the time of day and available light.
What Are The Best Camera Lenses For Landscape Photography?
Technically speaking, any camera lens can work for any type of photography. It just depends on how a photographer uses the glass. That being said, specific lenses thrive more in landscape photography than others.
Traditionally, wide-angle lenses excel at landscape photography. Ranging in focal length between 14mm to 35mm, wide-angle lenses capture the widest field of view of any of the lens types. 24mm prime lens or 16-35mm zoom lenses are commonly used for landscape photography.
A wide-angle lens shows that the foreground and background are farther apart, creating vastness in the image. Plus, the wide field of view captures more of the shot than a standard lens would.
Although wide-angle lenses are popular, telephoto lenses also have their place in landscape photography. Telephoto lenses compress the perspective, which is great if you want to frame a shot of a specific part of your landscape.
For example, capturing a famous rock format in Yosemite National Park. A telephoto lens helps isolate your subject and make it appear closer than it is. The most popular telephoto lenses for landscape photography are the 70-200mm F/2.8 or 70-200mm F/4.0 lens, which every camera brand has a version of.
Because most landscape photography features narrower apertures, the lens selection is quite vast. You don’t necessarily need to spend excessive amounts on a wide aperture lens, as wide apertures often increase a lens’s price tag. Plus, narrower aperture lenses tend to be smaller and lighter, which is great for traveling landscape photographers.
Keep in mind that you cannot widen an aperture past its widest construction (such as an F/4.0 lens cannot be turned into an F/1.4 lens), so there is a value to a lens that can go wider, as this gives you more flexibility with your settings.
Lens Recommendations For Landscape Photos
For Canon users, the Canon EF 16-35mm f/4L IS USM (for DSLR) or the Canon RF 16mm f/2.8 STM (for mirrorless systems) are fantastic choices. The 16-35mm is versatile, while the 16mm is incredibly portable.
For Nikon photographers, the Nikon AF-S 14-24mm f/2.8G ED is a great wide angle range, while the Nikon AF-S 20mm f/1.8G ED is a good companion for a full-frame camera. For mirrorless users, the Nikon Z 14-30mm f/4 S will serve you well.
Sony shooters may enjoy the Sony FE 20mm f/1.8 G for how edge-to-edge sharp the lens is. But Sony also has a version of the beloved 16-35mm.
SIGMA and Tamron also have some great landscape photography lenses that you may mount to Canon, Nikon, and Sony mounts. These include the Tamron SP 24-70mm f/2.8 Di VC USD G2, Sigma 14-24mm f/2.8 DG HSM Art, and Sigma 24mm f/1.4 DG HSM Art.
Do You Need A Tripod For Landscape Photos?
Whether or not you need a tripod for landscape photography depends on what you want to achieve with your photos. Technically speaking, you can accomplish great landscape photos going entirely handheld – but you will find yourself needing more support in some regards.
For one, long exposures are not possible with handheld camera positions. As mentioned above, your shutter speed will be relatively slow if you want those silky waterfalls. The natural shake and movement of your hand will impact the resulting image, adding motion blur where there shouldn’t be any.
Secondly, a tripod makes this much easier if you need to stitch together a panorama. Every photo will be in even perspective, which makes aligning images a breeze.
Third, using a tripod can help achieve sharp images. When shooting in conditions where the shutter speed is kept slower solely for a good exposure (keeping the ISO low to avoid noise), mounting the camera on a tripod and setting a two-second self-timer is a great trick. Your own clicking of the shutter button could cause camera shake, which can be expertly remedied with the camera’s self-timer.
It’s seldom the case that a landscape photographer wouldn’t have a tripod, so you might as well invest in one. I recommend a few tripods on my recommended gear page here if you don’t know where to start. You never know when it may come in handy. Besides, there are tripod options especially designed for landscape photography, featuring a lighter weight, ball head, and compact design.
Landscape photography is one of the most inspiring ways to connect with the world around you and capture beautiful light that only lasts for a moment. With the tips you learned here in mind, you can feel confident you’re ready to capture head-turning photos of any view you find!
Happy Shooting!
