
Although there are many ways to create mirrored text in Photoshop, the two methods you’ll learn here strike a balance between simple and looking great. In fact, if you already know how to create a new piece of text, then the following steps will be an absolute breeze!
Let’s dive in.
How To Create Mirrored Text In Photoshop
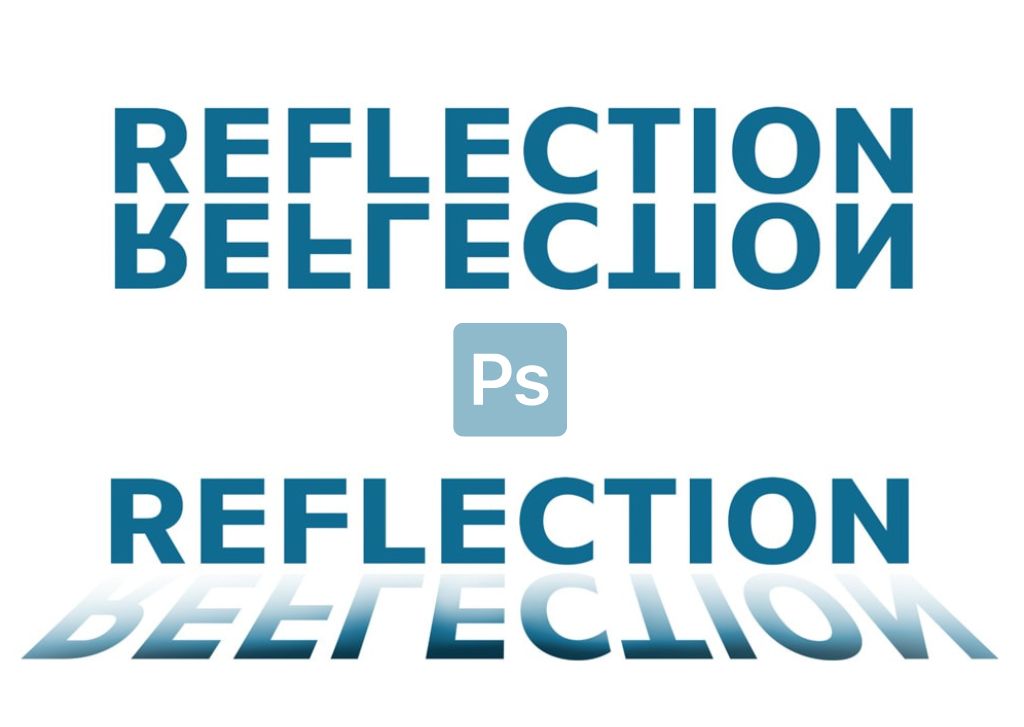
When you mirror a text, you get an inverted copy of it beneath the text. Mirroring your text is relatively easy, and you can do it by using the Free Transform Tool to change the orientation of your text.
Step 1: Create A Document And Add Text
First, you have to create a document to place the text. It can be any size you want, as long as there is enough space for the text and there is also space for margin; otherwise, you will have trouble printing the document or publishing it online. You can also choose any color for the document. In my case, I chose white.
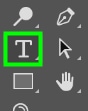
After creating your document, enable the Type Tool in the Toolbar or press T on your keyboard.
Then, go to the Options bar and change the font, size, and color as you want. However, avoid thin fonts since it often makes the mirrored text unreadable. In my case, I chose a blue color for my font, set the text to 72 pt, and set it to bold.

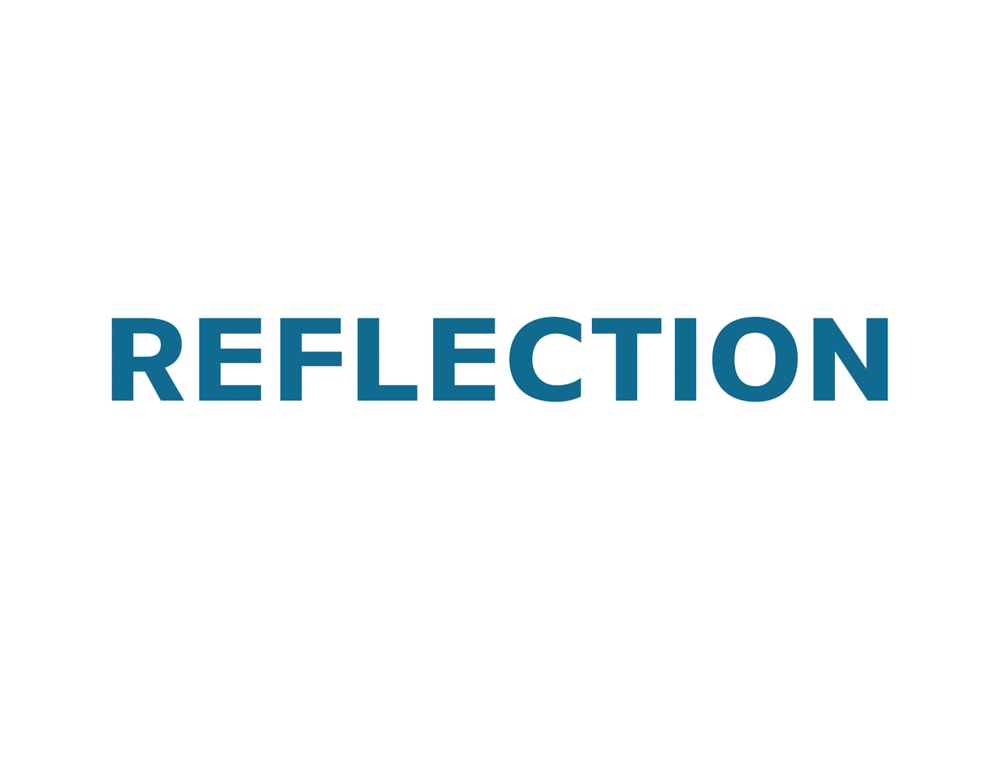
After that, add any text to the document you created.

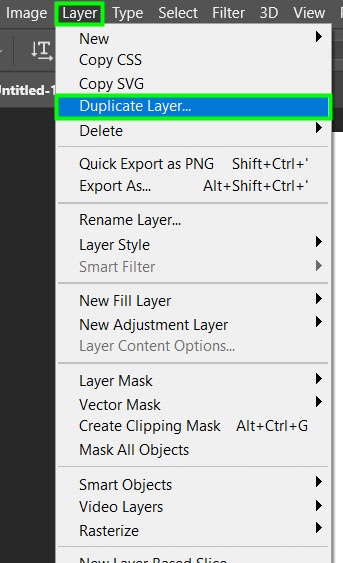
Step 2: Duplicate The Text
Now you need to duplicate your text layer. To do this, press Control + J (Win) or Command + J (Mac). Alternatively, go to Layer > Duplicate Layer.

Step 3: Flip The Duplicated Text
With the copy layer selected, press Control + T (Win) or Command + T (Mac) to enable the Free Transform Tool.
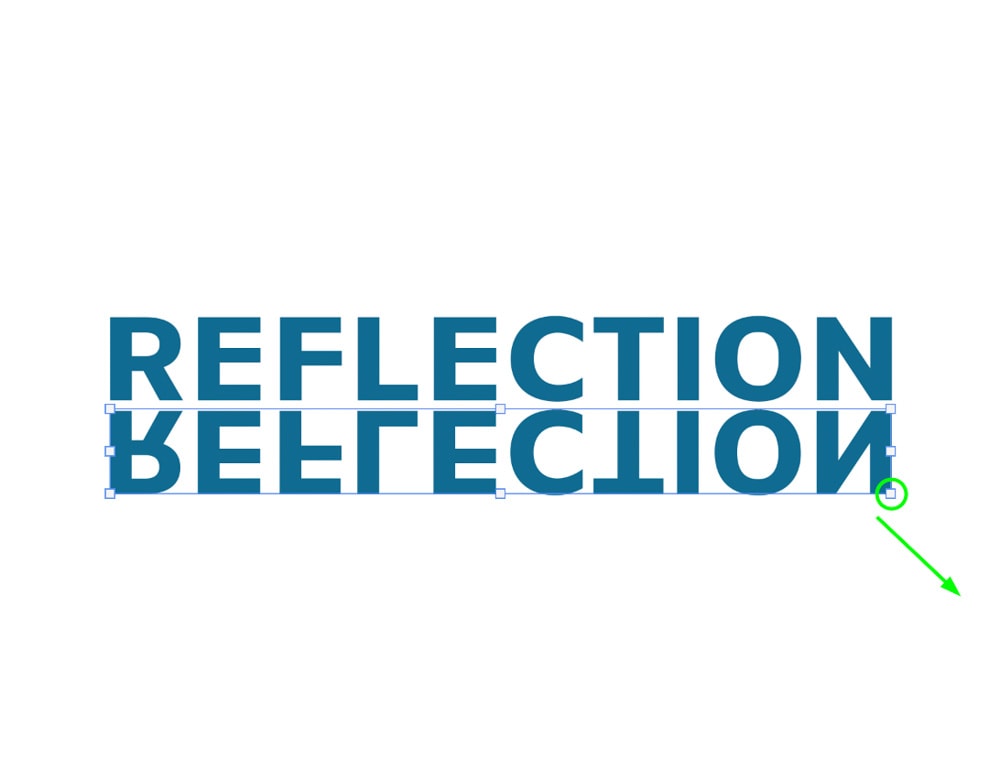
Then, right-click the bounding box around your text and choose Flip Vertical from the flyout menu.
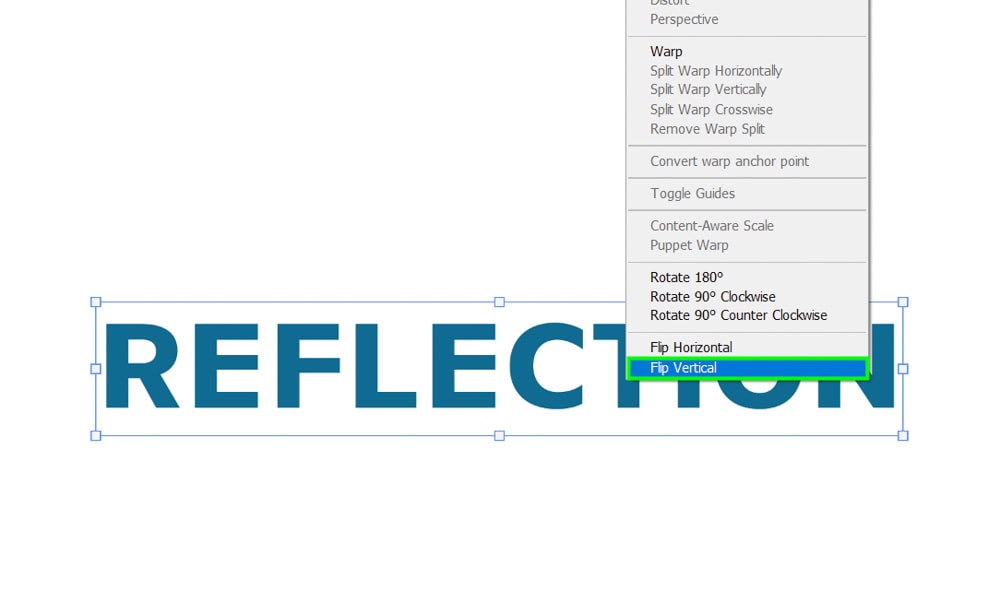
Then, drag the copy of the text down to position it right below the original text.

Hit Enter on your keyboard to confirm the action and disable the Free Transform Tool.

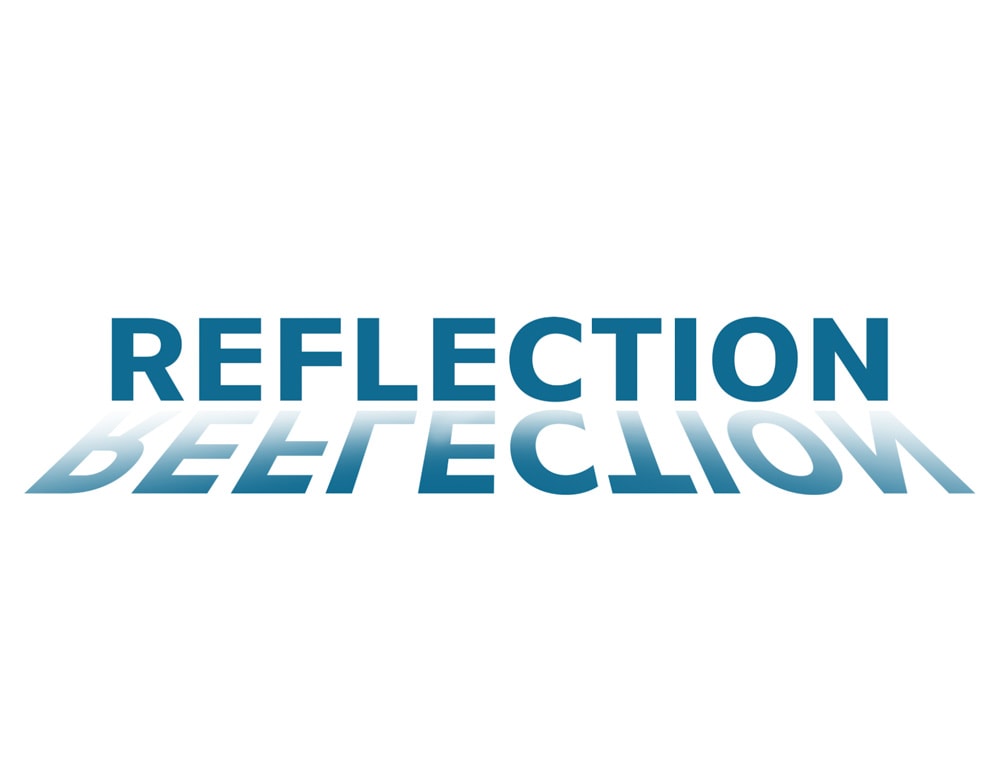
How To Make Reflection Text In Photoshop
Unlike mirrored text, reflection text looks like it’s lying on a surface and has gradient effects that cause it to appear illuminated.
To create reflection text in Photoshop, you first need to create a mirrored text, as shown in the previous section. Once you have created your mirrored text, you can move on to the below steps.
Step 1: Rasterize The Mirrored Text
First, select the copy text that is now flipped vertically.
Then, right-click the layer and choose Rasterize Type.
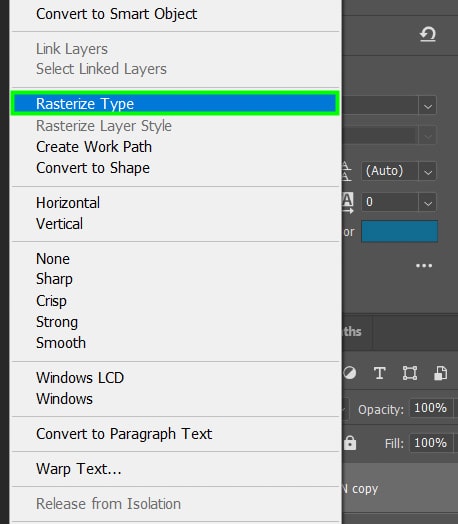
Once you rasterize the layer, you won’t be able to edit the type layer anymore (changing the font or color), but now you can distort it in any way you like. In this case, we will distort the type to make it look like a text reflection.
Step 2: Distort The Text
Press Control + T (Win) or Command + T (Mac) to enable the Free Transform Tool.
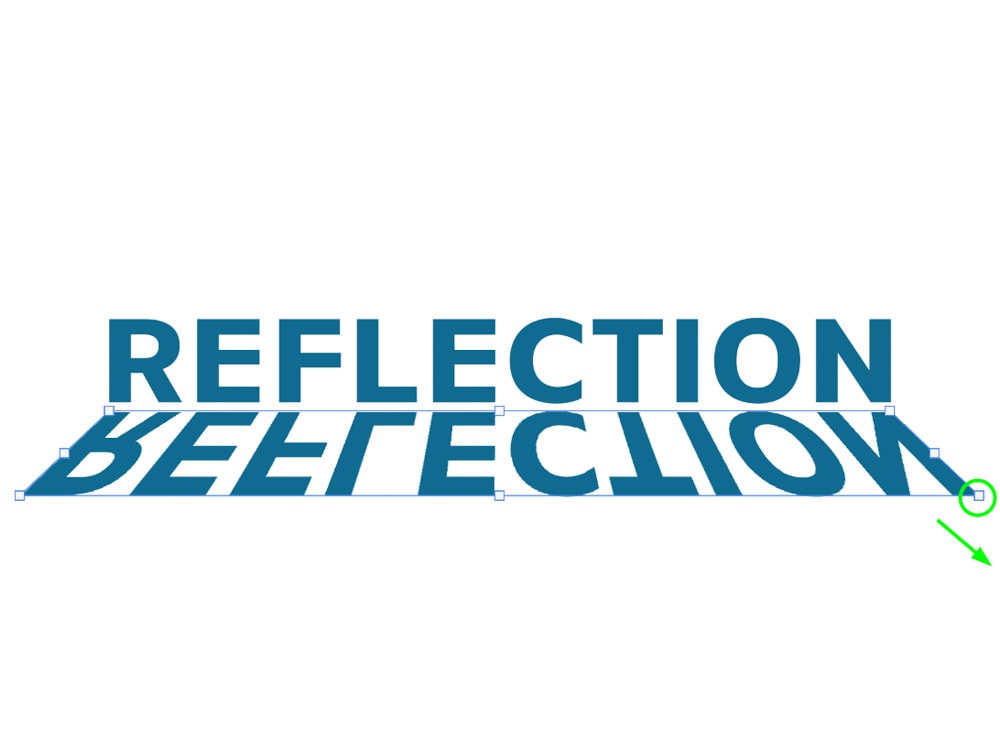
Then, right-click the bounding box around the text and select Perspective.
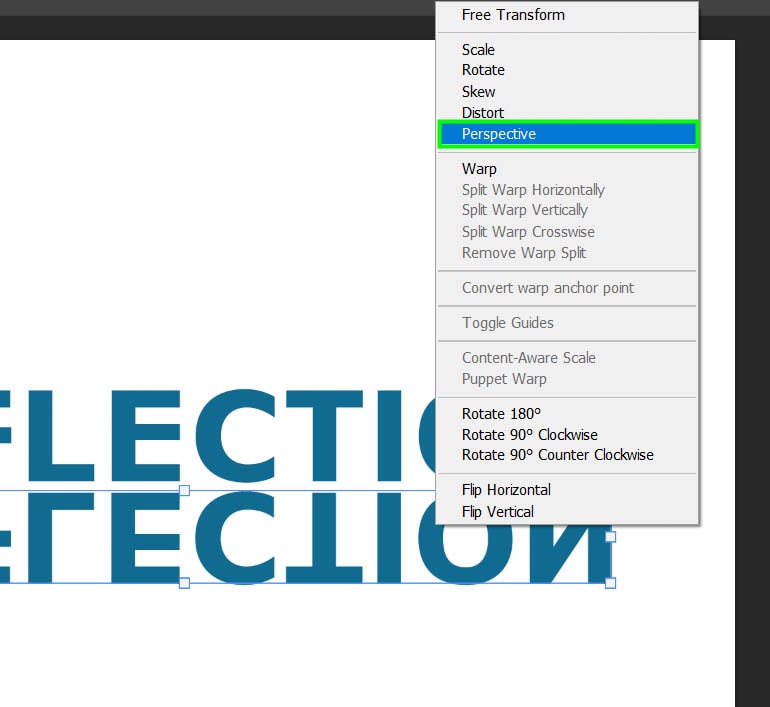
Now, click a control point at one of the edges of the text and drag it out to stretch it.
Stretch the text and release the mouse when it’s stretched enough. That will visually change the text angle and make it feel like it’s sitting on a surface. Click OK when you’re finished distorting the text.
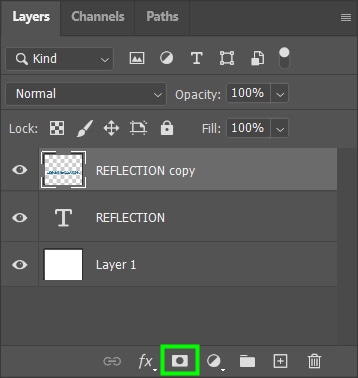
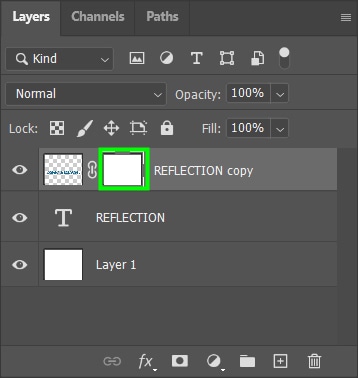
Step 3: Create A Layer Mask
Now, go back to the copied text layer and click the layer mask icon to create a layer mask.
Step 4: Apply Gradient To The Text
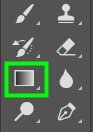
Next, grab the Gradient Tool in the Toolbar. Alternatively, press G on your keyboard.
Make sure the Foreground color is set to black.

Now, click the gradient bar in the Options bar.

Within the Gradient Editor, in the Basics folder, click the Foreground to transparent option.
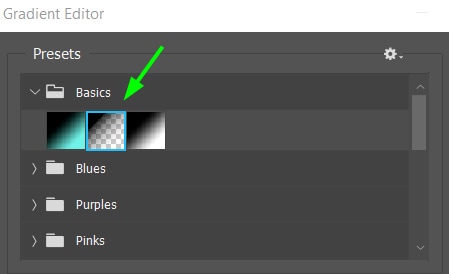
Click OK to confirm and close the Gradient Editor window.
Now click once to set the starting point of the gradient and drag out in the direction you want the gradient to follow. Only release the mouse when you think the gradient should end.
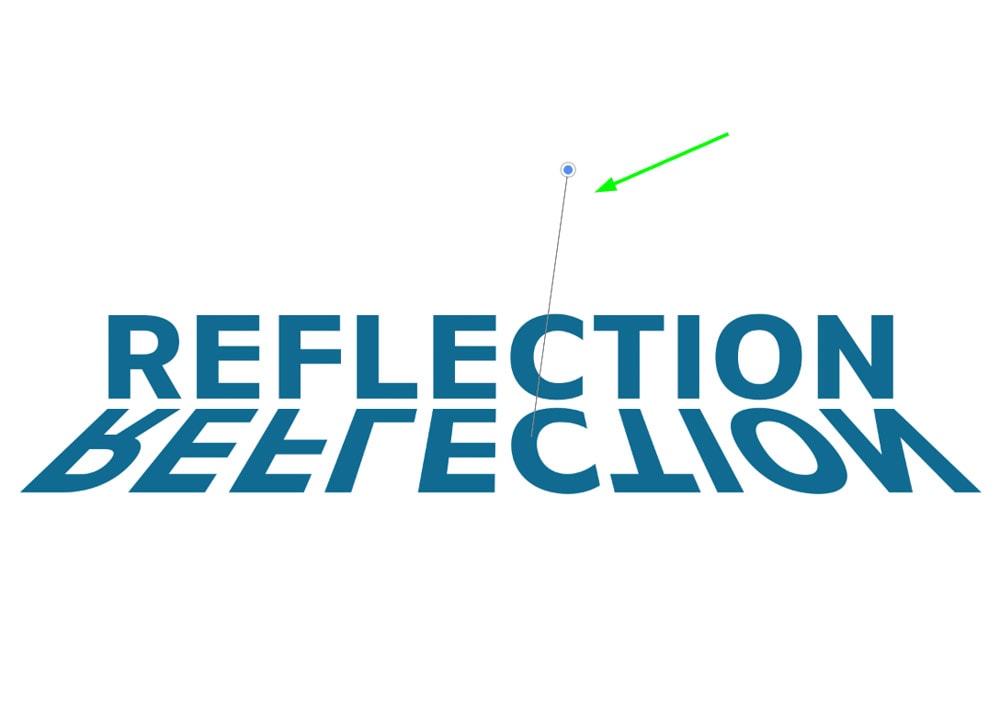
The line in the image above represents the gradient. The blue point is the gradient’s starting point, and the line’s end is where the gradient fades.
Longer gradients create longer fades, and shorter gradients make shorter fades.
In my case, I created a small gradient, as shown below.

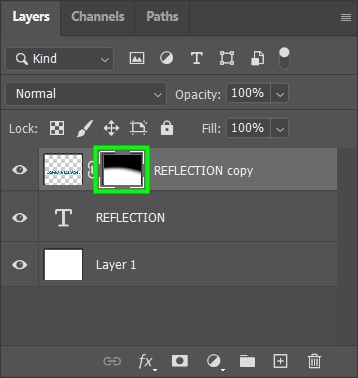
Notice that because the text is inverted, the gradient will reflect on the opposite side of the gradient line.
And as we are creating a gradient with a layer mask. Everything black in the layer mask will look transparent, and everything white will be visible, as shown in the mask below. Notice that half the text is transparent, and the other half is visible, which gives the text the reflected effect.
Keep clicking and dragging out with the gradient tool until the effect is spread over the whole text. You can apply the gradient as much as you want until you are happy with the effect.
This will create the reflected look. However, you can take one step further and make the effect even more attractive by applying some effects to the text with Layer Styles, as you will see next.
Step 5: Apply A Bevel And Emboss Effect
First, double-click the reflected text layer.

This will open up the Layer Styles panel.
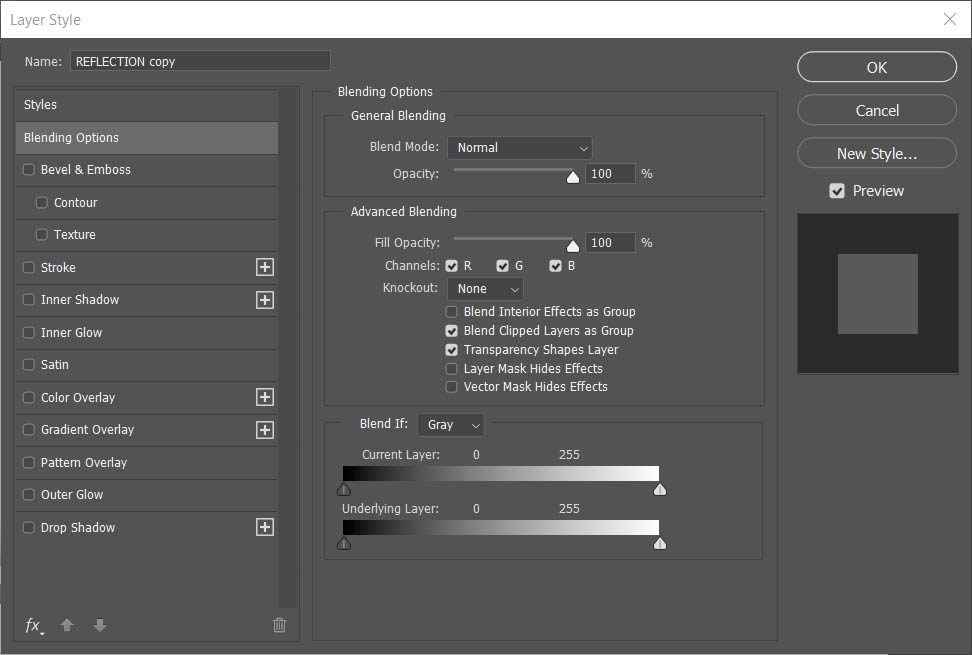
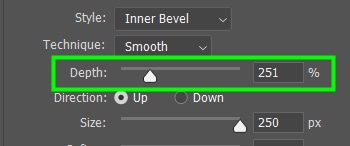
From there, select the Bevel and Emboss option.
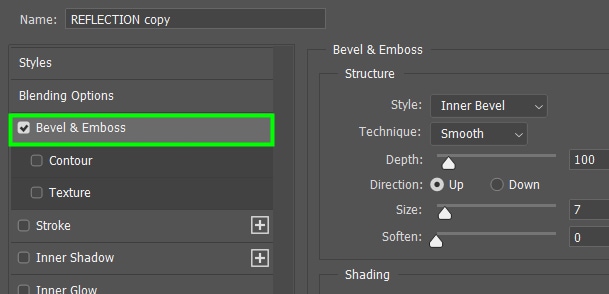
Leave the default settings as they are and only change the following settings.
Size: 250 px

Soften: 16 px
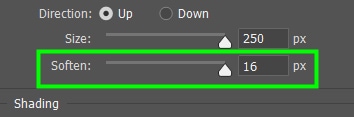
Depth: Adjust to your taste. In my case, 251% was enough.
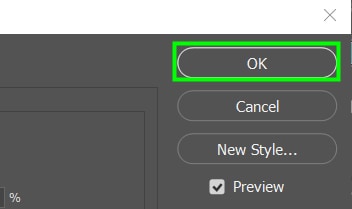
Click OK when you’re finished.
At the end of the process, your text will appear as though it is sitting on a surface.

Mirrored and reflected text are easy to make and can spice up that plain jane text in a project. Go ahead and try these steps out for yourself in your next project!
Happy Editing!


