

Whether you are a photographer, a designer, or even an amateur artist, putting the copyright symbol in your work is always a good idea to protect it. I will show you two simple ways to create, customize, and save the copyright symbol in Photoshop to use in your projects as a watermark.
2 Ways To Create A Copyright Symbol In Photoshop
You can create a copyright symbol either using a keyboard shortcut or using the copyright symbol glyph, which is available in almost all native fonts in Photoshop.
Option 1: Using A Keyboard Shortcut
Using a keyboard shortcut, you can create a copyright symbol instantly. However, if you want to customize the symbol, you must do it beforehand.
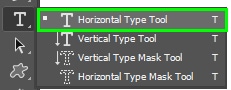
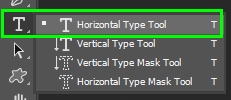
To do this, open a new document in Photoshop and enable the Type Tool (T).
Now, you need to go to the Options bar to change the symbol’s appearance. Otherwise, the copyright symbol will be formatted with the last settings you used when working with the Type Tool.

Choose a font in the font drop-down menu.

Set the font Weight.

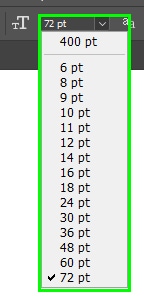
Adjust the font Size.
Lastly, change your font color in the color Fill box.

With the font appearance defined, keep the Type Tool (T) active and press the following shortcut keys to create the copyright symbol.
The shortcut for Windows is Alt + 0169 (Win), and the shortcut for Mac is Option + G (Mac).
Your copyright symbol will appear on the canvas.

The symbol created is text, but you can save it as a brush or a shape to use in your projects later.
Here is how to do both of these things.
– How To Turn The Copyright Symbol Into A Custom Brush
The advantage of converting your copyright symbol into a custom brush is that you can quickly apply it to your documents whenever you need it.
To do this, create the copyright symbol, as demonstrated above. The text color should be black, and the background color should be white. Otherwise, the text won’t be converted into a brush. Adjust the other settings as you wish.
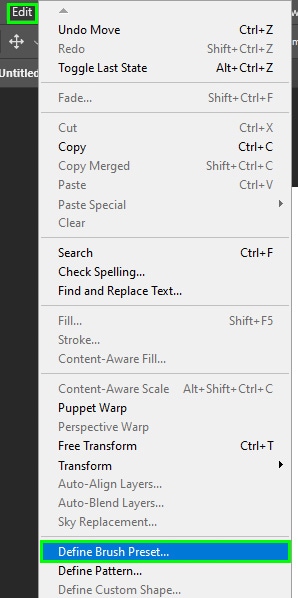
After that, go to Edit > Define Brush Preset.
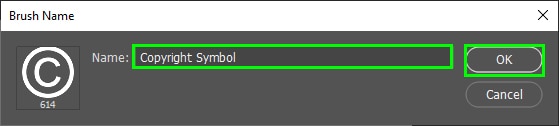
Name the brush in the dialog box that appears and click OK.
Photoshop will ask if you want to rasterize the text. Choose OK.

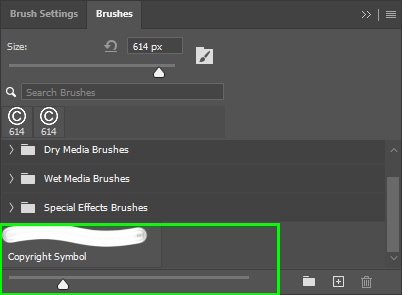
This will save your copyright symbol as a brush preset. When you need to use the copyright brush, activate the Brush Tool (B) and locate the Brushes panel.
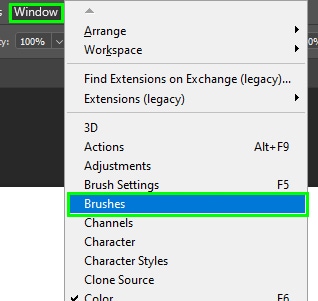
You can open the Brushes panel by going to Window > Brushes.
The copyright symbol brush will be in the Brushes panel near the bottom.
– How To Turn The Copyright Symbol Into a Custom Shape
You can also turn the copyright symbol into a custom shape so that you can alter its elements individually, change its colors easily, and customize it in various ways.
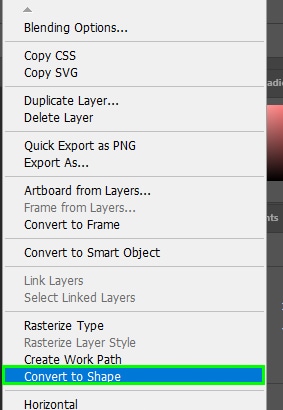
To do this, go to the Layers panel, right-click the layer that contains the copyright symbol that you created using the keyboard shortcut, and choose Convert To Shape.

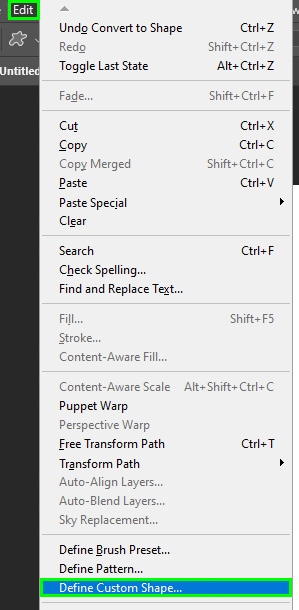
After that, go to Edit > Define Custom Shape.
Name the new shape if you want, and hit OK.

The new shape will appear within the Shapes panel, and you can use it in your next project.

Option 2: Using Glyphs
If the copyright symbol shortcut doesn’t work on your computer, you can create the symbol easily using glyphs.
Glyphs are symbols that are rarely found on a regular keyboard. They include letters from various alphabets, such as Greek and Hebrew alphabets, and currency symbols, such as the Euro and Yen.
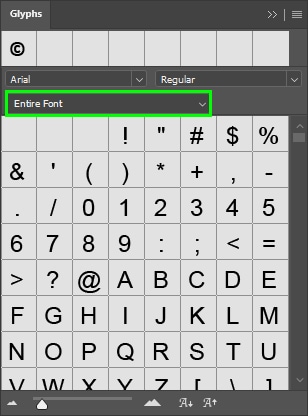
In Photoshop, you can find the copyright symbol in the Glyphs panel.
First, enter any text on the canvas. You need an active text to be able to use glyphs. You can erase the text afterward. The Copyright symbol is found in almost every font available, but you may come across a few fonts that don’t have it if you’ve downloaded custom fonts.
To create the text, enable the Type Tool (T).
Then, go to the Options bar and adjust the text appearance, as shown in the previous section of this tutorial.
Next, enter your desired text on the canvas.

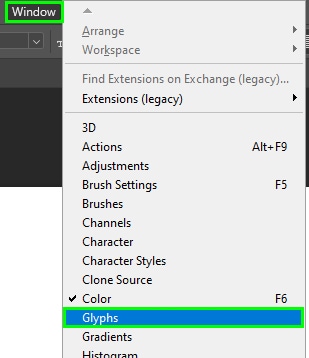
With the text active, go to Window > Glyphs.
To make it easier for you to find the copyright symbol, select Designer Favorites in the third drop-down menu.
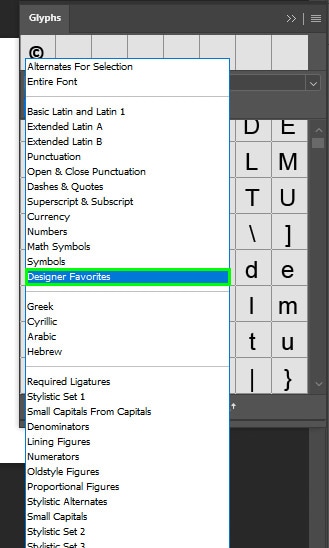
The copyright symbol will be listed along with the Trademark (TM) and Registered (R) symbols.

To insert the symbol in your text, simply double-click it. It will appear beside the text. You can delete the rest of the text and keep the symbol only if you’d like, or keep the text and symbol.

With the techniques learned here, you can easily insert the copyright symbol into any document. This symbol has made my watermarks look a bit more legit, and I hope you can feel the same way too. To add further protection to your images, adding copyright info to the file metadata can be a good extra step beyond your watermark!


