
There are endless opportunities to design creative and unique elements for your photography and graphic design. A neat design technique to add to your toolkit is the chalk effect in Photoshop.
While this technique may look difficult to achieve, it only takes a few steps, and even beginner editors and designers can achieve this effect. Once you learn the steps, you can add the chalk effect to a person or object from an image, as well as text or shapes, in Photoshop.
The method of adding a chalk effect to an image is similar to when you add the effect to text or a shape. However, there are a few differences to note between the two methods. You can always add your own creativity to these steps, but follow the basic guidelines to achieve the desired effect.
How To Create The Chalk Effect On Images In Photoshop
You can add the chalk effect to the subject of your photo or an object you choose. In this example, I will show you how to use the effect on the picture’s subject by removing the background.
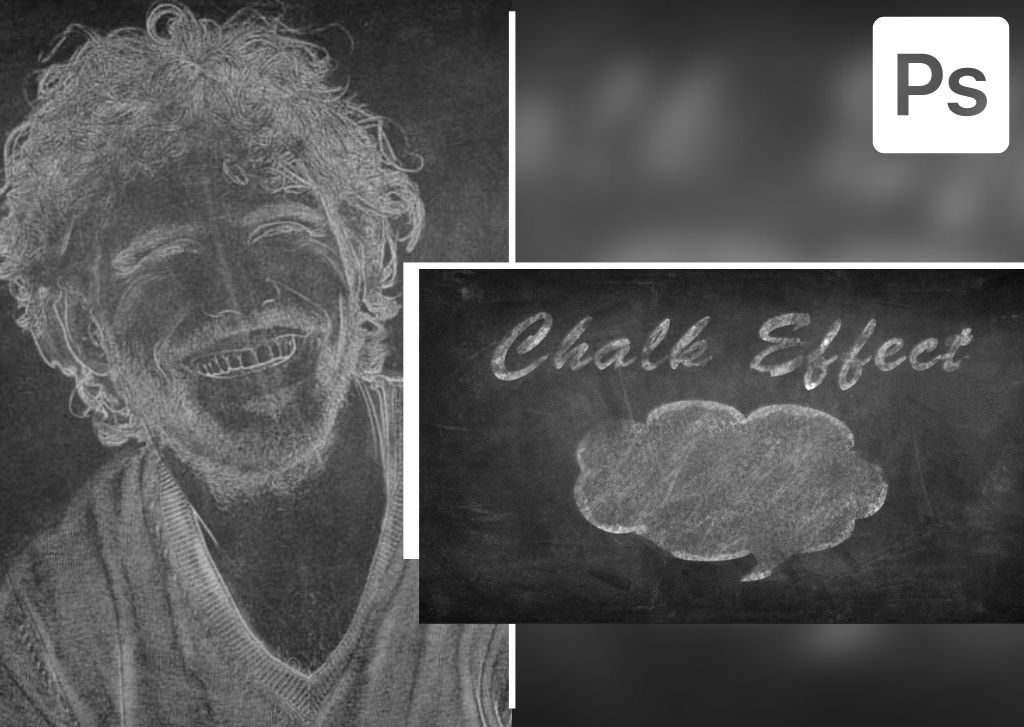
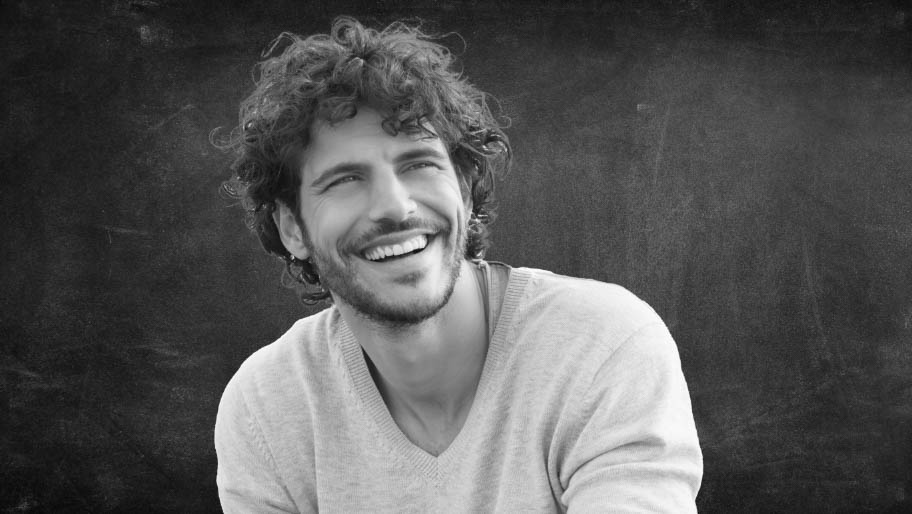
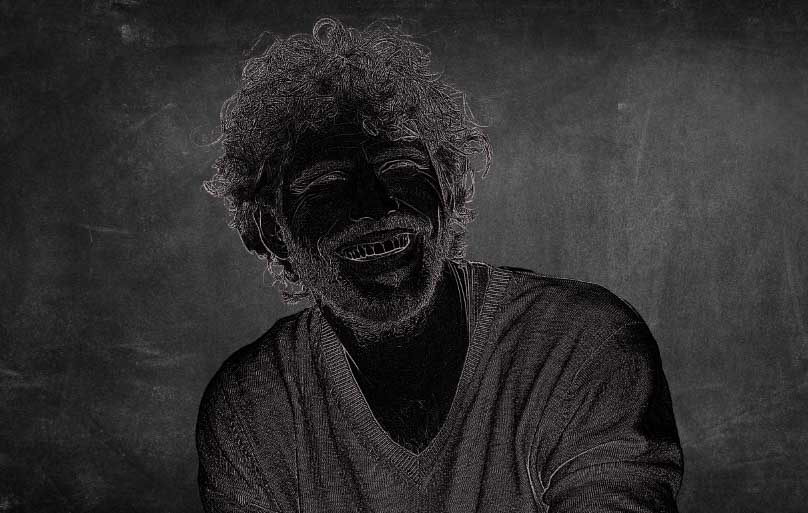
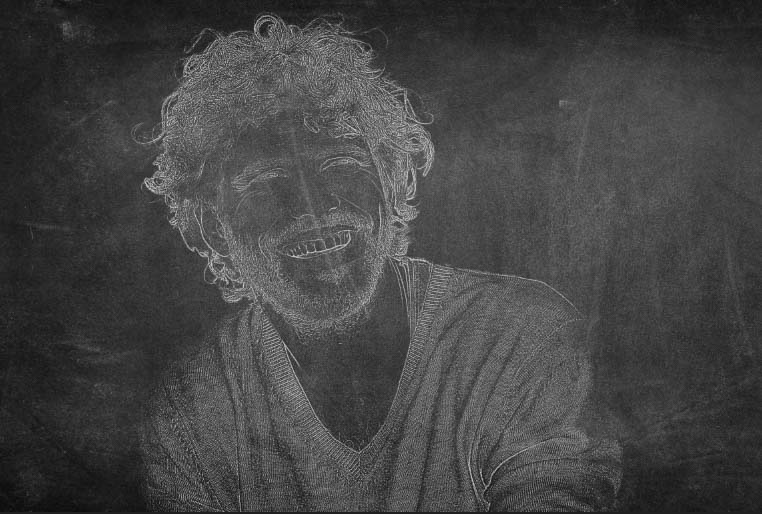
If you want to add the effect to a different object, isolate it on its own layer using any background removal methods that work for your image to isolate particular objects. I will be turning this image into a chalk drawing.

Step 1: Remove The Background And Convert The Image To A Smart Object
To create the chalk effect, you need to remove the background from the image, so you are only adding the effect to the subject. I recommend you also use a blackboard background to achieve the desired result.
I have opened the two images on one document, so now I just need to remove the background of the image. I can do this using any of the selection methods in Photoshop, but the fastest and easiest is to use the Remove Background Quick Action.

To use the Quick Action, select the image layer and scroll down the Properties Panel until you see the Remove Background option.
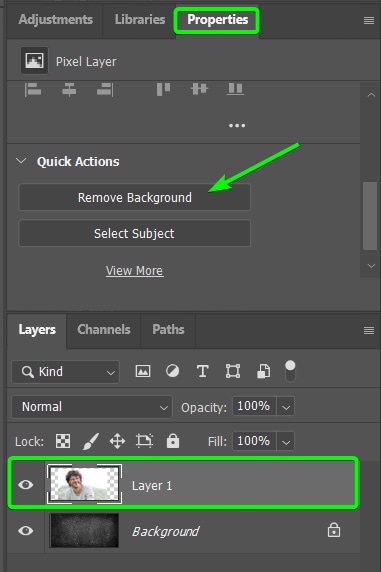
Click on Remove Background and give Photoshop a few moments to remove the background by adding a layer mask to the image. Your subject will remain on the image below it, and the mask will hide the background. You can now start creating the chalk effect.

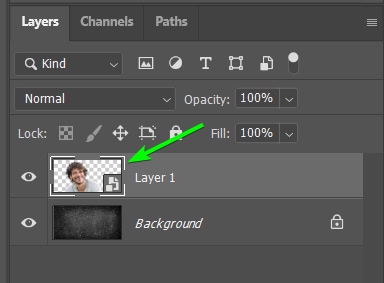
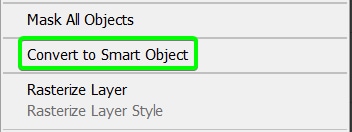
Then, convert the image layer to a smart object, so you can go back and make any changes during the process. To convert the image to a smart object, right-click or Control + click on the image layer and select Convert to Smart Object.

Step 2: Change The Image Layer To Black And White
To create the chalk effect, you need to convert the image to black and white. This will help achieve the white chalk effect later on in the process. To convert the image, select the image layer in the Layers Panel.
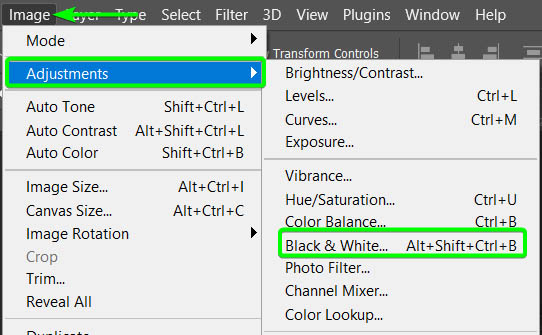
Once the image is selected, go to Image > Adjustments > Black and White. You can also use the shortcut Shift + Alt + Control + B (Win) or Shift + Option + Command + B (Mac).
The Black and White panel appears where you can adjust the colors to increase or decrease the contrast in the image. These controls don’t matter, as you will remove the pixels from the image. Click OK to add the default effect.

The color in your image will be removed, leaving you with a black-and-white image.
Step 3: Add A PhotoCopy Filter From The Filter Gallery
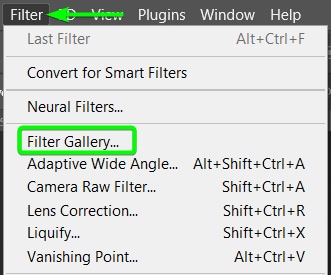
Now, you must add a PhotoCopy Filter to isolate the outlines. To add the Photocopy Filter, go to Filter > Filter Gallery.
In the Filter Gallery panel, open the Sketch tab and select Photocopy.
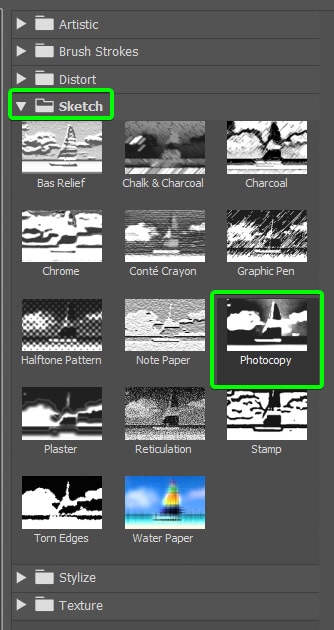
Your image will take on a sketched look, which you can see in the preview panel on the left.

Use the settings on the right to adjust the effect. You can change the Detail and Darkness sliders. Keep the Detail slider relatively low if you don’t want the chalk to look too refined.
Then, adjust the Darkness slider based on how light or dark you want the chalk to look. Don’t set it too light, as you will lighten the chalk in later steps. Click OK to add the effect to your image.

Your image won’t look like chalk just yet, but it should only have outlines and a few details at this stage.
Step 4: Set The Blending Mode To Screen
To remove the dark areas of the image and make the outlines look more like chalk, you need to change the blending mode.
To change the blending mode, ensure that the image is selected, then find the drop-down menu that says Normal, which is the default blend mode on any layer.
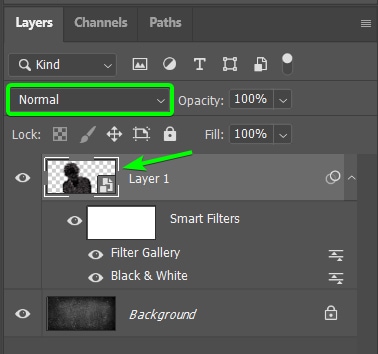
Select Screen from the drop-down menu.

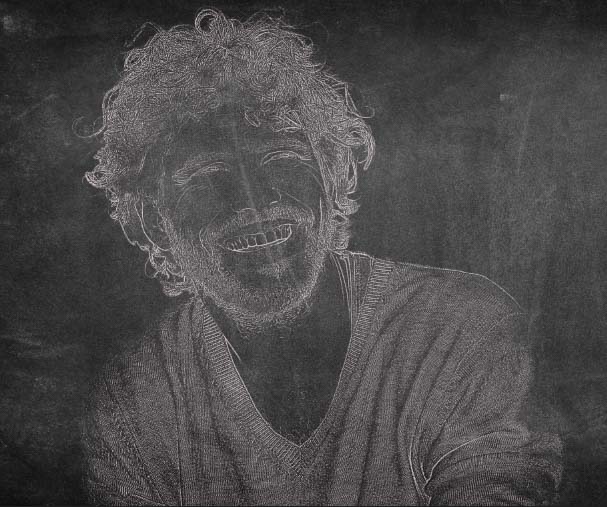
You will notice that your image has taken a chalk-like look at this stage.
Step 5: Add A Solid Black Color Layer Below The Image
While the image may look done, there are still a few more steps to make the effect more realistic. First, you must separate the outlines and turn them into chalk outlines, which aren’t connected to the image layer. This will allow you to move the chalk outline onto new backgrounds and add the next effects needed.
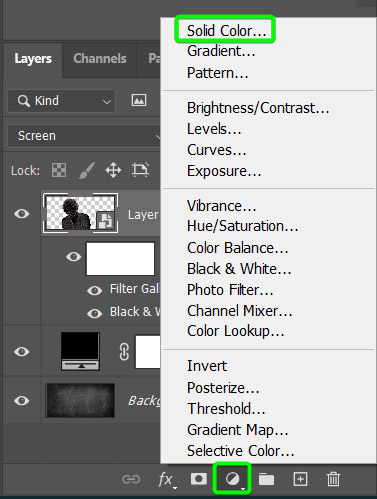
To isolate the outlines, you first need to add a solid black layer underneath the image layer. This step will help when selecting the outlines in the next step. To do this, click on the background layer, select the Adjustments icon, and choose Solid Color.
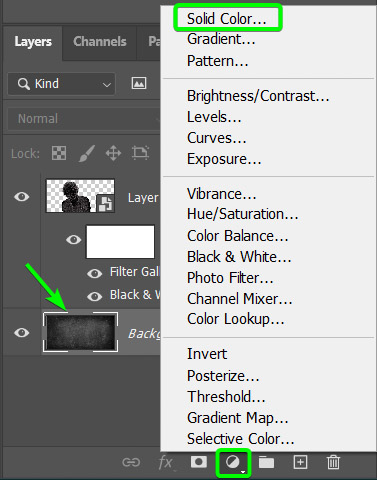
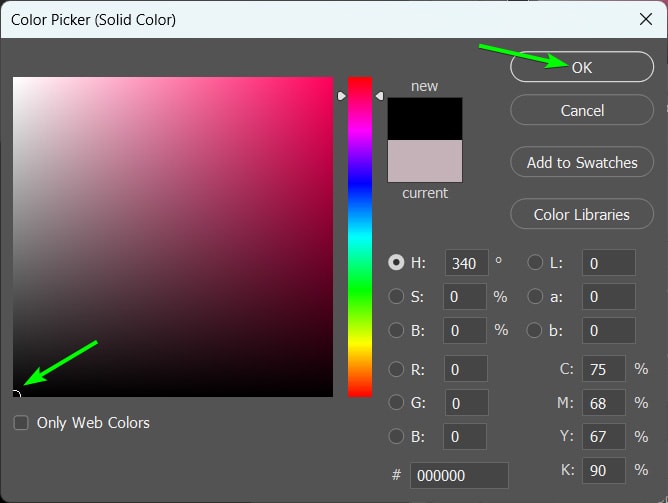
In the color picker window, select Black and click OK.
Step 6: Add A Solid White Color Layer To The White Outline Areas
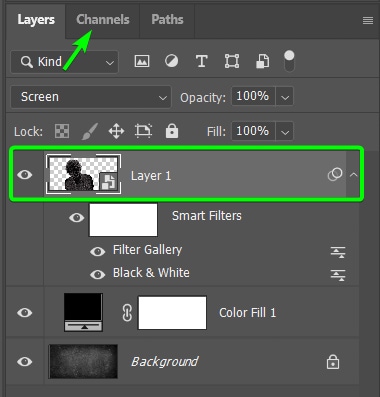
Now that you have the solid black background, you can easily select the outlines using the Channels Panel. To select the outlines, click on the image layer, then open the Channels Panel (if the panel isn’t visible, go to Window > Channels to open it).
In the Channels Panel, hold in Control (Win) or Command (Mac) and click on the image thumbnail next to the Blue channel. This will automatically select all the white areas in the image, which are the outlines.

Now that you have the outlines selected, you can create a separate layer by adding a solid white fill layer to the selection. To do this, go back to the Layers Panel, click on the Adjustments icon, and select Solid Color.
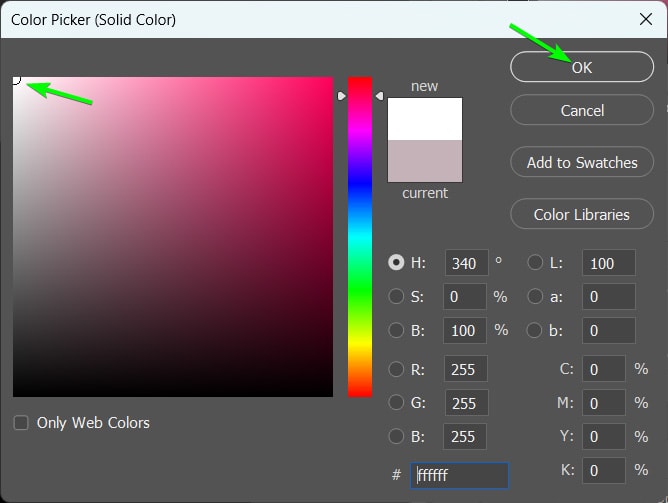
Select white in the Color Picker window and click OK.
You will notice that the solid white fill is added as a new layer, with the layer mask isolating the outlines and details. You can turn off the other two layers (by clicking on the eye icons) and only leave the background and the new layer visible.
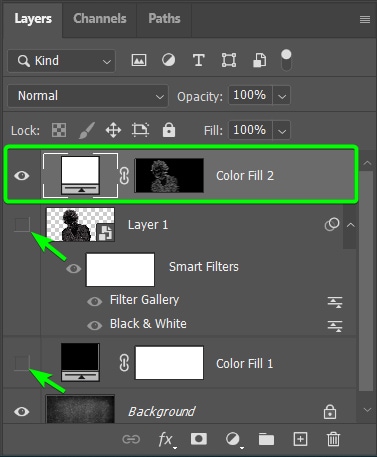
You will now notice the effect is much more chalk-like on the background, but most importantly, the outline is on a separate layer.
Step 7: Add A Drop Shadow To The Chalk Image
To elevate the effect, you can add a drop shadow, which slightly separates the chalk outlines from the background to make it look more drawn on. First, convert the new layer to a Smart Object by right-clicking or control + clicking on the layer and selecting Convert to Smart Object.
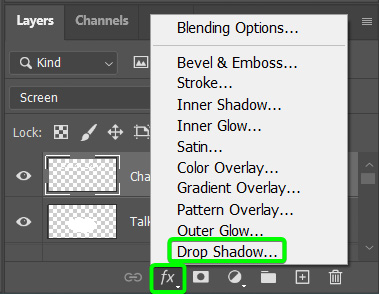
To add a drop-shadow, ensure the Chalk outline layer is selected, click on the Effects icon, and choose Drop Shadow.

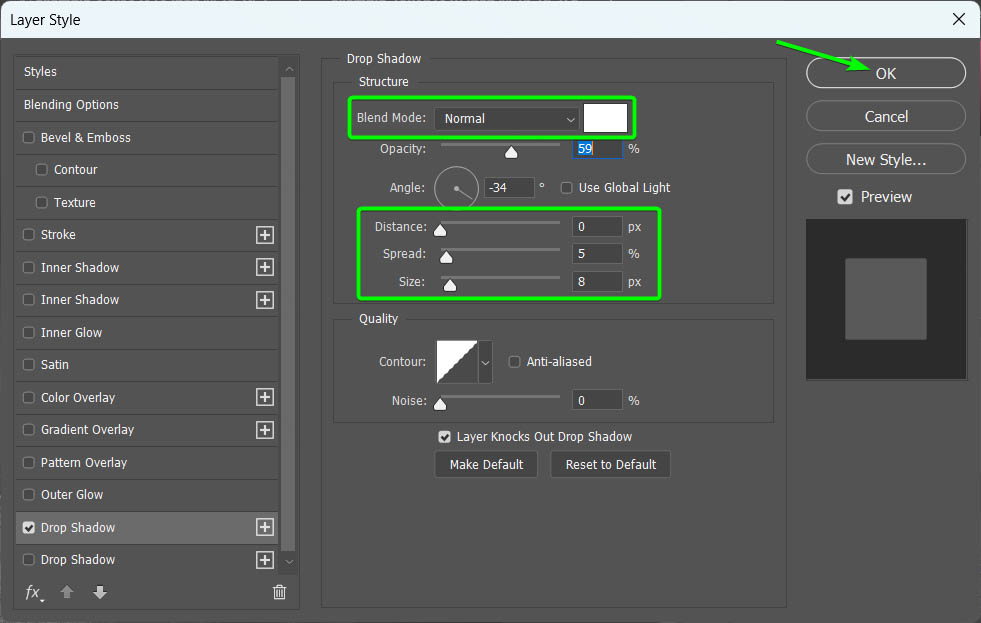
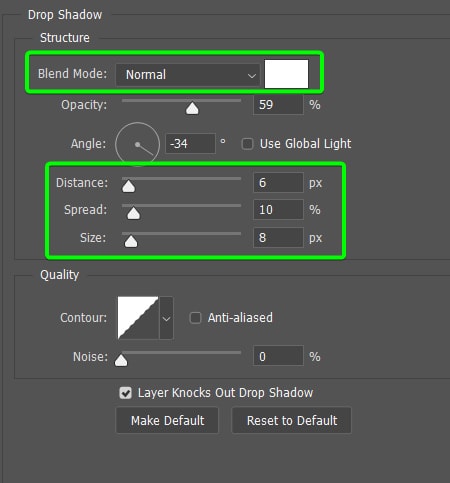
You can now change the Blend Mode to Normal and the color to white, then adjust the Distance, Spread, and Size sliders as needed to create a subtle drop-shadow around the chalk outline. Click OK when you’re done.
Step 8: Add Noise To The Chalk Image And Set The Layer To Screen
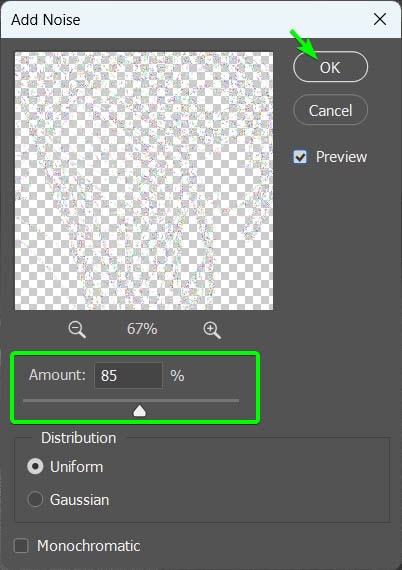
You can now add Noise to the Chalk Outline to give the effect a rougher look. To do this, go to Filter > Noise > Add Noise.

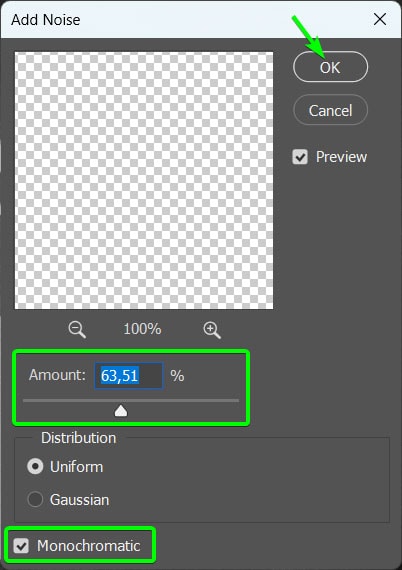
Adjust the Amount Slider to add as much noise as you’d like, then click OK.
Then, change the layer’s blend mode to Screen to blend the noise effect better.
Step 9: Add A Gaussian Blur To The Chalk Image
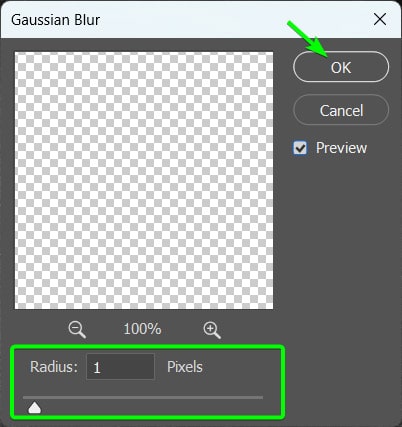
To keep the chalk effect realistic, you can add a slight blur to the outlines. To do this, go to Filter > Blur > Gaussian Blur.

Add a slight blur using the Radius slider. Anything up to 1 pixel should work well. Click OK when you are done.
Your image should have a realistic chalk effect on it at this stage. You can keep the image as it is at this stage or take it a step further to roughen up the picture even more.

Step 10: Use A Chalk Brush To Add In More Chalk Effects
To finalize the chalk look, it’s a good idea to add a final touch by adding hand-drawn chalk brush strokes. This will complete the hand-drawn effect.
You first need to find a good chalk brush set to add these brush strokes. You can find plenty of free online brush sets, such as this Free Chalk Brushes set from Dribbble.
First, download and install the brushes in Photoshop. Then, you can use the brushes on your image by selecting the Brush Tool (B).

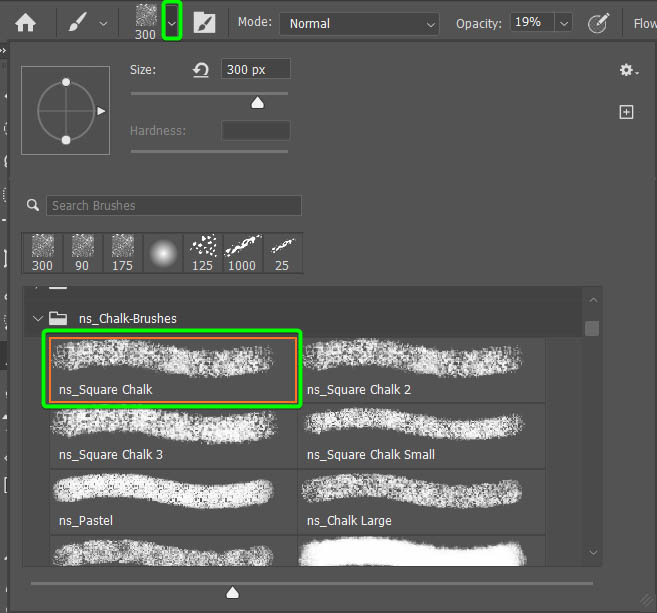
Then, select a chalk brush from the Brush Preset Picker in the Options bar and set the size and color of the brush.

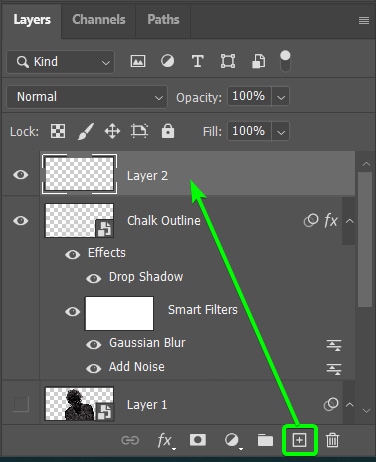
Then, add a new layer in the Layers Panel by clicking on the Add New Layer icon. This allows you to keep the brush strokes separate from the original chalk outlines.
Now, you can brush around the subject to create rough-looking chalk strokes. Adjust the Brush Opacity and the Brush Size in the Options bar to add different strokes to the effect.

Your image should now have a rougher and more realistic chalk-like effect as you brush around the edges and outlines.

How To Create The Chalk Effect With Shapes & Text
You can also add the chalk effect to any text or shapes you add to your document. While many of the steps are the same as the above method, there are a few variances.
I will summarize the steps that are repetitions of the image method and give more details about the differences, which means you can refer to the previous sections for specific steps if needed.
Step 1: Add The Text Or Shape To The Page
To add the chalk effect to text or shapes, you must first add the text or shape to the page. You can use the Type Tool (T) to add text or any of the Shape Tools (U) to add a shape.

You can use any font you want, but I suggest keeping the color white. I will add the steps to both objects to show you how it looks on text and shapes, but you can just focus on one object to add the effect.

Step 2: Add A Drop Shadow To The Object
Once you have the object on the page, add a drop shadow to it by clicking on the Effects icon in the Layers Panel and selecting Drop Shadow.
Keep the Blend Mode set to Normal and the Color to White, then adjust the Distance, Spread, and Size. Click OK to accept.
Change the object layer to a Smart Object by right-clicking or Control + clicking and selecting Convert to Smart Object.
Step 3: Add Noise To The Text Or Shape
Add noise to the object the same way you did with the image by going to Filter > Noise > Add Noise.
Add as much noise as you’d like by adjusting the Amount Slider, then check the Monochromatic option at the bottom and click OK.
Your object should have a gritty look at this stage.

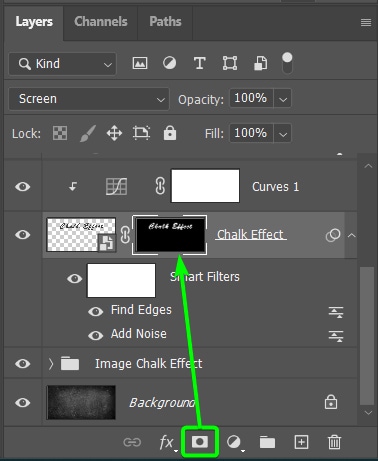
Step 4: Find Edges And Set The Blend Mode To Screen
Next, go to Filter > Stylize > Find Edges to detect the object’s edges.

Your image will darken, and the noise will stay highlighted. To create a more subtle and chalk-like effect, change the blend mode to Screen.
Your object should start looking like chalk at this stage.

Step 5: Add A Curves Layer To Increase The Brightness
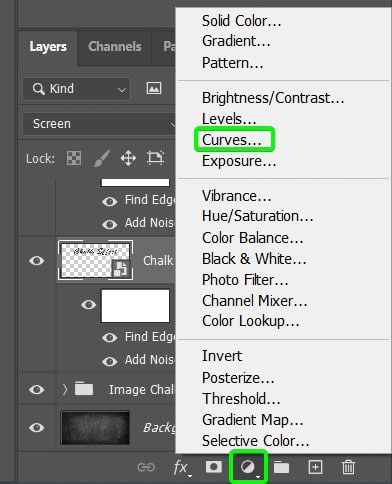
Since the object seems dull, you can easily brighten it using a Curves Adjustment layer. To do this, select the Curves option from the Add Adjustment icon at the bottom of the Layers Panel.
In the Curves Properties Panel, click on the clipping mask icon so that the adjustment only affects the object layer below it, then move the top right anchor into the top middle of the graph.

Step 6: Add A Gaussian Blur To The Object
Next, slightly blur the object by going to Filter > Blur Gaussian Blur.
Increase the Radius Slider and click OK.

Step 7: Add Some Dirt To The Object Using A Layer Mask
Now, you can use the Chalk Brush to add dirt to the object to roughen it up. First, add a layer mask to the object by holding in Control (Win) or Command (Mac) and clicking on the object thumbnail to make a selection around the object.

Then, click on the Add Layer Mask icon.
Once the layer mask is added, select the Brush Tool (B) and set the foreground color to Black. You can use the same Chalk brush set as you did in the image section.

Then, brush randomly over the object to create a dirt effect by hiding some of the areas within the object. Adjust the Brush Size and Opacity to make varying brush strokes. You can get creative with this and edit the object as you’d like.

Step 8: Add Rough Chalk To The Object To Create A Realistic Effect
Lastly, you can use the Chalk Brush to add more white chalk effects to finish the look. For this, you need to rasterize the layer by right-clicking or Control + clicking on the layer and selecting Rasterize Layer.

Then, you can use the Brush Tool (B) with the foreground color set to white to paint over areas of the object to complete the chalk effect. Remember to adjust the Brush Size and Opacity for a varied effect.
You can get as creative as you want to make the chalk as smooth or rough as you’d like.