
Square brushes allow you to draw in a boxy style perfect for any projects involving a pixelated appearance. Although you can import a square brush into Photoshop, an easier method is to load Photoshop legacy brushes.
Sometimes, though, you may want to expand your brush collection or simply create a customized square brush. Let’s break down how to use and make square brushes in Photoshop.
How To Load Square Brushes Into Photoshop
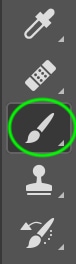
Step 1: Activate The Brush Tool (B)
The legacy brushes are not automatically available to use, so you need to find and load them. To do this, first, make sure the Brush Tool (B) is active.
Step 2: Open The Brush Preset Picker And Go To Settings > Legacy Brushes
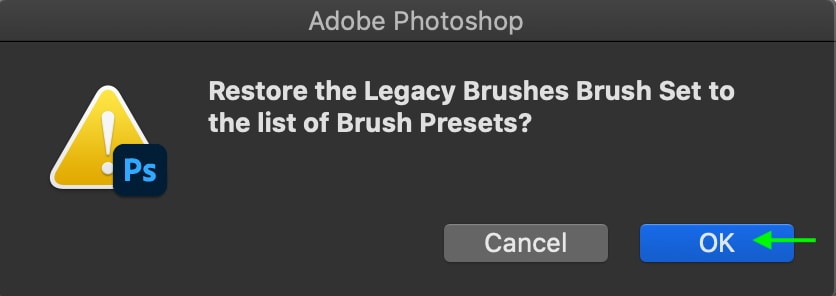
Once you’ve activated the Brush Tool, open the Brush Preset Picker, found in the Options Bar. Then, go to the settings icon in the top right corner and click Legacy Brushes.

In the dialogue box that comes up asking if you’d like to restore the Legacy Brushes, click OK.
Step 3: Re-Open The Brush Preset Picker And Open The Legacy Brushes Folder
Now, open the Brush Preset Picker again, and this time, when you scroll down to see the available brushes, you will see the Legacy Brushes folder at the bottom of the list.
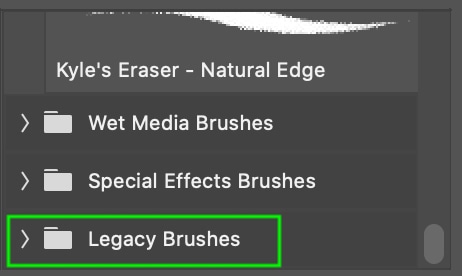
Click to open the available Legacy brushes and scroll until you find Square Brushes. Click on the folder to see the various options you have.
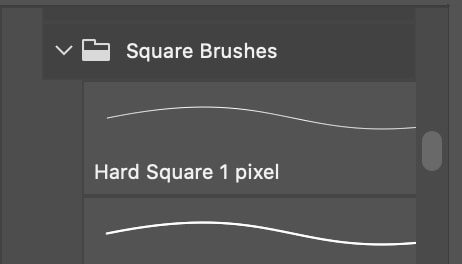
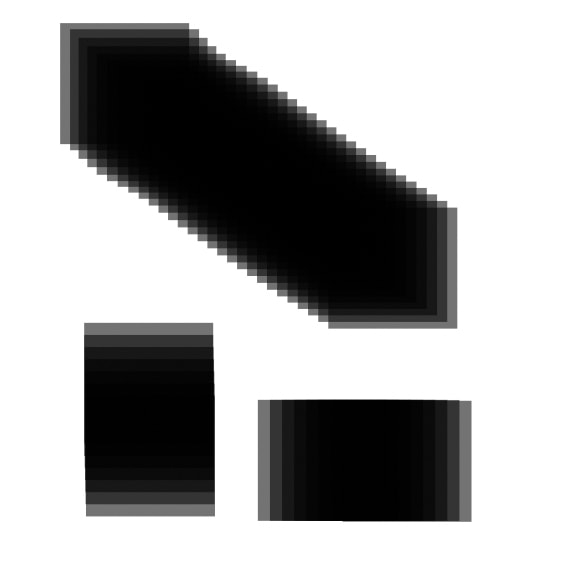
There are 18 different square brushes ranging in width from 1 pixel to 24 pixels. The bigger the size, the more clearly you’ll see a pixellated effect.

Now, you have a fun pixellated effect, which is especially visible when you’re painting diagonal lines.
How To Make Your Own Square Brush In Photoshop
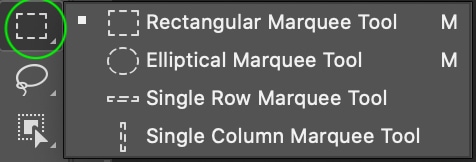
Step 1: Activate The Rectangular Marquee Tool (M)
First, select the Rectangular Marquee Tool by pressing M. With the tool selected, hold Shift and drag to create a uniform square-shaped marquee on your canvas. Make sure the size and shape you make are similar to the size and shape of the brush tip you’d like.

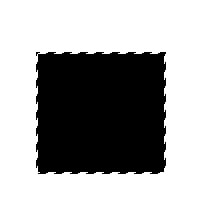
Step 2: Press Alt/Option + Delete To Fill With The Foreground Color
Now, fill the selection by setting the foreground color to black and pressing Alt + Delete (Win) or Option + Delete (Mac). The selection will automatically fill with black to match the foreground color.
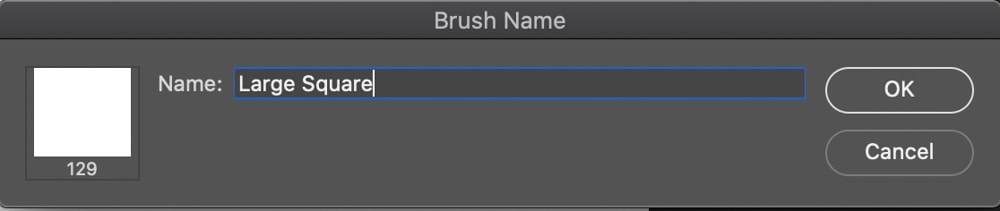
Step 3: Go To Edit > Define Brush Preset And Name The Brush
Now, head to Edit > Define Brush Preset.
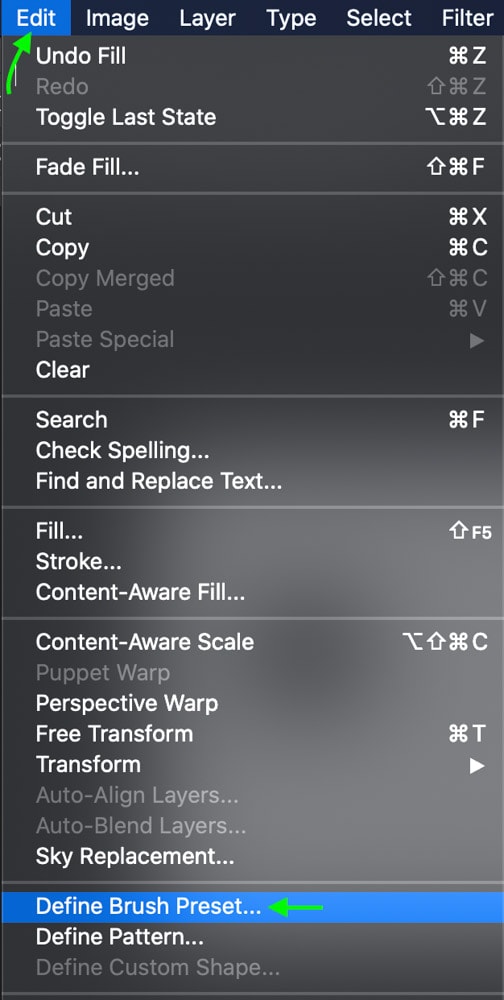
In the window that appears, name your brush and click OK.
Now, press Control + D (Win) or Command + D (Mac) to Deselect the areas. You’ll now be able to use your brush.
Step 4: Locate Your New Brush At The Bottom Of The Brush Preset Panel
To find your new brush, head to the Brush Tool (B) and open the Brush Preset Picker. You will find your new brush at the bottom of the panel.
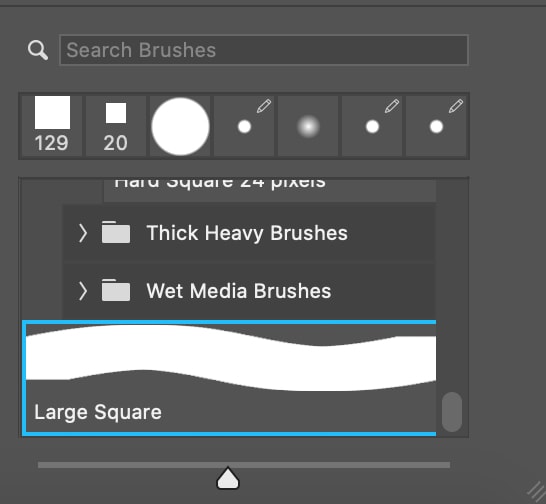
Here, you’ll find your new brush under the name you chose. Click and drag on your canvas to test it out.
Where To Find Square Brushes For Photoshop
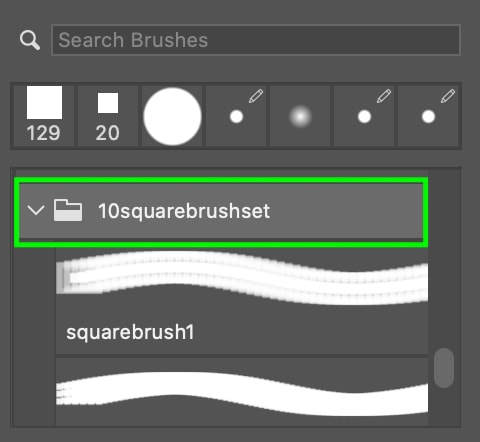
Another way you can access a variety of square brushes is to download a free brush pack online and load the brushes into Photoshop manually. A great square brush pack that you can download for free online is the pack of 10 square brushes by Brusheezy. Unzip the downloaded folder based on your operating system.
To load them into Photoshop, first, make sure the Brush Tool (B) is enabled. Then, access the Brush Preset Picker and click the settings icon in the top right corner of the panel. Then, click Import Brushes.
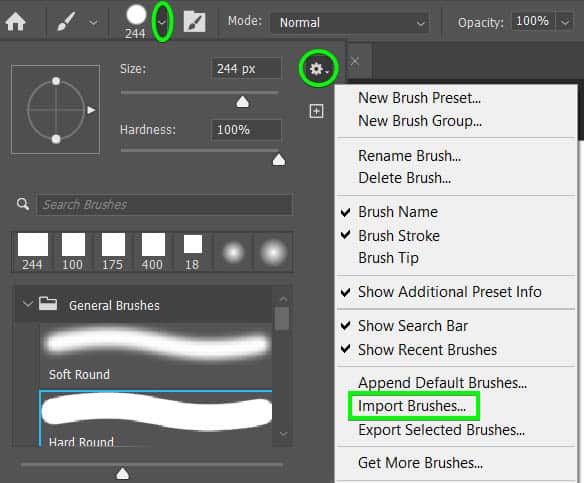
Next, find your brushes in the form of the .abr file. Remember that you must have unzipped the folder first before you can import them into Photoshop. Click OK, and your new brush pack will appear at the bottom of the list of brushes.

There are plenty of other free square brush packs available on the internet, you’ve just got to do some digging. I share some of the best sites to find Photoshop brushes in this post if you need a place to start!
So whether you want to use the square brushes built into Photoshop, get more variety with a free brush pack from Brusheezy, or simply create your own, now you have those options! Once you have your square brushes added into Photoshop, they will operate exactly the same way as your usual brush tip presets.
Happy Editing!


