
There are endless ways to display photographs, whether you share them online or print them for your walls at home. A great way to portray multiple photos is in a collage, where you place similar photos together on one image. The best thing about this is that you can make a collage in Photoshop using simple techniques.
There are multiple ways to organize and customize your collage by adding text, a pop of color, or background shapes and patterns. In this tutorial, I will give you the basic techniques to set up a simple collage. Then, you can take these steps, along with other Photoshop techniques, to further customize your own eye-catching collage.
How To Make A Collage In Photoshop
Follow these steps to create a stunning collage in Photoshop in minutes. I recommend you use this tutorial as a guide and for inspiration, but always add your own flair and creativity to take your designs to the next level.
Now to make this process even faster, I created five free collage templates for Photoshop here as an alternate option to these steps.
Step 1: Select A Set Of Images
Before designing your collage, select the right set of images to use. Collages work best when all the images have similar colors or shapes. The photos need to make sense together, rather than choosing your favorite pictures and throwing them together.
You should also select more images than you need, so you can change a few around if they don’t end up working together on the page. However, you shouldn’t select too many images that confuse you and make you struggle to choose which ones to use while designing.
I recommend choosing about two to four extra photos as backups.
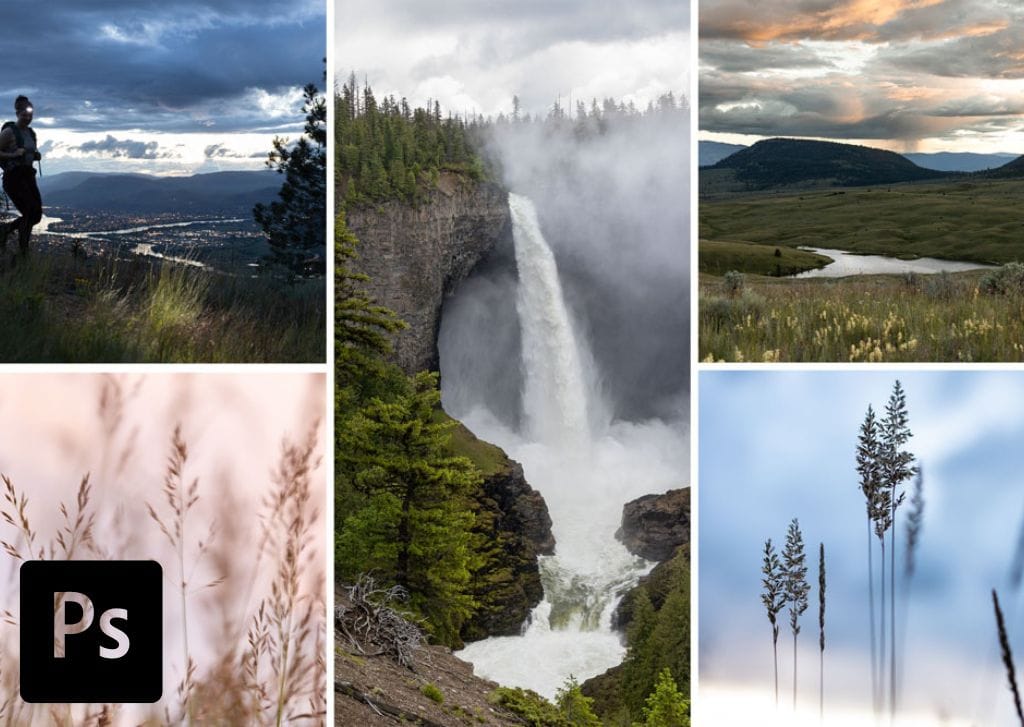
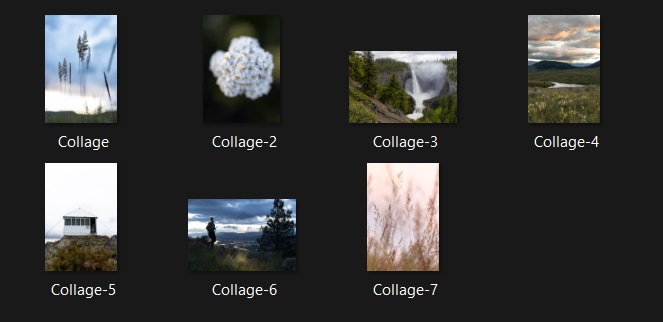
Here are the seven photos I’ve selected for my collage. You can see they all follow the same nature theme and have similar colors, lines, and shapes.
Step 2: Set Up A New Document In Photoshop
To start your collage, you need to create a document of the correct size. The size of your document depends on where you plan to use the collage. You can create a collage to use on a website, social media, or to print and frame in your home.
If you aren’t sure which size to use, I recommend starting with a canvas of 3000 x 2000 pixels and a PPI of 300.
This large size allows you to rescale the collage to smaller sizes as needed. It’s challenging to upsize a collage while keeping the same quality you started with, but much easier to reduce the size.
However, if you know the size you are printing at, you can follow the standard photo sizes guide to determine how many pixels or inches to set the document.
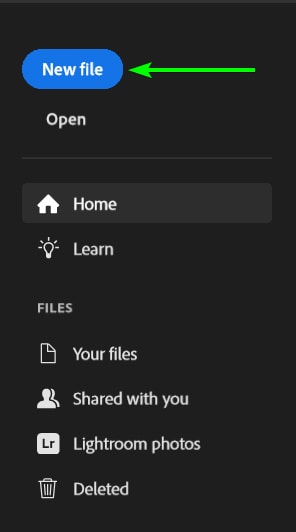
Start by creating a new file in Photoshop by clicking the New File button or using the shortcut Control + N (Win) or Command + N (Mac).
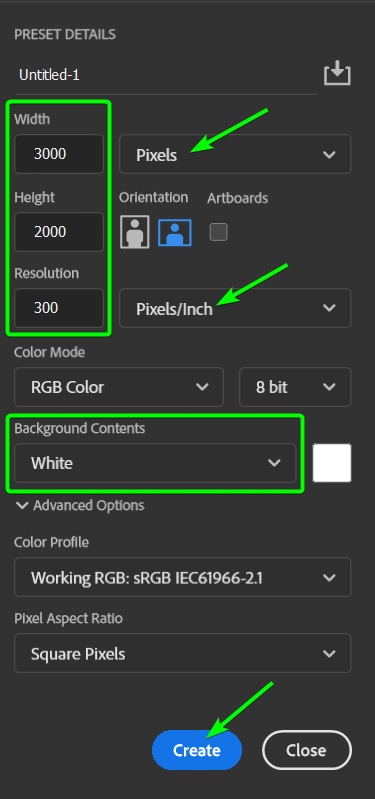
In the panel on the right, add in your width and height amount, changing the unit of measurement if needed. Then add the resolution amount, ensuring the unit is set to pixels/inch.
I have set mine to 3000 x 2000 pixels at 300 PPI. You can set the background to white and click Create.
Step 3: Add Frames To The Canvas With The Frame Tool
Now, you can start designing the collage by adding frames to the canvas. These frames will determine where the images will be placed, so you can try out a few different arrangements before adding the photos.
Select the Frame Tool from the Toolbar or press K.

Then, in the Options bar, you can choose to add a rectangle/square or oval/circle-shaped frame to the canvas.

Once you have selected the frame shape, click and drag to add a frame to the canvas. Hold in Shift while creating the frame if you want to add a perfect Circle or Square frame to the canvas. You can use the pink smart guides to line up your collage if you need.

Continue adding more frames to the canvas until you have as many as you need, using the guides to help you line everything up. When you are finished, you should have multiple frames with diagonal lines inside them, indicating that you can place an image inside each one.

If you want to change the size or positioning of any frame, you can click on it while the frame tool is still active.
The selected frame will have blue lines around it with anchor points. Click inside the frame and drag to reposition the frame.
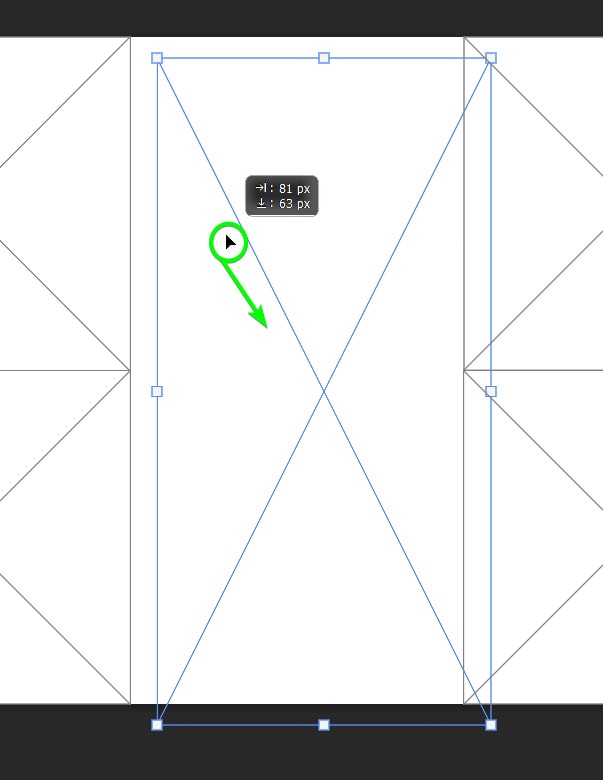
You can also click on an anchor point when the cursor turns to a double arrow and drag to resize the frame.
I have kept my layout to five frames, with four square frames on the side and one rectangle frame in the center for my hero shot.

Step 4: Drag And Drop The Photos Into The Frames
Adding your images to the frames is simple. You can simply drag and drop the photos into the frames, or if you prefer not to, you can use the menu path.
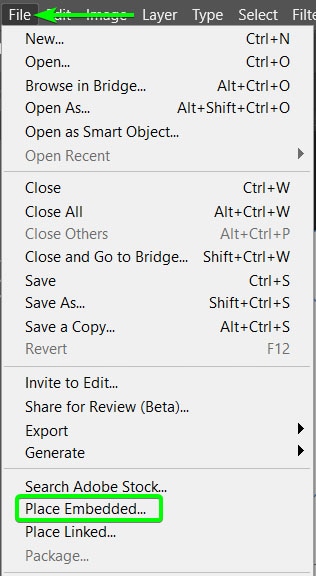
To use the menu path, select a frame by clicking on it, then go to File > Place Embedded.
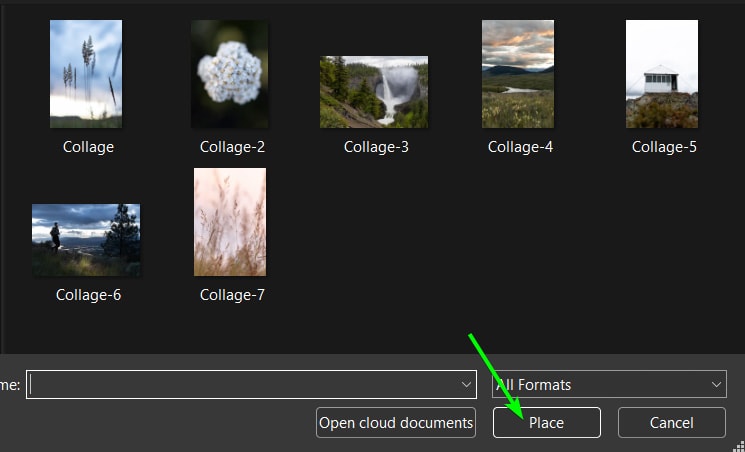
Then search for the photo on your computer and click Place.
However, a much easier way to add the photos is to open your file Finder or Explorer and locate the images. Then keeping the photo window open over Photoshop, drag and drop each picture onto the frame to which you want to add it.
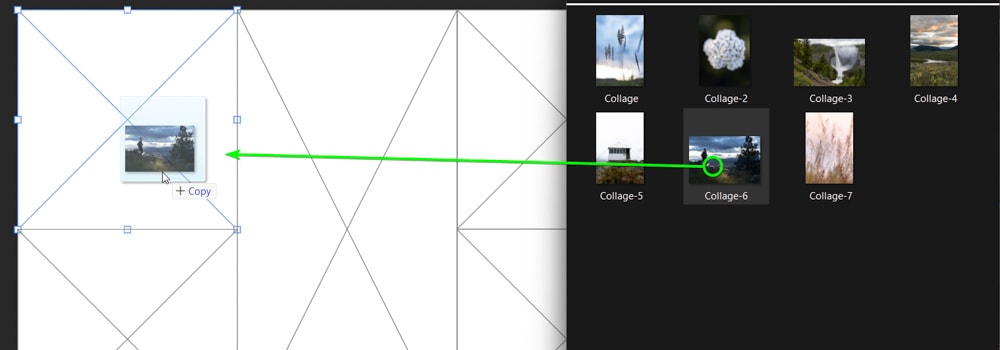
Continue dragging and dropping the pictures until you have filled all the frames. Don’t worry if a photo isn’t placed correctly in the frame; we will fix this in the next step.

Step 5: Resize Or Move The Images
Once the images are added to the frames, you can move or resize any photos to change the composition.
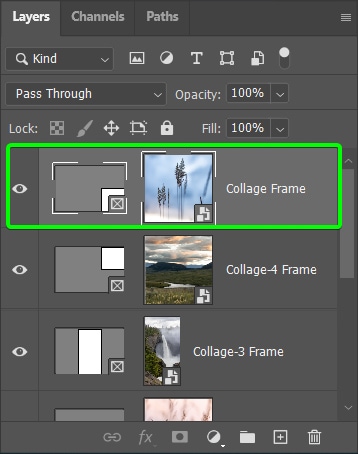
In the Layers panel, you will notice that each frame you’ve added has a frame thumbnail and an image thumbnail. Select the thumbnail containing the picture to move the photo within the frame. When a thumbnail is selected, it’s indicated by a white border around the thumbnail.
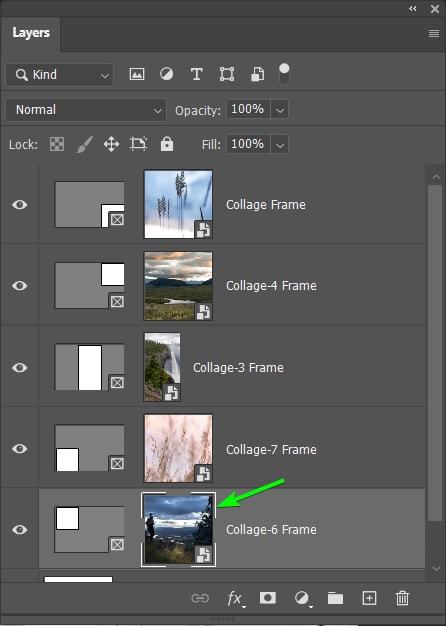
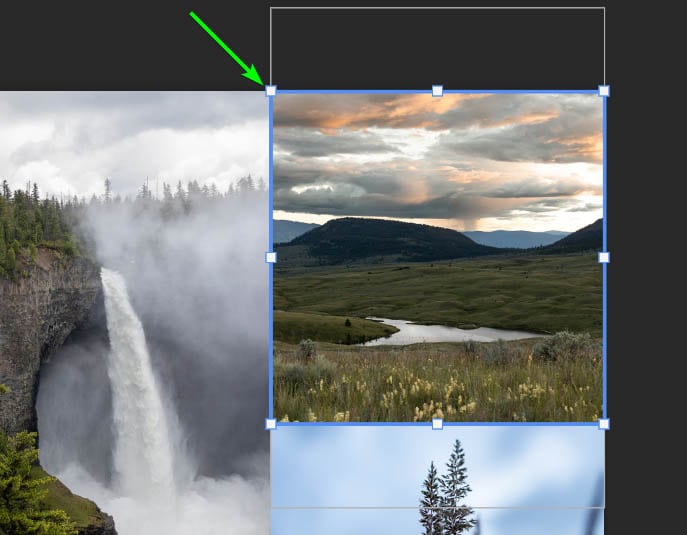
When you have selected the image, you will notice a blue frame around the actual photo on the canvas, which extends beyond the frame borders. This frame shows that you have selected the picture.
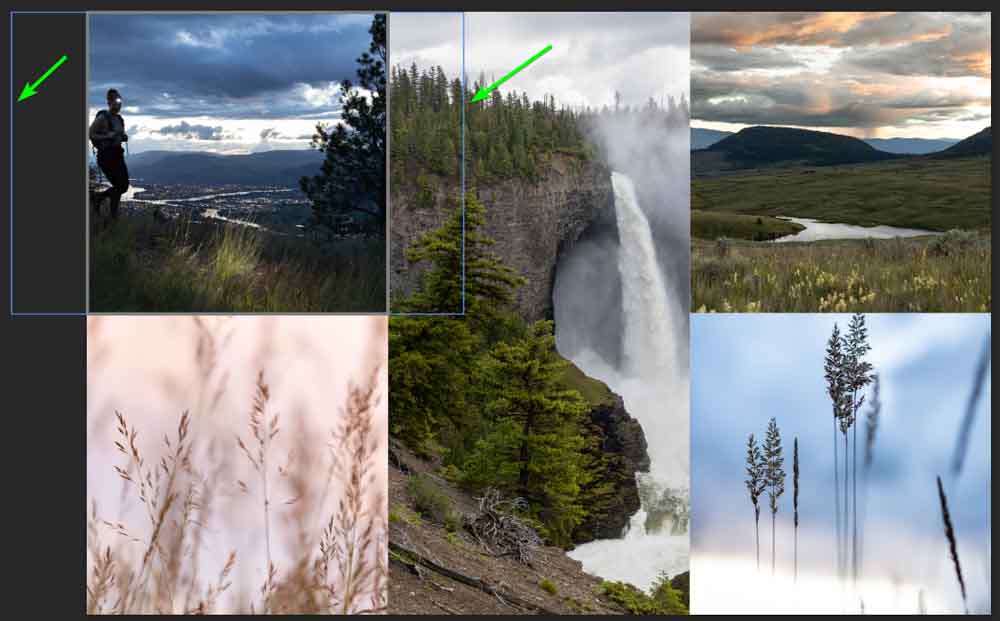
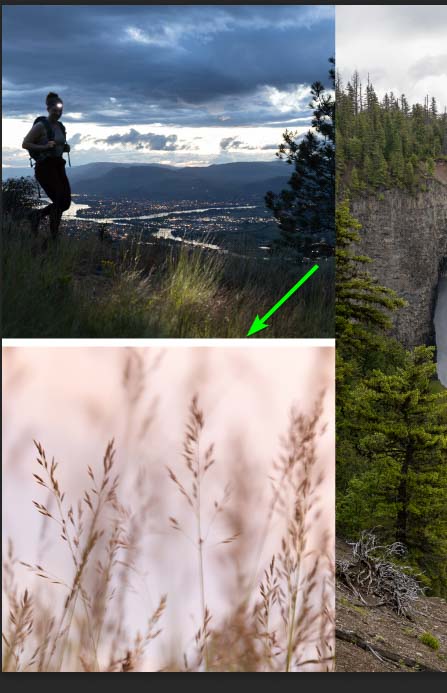
Now, click on the image and drag it to reposition it inside the frame.

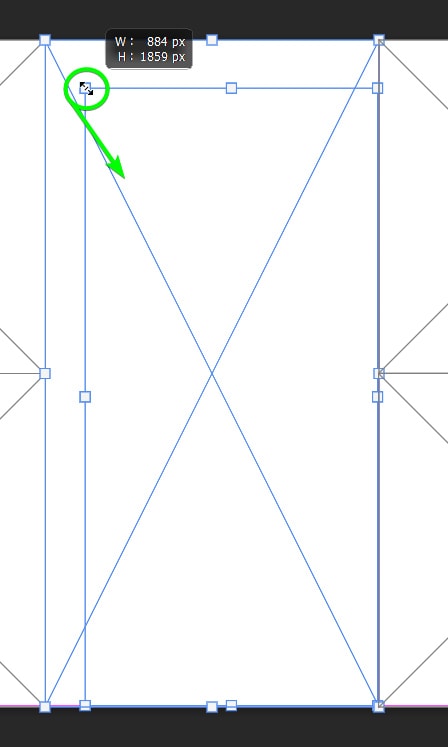
Suppose you want to resize the image. Press Control + T (Win) or Command + T (Mac) to activate Free Transform. The photo will now have anchor points around it, which you click and drag to resize the image.

Repeat these steps to resize or reposition the photos as needed.

Step 6: Resize Or Move The Frames
If you want to resize a frame without affecting the picture inside it, at this stage, you can follow the same process as moving an image, but make sure that the frame thumbnail is selected in the Layers panel.
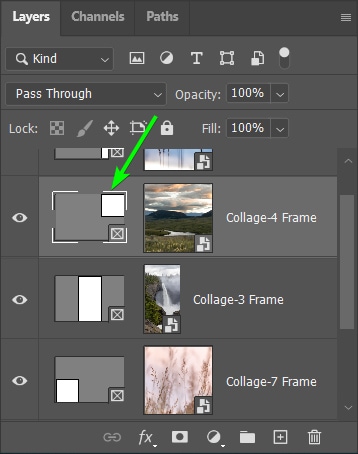
As soon as you select the frame thumbnail, anchor points appear, so you don’t need to activate Free Transform. At this stage, you can’t move the frame on its own because if you move the frame, the image will move along with it.
Once you resize and move the images and frames, you have a complete collage with the photos placed correctly.

How To Add A Border To A Collage In Photoshop
Once you have completed your collage, you can add borders around the frames to break the images up. There are multiple ways to add borders, such as adding a stroke to the frame or moving the photos to leave white spaces in between the frames.
However, the easiest way to add a border is by adding lines to the canvas and positioning them. This way, you can control the border width, color, and positioning. This also means you can choose where the borders are instead of having a border around the entire frame, as this won’t work well for photos when printed.
Make sure you have the top layer selected in the Layers panel before adding the lines, so the borders appear on top of the images and not behind them.
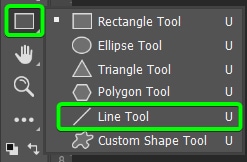
Select the Line Tool (U) from the Toolbar to add a line. It may be hidden under the Rectangle Shape Tool, so hold the icon until the fly-out menu appears.
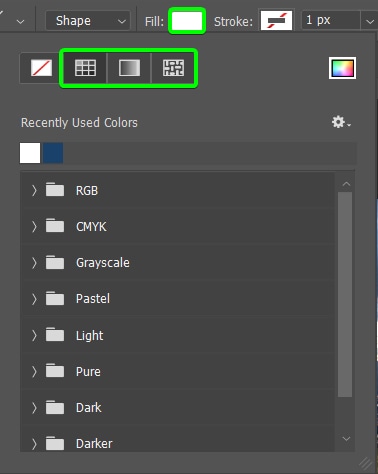
With the Line Tool selected, you can change the settings in the Options bar, depending on how you want the borders to appear. First, set the Type to Shape in the first drop-down menu to ensure the line creates the edge you want.

Next, the Fill option is the most important. You must set the Fill to the color you want your border to be. You can also set the border to a gradient or pattern if you’d like. Click on the color block next to Fill to open the options.
The first icon next to no fill allows you to select a color. Next to that is the gradient option, and lastly, the pattern option.
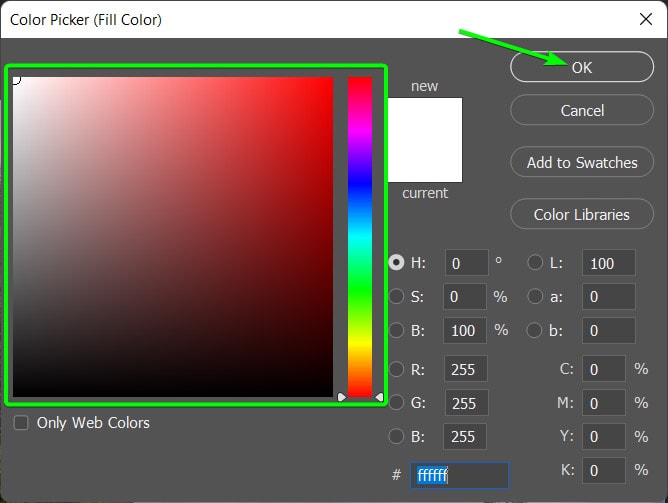
When choosing a color, you can use any preset colors from the list or click on the colored swatch to open the Color Picker.

In the Color Picker, you can select any color you wish and click OK to select it.
I want to keep the color white for my borders. Then the next two settings to change is the Stroke color, which you must set to No Stroke. Then, set the Weight to how thick you want your border to be. I set the weight to 20px.

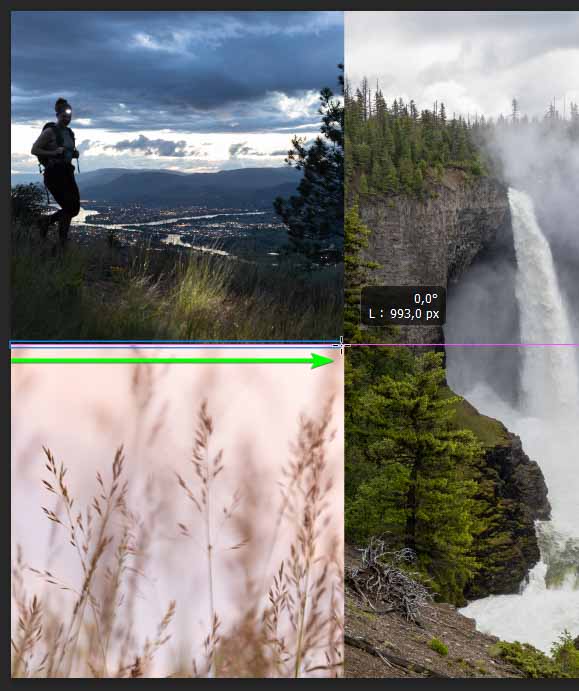
You can now add the lines to your collage where you want the borders to be. Click on the edge and drag across the area you wish to add the border. Hold in Shift to draw a straight line with the tool.
Once you add the shape, you can re-position it by selecting the Move Tool (V) and dragging it around if you need to correct the positioning.
Now, with the Line Tool selected again, you can draw more lines around the rest of the images to create more borders. You now have a collage complete with borders. You can change the color and size of the borders at any time using the Properties panel.

How To Resize An Existing Collage In Photoshop
After completing your collage, you may want to resize the image for different digital platforms. As long as you create a collage larger than the new size you need, you can easily change the size while keeping the original quality.
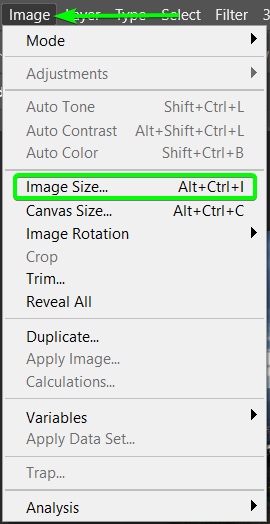
To resize the collage, go to Image > Image Size or press Alt + Control + I (Win) or Option + Command + I (Mac).
In the Image Size panel, ensure that the unit is set to the correct one you need, such as Pixels or Inches. Then activate the Link Icon next to the width and height boxes to ensure you don’t distort your image.
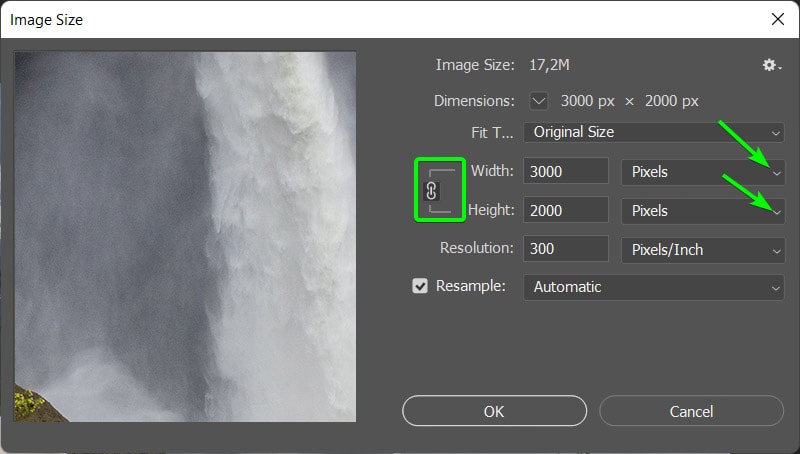
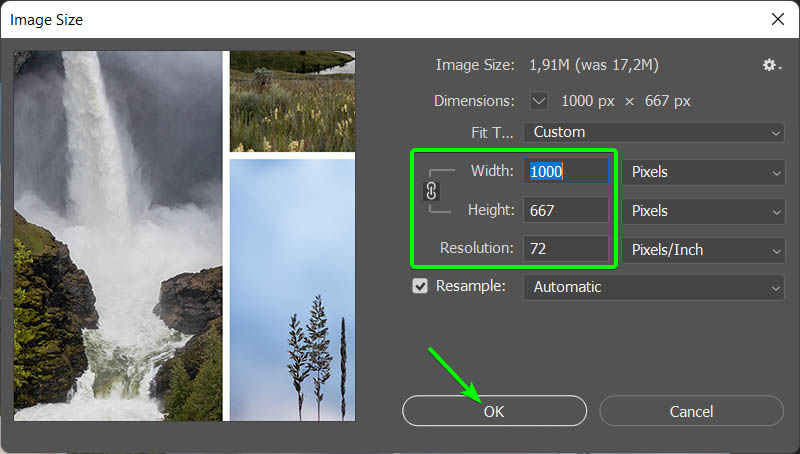
Now, you can simply change the width to the new amount, and the height will automatically adjust since the link is active.
You can also just input the height and let the width re-adjust. Lower the resolution to 72 PPI if you are using the collage digitally.
Remember not to increase the resolution, or you may decrease the collage’s quality. Click OK when you are done.
You now have a resized image, which you can see is smaller in the workspace.
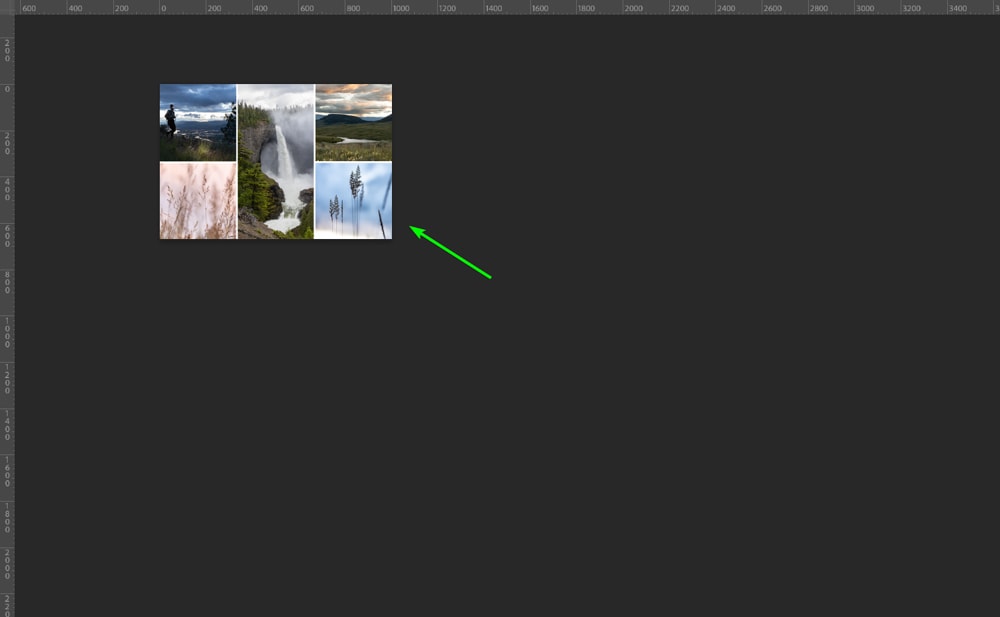
Zoom in by pressing Control + + (Win) or Command + + (Mac), and you can export and use your newly resized collage as needed.

Did you enjoy learning how to create a basic collage in Photoshop? Don’t forget to get creative and customize your collage. You can add 3D text to the collage or develop patterns to add as borders around your photos. There are so many possibilities to make your collage stand out.


