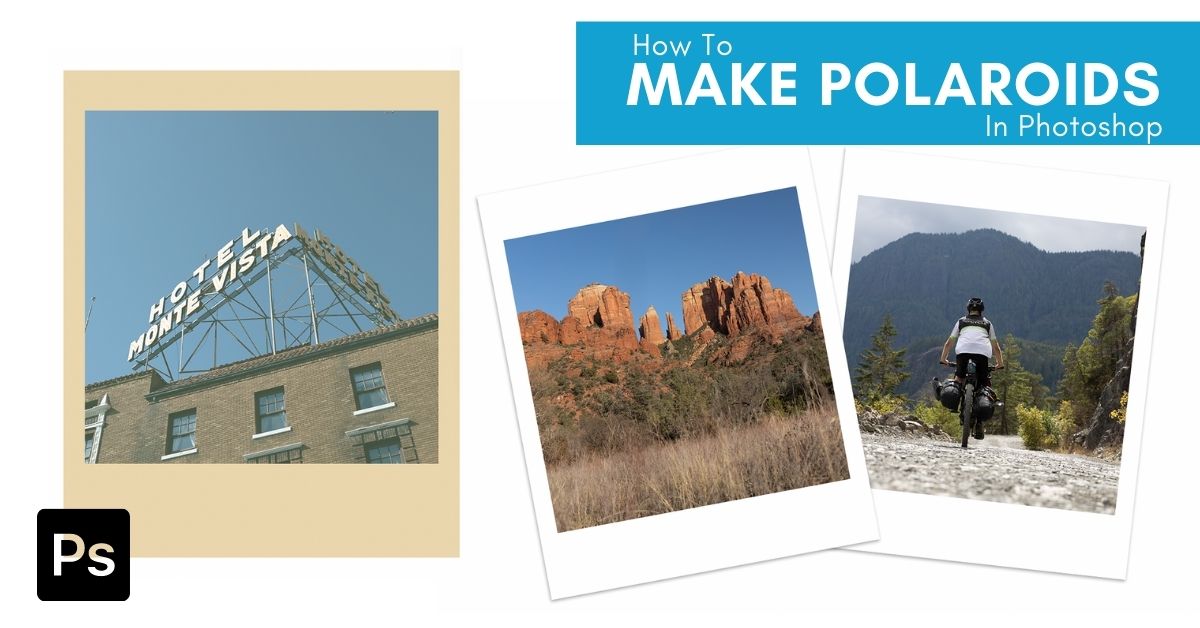

Adding a polaroid border to an image can be a stylish addition to any project. While Photoshop doesn’t come with a specific polaroid template, you can make one yourself in just a few steps. There are a few different methods you can use, and you can even save your template so that you can access and use it later.
Now, if you’re in a rush, here are the steps to make a polaroid in Photoshop:
- Step 1: Create a 1500×1000 pixel document
- Step 2: Select the rectangle tool
- Step 3: Set the rectangle fill to white or off white
- Step 4: Create a new rectangle that’s 650×800 pixels
- Step 5: Create a second rectangle that’s 580×580 pixels
- Step 6: Center the second rectangle within the first one
- Step 7: Add an image to your project above the rectangle layers
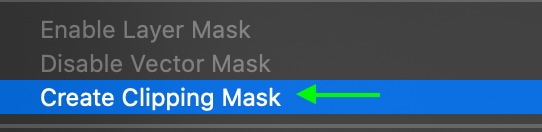
- Step 8: Right-click on the image layer and choose Create Clipping Mask
- Step 9: Position the image within your polaroid
- Step 10: You’re done!
Now let’s break that down more in-depth with some added tips to stylize your images or add layer styles to your polaroids.
How To Make A Simple Polaroid In Photoshop
Step 1: Create Your Polaroid Border
Before you add any images, you’ll need to create the border that will make up your polaroid. I will use two different shapes for this process.
To create the polaroid, you’ll need to create a new document. Head to File > New or use Control + N (Win) or Command + N (Mac).

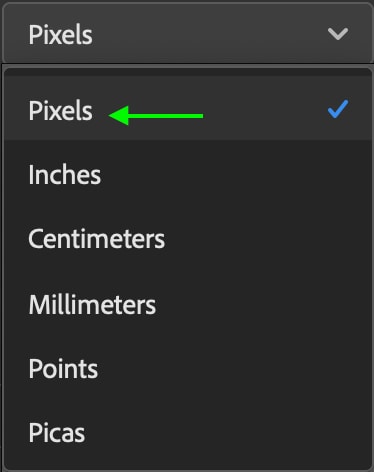
In the New Document window, the only setting you’ll need to worry about is the width and height. First, click the drop-down arrow for the unit of measurement and select Pixels.
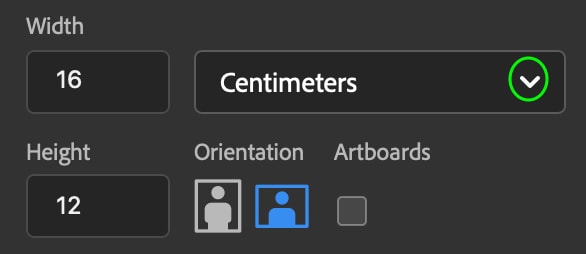
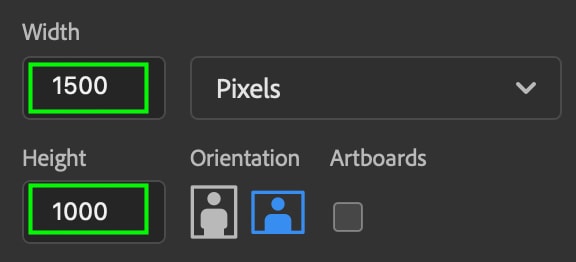
Then, click the text box for each to set the size of the document to 1500 x 1000 pixels. This will ensure you have enough space to work within your document.
It is also suggested to change the background color to transparent, or at least to something other than white, so if you decide you’d like your polaroid to be white you’ll still be able to see it while you work.
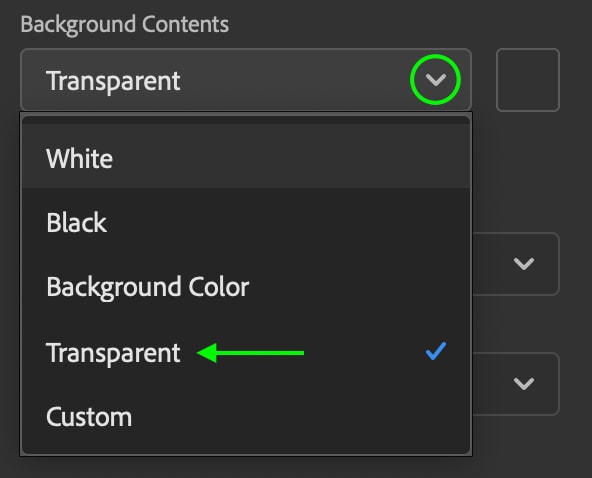
Click Create, and your document will appear.

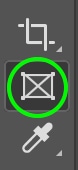
Now, we can make the first part of our polaroid. Head to the toolbar on the right and locate the Shape tool.
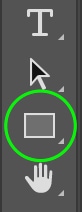
The tool may look different depending on the last shape you’ve used. Click and hold the icon to find and select the Rectangle tool from the available shape tools.
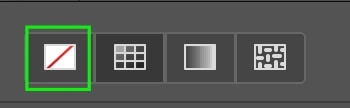
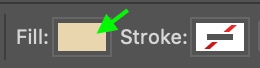
Head to the Options bar before making your shape, and set the fill color to an off-white color by clicking the box next to Fill.

This will bring up the fill options. Click the color box and select an off-white color, then click OK.
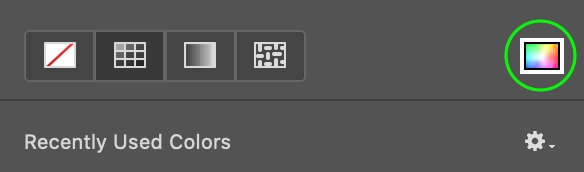
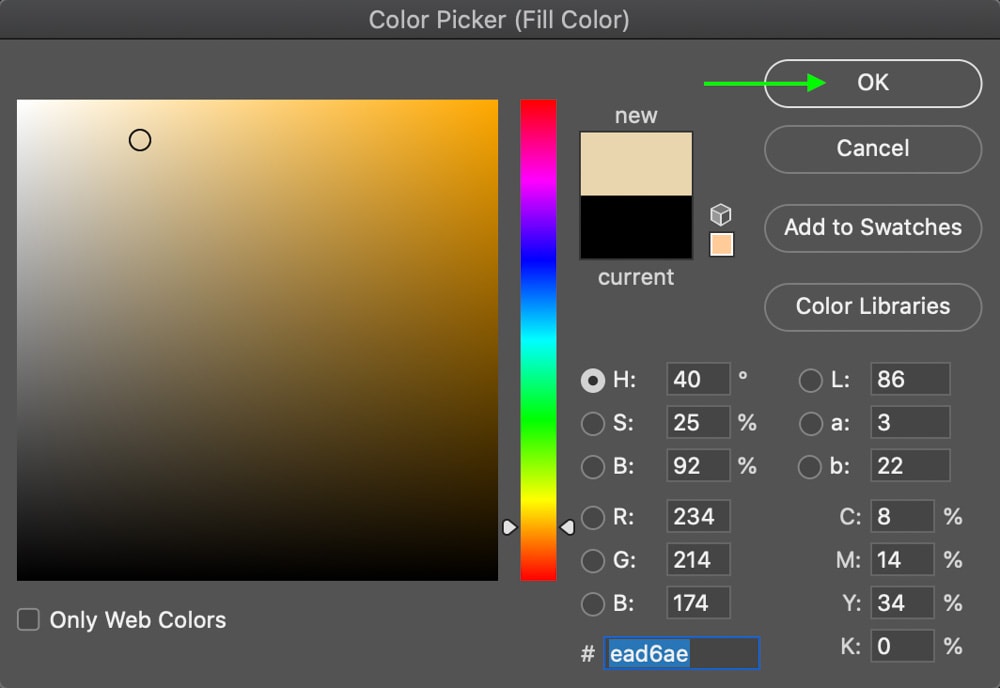
You can select any color you’d like your polaroid to be, but I suggest white or off-white to give the polaroid the most realistic appearance.
You’ll also want to ensure your shape will not have a stroke by clicking the box next to Stroke and selecting the transparent stroke option.

Now, you can click anywhere on the document to create your rectangle. The Create Rectangle box will appear, and here you can set the width and height of your shape to 650×800 pixels or larger, as long as the height is more than the width, then click OK.

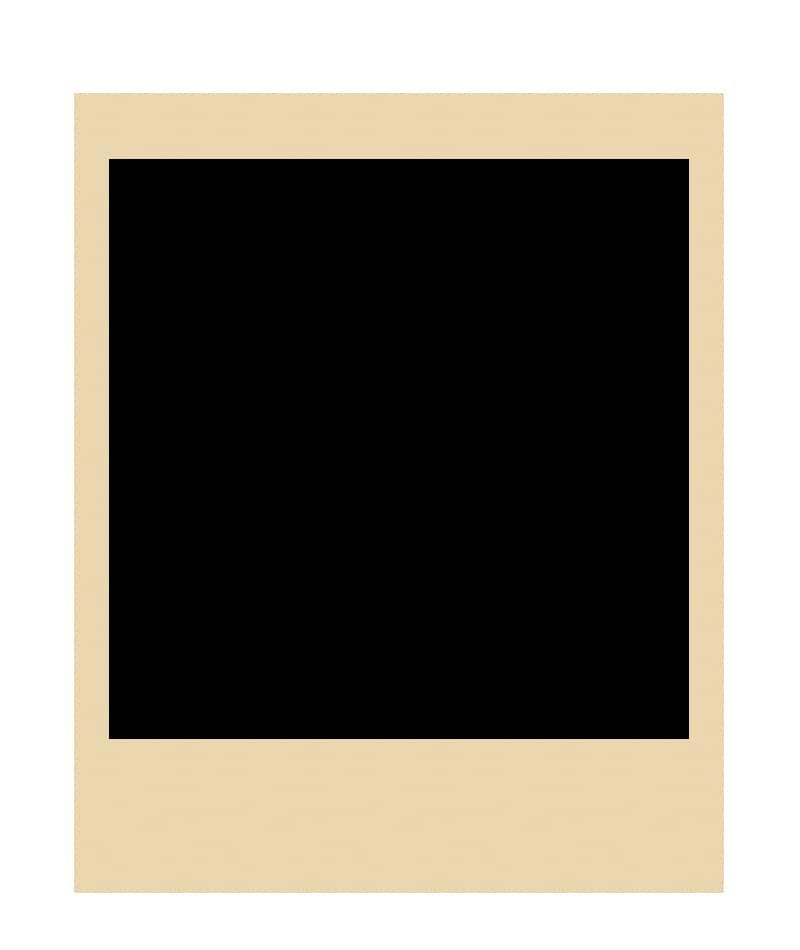
You’ll see an off-white (or your selected color) rectangle appear on your document.

This will form the base of your polaroid template. You still need to add the square that will act as the placement for the image. In this case, I use a clipping mask to insert the image, but the other method is to add a frame to your rectangle, which I’ll outline in the next section.
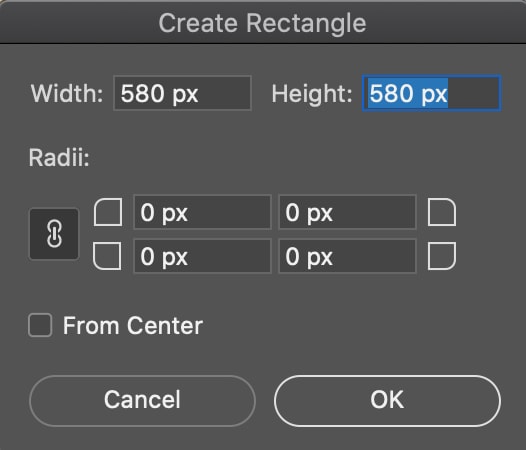
Click your document again with the rectangle tool still active, and set the width and height of this next shape to 580×580 pixels.
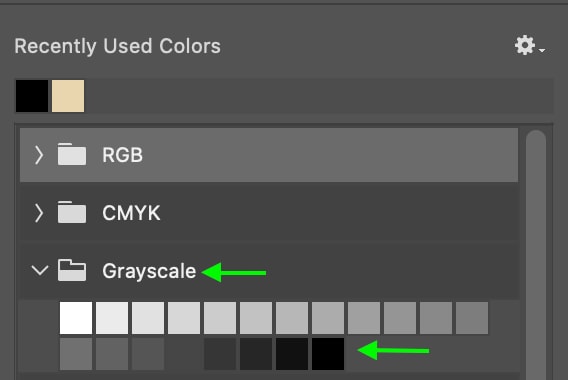
Now, let’s make this next shape black. With the Shape tool selected, head to the fill box at the top and find a black color (the fastest way is to go to the Grayscale tab).
Now, let’s make sure all our shapes are centered. They should be automatically, but if they aren’t, head to the Layers panel.
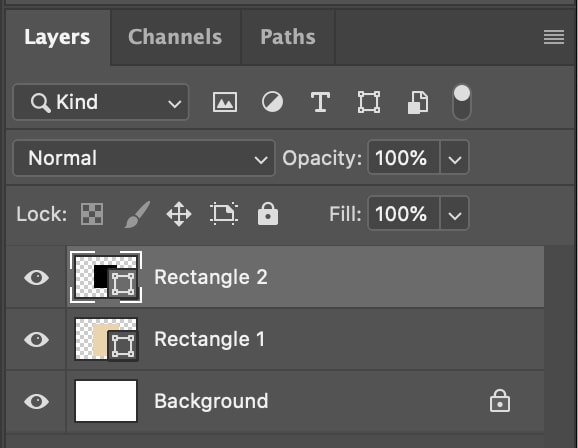
Hold Control and click all three layers. They will turn a lighter gray indicating they’re selected.

Now, at the top toolbar, you can align them horizontally and vertically by centering the layers.

Finally, you can move the black square to the correct location on the polaroid by clicking the Move tool (V), then clicking and dragging the square to the top of the polaroid. You’ll see the shapes now form a polaroid to which you can easily add images.
Step 2: Save The Polaroid For Later Use
Once you’ve finished creating your polaroid, it’s recommended to duplicate and save it as a PSD file before you add an image. This will allow you to go back and open up the polaroid template whenever you’d like to use it for another project. To do this, head to File > Save a Copy.
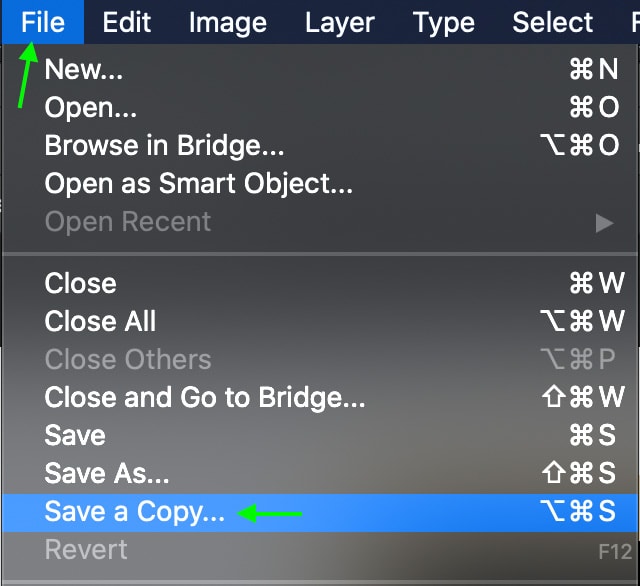
Name your document and select a location if you’d like. Ensure the file format is PSD so Photoshop can open and read the document when you need to use it again.
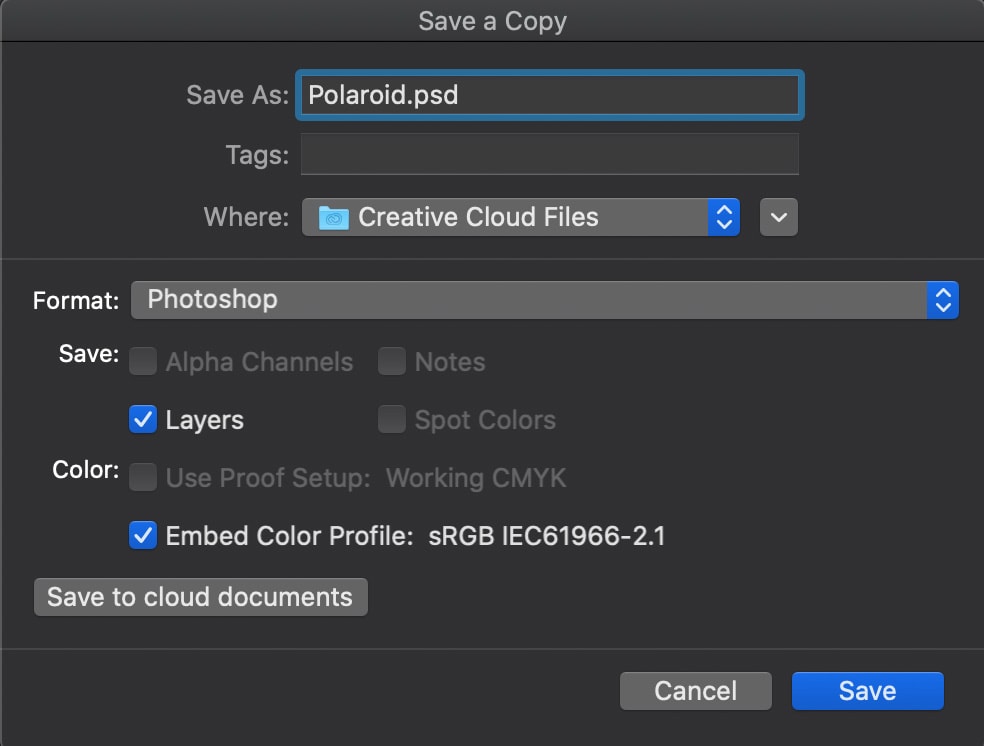
Click Save, and you’ll be able to open this document from your files whenever you want to use it to add photos.
Step 3: Add The Image To Your Template
It’s time to add your image after saving your polaroid as a template. You can do this quite easily by clipping the image to the square shape of the polaroid.
Head to File > Place Embedded and then select an image from your files to add to your document.
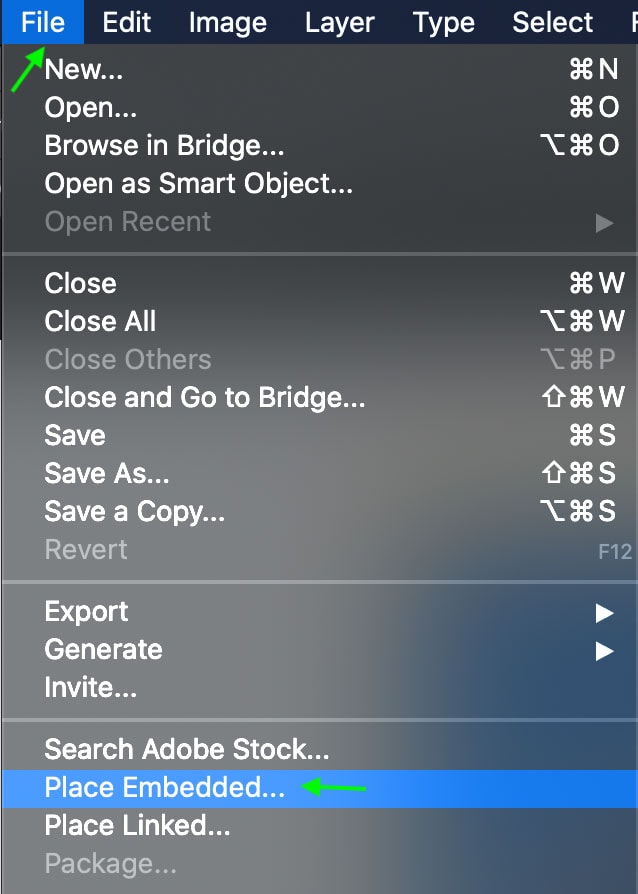
You can also drag and drop an image into Photoshop from your files. In both cases, the image will form a new layer in the Layers panel.
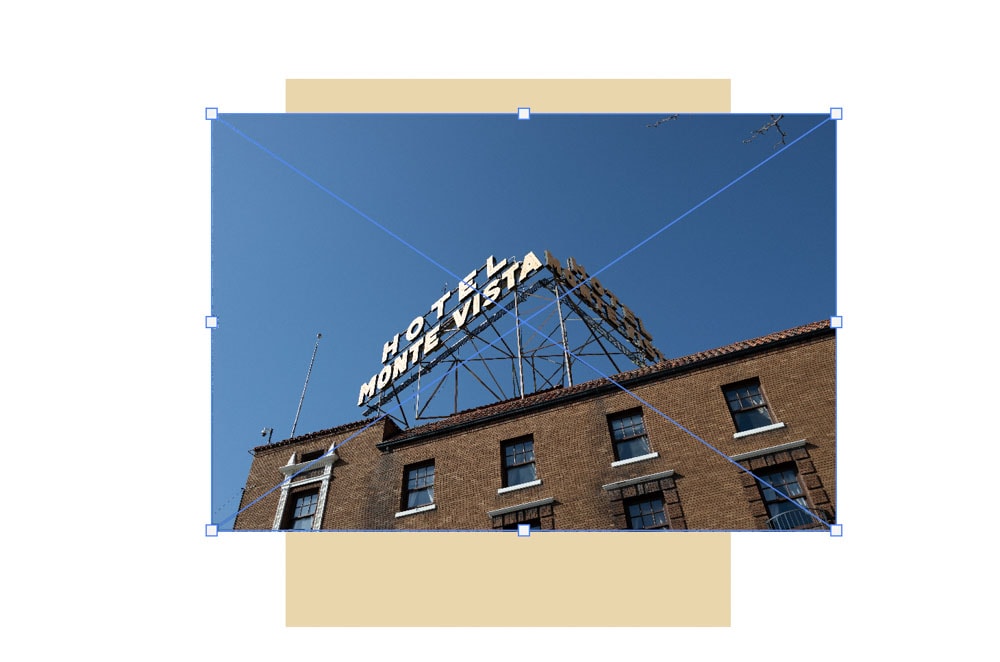
Now, you can move and resize your photo so that the area you want to show fits into the square part of the polaroid. Head to the Move tool (V) and click and drag to place your image.

Again, you want to ensure the picture sits above the square shape on your document.
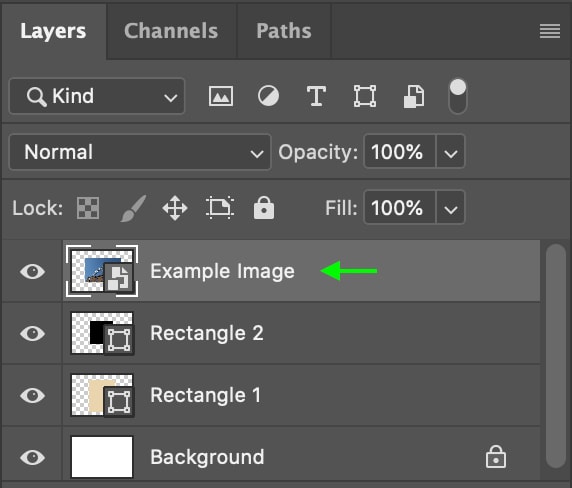
Now, head to the Layers panel and right-click the image layer.
Scroll and select Create Clipping Mask from the options.
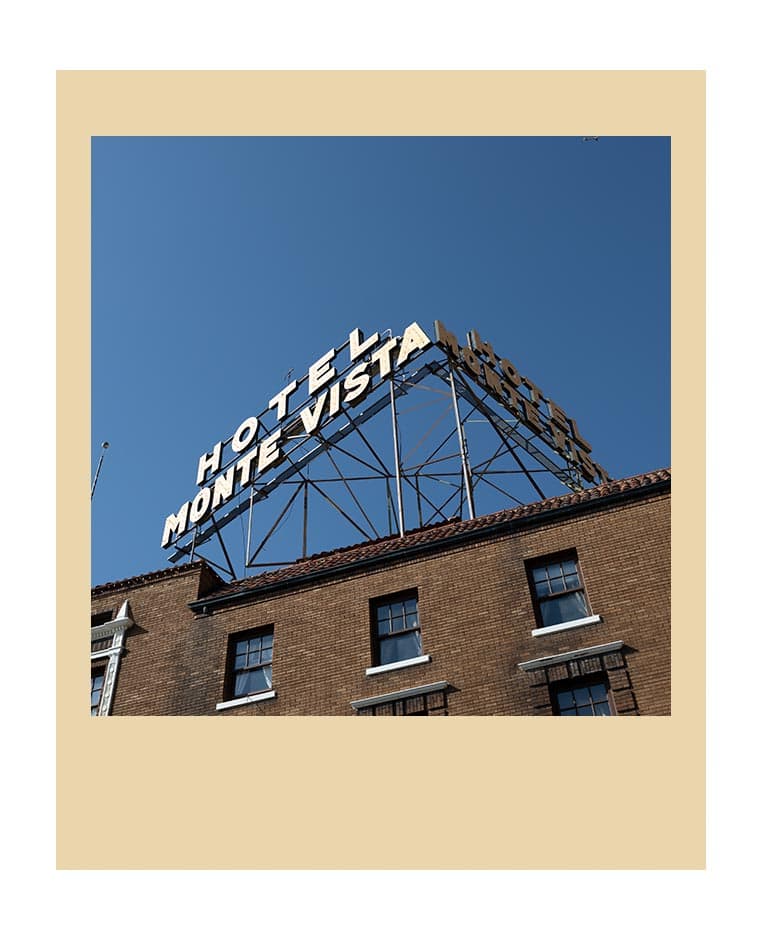
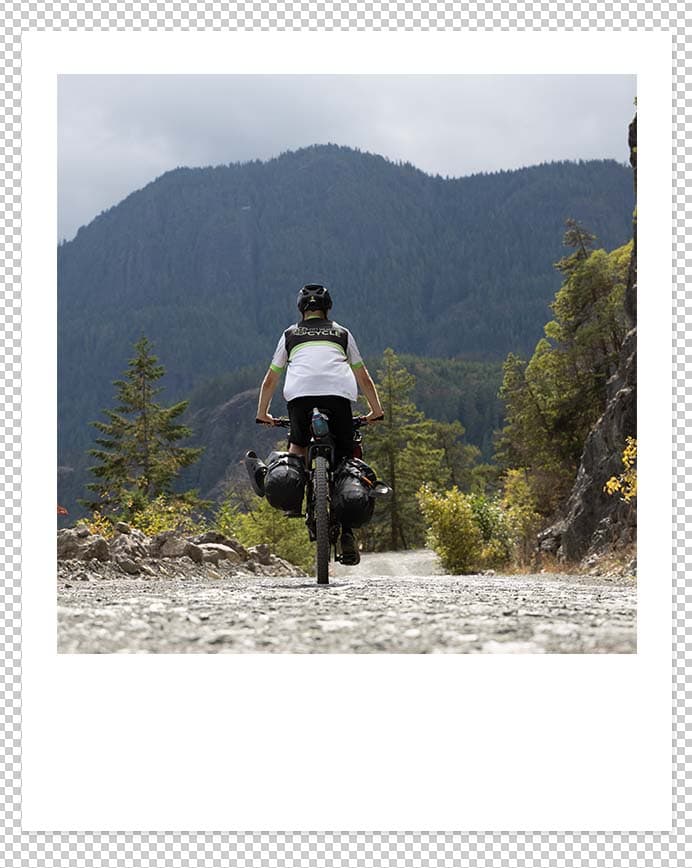
The image will fit right into the square shape, giving it the appearance of a polaroid picture. You can move the image around again with the Move tool (V) if you want to reposition it inside the block.
Step 4: Give Your Image A Vintage Appearance
If you’d like, you can complete the look by giving your photo a vintage appearance. To do this, you’ll need to make a few basic adjustments to the image layer.
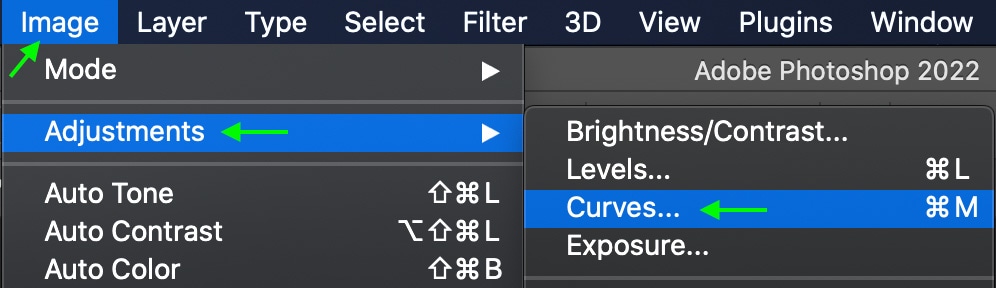
The adjustments we’ll focus on are lifting the shadows and adding a slightly faded color (primarily to the shadows). To do this, we’ll head to Image > Adjustments > Curves.
You’ll see the Curves window appear. Staying in the RGB channel, you can drag the point for the shadows curve (all the way on the left) straight up.
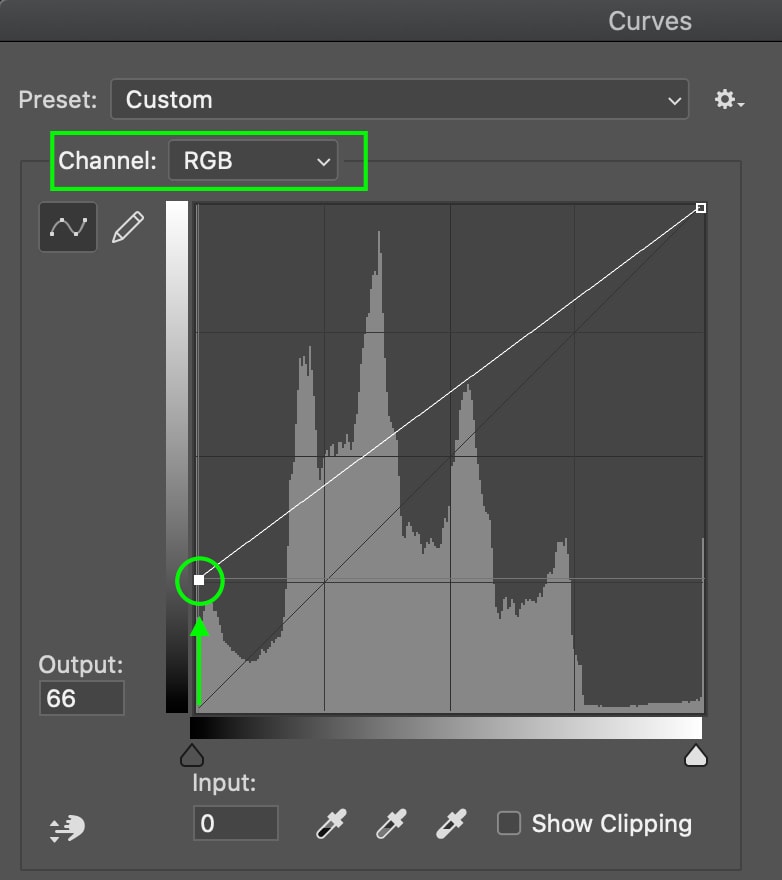
Now, I’ll do the same in the Green channel, lifting the shadows toggle on the left.
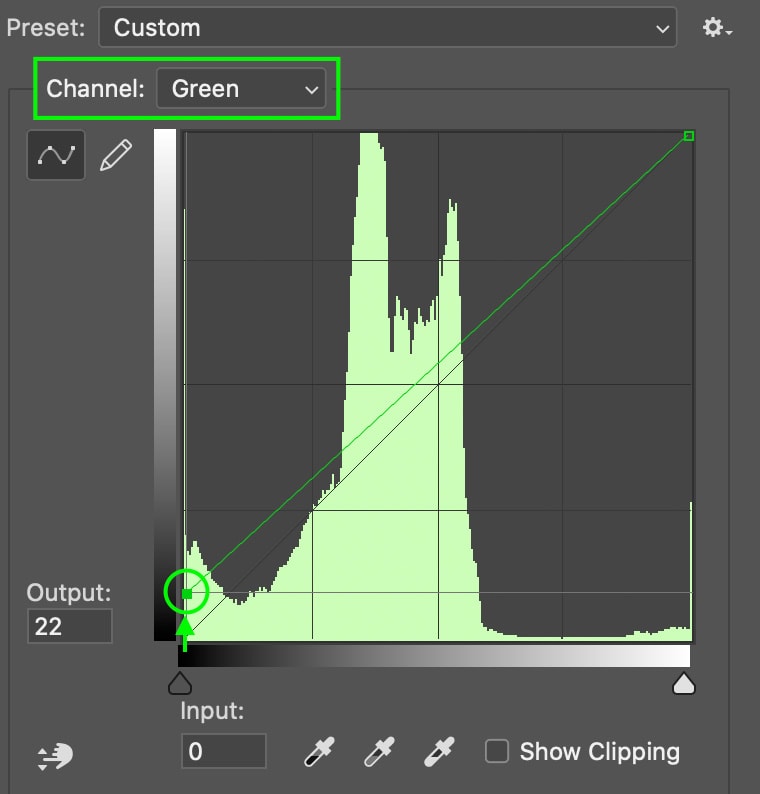
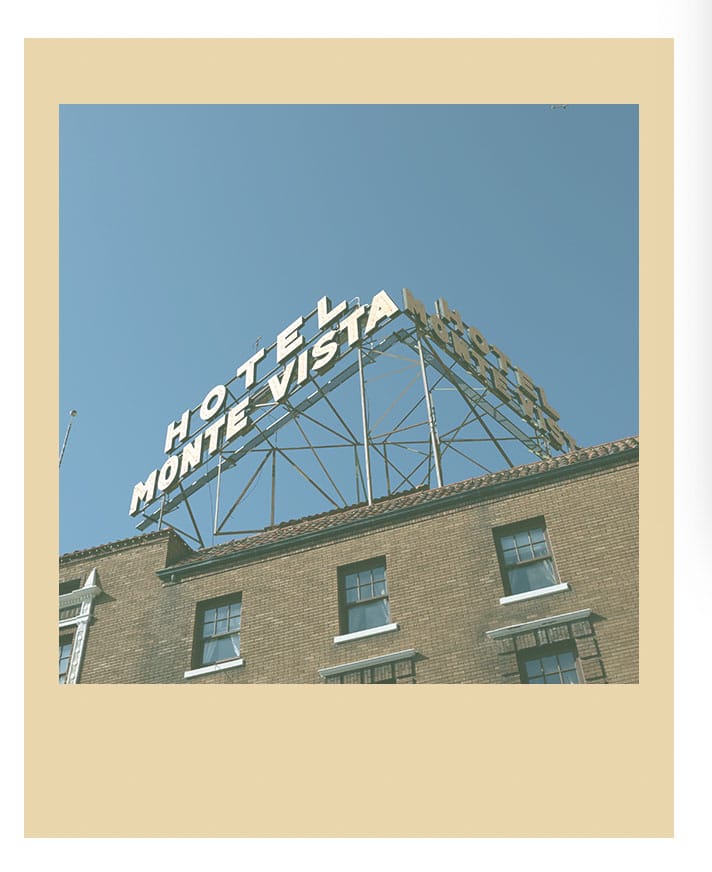
The final image now has a faded, vintage appearance.
How To Create A Polaroid Template In Photoshop
In the last example, we created a basic polaroid template. Now let’s take it one step further with a more professional and easy-to-use template that has some added layer style effects.
Step 1: Create The Polaroid Frame
First, create a new document and set the dimensions to 1500 by 1000 pixels. Then, head to the Rectangle tool and create a rectangle with dimensions of 650 by 800 pixels. Make sure there is no stroke and set the color however you’d like — we’ll use white for this example. A detailed outline of these steps can be seen in Step 1 of the previous section.
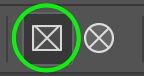
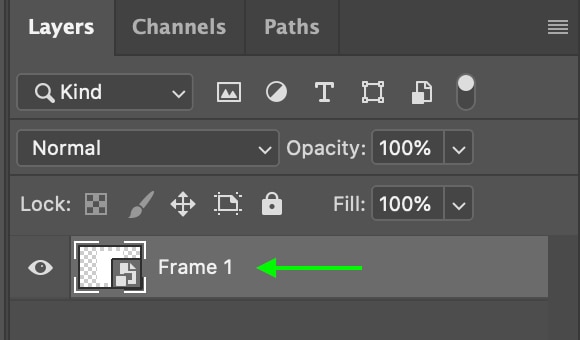
Once you’ve made your rectangle, head to the Frame tool.
Make sure the Rectangular Frame is selected, not the Round Frame.
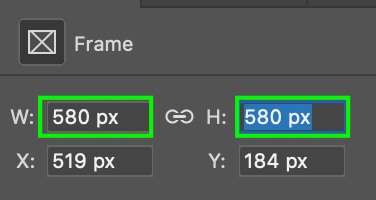
Then, click and drag to make your frame on top of your rectangle. In the frame properties panel that comes up, you can make sure the frame is a perfect square by editing the Width and Height to 580 by 580 pixels.
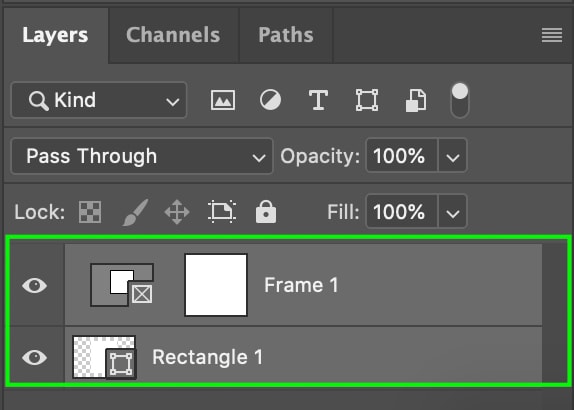
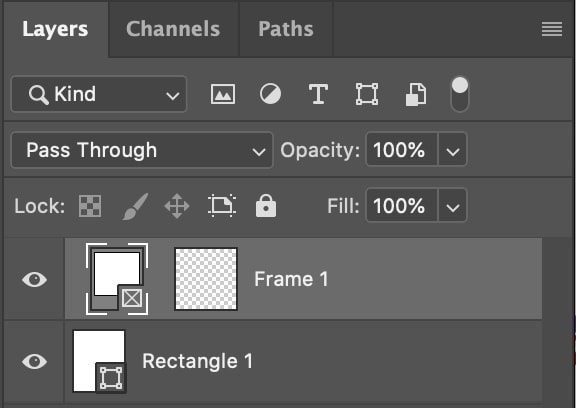
Now, head to the Layers panel and Shift + click the Rectangle layer and the Frame so that they are both selected. They will turn light gray when selected.
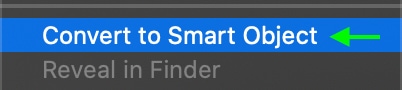
Right-click or Control + click and select Convert to Smart Object.
You’ll see the two layers merge and appear as one in the Layers Panel.
Now, double-click the Frame 1 icon in the layers panel, and the polaroid frame will appear in a new tab to reveal the smart object’s contents.

In the Layers panel, you’ll see you can view both parts of the frame, the rectangle shape and the frame itself, as their original separate layers.
Step 2: Add An Image To The Frame
To place an image in your frame, make sure the frame layer is selected in the Layers panel. Then, head to File > Place Embedded and select an image from your files.

The image will appear in your frame. You can click and drag to move the image around or drag the toggles to change the size.
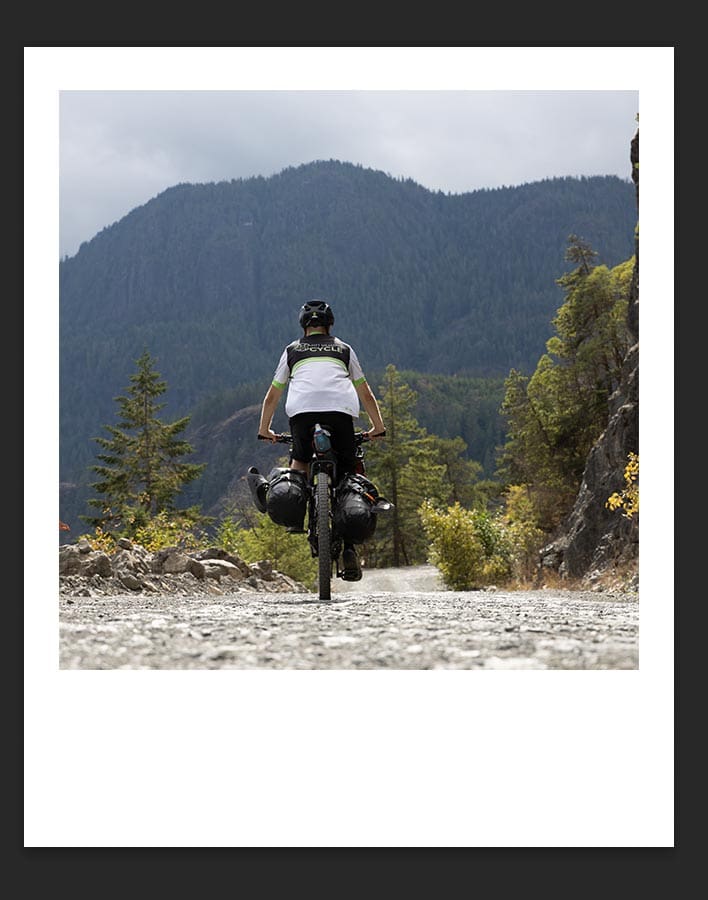
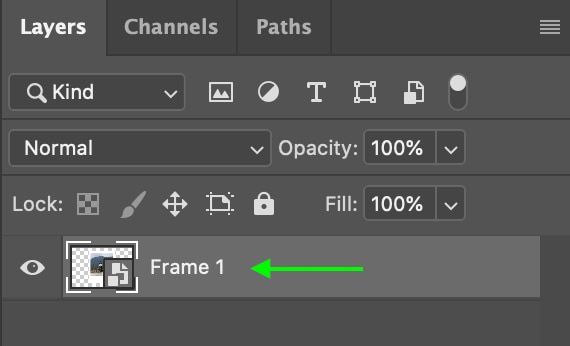
Once you’re happy with how the image looks, press Control + S (Win) or Command + S (Mac). This will save the smart object. If you head back to the tab you were originally working in, you’ll see the polaroid frame with the image you selected.

In the Layers panel, you’ll see it is all on one layer.
Step 3: Add A Drop Shadow To Your Polaroid
To add a bit of realism, let’s add a drop shadow to the polaroid. In the Layers panel, double-click the layer to open the Layer Styles window.
Click on the Drop Shadow settings on the left.
Set the Angle so it’s facing mostly straight. It is also a good idea to bring down the opacity to around 35% so that the shadow looks realistic.
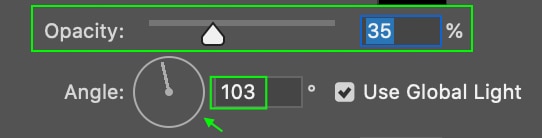
This will add just a hint of a shadow to your polaroid.
Step 4: Save Your Template To Use Again Later
Now you can save a copy of this template to use on other projects by heading to File > Save a Copy.
In the window that appears, name your template and make sure the file format is set to PSD. This will allow you to open and use this template whenever you’d like.
Step 5: Get Creative With Your Polaroids
Since you created the polaroid as a smart object, you can easily duplicate the layer to create two polaroids in one document. Then since you added a slight drop shadow, you can overlap the polaroids to stack them on top of each other.


